
 Pin it
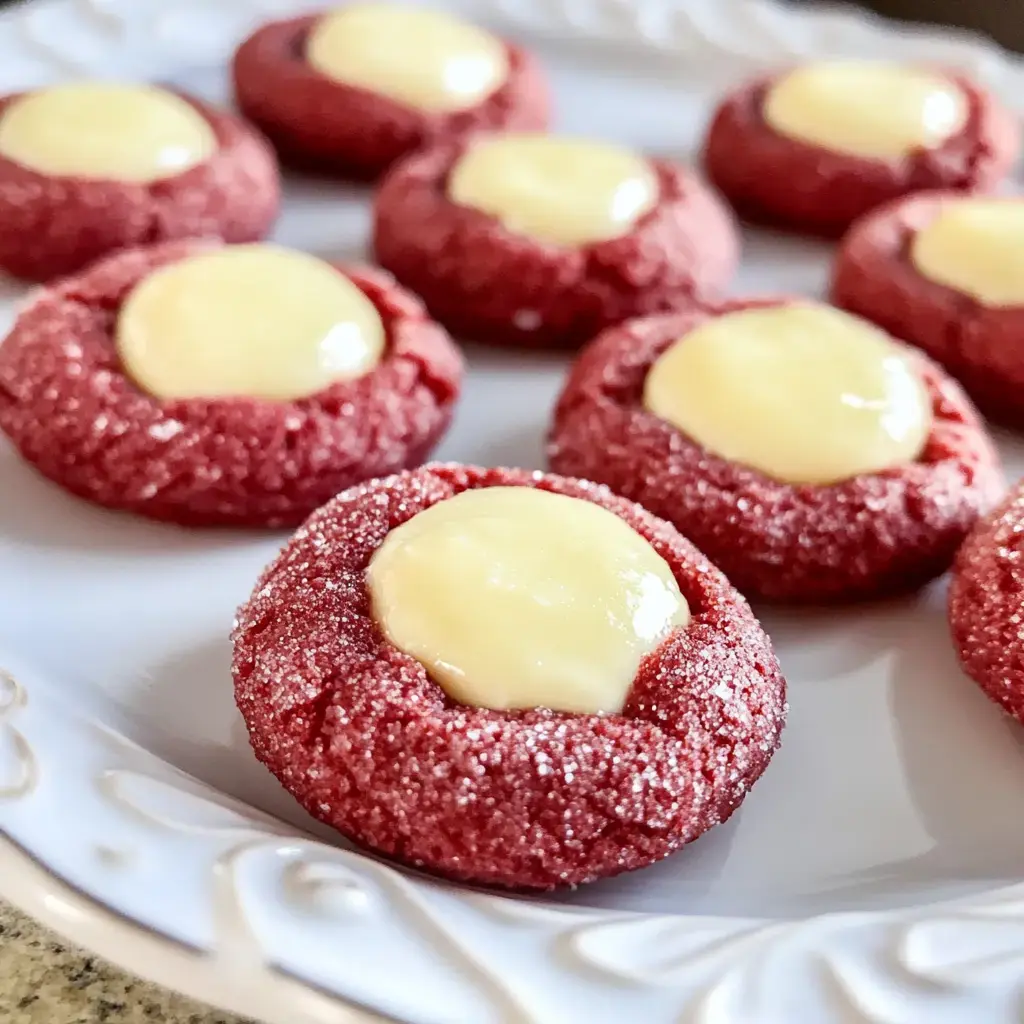
My kitchen filled with sweet aromas while snow blanketed the world outside. I found myself mixing up these dreamy red velvet thumbprint cookies packed with creamy cheese filling. Each bite melts in your mouth with the perfect blend of richness and fluff. Trust me these cookies are a showstopper at Christmas parties and cookie swaps. Sometimes the best recipes come from cozy snow days when baking feels like pure magic.
Why You'll Love These Cookies
Every time I make these cookies people go crazy for them. The red velvet base has this amazing tender crumb that pairs beautifully with the tangy cream cheese center. The gorgeous red color screams Christmas and I love watching faces light up when I bring them to holiday gatherings. What makes them truly special is how the cream cheese filling stays perfectly smooth and creamy inside each cookie.
What You'll Need
- Butter: 1 cup at room temperature so it creams up nice and smooth
- Brown Sugar: 1/2 cup gives these cookies their perfect sweetness
- Egg Yolk: 1 yolk makes the cookies perfectly tender
- Vanilla Extract: 1 tsp adds that wonderful warmth
- All-Purpose Flour: 2 cups is the foundation of our cookie dough
- Red Food Coloring: 4 tsp for that stunning red velvet look
- Cocoa Powder: 2 tsp gives a subtle chocolate note
- Sugar or Sprinkles: 1/2 cup optional but adds such a pretty sparkle
- Cream Cheese: 4 ounces softened for the smoothest filling
- Egg Yolk: 1 yolk helps the filling set perfectly
- Sugar: 1/4 cup sweetens up our cream cheese center
- Vanilla Extract: 1/4 tsp makes the filling extra special
Let's Make Some Cookies
- Making Your Cookie Dough
- Start by beating your butter and brown sugar until it looks light and fluffy. Mix in the egg yolk and vanilla until everything comes together beautifully. Slowly add your flour cocoa powder and red food coloring until you have a gorgeous red dough. Roll it into cute little balls about an inch wide. If you want that extra sparkle roll them in sugar or sprinkles. Space them out on your cookie sheet they need room to spread.
- Time to Bake
- Get your oven nice and hot at 350°F. Pop those cookies in for about 8 to 10 minutes. Keep an eye on them you want the edges set but not too firm. Take them out when they look just right.
- Whipping Up the Filling
- While your cookies cool mix up that heavenly cream cheese filling. Blend your softened cream cheese egg yolk sugar salt and vanilla until smooth as silk. Once the cookies have cooled a bit make a little well in each one with your thumb and fill it with the creamy mixture.
- The Final Touch
- Back into the oven they go for another 6 to 8 minutes. You want that cream cheese filling set and just barely golden on top. Let them cool completely on a wire rack before you dive in.
 Pin it
My Secret Tips
After years of making these cookies I've learned a few tricks. Always let your baking sheets cool between batches or your cookies will spread too much. Give those pans a turn halfway through baking for the most even results. Watch for visual cues rather than just timing the edges should be set and the filling firm but still creamy. Your kitchen will smell amazing and these beauties never last long at my house.
Frequently Asked Questions
- → Can I make the dough ahead of time?
Yes, you can chill the dough for up to 24 hours in the fridge. Just wrap it tightly in plastic wrap and store it in an airtight container.
- → Why do we bake these cookies twice?
The two-step baking process ensures the cookie base is set before adding the cream cheese filling. This prevents the filling from sinking and creates the perfect texture.
- → How should I store these cookies?
Because of the cream cheese filling, store these cookies in an airtight container in the fridge. They'll stay fresh for up to 5 days.
- → Can I freeze these cookies?
Yes, you can freeze the baked and cooled cookies for up to 3 months. Thaw them overnight in the fridge before serving.
- → Why do my cookies need to be room temperature before baking?
Room temperature ingredients, especially butter and eggs, blend more easily and create a smoother dough that bakes more evenly.