 Pin it
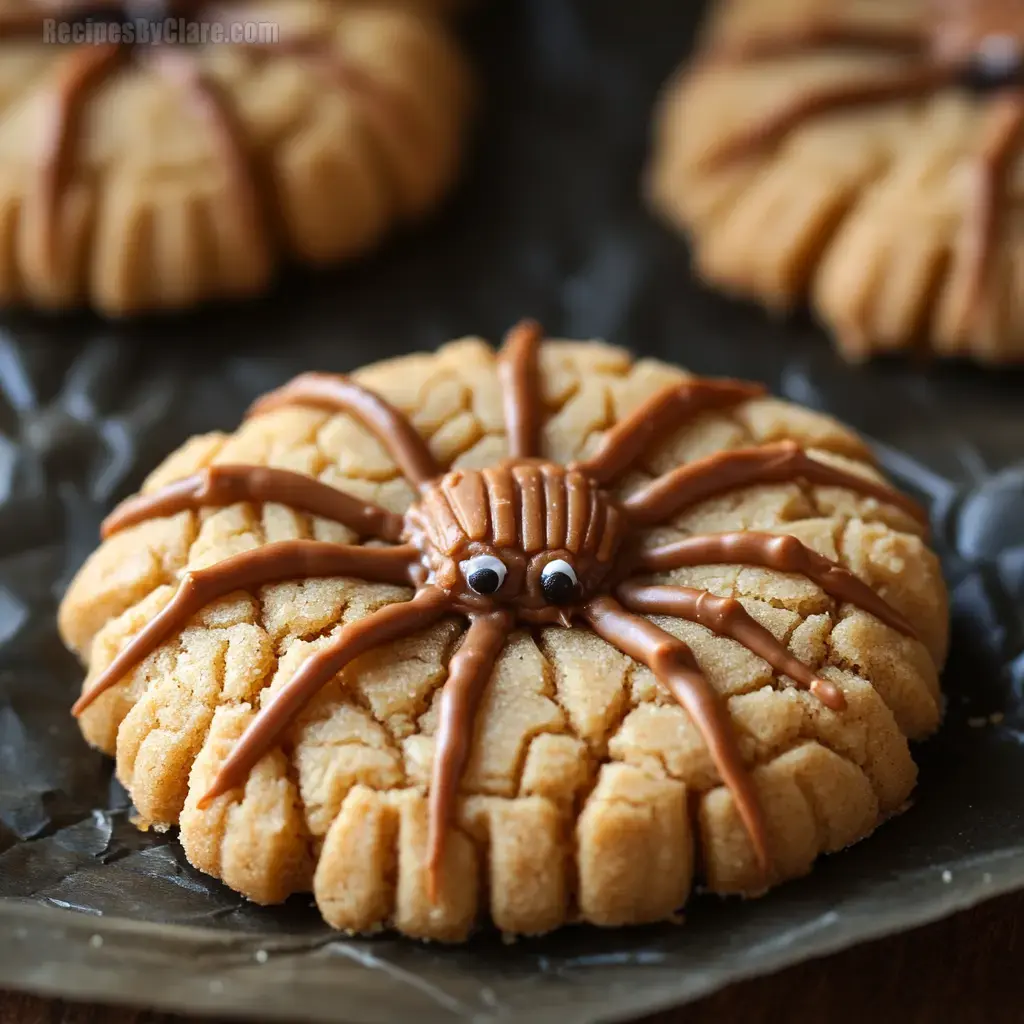
Peanut Butter Spider Cookies are the ultimate Halloween treat for peanut butter lovers. These adorable cookies are not only easy to make but also so much fun to decorate! The peanut butter cookies are soft and flavorful, and the addition of a mini peanut butter cup makes each one a delightful indulgence. With a few simple steps, you can create these spider-themed cookies that will impress kids and adults alike at your Halloween celebration.
INGREDIENTS- Creamy peanut butter: 1/2 cup
- Unsalted butter: 1/2 cup, softened
- Granulated sugar: 1/2 cup
- Brown sugar: 1/2 cup, packed
- Egg: 1 large
- All-purpose flour: 1 1/4 cups
- Baking soda: 3/4 teaspoon
- Salt: 1/4 teaspoon
- Mini chocolate peanut butter cups: 24 pieces
- Candy eyes: 48 pieces
- Chocolate chips (for piping legs): 1/4 cup, melted
- Step 1:
- Preheat the oven to 350°F (175°C) and line a baking sheet with parchment paper.
- Step 2:
- Cream the peanut butter, butter, and sugars together in a bowl until fluffy.
- Step 3:
- Add the egg and mix until combined.
- Step 4:
- In another bowl, whisk together the flour, baking soda, and salt.
- Step 5:
- Gradually mix the dry ingredients into the wet mixture.
- Step 6:
- Scoop the dough and form into 1-inch balls, placing them on the baking sheet.
- Step 7:
- Bake for 8-10 minutes or until lightly golden. Let the cookies cool slightly.
- Step 8:
- Press a peanut butter cup into the center of each cookie while still warm.
- Step 9:
- Use melted chocolate to pipe legs onto each cookie and attach candy eyes.
- Let the cookies cool slightly before adding peanut butter cups to avoid excessive melting.
- Store in an airtight container for up to 3 days at room temperature.
- For a smoother chocolate piping, ensure the melted chocolate has a slightly warm consistency.
- If you don’t have a piping bag, use a zip-lock bag with the corner snipped off to create the spider legs.
Tips from Well-Known Chefs
- Chef’s tip: Chilling the dough for 15 minutes before baking will help the cookies maintain a more uniform shape.
These Peanut Butter Spider Cookies are more than just a tasty treat—they’re also a fun Halloween activity. The process of decorating each cookie with a chocolate spider and candy eyes is sure to bring out the creative side in both kids and adults. Whether you’re making these for a Halloween party or just as a festive family project, they’re sure to be a hit!
Why These Cookies are Perfect for HalloweenThe combination of peanut butter, chocolate, and a spooky spider design makes these cookies an ideal Halloween dessert. They’re simple to bake and even more fun to decorate, with the mini peanut butter cups acting as the perfect base for the spider's body. The contrasting candy eyes and chocolate legs give them a playful, eerie look that will add charm to any Halloween table.
FAQsCan I use crunchy peanut butter instead of creamy?
Yes, you can use crunchy peanut butter if you prefer a bit of texture in the cookies.
How do I store leftover cookies?
Store in an airtight container at room temperature for up to 3 days or in the fridge for up to a week.
Can I freeze the dough?
Yes, you can freeze the cookie dough for up to 2 months. Thaw before baking.
 Pin it
