 Pin it
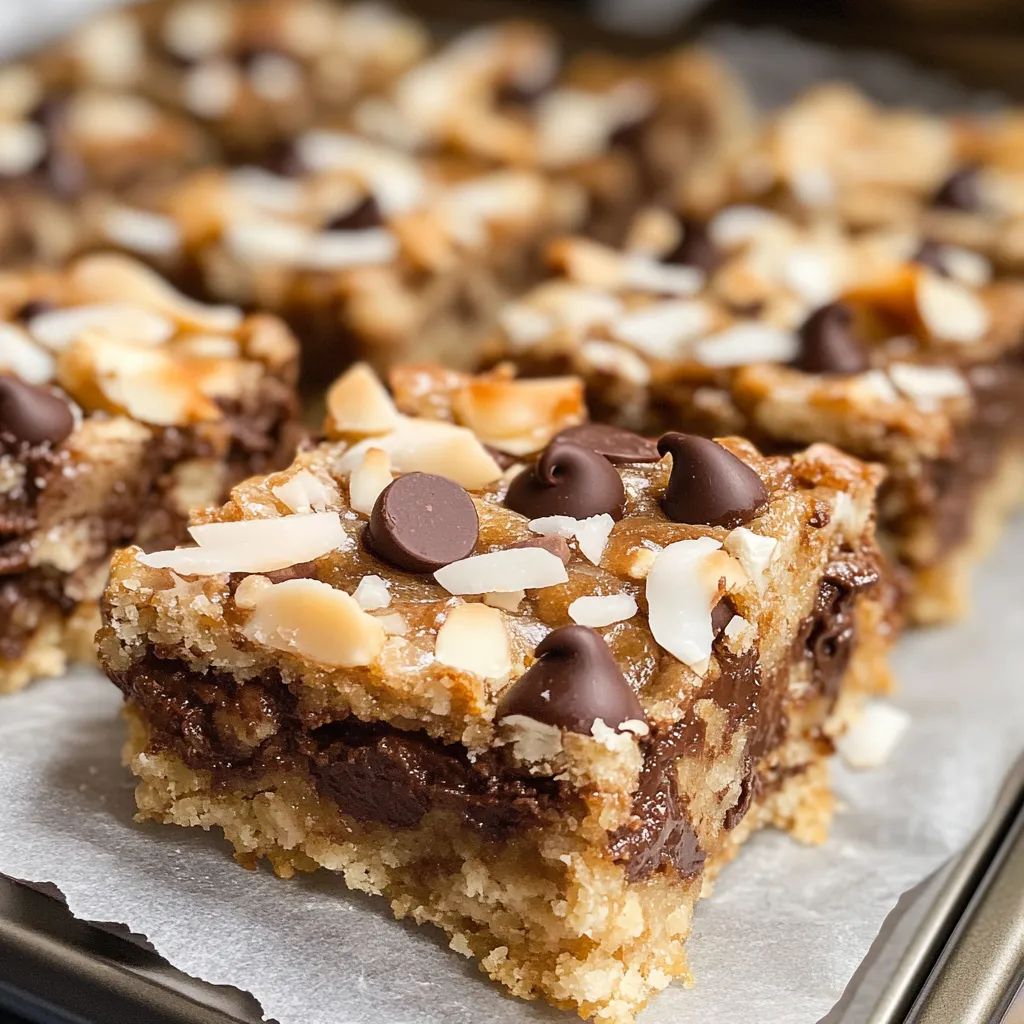
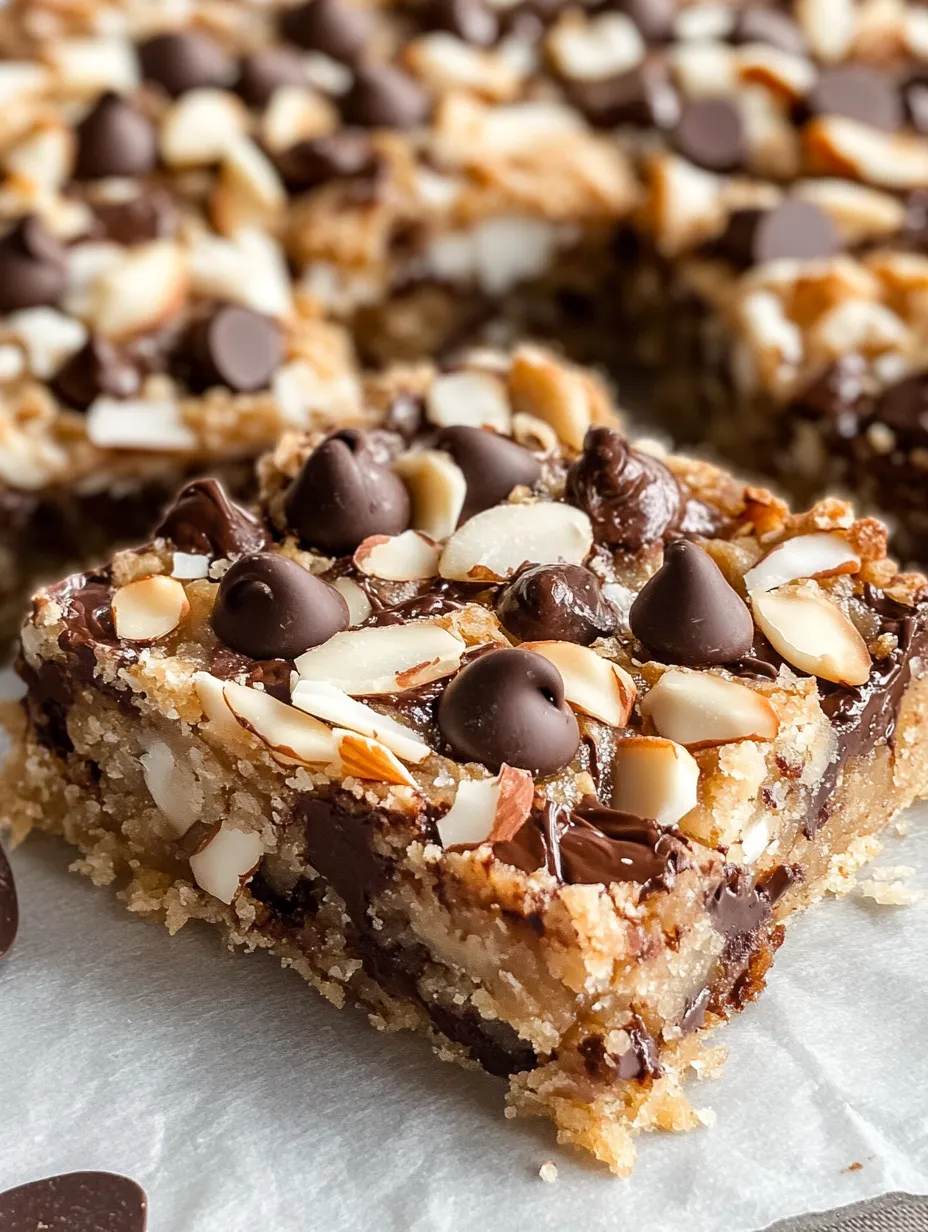
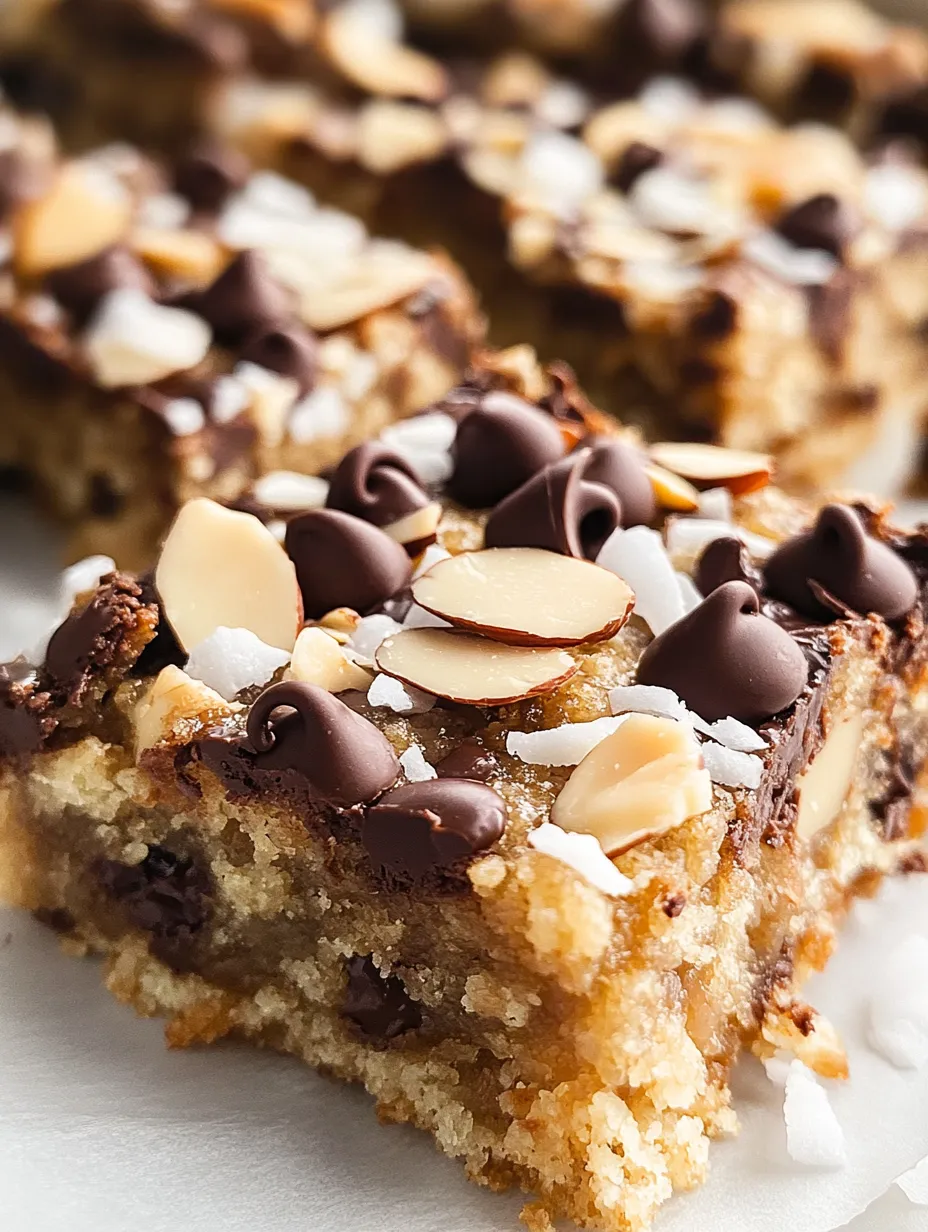
These Almond Joy cookie bars have become my go-to dessert for potlucks and family gatherings. I discovered this recipe a few years back when trying to recreate my favorite candy bar in a more substantial form. The combination of chewy cookie base, sweet coconut, crunchy almonds, and melty chocolate creates this perfect balance of textures and flavors that makes people think you spent hours in the kitchen. In reality, they come together in about 30 minutes, including baking time, and they're always the first dessert to disappear from the table.
Last summer, I brought these to a neighborhood block party. My next-door neighbor Ted, who swears he "doesn't have a sweet tooth," ate three bars and then asked if he could take a couple home for later. His wife laughed and told me later that he keeps asking when I might be baking another batch. Now whenever there's a neighborhood gathering, I get a not-so-subtle hint that these would be a welcome contribution!
Key Ingredients
- Butter: Creates that perfect chewy cookie base. Make sure it's truly softened (but not melted) for the best texture. I leave mine out for at least an hour before baking on cool days, less time when it's warmer.
- Brown sugar: Adds a caramel-like depth that perfectly complements the coconut and almond flavors. The molasses in brown sugar also helps keep the bars moist and chewy for days.
- Flaked coconut: Essential for that authentic Almond Joy flavor. I prefer the sweetened kind for these bars, but unsweetened works if you prefer a less sweet treat.
- Almond slivers: These add the perfect crunch and nutty flavor. Toasting them first intensifies the flavor, though that's an optional extra step if you're short on time.
- Chocolate chips: Create those pockets of melty chocolate throughout the bars. I use semi-sweet, but milk chocolate chips give a flavor closer to the actual candy bar if that's what you're after.
 Pin it
Step-by-Step Instructions
- Proper creaming:
- Beat the butter and sugars until truly light and fluffy, about 2-3 minutes. This incorporates air into the mixture, which helps create that perfect chewy texture.
- Gentle mixing:
- Once you add the flour mixture, mix just until combined. Overmixing develops gluten, which can make your bars tough instead of tender.
- Strategic topping:
- Reserving some of the coconut and almonds for the top not only makes the bars look prettier but also creates textural contrast with some ingredients getting toastier than others mixed into the batter.
- Extra chocolate:
- Those additional chocolate chips pressed into the top before baking create those gorgeous melty pools of chocolate that make the bars irresistible.
- Perfect timing:
- The bars will look slightly underdone at the center when you take them out, but they continue cooking in the hot pan. This ensures they stay chewy rather than crunchy.
- Parchment paper:
- This isn't just for easy cleanup – it creates "handles" that let you lift the entire batch out of the pan for perfect cutting once cooled.
I've been tweaking this recipe for years to get it just right. My first attempts had too much flour, making them cakey rather than chewy. Reducing the flour and increasing the brown sugar created that perfect cookie bar texture that's tender in the middle with slightly crisp edges. I also experimented with different ratios of mix-ins before landing on this perfect balance where you get a bit of coconut and almond in every bite without overwhelming the cookie base.
Serving Ideas
Serve these bars at room temperature or very slightly warmed for the best texture and flavor. For an over-the-top dessert, warm a bar in the microwave for 10 seconds and top with a scoop of vanilla ice cream. Cut them into smaller squares for a cookie platter at parties, or larger bars for a more substantial dessert. They're perfect with coffee after dinner or with milk as an afternoon treat.
Tasty Twists
Try adding a quarter cup of toffee bits to the batter for a sweet crunch. For dark chocolate lovers, substitute dark chocolate chips for the semi-sweet. During the holidays, I sometimes add a quarter teaspoon of coconut extract along with the vanilla for an even more pronounced coconut flavor. For a deluxe version, drizzle the cooled bars with melted chocolate for an extra hit of richness and a beautiful presentation.
Storage Smarts
Store these bars in an airtight container at room temperature, with parchment paper between layers if stacking. They'll stay fresh for 3-4 days, though they rarely last that long in my house! For longer storage, wrap them individually and freeze for up to 3 months. Thaw at room temperature for about an hour before serving, or microwave for about 15-20 seconds for that fresh-baked taste.
 Pin it
I've made these Almond Joy cookie bars for countless gatherings, from backyard barbecues to holiday cookie exchanges. There's something about that familiar chocolate-coconut-almond combination that immediately brings a smile to people's faces. The fact that they come together so quickly and easily is just a bonus! My husband always hopes there will be a few left after parties so he can enjoy them with his morning coffee the next day – though I usually have to hide a couple for him before guests arrive to make sure that happens!
Frequently Asked Questions
- → Can I use sweetened or unsweetened coconut?
- Either works well! Sweetened coconut will make the bars a bit sweeter, while unsweetened gives more pure coconut flavor without extra sugar.
- → Can I use whole almonds instead of slivers?
- Yes, just chop them coarsely first. The slivers integrate better into the dough, but chopped whole almonds will work too.
- → How do I know when these bars are fully baked?
- The edges should be golden brown and the center should be set but still slightly soft. They'll continue to firm up as they cool.
- → Can I double this recipe?
- Absolutely! Double all ingredients and bake in a 9x13 inch pan. You may need to increase baking time by 3-5 minutes.
- → How should I store these cookie bars?
- Store in an airtight container at room temperature for up to 4 days, or freeze for up to 3 months.
