 Pin it
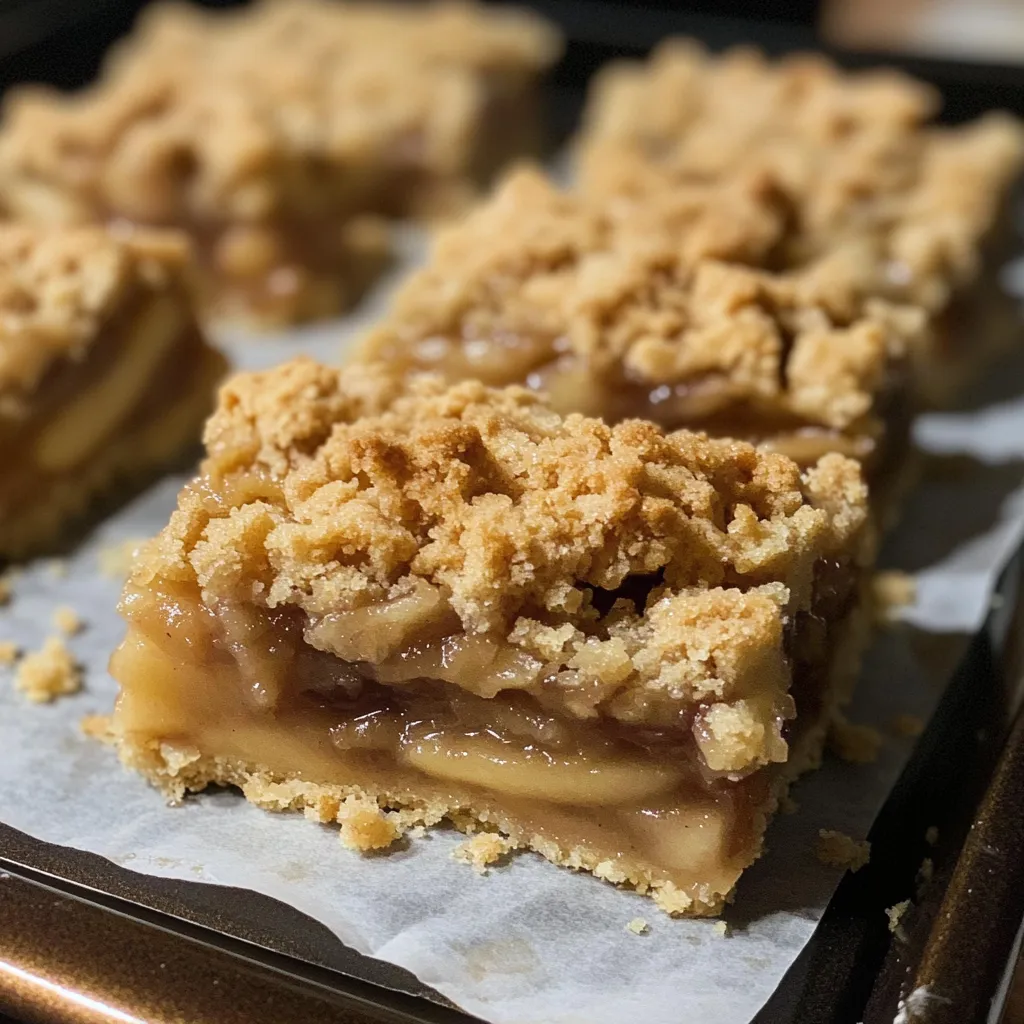
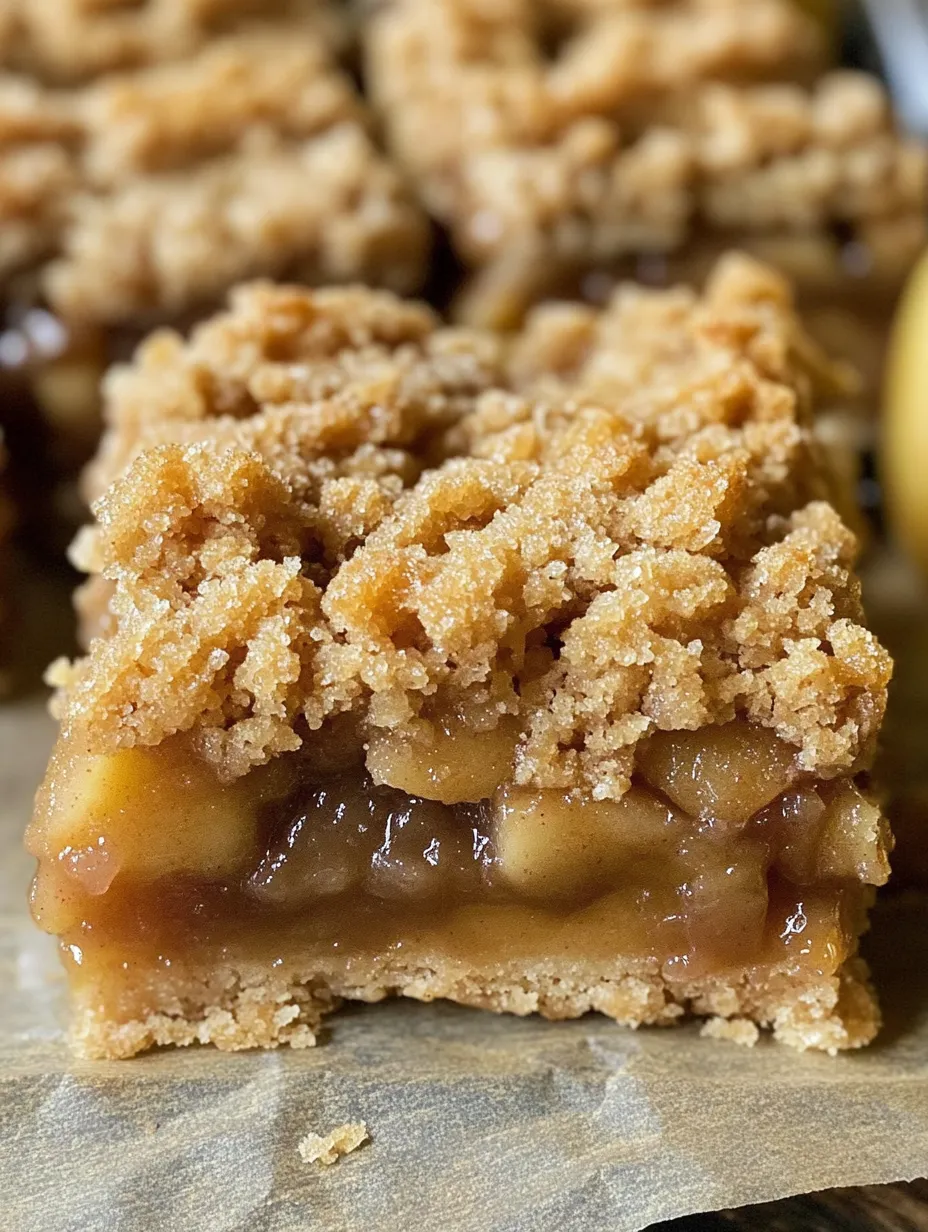
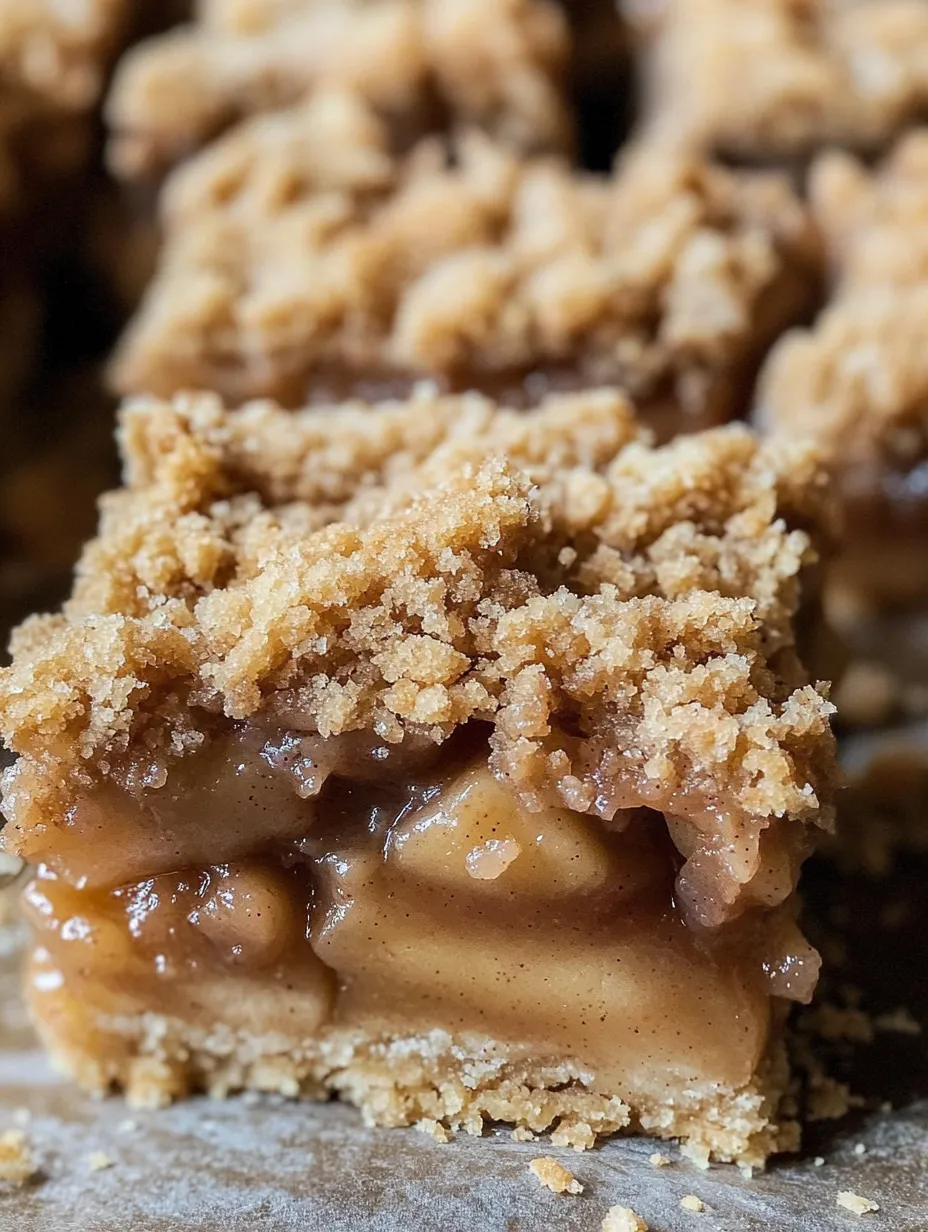
These apple pie bars have become my fall entertaining secret weapon. I discovered this recipe a few years back when I needed a dessert for a big family gathering but didn't have time to make individual pies. The combination of buttery, shortbread-like crust, cinnamon-spiced apple filling, and that crumbly topping creates this perfect balance of textures and flavors that makes people think you spent hours in the kitchen. Even better, they're so much easier to serve than traditional pie – no messy slicing or serving utensils required!
Last Thanksgiving, I brought these instead of my usual apple pie, and my uncle Mike, who's a dedicated pie enthusiast, ate three bars and then asked if he could take a few home "for later." My aunt told me later that he actually hid them in the back of the refrigerator so no one else would find them! Now the family specifically requests "those apple squares" instead of traditional pie for our holiday gatherings.
Key Ingredients
- Cold butter: The key to that perfect crumbly crust and topping. I actually freeze my butter for about 15 minutes before cubing it to make sure it stays as cold as possible during mixing.
- Granny Smith apples: Their tartness and firm texture make them perfect for baking. They hold their shape and don't turn to mush, plus they balance the sweetness of the crust beautifully.
- Lemon juice: Just a little bit prevents the apples from browning and adds a brightness that enhances the apple flavor. Fresh is best, but bottled works in a pinch.
- Cinnamon: Essential for that classic apple pie flavor. I sometimes add a pinch of nutmeg too for extra warmth, but cinnamon is the star.
- Cornstarch: This thickens the apple filling just enough so it's not runny when you cut the bars. It creates that perfect pie filling consistency without making it gummy.
 Pin it
Step-by-Step Instructions
- Cold ingredients:
- Keep that butter cold right up until mixing. Warm butter will blend too easily with the flour and you'll lose the wonderful crumbly texture that makes these bars special.
- Perfect pulsing:
- When making the crust in a food processor, pulse just until the mixture resembles coarse crumbs. Over-processing will warm the butter and create a tough crust.
- Even pressure:
- When pressing the bottom crust into the pan, use gentle, even pressure. I use the bottom of a measuring cup to create a smooth, even layer.
- Proper apple prep:
- Cut your apples into uniform small pieces (about ½-inch dice) so they cook evenly. Too large and they won't soften properly; too small and they'll turn to mush.
- Crumble technique:
- For the topping, squeeze handfuls of the mixture to create some larger clumps before sprinkling over the apples. These larger pieces create a wonderful textural contrast.
- Complete cooling:
- Let the bars cool completely before cutting for the cleanest slices. I know it's tempting to dig in while they're warm, but patience rewards you with perfectly neat squares.
I've been tweaking this recipe for years to get it just right. My first attempts used too much butter in the crust, making it greasy rather than tender and flaky. The ratio in this recipe creates the perfect texture that's sturdy enough to hold in your hand but still melts in your mouth. I also experimented with different amounts of cinnamon before finding that sweet spot where the spice enhances the apple flavor without overwhelming it.
Serving Ideas
Serve these bars at room temperature for the best flavor and texture. For an extra special treat, warm slightly and top with a scoop of vanilla ice cream. For brunch, they're perfect alongside a cup of coffee. When I'm creating a dessert buffet, I often cut them into smaller, bite-sized squares so guests can sample multiple desserts. A light dusting of powdered sugar just before serving makes them look even more irresistible.
Tasty Twists
Try adding a half cup of chopped walnuts or pecans to the topping for a wonderful crunch. A handful of dried cranberries mixed with the apples creates a festive red and green combination for holiday gatherings. For caramel apple pie bars, drizzle with warm caramel sauce before serving. You can also swap in pears for some or all of the apples for a subtle flavor variation that's especially nice in late fall.
Storage Smarts
Store these bars in an airtight container, with parchment paper between layers if stacking. They'll keep at room temperature for about 2 days or in the refrigerator for up to 5 days. For longer storage, wrap them individually and freeze for up to 3 months. Thaw at room temperature for about an hour before serving. I often make a double batch and freeze half so I always have a dessert ready for unexpected guests.
 Pin it
I've made these apple pie bars for countless fall gatherings, from school bake sales to Thanksgiving dinners. There's something about the combination of tender crust, spiced apples, and crumbly topping that just says "autumn" in the most comforting way. They're casual enough for a weeknight family dessert but pretty enough for company, which makes them one of my most versatile recipes. The fact that they're easier than pie but deliver all those beloved flavors is just a bonus!
Frequently Asked Questions
- → What kind of apples work best for these bars?
- Firm, tart apples like Granny Smith work best as they hold their shape and balance the sweetness, but Honeycrisp or Braeburn are also excellent choices.
- → Can I make these bars ahead of time?
- Yes! They actually taste better the next day as the flavors meld. Store at room temperature for up to 2 days or refrigerate for up to 5 days.
- → Can I freeze these apple pie bars?
- Absolutely! Wrap them well individually or store in an airtight container with parchment between layers. Freeze for up to 3 months.
- → Why is my crust crumbly and not coming together?
- Make sure your butter is cold, not room temperature. If it's still too crumbly, add 1-2 tablespoons of cold water to help bind it.
- → Can I add other spices to the apple filling?
- Yes! Nutmeg, allspice, or apple pie spice blend all work beautifully with the cinnamon for extra warmth and flavor.
