 Pin it
Banana Pudding Cheesecake Cones
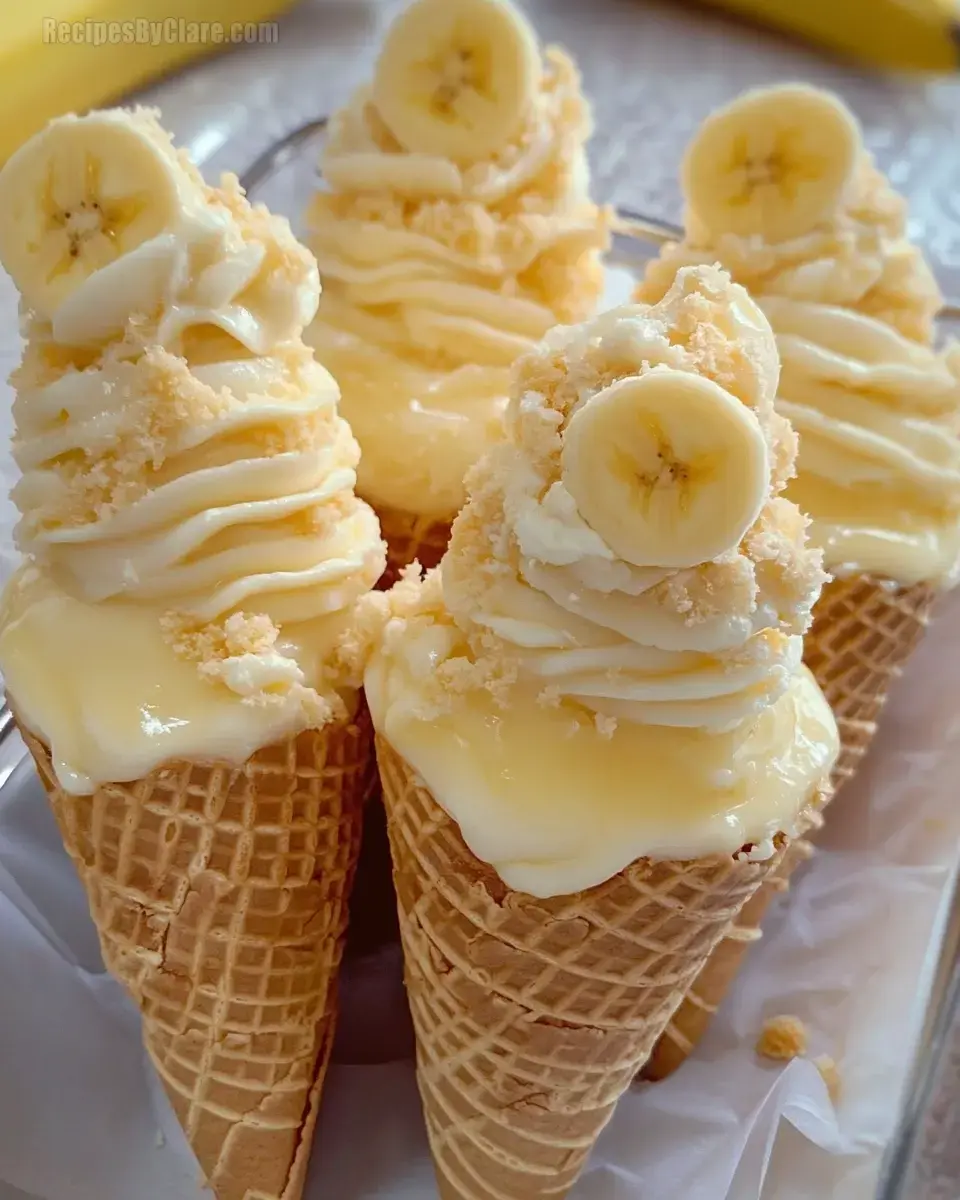
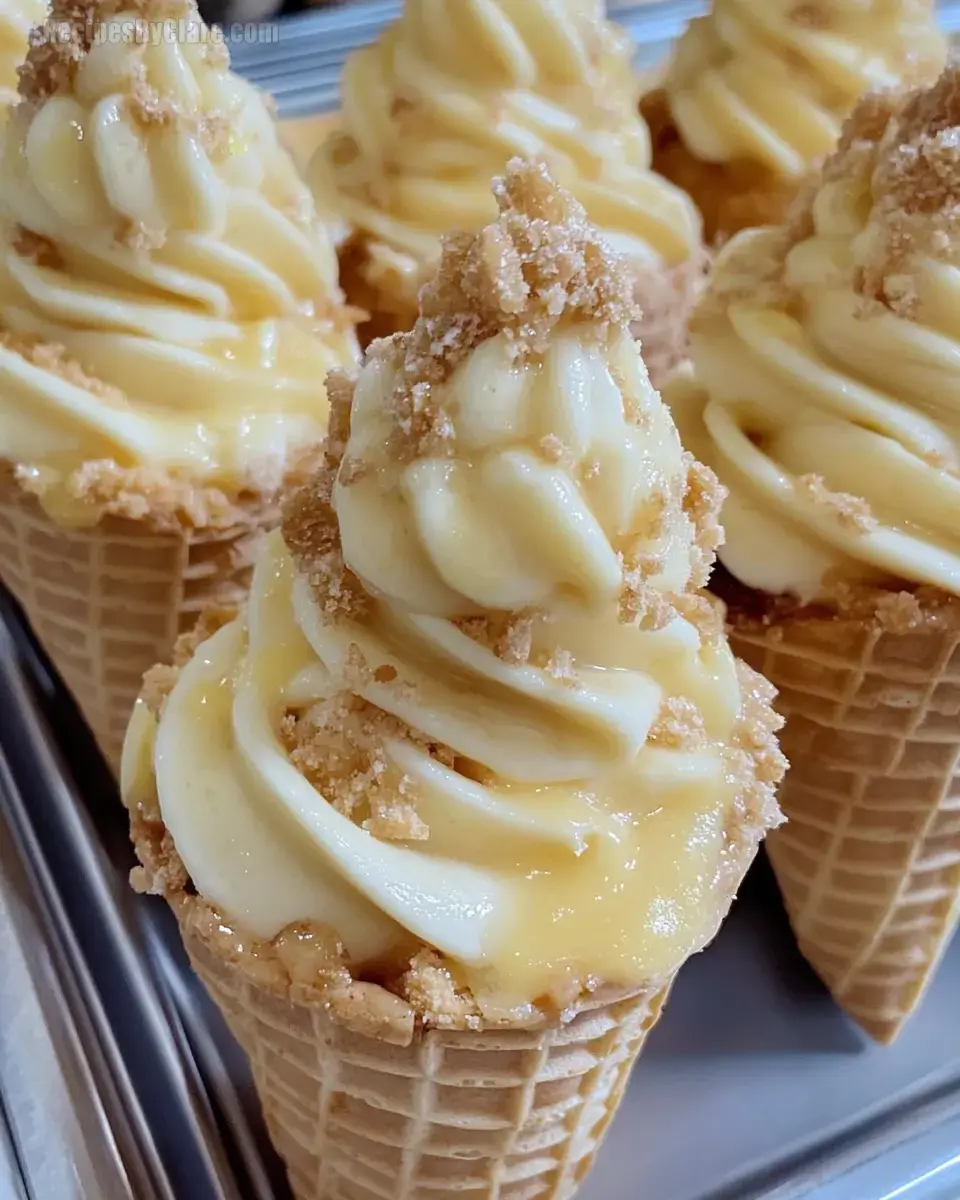
Get ready for a fun and delicious treat with these Banana Pudding Cheesecake Cones! This playful dessert combines the creamy goodness of cheesecake with the classic flavors of banana pudding, all served in a crunchy ice cream cone. The smooth cheesecake filling is made with cream cheese, sour cream, and banana puree, while the banana pudding layer adds a touch of sweetness. These cones are perfect for summer parties, family gatherings, or whenever you're craving something unique and fun. With whipped cream, banana slices, and crushed vanilla wafers for garnish, these cones are a delight for both the eyes and the taste buds!
INGREDIENTS- Cream Cheese: 16 oz, softened for a creamy filling.
- Granulated Sugar: 1 cup, for sweetness in the cheesecake.
- Vanilla Extract: 1 tsp, adds flavor to the cheesecake and pudding.
- Sour Cream: 1 cup, gives the cheesecake filling its tangy richness.
- Heavy Cream: 1 cup, whipped into the cheesecake for a light texture.
- Banana Puree: 1/2 cup, made from 2 ripe bananas.
- Crushed Vanilla Wafers: 1/2 cup, folded into the cheesecake for crunch.
- Cinnamon (optional): 1/2 tsp, adds warmth to the cheesecake.
- Whole Milk: 2 cups, for the banana pudding base.
- Cornstarch: 1/4 cup, thickens the banana pudding.
- Salt: 1/4 tsp, balances the sweetness in the pudding.
- Bananas: 2, sliced for topping.
- Ice Cream Cones: 12, for serving the filling and pudding.
- Whipped Cream: Optional, for garnish.
- Extra Crushed Vanilla Wafers: Optional, for garnish.
- Step 1:
- Prepare the banana pudding by whisking milk, sugar, cornstarch, and salt in a saucepan. Cook until thickened, stir in vanilla extract, and let cool.
- Step 2:
- For the cheesecake filling, beat cream cheese, sugar, and vanilla extract until smooth. Add sour cream and heavy cream, then fold in banana puree, crushed vanilla wafers, and cinnamon.
- Step 3:
- Chill the cheesecake filling for 30 minutes.
- Step 4:
- Assemble the cones by filling each with cheesecake filling, then top with banana pudding.
- Step 5:
- Garnish with whipped cream, sliced bananas, and extra crushed vanilla wafers.
- Serve these cones immediately for the best texture, or refrigerate for up to 2 hours before serving.
- If you're making them in advance, store the filling and pudding separately, and assemble just before serving to keep the cones crisp.
- If you want to make this dessert gluten-free, use gluten-free cones and wafers in place of the regular ones.
- For an extra layer of flavor, you can add a drizzle of caramel sauce over the cones before serving.
Can I use store-bought pudding?
Yes, if you're short on time, you can use store-bought banana pudding instead of making it from scratch.
How can I keep the cones from getting soggy?
To prevent soggy cones, assemble the cones just before serving or serve the filling and pudding in small bowls alongside the cones for dipping.
 Pin it
