 Pin it
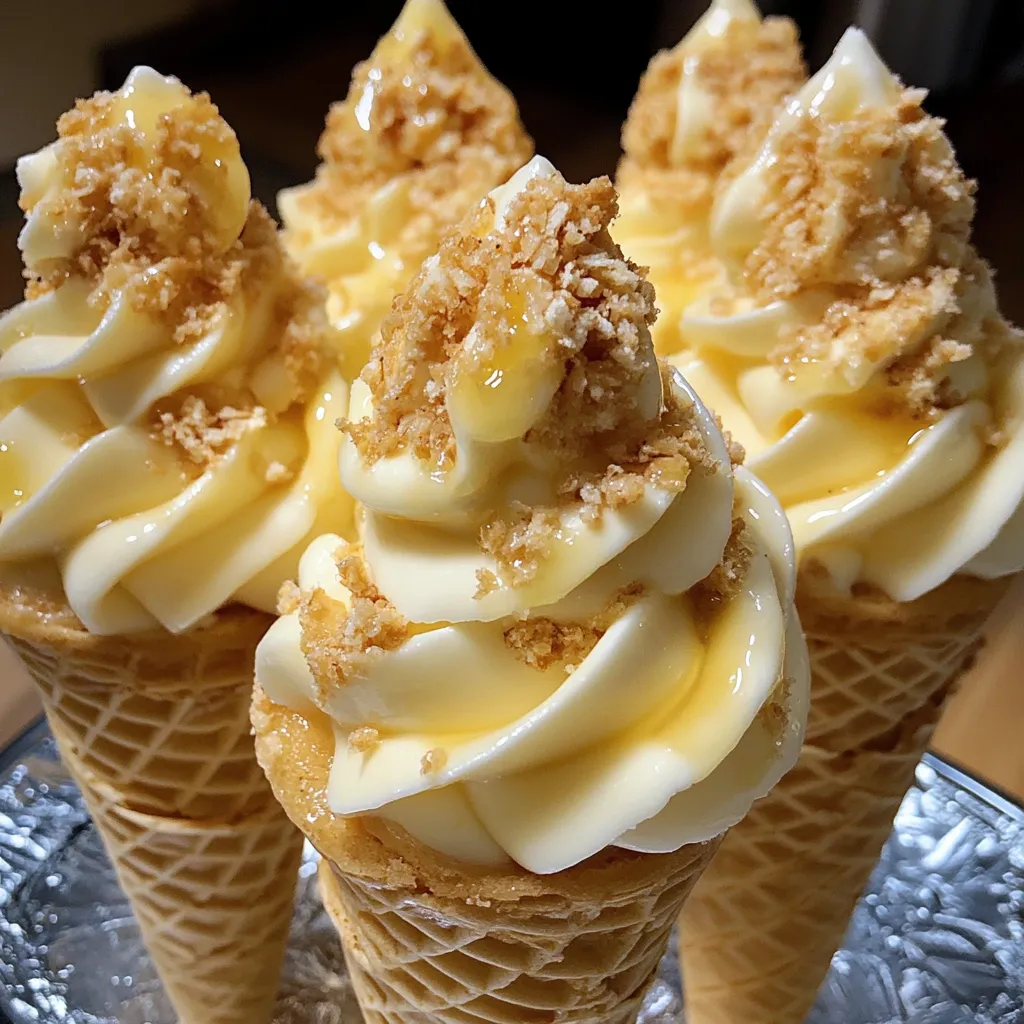
I stumbled upon this recipe last summer when I needed something special for my daughter's end-of-year party. The kids were tired of cupcakes, and I wanted something that wouldn't require plates or forks. These banana pudding cheesecake cones were an absolute hit! They combine the nostalgic flavor of banana pudding with creamy cheesecake elements in a portable, fun-to-eat package.
Why You'll Love This Recipe
- Perfect handheld dessert that eliminates the need for plates and utensils
- Makes an impressive presentation with minimal effort
- Combines two beloved desserts in one delicious treat
My neighbor's son, who usually turns his nose up at banana-flavored anything, devoured two of these in minutes. He kept asking how I got "ice cream" to taste like banana pudding! The adults were equally impressed, thinking I'd spent hours in the kitchen when these actually come together pretty quickly.
Key Ingredients
- Cream cheese - Use the block-style, full-fat version for the richest flavor and best texture. Let it sit out for at least an hour to truly soften.
- Instant banana pudding mix - This creates that authentic banana pudding flavor we all love from childhood. The instant variety works better than cook-and-serve for this recipe.
- Waffle cones - Look for ones that feel fresh and crisp. The stale ones will get soggy much faster.
- Vanilla wafers - They add that essential crunch and classic banana pudding flavor. Crushing them by hand rather than in a processor gives you some variety in texture.
- Heavy cream - Make sure it's very cold before whipping for the best volume and texture.
 Pin it
Step-by-Step Instructions
- Prep Your Workspace
- Set up a little assembly line with your cones standing in glasses or a specialized cone holder. Have all your components ready to go before starting assembly - this isn't something you can pause halfway through. Clear enough counter space so you're not cramped.
- Make The Cheesecake Base
- Beat your softened cream cheese until it's completely smooth - this might take longer than you expect. Any lumps now will be impossible to fix later. Add the powdered sugar gradually while continuing to beat. The mixture should look silky and slightly fluffy. Add your vanilla and give it one more good mix.
- Whip And Fold
- In a separate bowl, whip the heavy cream until it forms stiff peaks. You'll know it's ready when you pull the beater out and the cream stands up with just a slight curl at the tip. Using a rubber spatula, gently fold the whipped cream into your cream cheese mixture. Use a down-and-over motion to preserve as much air as possible.
- Perfect Your Pudding
- Whisk the pudding mix and cold milk together vigorously. This is easier with a hand mixer but can be done by hand if you put some muscle into it. Let it sit for exactly five minutes - set a timer! It should be thick but still pourable. If it sets too long, it becomes too firm to pipe.
- Build Your Layers
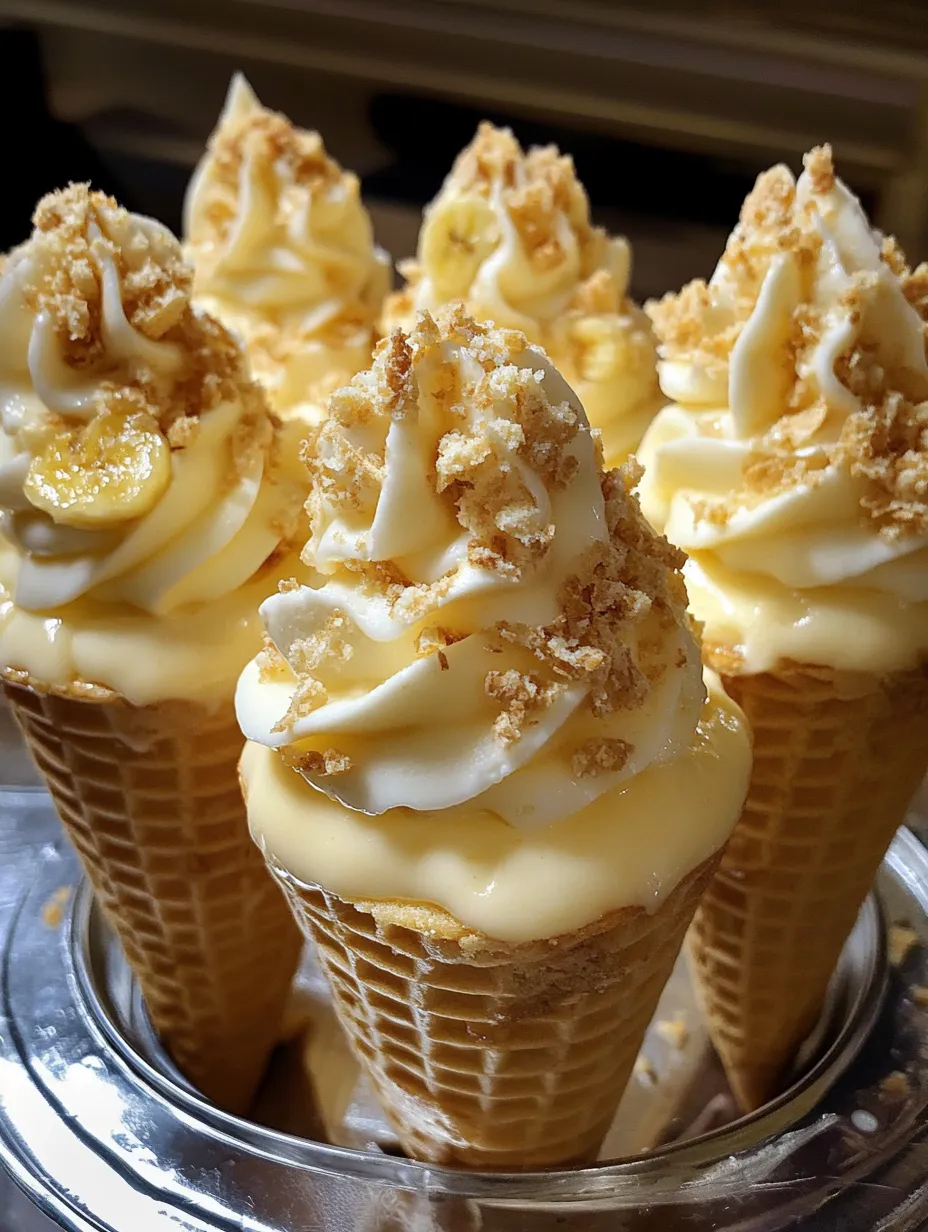
- Start with a spoonful of crushed vanilla wafers in the bottom of each cone. This creates a barrier that helps prevent sogginess. Transfer your cheesecake mixture and pudding to separate piping bags. Begin layering by piping a small amount of cheesecake mixture, followed by pudding, then sprinkle with crushed wafers. Repeat until cones are filled to the top.
I once made these for a baby shower where the mom-to-be had been craving banana pudding her entire pregnancy. Her eyes welled up when she bit into one! My husband claims these are "dangerously good" because he can never stop at just one, even though they're quite filling.
Serving Suggestions
Present these cones in a decorative manner by standing them upright in a colorful cupcake stand or nestled in individual glasses. For extra flair, serve alongside a small dish of caramel sauce for additional drizzling. These make wonderful desserts for outdoor gatherings since they're easy to eat while standing. For kids' parties, prepare a "toppings bar" with sprinkles, mini chocolate chips, and whipped cream so children can customize their own cones.
Flavor Adventures
Try using chocolate waffle cones for a chocolate-banana combination that's irresistible. For a tropical twist, add a teaspoon of coconut extract to the cheesecake mixture and top with toasted coconut flakes. During fall, substitute pumpkin pudding mix for the banana and use gingersnap crumbs instead of vanilla wafers. For those who love contrasting flavors, drizzle with a slightly salted caramel sauce that balances the sweetness perfectly.
Keeping It Fresh
Assemble these treats no more than four hours before serving for optimal texture. If needed, prepare all components separately and store in the refrigerator: cheesecake mixture and pudding in separate airtight containers, crushed wafers in a zip-top bag. The filling components will keep for up to two days refrigerated. For serving the next day, dip the inside of each cone with melted white chocolate and let harden completely - this creates a moisture barrier that helps maintain crispness.
 Pin it
Baking Wisdom
If serving to younger children, use smaller cake cones with flat bottoms for easier handling
When bringing these to a gathering, transport them in a cupcake carrier with the individual wells lined with crumpled foil to hold cones upright
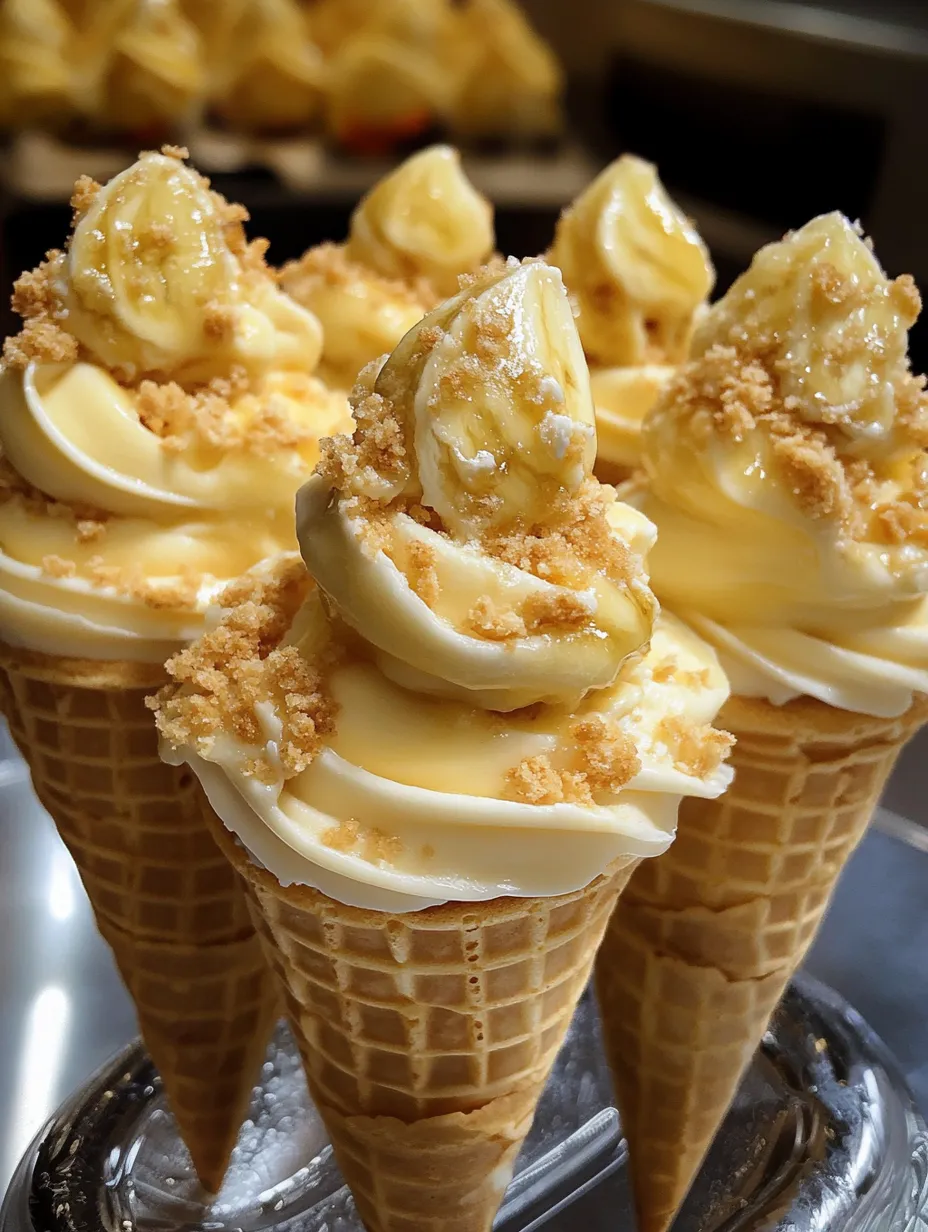
Add a fresh banana slice between layers for extra flavor, but only if serving immediately as they'll brown quickly
I brought these to our neighborhood block party last July, and now they've become my "signature" dessert that everyone requests. There's something magical about transforming familiar flavors into an unexpected format that makes people smile. While they look fancy, the actual hands-on time is less than 30 minutes. The hardest part is finding enough space in the refrigerator to chill them all at once!
Frequently Asked Questions
- → Can I make these cones in advance?
- You can prepare all the components up to 24 hours ahead and store them separately in the refrigerator. Assemble the cones shortly before serving (within 1-2 hours) to prevent the cones from becoming soggy.
- → How do I prevent the cones from getting soggy?
- The layer of crushed cookies at the bottom helps create a barrier. Additionally, you can brush the inside of the cones with melted white chocolate and let it harden before filling for an extra moisture barrier.
- → Can I use real bananas in this recipe?
- Yes! Sliced fresh bananas make a delicious addition between the layers. However, if making ahead, be aware that bananas will brown over time. You can toss them in a little lemon juice to help prevent browning.
- → What can I substitute for waffle cones?
- You can serve this dessert in small glasses or dessert cups for a more traditional pudding presentation. Sugar cones or even ice cream bowls would also work well.
- → How should I store leftover cones?
- These are best enjoyed freshly made, but leftovers can be stored in the refrigerator for up to 24 hours. The cones will soften over time, but they'll still taste delicious.
