
 Pin it
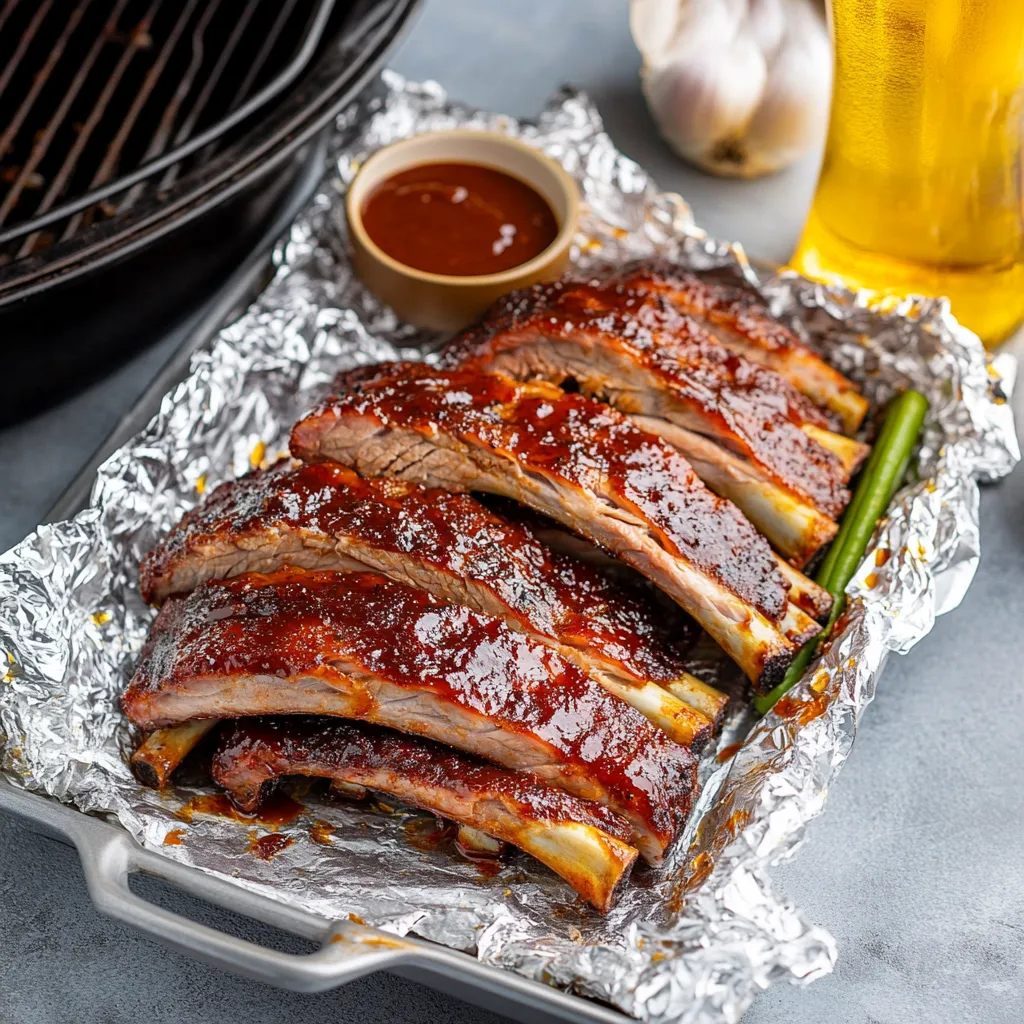
These BBQ ribs have become my ultimate crowd-pleaser for summer gatherings. I discovered this technique a few years back after countless failed attempts at making truly tender ribs. The combination of slow oven-baking with beer and finishing on a hot grill creates this perfect balance of tender, juicy meat with that irresistible charred, caramelized exterior that makes people think you've been smoking them all day. The best part? The actual hands-on time is minimal, leaving you free to enjoy your guests.
Why You'll Love This Recipe
- The low-and-slow oven method ensures perfectly tender meat every time
- The quick grill finish creates that authentic BBQ char and caramelization
- The homemade rub creates layers of flavor beyond just BBQ sauce
- It's virtually foolproof, even for first-time rib makers
Last summer, I made these for my father-in-law who considers himself a rib connoisseur. After his second helping, he leaned back, pointed at his empty plate, and said, "Now those are proper ribs." Coming from a man who rarely compliments anything, this was basically the equivalent of a five-star review. Now they're requested at every family gathering.
Key Ingredients
- Baby back ribs - These are more tender than spare ribs and cook more evenly. Look for a rack with good meat coverage and no bone fragments.
- Dark brown sugar - The higher molasses content in dark brown sugar creates a deeper, more complex sweetness in the rub that stands up to the smoking process.
- Sweet paprika - This adds beautiful color and mild pepper flavor without heat. Hungarian paprika works wonderfully if you can find it.
- Beer - The alcohol evaporates during cooking, leaving behind subtle malty flavors while creating steam that helps tenderize the meat. A medium-bodied beer like amber ale works best.
- BBQ sauce - Use your favorite! The caramelization on the grill transforms even basic store-bought sauce into something special, though homemade is always a nice touch.
 Pin it
Rib Magic
- Membrane removal - Don't skip this step! That silvery membrane on the bone side prevents flavors from penetrating and becomes tough and chewy when cooked. Removing it allows the rub to flavor the meat from both sides.
- Dry rub technique - Really massage that rub into every nook and cranny of the ribs. The combination of sugar and spices creates a beautiful crust called "bark" in BBQ circles.
- Low and slow - That 250°F temperature is crucial - any higher and the meat will toughen. The slow cooking breaks down tough connective tissues into rich gelatin for that melt-in-your-mouth texture.
- Beer steam bath - Adding beer to the pan creates a moist cooking environment that keeps the ribs juicy while adding subtle flavor. The staggered addition prevents it from all evaporating too soon.
- Perfect timing - The fork test is key - you want the meat tender enough that a fork easily pierces it, but not falling off the bone yet. They'll continue cooking on the grill.
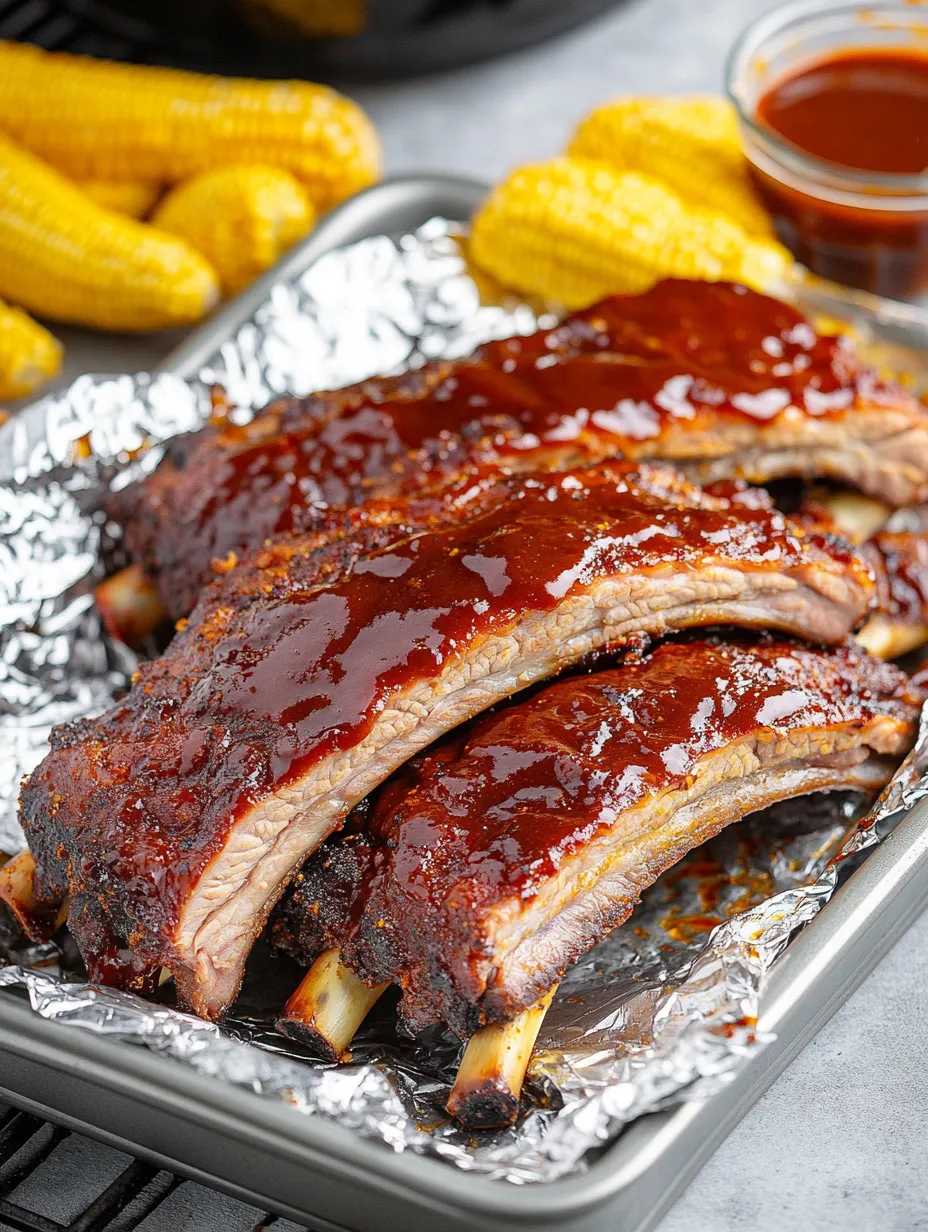
- Caramelization finish - Those few minutes on the hot grill transform good ribs into great ones. The high heat caramelizes the sugars in both the rub and sauce, creating those delicious charred bits everyone fights over.
You Must Know
- The ribs need at least 3 hours in the oven, so plan accordingly
- Don't rush the process - low and slow is the key to tenderness
- Unlike some recipes, you don't want the meat completely falling off the bone before grilling
I've been perfecting this recipe for years, making small tweaks each time. My first attempts had the oven temperature too high, resulting in tough, chewy ribs. Finding that sweet spot at 250°F was a game-changer that gave much more consistent results. The beer addition evolved too - originally I used it in the rub, but creating that steam bath underneath proved far more effective for tenderizing. The final grilling step was a relatively recent addition that solved the problem of getting that authentic BBQ finish without a smoker.
Serving Ideas
Serve these ribs with classic BBQ sides like coleslaw, baked beans, and corn on the cob for a traditional spread. For a fun presentation, arrange the whole slab on a wooden cutting board and let guests cut their own portions. I like to serve extra warmed BBQ sauce on the side for those who like things extra saucy. For casual gatherings, wrap individual portions in parchment paper for easy handling and less mess - perfect for backyard parties where people are standing and mingling.
Tasty Twists
Try adding a tablespoon of coffee grounds to the rub for a deeper, more complex flavor. For a spicier version, double the cayenne or add chipotle powder to the rub. Use different beers to subtly change the flavor profile - a stout adds richness, while a wheat beer adds lightness. For an Asian-inspired variation, replace the BBQ sauce with a mixture of hoisin, soy, and a touch of honey. My personal favorite twist is adding a teaspoon of ground coriander to the rub, which adds a subtle citrusy note that pairs beautifully with the sweet and smoky flavors.
Storage Smarts
These ribs are best enjoyed fresh off the grill, but leftovers (if you're lucky enough to have any!) keep well in the refrigerator for up to 3 days. To reheat, wrap them in foil with a tablespoon of water or apple juice and warm in a 275°F oven until heated through, about 20 minutes. For longer storage, you can freeze the ribs after the oven cooking but before grilling. When ready to serve, thaw completely, then finish on the grill with sauce. I sometimes make a double batch specifically to freeze half, which makes future entertaining a breeze.
 Pin it
Rib Secrets
For even more flavor, apply the rub the night before and refrigerate the ribs overnight
A sprinkle of brown sugar on the ribs just before grilling adds extra caramelization
Save the drippings from the foil packet to add to BBQ beans or sauce for extra flavor
I've made these BBQ ribs for countless summer gatherings, Father's Day celebrations, and even a few indoor winter "barbecues" when we were craving summer flavors. There's something deeply satisfying about that moment when everyone goes silent at the table because they're too busy enjoying each bite. The combination of tender meat that gently pulls from the bone (not falls off - that's overcooked!) and that perfect sticky, charred exterior keeps everyone coming back for "just one more." The best compliment I ever received was from my neighbor who bought a smoker but still asks for my oven-baked rib recipe instead!
Frequently Asked Questions
- → Do I really need to remove the membrane from the back of the ribs?
- While it's optional, removing the membrane is recommended. It allows the flavors to penetrate better and results in more tender ribs without that chewy texture on the bone side.
- → Can I use different types of ribs for this recipe?
- Yes! While this recipe calls for baby back ribs, you can also use spare ribs or St. Louis-style ribs. Just keep in mind that these larger cuts may require additional cooking time.
- → What if I don't want to use beer in the recipe?
- You can substitute apple juice, chicken broth, or even water. The liquid helps create steam in the foil packet, which is what makes the ribs so tender.
- → Can I make these ribs without a grill?
- Absolutely! After slow-cooking, place the ribs under a broiler for 3-5 minutes per side to caramelize the BBQ sauce instead of using a grill.
- → How do I know when the ribs are perfectly cooked?
- The meat should be very tender and a fork should easily pierce it, but the ribs shouldn't be completely falling off the bone yet (or they'll fall apart on the grill). The internal temperature should be around 190-205°F.
- → Can I prepare these ribs ahead of time?
- Yes! You can prepare the ribs through the oven-cooking stage up to 2 days ahead. Refrigerate them, then bring to room temperature before finishing on the grill with BBQ sauce.