 Pin it
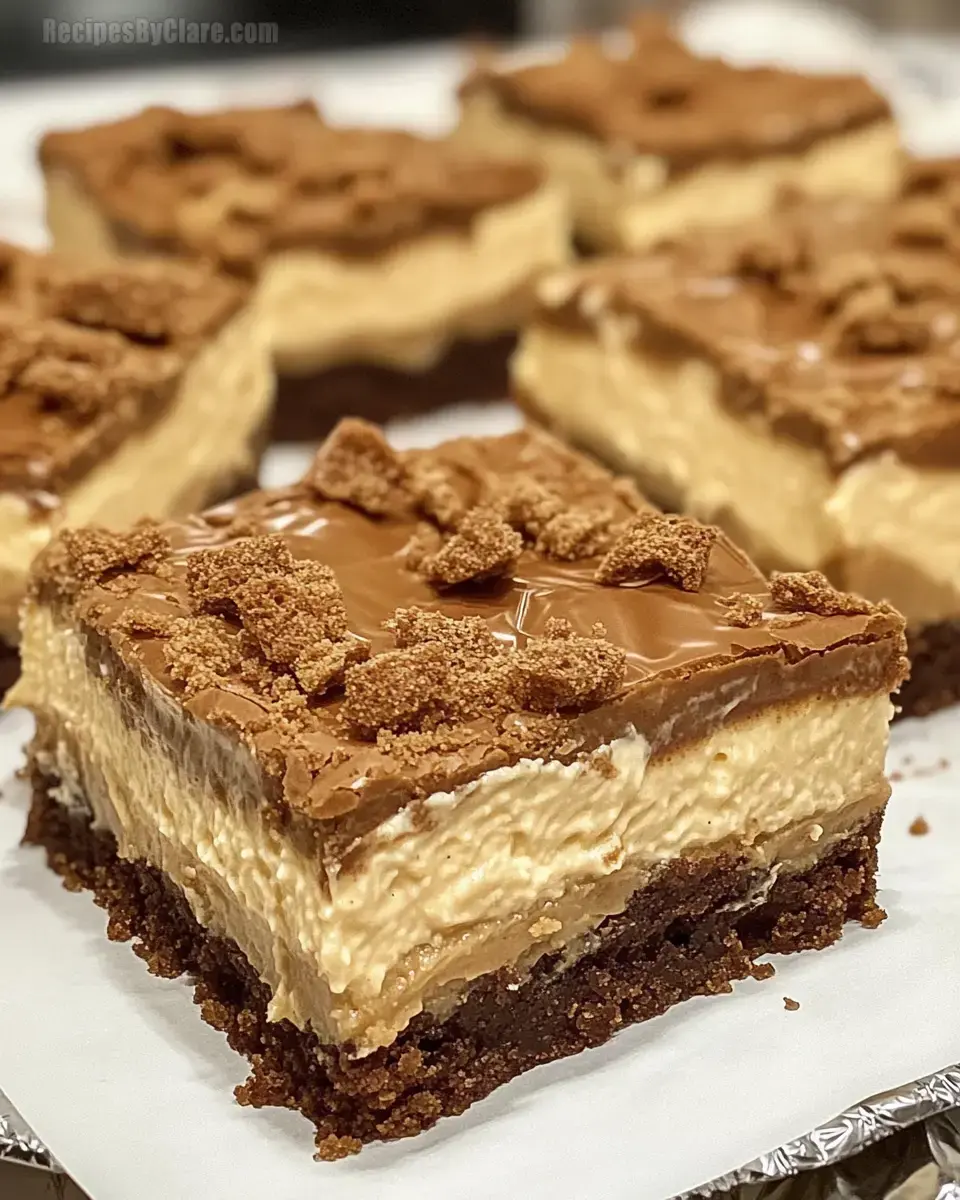
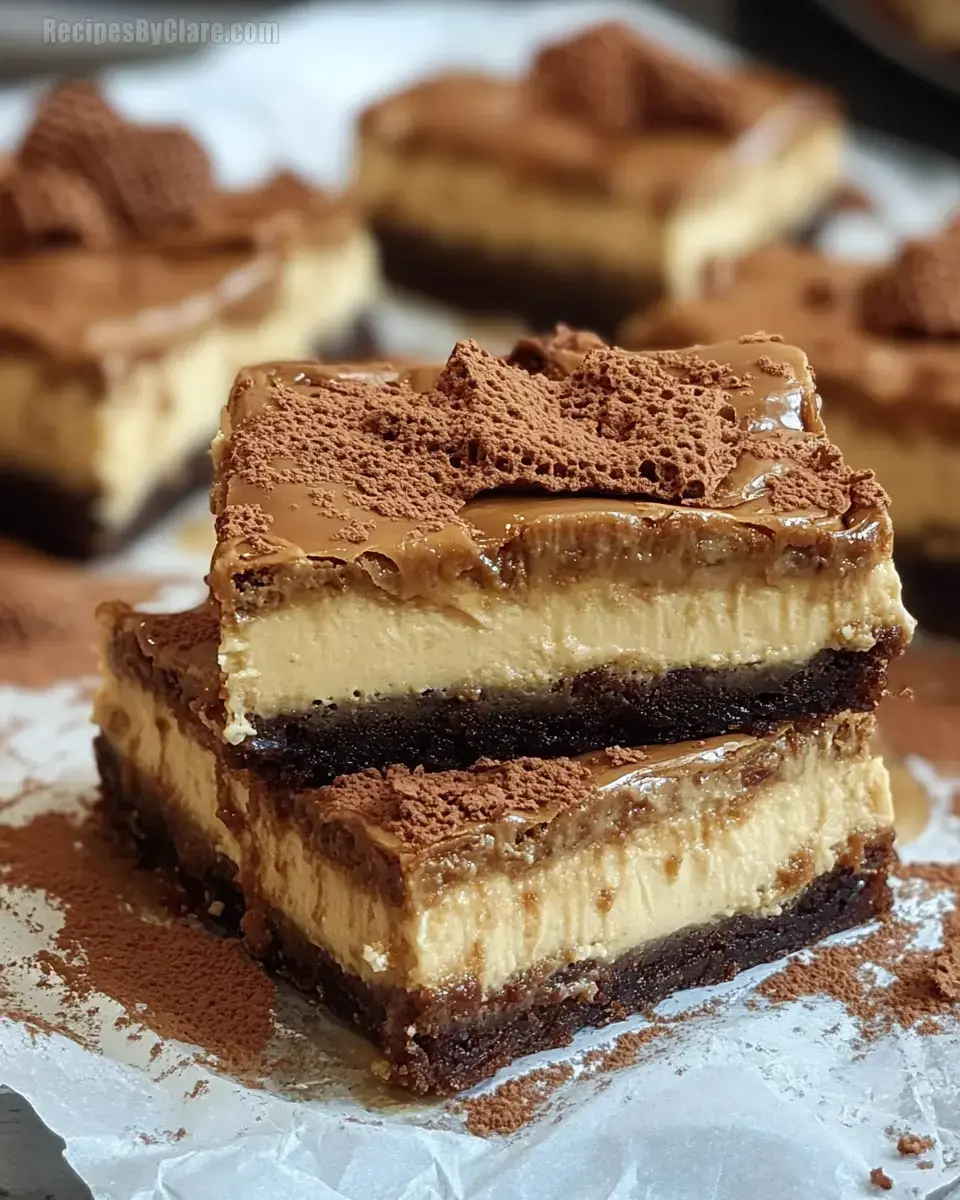
Biscoff Cheesecake Brownies are the perfect dessert for anyone who loves the combination of rich chocolate and creamy cookie butter. The two distinct flavors come together in this recipe, creating a decadent treat that’s hard to resist. The fudgy brownie base, made from melted butter, sugars, cocoa powder, and eggs, provides a strong foundation for the cheesecake topping. Meanwhile, the Biscoff spread adds a delightful hint of caramel and spice that perfectly complements the chocolate. Whether you’re baking for a special occasion or just want to indulge, these brownies will be a hit.
INGREDIENTS- Brownie Layer: 1 cup unsalted butter (melted), 1 ½ cups granulated sugar, 1 cup brown sugar (packed), 4 large eggs, 1 tsp vanilla extract, 1 cup all-purpose flour, 1 cup unsweetened cocoa powder, ½ tsp salt, ½ tsp baking powder
- Biscoff Cheesecake Layer: 16 oz cream cheese (softened), ¾ cup Biscoff spread, ½ cup granulated sugar, 2 large eggs, 1 tsp vanilla extract
- Topping: ¼ cup Biscoff spread (melted), Biscoff cookie crumbs (optional)
- Step 1:
- Preheat the oven to 350°F (175°C) and line a 9x13-inch pan with parchment paper. Prepare the brownie layer by whisking together melted butter, sugars, eggs, and vanilla extract. Sift in the dry ingredients and mix until just combined. Spread into the prepared pan.
- Step 2:
- In another bowl, beat the softened cream cheese with Biscoff spread and sugar until smooth. Beat in the eggs and vanilla extract. Pour this mixture over the brownie batter, swirling with a knife for a marbled effect.
- Step 3:
- Bake the brownies for 35-40 minutes, or until the edges are set and the center remains slightly jiggly. Allow to cool before drizzling with melted Biscoff spread and optionally topping with cookie crumbs.
- For a clean-cut slice, chill the brownies in the refrigerator for at least 2 hours before slicing.
- Store brownies in an airtight container in the fridge for up to 5 days.
- You can use crunchy Biscoff spread for added texture.
- If you want a stronger chocolate flavor, add chocolate chips to the brownie batter.
The creamy texture of cheesecake complements the spiced, caramel flavor of Biscoff spread. Together, they create a balance of flavors, where the sweetness of the cookie butter highlights the tanginess of the cream cheese. This pairing works wonderfully in baked goods like brownies, where the rich chocolate adds another layer of depth. The marbling effect achieved when swirling the cheesecake into the brownie not only looks great but also ensures that every bite is a perfect mix of flavors.
How to Get the Perfect Fudgy Brownie BaseThe secret to a fudgy brownie is using the right balance of butter, sugar, and cocoa powder. Avoid overmixing the batter to maintain a dense texture. Underbaking the brownies slightly can help achieve that perfect fudgy center, which contrasts beautifully with the creamy cheesecake layer. If the center is slightly jiggly when you remove the brownies from the oven, they’ll firm up as they cool.
FAQsQ: Can I make the recipe ahead of time?
A: Yes, you can prepare the brownies a day in advance. Refrigerate them to let the layers set, and they’ll be ready to serve the next day.
Q: Can I substitute ingredients?
A: You can substitute the Biscoff spread with other cookie butters, and use gluten-free flour to make this dessert gluten-free.
Q: How should I store leftovers?
A: Store the brownies in an airtight container in the refrigerator for up to 5 days. They can also be frozen for up to 2 months.
Q: Can I freeze these brownies?
A: Yes, you can freeze the brownies. Wrap them tightly and store for up to 2 months. Thaw them in the refrigerator before serving.
Q: What if I don’t have Biscoff spread?
A: If you don’t have Biscoff spread, you can substitute it with any other type of cookie butter or even peanut butter, though the flavor will change slightly.
Q: How long will these brownies last?
A: The brownies will stay fresh for up to 5 days in the fridge. They can be frozen for up to 2 months if you want to keep them longer.
Q: Can I make this recipe gluten-free?
A: Yes, simply swap the all-purpose flour for a 1:1 gluten-free baking flour blend.
 Pin it
