
 Pin it
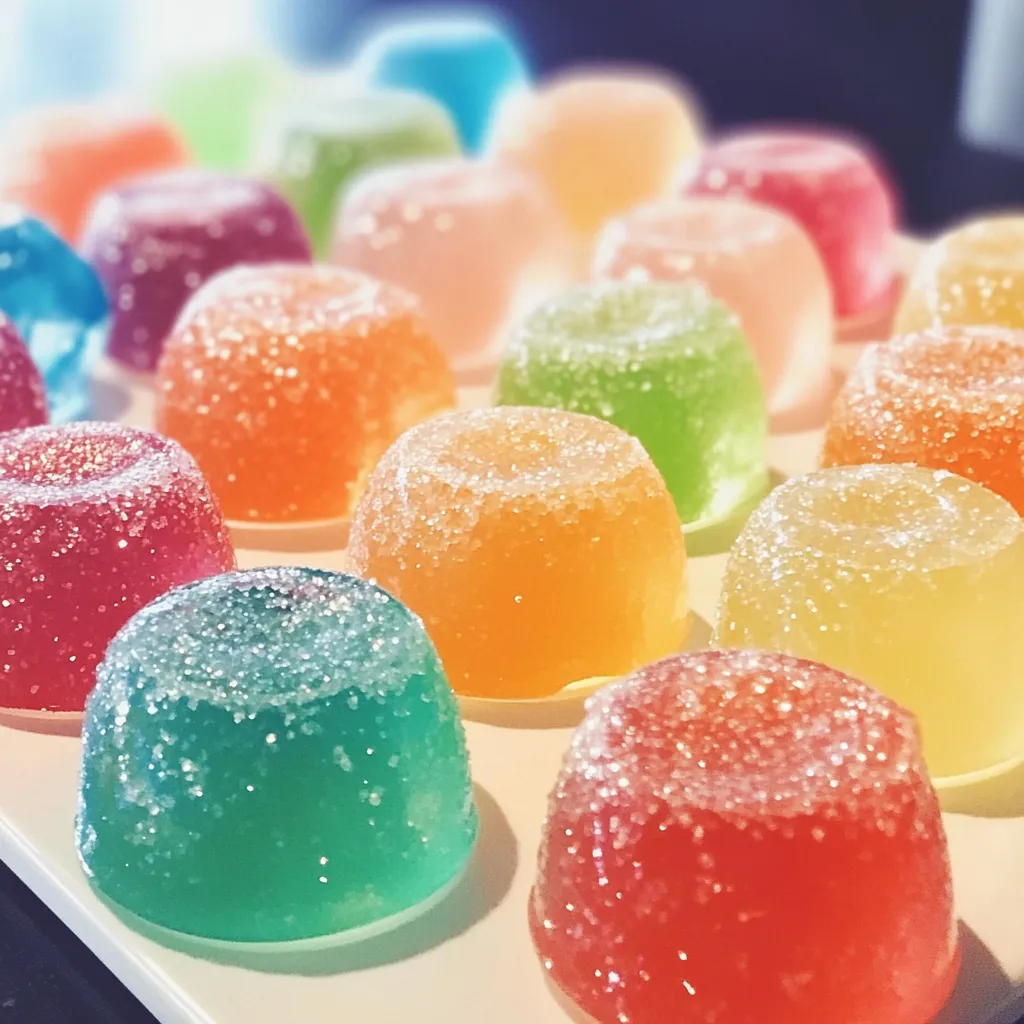
I stumbled upon this recipe idea during a lazy Sunday afternoon scrolling through old party photos. Remember those jello shots from college days? I wondered if I could transform that concept into something a bit more sophisticated but just as fun. These boozy jello candy melts are the grown-up version of those plastic cup shots – prettier, more flavorful, and definitely more conversation-worthy at gatherings. The best part? They maintain that playful jiggly texture we all love while looking fancy enough for even upscale parties.
Last summer I brought these to my friend Jen's backyard cocktail party. Her husband, who typically sticks to beer and avoids "fancy drinks," popped three of these in his mouth before realizing they contained alcohol. He spent the rest of the evening guarding the plate and telling everyone they were "terrible" while simultaneously reaching for another. Classic Dave move – I've never seen a grown man so conflicted about admitting he enjoys something jiggly and bright pink.
Party Essentials
- Flavored gelatin – The foundation of our candy melts provides both color and flavor. I've found that brighter flavors like strawberry, lime, and blue raspberry work best because they stand up to the alcohol. Cherry tends to taste like cough syrup once booze is added, so I generally avoid it.
- Unflavored gelatin – This additional gelatin is crucial for achieving that perfect semi-firm texture that holds its shape but still maintains a slight jiggle. Don't skip this or you'll end up with slushier treats that won't hold their shape when unmolded.
- Your choice of alcohol – Different spirits create totally different experiences. Vodka provides the cleanest flavor that lets the jello shine, while rum adds warmth, tequila brings a slight bite, and champagne offers sophisticated bubbliness. Just remember that higher proof equals less jello flavor and more boozy punch.
- Silicone molds – These are absolutely essential for easy removal. I tried regular plastic candy molds once, and it was a frustrating disaster that resulted in broken candies and me drinking the scraps from a bowl (not my proudest moment, but waste not, want not).
- Citric acid (optional) – This secret ingredient adds a tangy brightness that balances the sweetness and enhances fruit flavors. It's what takes these from "just jello shots" to something that makes people ask for the recipe.
 Pin it
Creating Boozy Magic
- Preparing for success:
- Those non-stick silicone molds need a tiny bit of additional greasing for perfect release. I use a paper towel with a drop of vegetable oil and lightly wipe the cavities. Too much oil creates ugly spots, while none can lead to stuck candies. Placing the molds on a tray before filling prevents that wobbly disaster of trying to transport liquid-filled flexible molds to the refrigerator.
- Mastering the bloom:
- When sprinkling the unflavored gelatin over cold water, spread it evenly rather than dumping it in one spot. Let it sit undisturbed for those full five minutes – this hydration process (called blooming) ensures smooth dissolution later. The gelatin should look like applesauce by the time you're ready to add it to the hot mixture.
- Temperature management:
- That cooling period before adding alcohol isn't just busy work – it's science! Add alcohol to boiling hot liquid and you'll cook off the alcohol content (defeating the purpose) and create unpleasant fumes. I aim for a temperature that's warm but not hot – if it's uncomfortable to touch the outside of the bowl, let it cool a bit longer.
- Bubble banishing:
- Those tiny air bubbles can ruin the crystal-clear appearance we're going for. Tap the filled molds firmly on the counter several times, and use a toothpick to pop any stubborn bubbles that rise to the surface. For extra-clear candies, let the mixture sit for a minute before pouring so bubbles can rise naturally.
- Achieving perfect texture:
- Refrigerate, don't freeze! While freezing might seem like a quick solution, it changes the texture completely. Proper jello needs to set gradually in the refrigerator. That overnight chill produces the best texture, but if you're in a hurry, four hours is the absolute minimum.
My first attempt at these was an education in patience. I tried to unmold them after just two hours because I was running late for a party, and ended up with a bowl of colorful, boozy slush. Delicious, but definitely not the elegant little candies I had envisioned. I've also learned that darker liquors like whiskey create muddy colors that aren't as visually appealing, though they can taste wonderful with certain flavors like orange gelatin.
Party Presentation
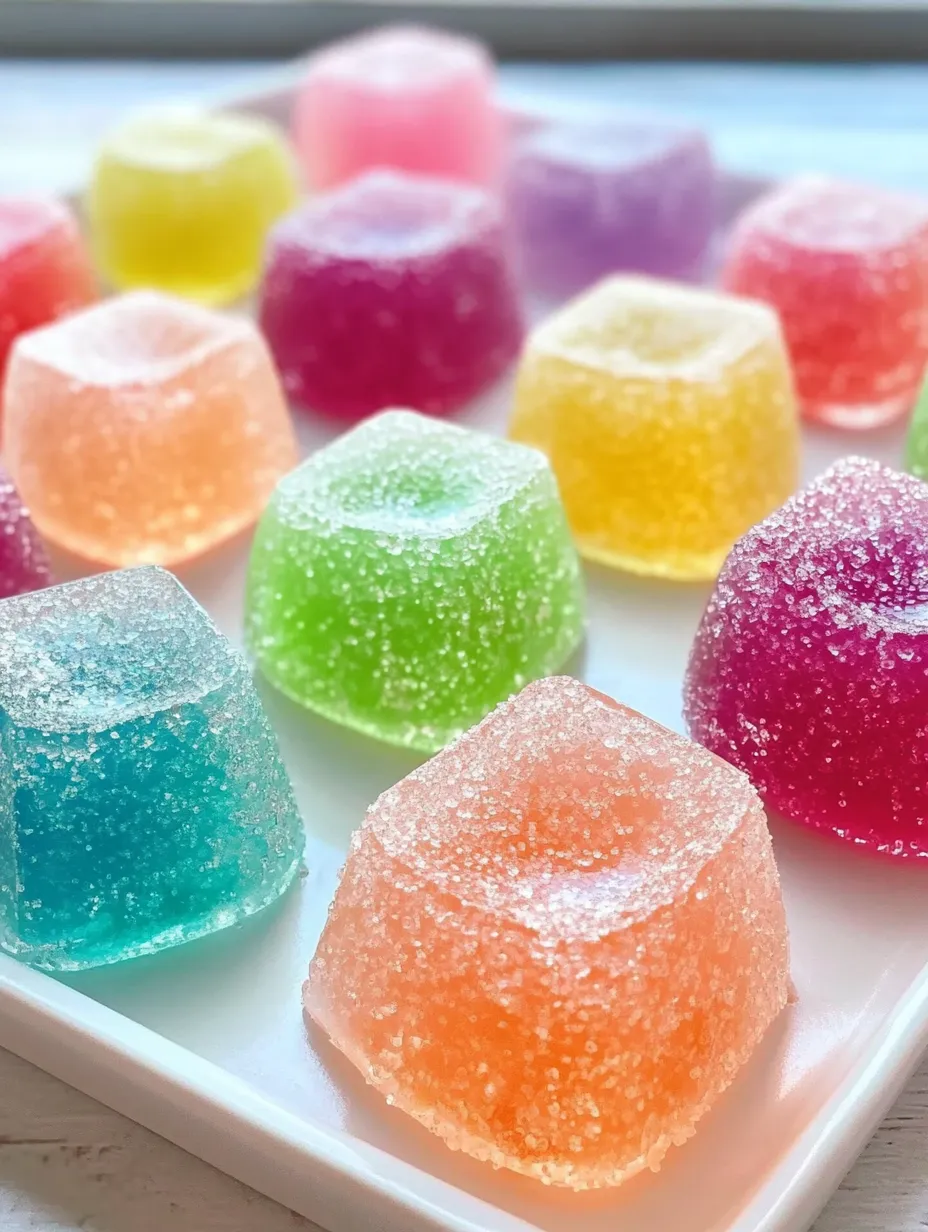
Transform these boozy jello candy melts into an even more impressive party offering by arranging different colors and shapes on a serving platter over crushed ice to keep them chilled. For special occasions, I dust some with edible pearl dust or edible glitter for a shimmer effect that catches the light beautifully. They also look stunning served in martini glasses or champagne coupes for an elegant presentation.
Creative Combinations
Once you've mastered the basic technique, experiment with flavor combinations that mimic favorite cocktails. Try lime jello with tequila and a pinch of salt for margarita melts. Pineapple jello with coconut rum creates piña colada bites. Orange jello with champagne makes perfect mimosa melts for brunch gatherings. During the holidays, I make cranberry jello with vodka and a hint of orange zest for a festive cranberry cocktail version.
Storage Smarts
These boozy treats need to stay chilled until serving time. For parties, I bring them out in small batches, keeping the rest in the refrigerator until needed. They can be stored in an airtight container with wax paper between layers for up to three days, though the texture is best within the first 48 hours. If you're transporting them, a cooler with ice packs is essential, especially in warmer weather.
 Pin it
I've brought these boozy jello candy melts to countless adult gatherings over the years, from backyard barbecues to New Year's Eve parties. There's something about their playful appearance that immediately lightens the mood and gets people reminiscing about college days, even as they appreciate the more sophisticated presentation and flavors. My personal favorite remains the classic strawberry with champagne – something about that combination feels simultaneously nostalgic and fancy. Just remember to label them clearly as containing alcohol if there might be children around, and watch your friends' faces light up with that delightful mixture of surprise and recognition when they take their first bite.
Frequently Asked Questions
- → How strong are these jello candies?
- These candies contain real alcohol that doesn't cook off, so they do have an alcoholic effect. The recipe uses 1 cup of alcohol spread throughout the batch, so each candy contains a small amount. Adjust the alcohol-to-water ratio for stronger or milder treats.
- → Can I make these non-alcoholic?
- Absolutely! Simply replace the alcohol with cold water or fruit juice for a family-friendly version. They'll still be delicious and colorful, just without the boozy kick.
- → What type of alcohol works best?
- Clear spirits like vodka, white rum, silver tequila, or champagne work best as they won't compete with the gelatin flavors. Match flavors when possible - like strawberry gelatin with champagne or lime gelatin with tequila.
- → Why do I need to add unflavored gelatin?
- The extra unflavored gelatin helps the candies set firmly enough to hold their shape, especially important when using alcohol, which can inhibit gelatin from setting properly.
- → How long do these last?
- Store these in an airtight container in the refrigerator for up to 3 days. They won't spoil quickly due to the alcohol content, but their texture is best when fresh.
- → What if I don't have candy molds?
- If you don't have candy molds, you can pour the mixture into a lightly greased shallow pan, chill until set, and then cut into cubes or use small cookie cutters to create shapes.