
 Pin it
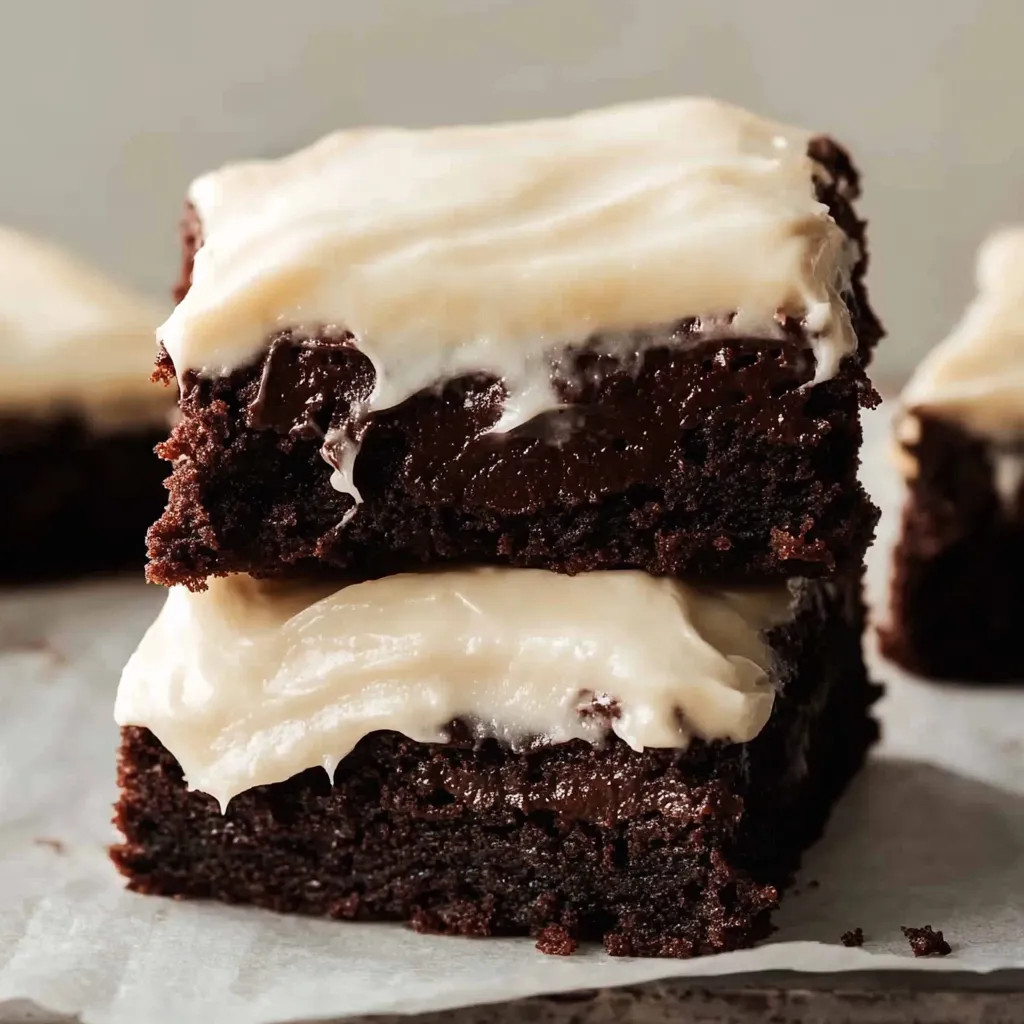
The aroma of chocolate fills my kitchen as I pull these cream cheese frosted brownies from the oven, bringing back memories of weekend baking with my grandmother. The combination of deep, rich chocolate and velvety cream cheese frosting creates something truly magical - a dessert that's both comforting and elegant. After years of tweaking this recipe in my tiny apartment kitchen, I've finally perfected the balance between fudgy brownie base and silky frosting that makes everyone ask for seconds.
Last week, I brought these to my daughter's dance recital, and you should have seen the other moms' faces light up at first bite. Even my mother-in-law, who claims she 'doesn't do sweets,' asked for the recipe. That's when you know you've got something special!
Essential Ingredients Selection
- Full-fat cream cheese: creates that silky, dreamy frosting - I learned the hard way that low-fat versions just don't cut it
- Room temperature butter: is non-negotiable - cold butter creates lumpy frosting and uneven brownie batter
- Dutch-process cocoa powder: brings an intense chocolate flavor that regular cocoa just can't match
- Fresh eggs at room temperature: blend more smoothly and create that perfect fudgy texture
- Quality vanilla extract: enhances both the chocolate and cream cheese flavors
After countless batches, I've discovered that splurging on good cocoa powder makes the biggest difference. One time I ran out and used the cheap stuff - my husband could tell the difference immediately!
 Pin it
Creating Perfect Brownie Magic
- Melt With Care:
- Start by melting your butter and chocolate together slowly - I use a double boiler now, but honestly, the microwave works just fine. Just remember to stir every 30 seconds or you'll end up with scorched chocolate (trust me, I've been there!).
- Build The Foundation:
- Mix those sugars into your melted chocolate mixture until they're just combined. Don't rush this step - let everything cool a bit. One time I was impatient and ended up with scrambled eggs in my brownie batter!
- Create The Heart:
- This is where the magic happens - beat in those eggs until the batter gets thick and shiny. It's like watching chocolate silk come to life in your bowl.
- Add The Structure:
- Fold in your dry ingredients gently, like you're tucking them into bed. Overmixing is your enemy here - I learned that the hard way after making brownies that could double as bricks.
- The Final Touch:
- Pour that gorgeous batter into your pan and smooth it out. I love watching the way it ripples and settles, like a chocolate lake finding its level.
- Crown Your Creation:
- Once your brownies are completely cool (and I mean completely - I've ruined more than one batch of frosting by being impatient), spread that silky cream cheese frosting in long, smooth strokes.
I discovered these tricks through plenty of trial and error. My first batch came out like rubber because I was afraid to underbake them even slightly. Now I know that slight underbaking is the secret to fudgy perfection.
The Art Of Serving
These brownies shine at room temperature, where the frosting becomes perfectly creamy and the brownie base stays fudgy. For casual family dinners, I cut them into generous squares and serve them on my grandmother's old china plates. During summer parties, I've been known to sandwich vanilla ice cream between two slightly chilled pieces - it's absolutely heavenly.
Making It Your Own
Through years of experimenting, I've discovered some amazing variations. Sometimes I swirl melted chocolate through the cream cheese frosting, creating a marbled effect that's as beautiful as it is delicious. During the holidays, I add a drop of peppermint extract to the frosting and sprinkle crushed candy canes on top - my kids go crazy for this version.
A Baker's Storage Secrets
I've learned the hard way about storing these beauties - that time I left them out overnight and found melted frosting everywhere still haunts me! Now I keep them in an airtight container in the fridge, where they stay perfect for up to a week. For the best texture, I pull them out about 20 minutes before serving, giving the frosting time to soften just enough. When my sister begged me to make them for her wedding, I discovered they freeze beautifully - just wrap individual squares tightly and thaw them overnight in the fridge.
Sweet Memories In The Making
These brownies have become more than just a dessert in our family. They're what I make when my teenager has a rough day at school, or when we're celebrating good news. Last Christmas, I taught my 12-year-old daughter how to make them, and watching her pride as she frosted her first batch perfectly brought tears to my eyes. Even my husband, who claims he's 'not a dessert person,' has been caught sneaking these from the fridge late at night.
Kitchen Stories
The first time I made these for a school bake sale, they sold out in minutes. One mom chased me down in the parking lot for the recipe! Now I always make a double batch for events - one to share and one to keep at home because my family riots if they don't get their share. There's something about the combination of fudgy brownie and creamy frosting that brings people together.
Perfect For Every Season
During summer, I serve them straight from the fridge with fresh berries. In fall, I love them with a steaming cup of spiced cider. Winter calls for a drizzle of warm caramel sauce, and spring sees them adorned with edible flowers for brunch gatherings.
 Pin it
Chef's Golden Secrets
- Line your pan with parchment paper, leaving overhang on two sides - it's like creating handles to lift out the whole batch easily
- Always use a hot knife for cutting, wiping it clean between each slice. I keep a tall glass of hot water nearby just for this
- Let your cream cheese and butter soften naturally - the microwave might seem like a shortcut, but it'll mess with your frosting texture
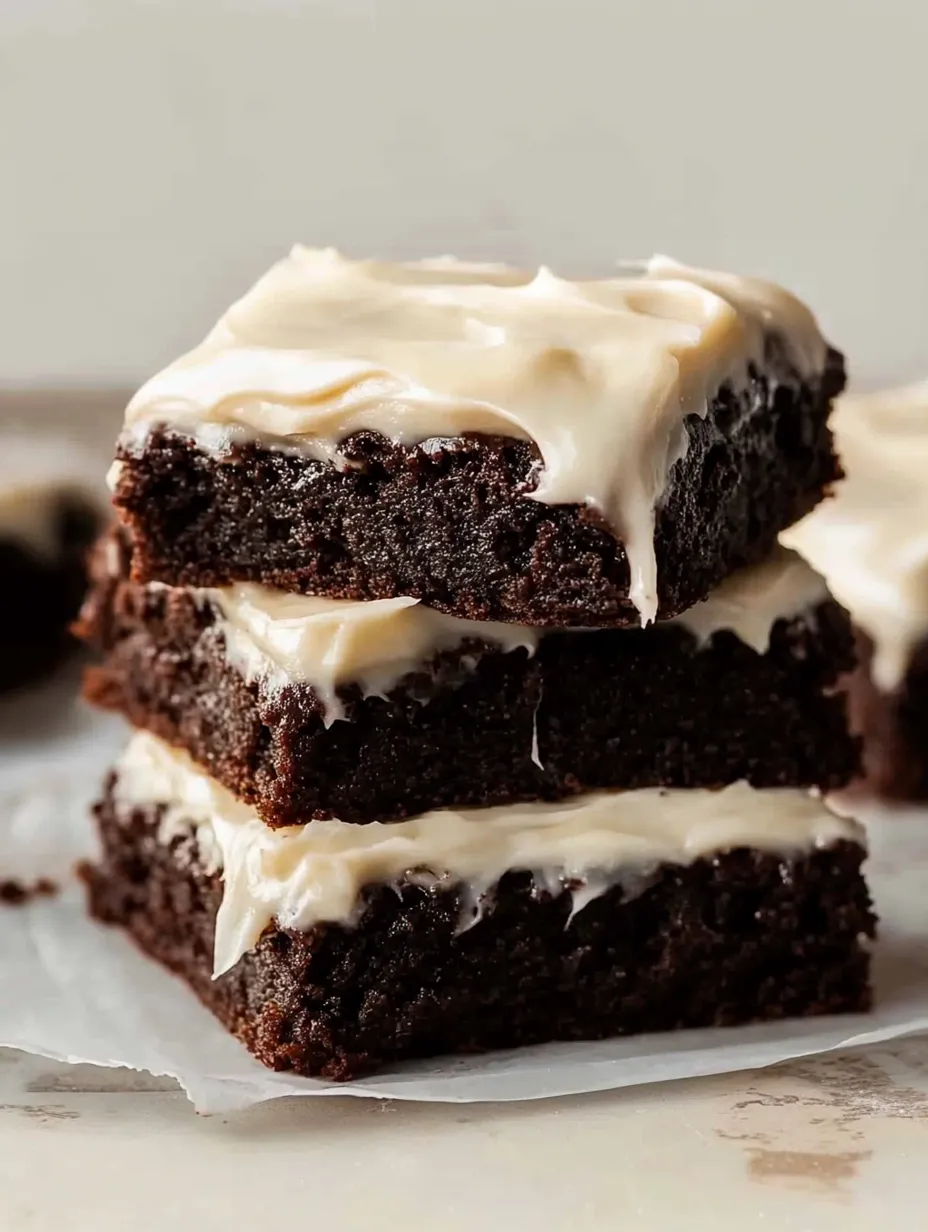
After years of baking these brownies, they've become my signature dessert. From casual family dinners to fancy dinner parties, they never fail to make people's eyes light up with that first bite. The way the fudgy brownie base complements the silky cream cheese frosting creates something truly magical - a treat that's sophisticated enough for special occasions but comforting enough for everyday indulgence.
Frequently Asked Questions
- → How should I store these brownies?
- Once frosted with cream cheese, store in the fridge in an airtight container with layers separated by wax paper. Unfrosted brownies can be stored at room temperature.
- → Can I make these into red velvet brownies?
- Yes! Add 1 tablespoon red food coloring to the wet ingredients and use regular cocoa powder instead of Dutch process for vibrant color.
- → Why do ingredients need to be room temperature?
- Room temperature ingredients, especially eggs and cream cheese, blend better and create smoother batters and frostings without lumps.
- → Can I make the frosting chocolate flavored?
- Yes, add ¼ cup cocoa powder after beating the butter and cream cheese together, then continue with the recipe as written.
- → How long do these brownies last?
- Unfrosted brownies last 3-4 days at room temperature. Frosted brownies last about the same time when properly stored in the refrigerator.