
 Pin it
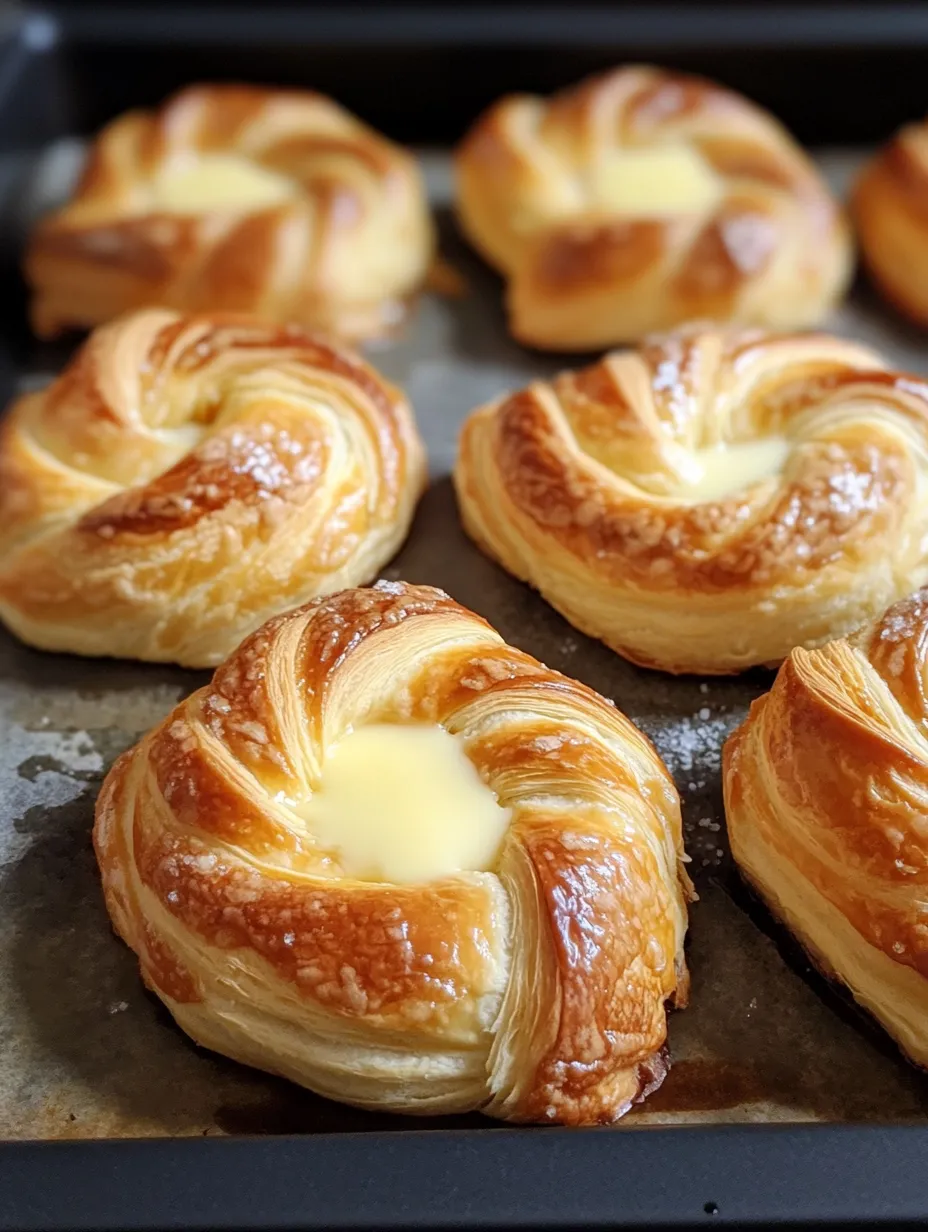
I discovered this easy cheese danish recipe during a particularly ambitious Sunday morning when I wanted to surprise my family with something special but didn't have the patience (or skill) for traditional danish pastry. These homemade cheese danishes have since become our weekend tradition – they're bakery-quality treats that come together in less than 30 minutes with ingredients I usually have on hand. The flaky crescent roll base paired with that creamy, vanilla-scented filling creates something that tastes like it took hours to make, when in reality, you'll spend more time enjoying them than preparing them.
Last month, my sister stopped by unexpectedly for coffee, and I whipped these up while we were chatting. She was genuinely shocked when I told her how simple they were to make. She thought I'd either bought them from a bakery or spent hours in the kitchen before she arrived. She's since made them for her book club and reported that everyone asked for the recipe – that's when you know you've found a winner!
Simple Ingredients
- Crescent rolls – The shortcut that makes this recipe possible! Those refrigerated tubes create a perfectly flaky, buttery base without the hours of folding and chilling that traditional danish dough requires. Store brands work just as well as name brands here.
- Cream cheese – The star of the filling needs to be properly softened for a smooth result. Leave it out for at least 30 minutes before mixing, or microwave unwrapped for about 20 seconds if you're in a hurry. Full-fat provides the richest flavor, but reduced-fat works too if that's what you have on hand.
- Brown sugar – This adds a caramel-like sweetness and depth that granulated sugar alone can't provide. The sugar melts slightly during baking, creating a subtle sweetness throughout the pastry. Light brown sugar gives a milder flavor, while dark brown would add more molasses notes.
- Vanilla extract – Don't skip this or substitute with imitation vanilla! Real vanilla extract adds that authentic bakery flavor that makes these danishes special. The warmth and complexity it adds to both the filling and glaze is worth the splurge.
- Butter – A light brush of melted butter helps the brown sugar adhere to the dough and adds another layer of richness. Salted butter provides a nice contrast to the sweet filling, but unsalted works perfectly too.
 Pin it
Creating Danish Magic
- Perfect cream cheese filling:
- Beat the cream cheese mixture until completely smooth and fluffy. Any lumps now will remain in the finished danishes. The filling should be thick enough to hold its shape but soft enough to spread easily over the coiled dough.
- Dough preparation strategy:
- When unrolling the crescent dough, press those perforations firmly to seal them completely. This prevents the filling from leaking through during baking. Work on a lightly floured surface if the dough is sticking to your countertop.
- Rolling technique:
- After spreading butter and brown sugar, roll from the long side to create the most layers in your finished danish. Roll firmly enough to ensure the layers stick together, but not so tightly that the dough tears or becomes too compressed.
- Creating the perfect coil:
- Hold one end of your rolled dough and loosely coil it into a spiral shape, leaving a slight depression in the center for the filling. Don't worry if they don't look perfect – they'll puff beautifully in the oven regardless.
- Filling placement:
- Add the cream cheese filling to the center of each coil using a spoon or small cookie scoop. There's no need to spread it – it will naturally settle and meld with the dough as it bakes.
- Glaze perfection:
- The consistency of your glaze should be pourable but not watery. If it's too thick, add a few more drops of milk; if too thin, a bit more powdered sugar. Drizzling the glaze while the danishes are still warm allows it to partially melt into the pastry for the most delicious result.
My first attempt at these was a learning experience – I tried to use cold cream cheese and ended up with a lumpy filling. I've also experimented with different amounts of filling, finding that about 2 tablespoons per danish creates the perfect ratio of cream cheese to dough. Too little disappears into the pastry, while too much can overflow during baking.
Serving Inspiration
Transform these simple cheese danishes into an even more impressive breakfast or brunch by serving them alongside fresh fruit and good coffee. For a special occasion brunch, create a danish bar with various toppings like fresh berries, sliced almonds, or a dusting of cinnamon for guests to customize their own. They make a beautiful centerpiece on a breakfast table arranged on a cake stand or decorative platter.
Sweet Variations
Once you've mastered the basic recipe, try some creative variations:
- Berry Bliss: Add a teaspoon of fruit preserves on top of the cream cheese filling before baking for a fruity twist. Raspberry, blueberry, or apricot all work beautifully.
- Citrus Sunshine: Add a teaspoon of lemon or orange zest to the cream cheese filling for a bright, fresh flavor. You can also add a bit of citrus zest to the glaze.
- Almond Joy: Sprinkle sliced almonds over the filling before baking and add a few drops of almond extract to the glaze for a nutty variation.
- Cinnamon Roll: Add a teaspoon of cinnamon to the brown sugar before sprinkling over the dough for a cinnamon roll-inspired flavor.
- Chocolate Lover's: Place a few chocolate chips on top of the cream cheese filling before baking for a melty chocolate surprise.
Storage Secrets
These cheese danishes are at their absolute best fresh from the oven, but if you have leftovers, store them in an airtight container at room temperature for up to 2 days. For longer storage, refrigerate for up to 4 days, though the texture of the dough will change slightly. To refresh, warm them for about 10 seconds in the microwave or a few minutes in a 300°F oven. For make-ahead convenience, you can prepare them up to the point of baking, cover with plastic wrap, and refrigerate overnight. Just add a couple extra minutes to the baking time when cooking from chilled.
 Pin it
I've made these cheese danishes countless times over the years, for lazy weekend breakfasts, holiday brunches, and even as last-minute treats when friends drop by unexpectedly. There's something magical about the combination of flaky dough, creamy filling, and sweet glaze that appeals to people of all ages. The fact that they come together so quickly with refrigerated dough is our little secret – no one needs to know just how simple they are to make!
Frequently Asked Questions
- → Can I make these cheese danishes ahead of time?
- Yes! You can prepare them the night before and refrigerate unbaked. In the morning, let them sit at room temperature for 15 minutes before baking. For best results, add the glaze just before serving.
- → What can I use instead of crescent rolls?
- Puff pastry sheets work wonderfully as a substitute. Cut each sheet into 4 squares and follow the same filling instructions. The texture will be even flakier than with crescent rolls.
- → Can I add fruit to these danishes?
- Absolutely! Add a teaspoon of fruit preserves (like strawberry, blueberry, or apricot) on top of the cream cheese filling before baking for a delicious fruit danish variation.
- → How do I store leftover danishes?
- Store cooled danishes in an airtight container in the refrigerator for up to 3 days. Warm slightly in the microwave for 10-15 seconds before enjoying.
- → Why is it important for the cream cheese to be at room temperature?
- Room temperature cream cheese blends smoothly with other ingredients, creating a lump-free filling. If your cream cheese is cold, you'll end up with a lumpy mixture that doesn't spread evenly.