 Pin it
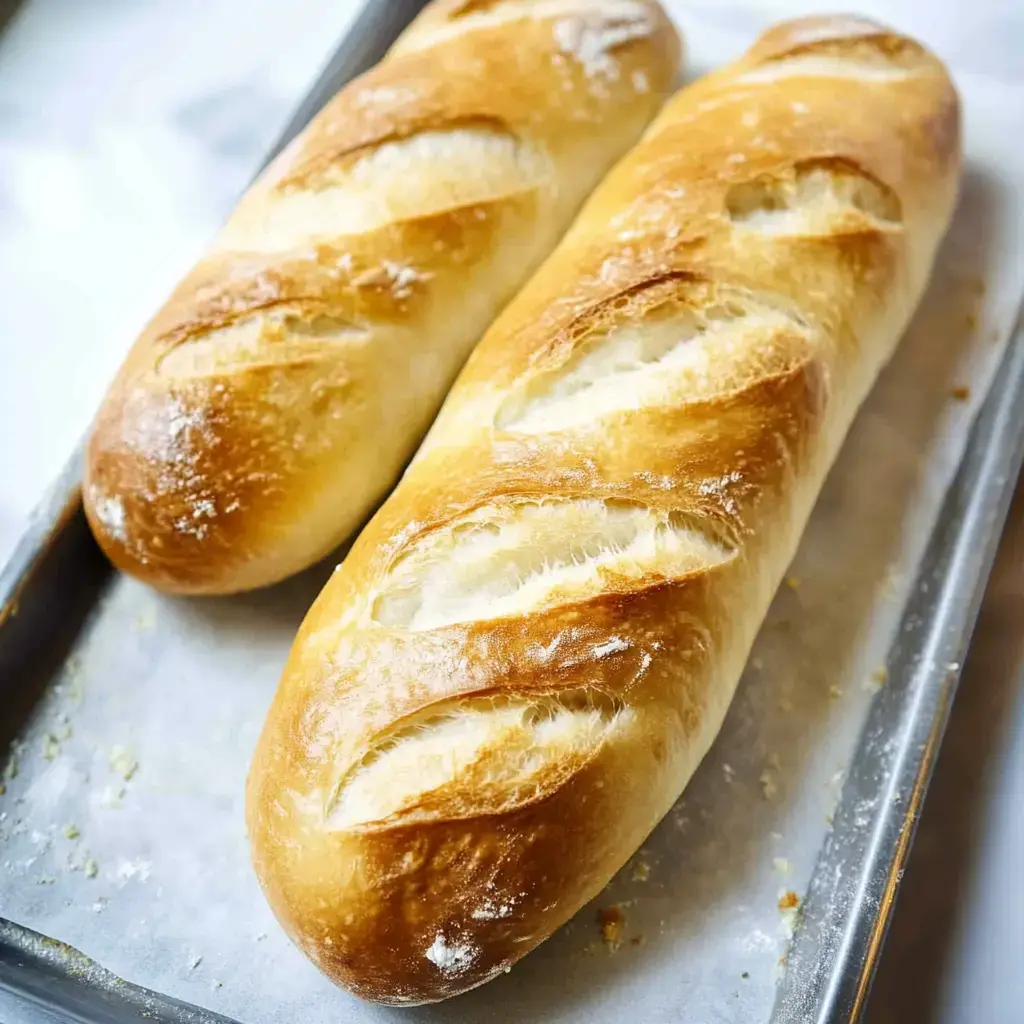
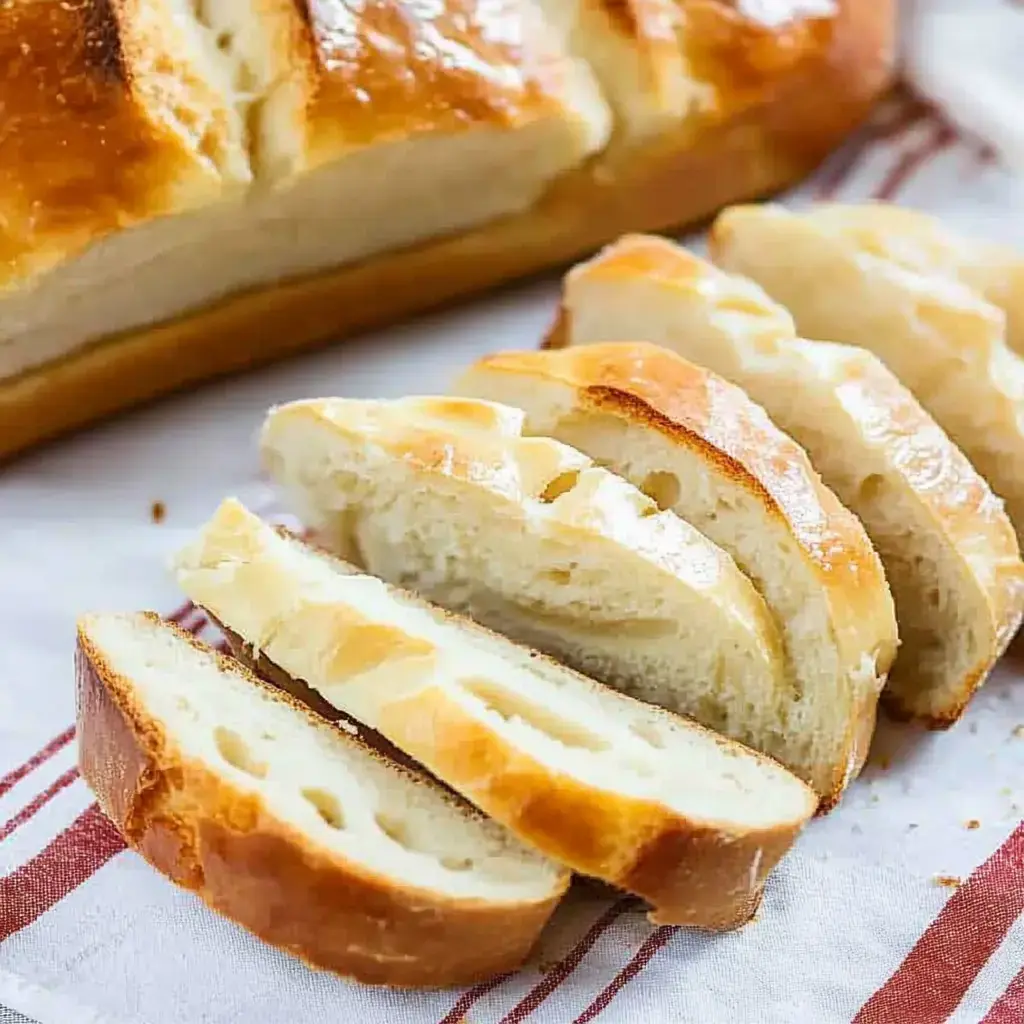
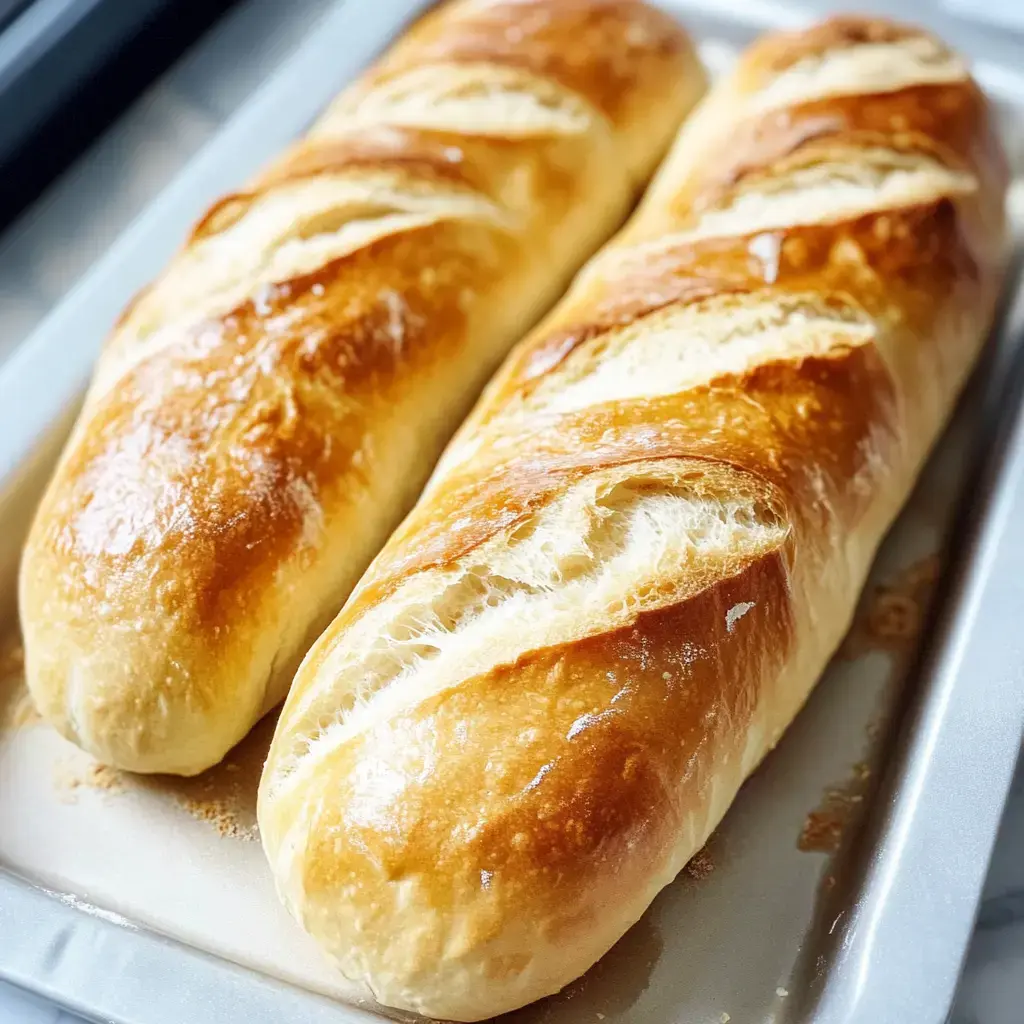
Let me share my absolute favorite French bread recipe that I've perfected over countless Sunday baking sessions. Once you try this homemade version you'll never want store-bought again. The crust gets perfectly golden and crispy while the inside stays soft and pillowy it's pure bread magic.
What You'll Love About This Bread
I love how simple this recipe is no fancy equipment needed just basic ingredients and a little patience. The first time I made it I couldn't believe how close it was to my local bakery's version. Now it's become my weekend ritual and fills our home with the most incredible aroma.
Your Shopping List
- Active Dry Yeast: This is our bread's lifeline.
- Sugar: Just a touch to feed our yeast.
- Warm Water: Think bath water temperature perfect for happy yeast.
- Flour: I use unbleached all-purpose.
- Salt: Don't skip this it's crucial for flavor.
- Olive Oil: Keeps everything moist and tender.
Let's Wake Up Our Yeast
First thing I do is get my yeast happy and bubbly. I mix it with warm water and a sprinkle of sugar then watch the magic happen. After about 5 minutes it should look all foamy and alive that's when you know it's ready to work its magic in your bread.
Time to Mix and Knead
Here's where we build our dough. I start with two cups of flour and salt then slowly add our bubbly yeast mixture. Keep adding flour until the dough feels right kind of like a baby's ear lobe soft but not sticky. Don't worry if you're unsure you'll get a feel for it.
 Pin it
The First Rest
After kneading I give the dough a light coating of olive oil pop it in a bowl and cover it with my favorite kitchen towel. Now we wait just 15 minutes this quick rest makes such a difference in texture. I usually use this time to clean up and get my baking sheet ready.
Shaping Our Loaves
Now for my favorite part. We divide our dough and roll it into two lovely loaves. I like to think of it as rolling up a sleeping bag nice and tight. Those ends get tucked under like tucking in a blanket.
The Big Rise
While the loaves rise I usually make myself a cup of tea and enjoy watching them puff up. It takes about 30-45 minutes and they should get noticeably bigger. This is when I start getting excited about fresh bread.
Making It Pretty
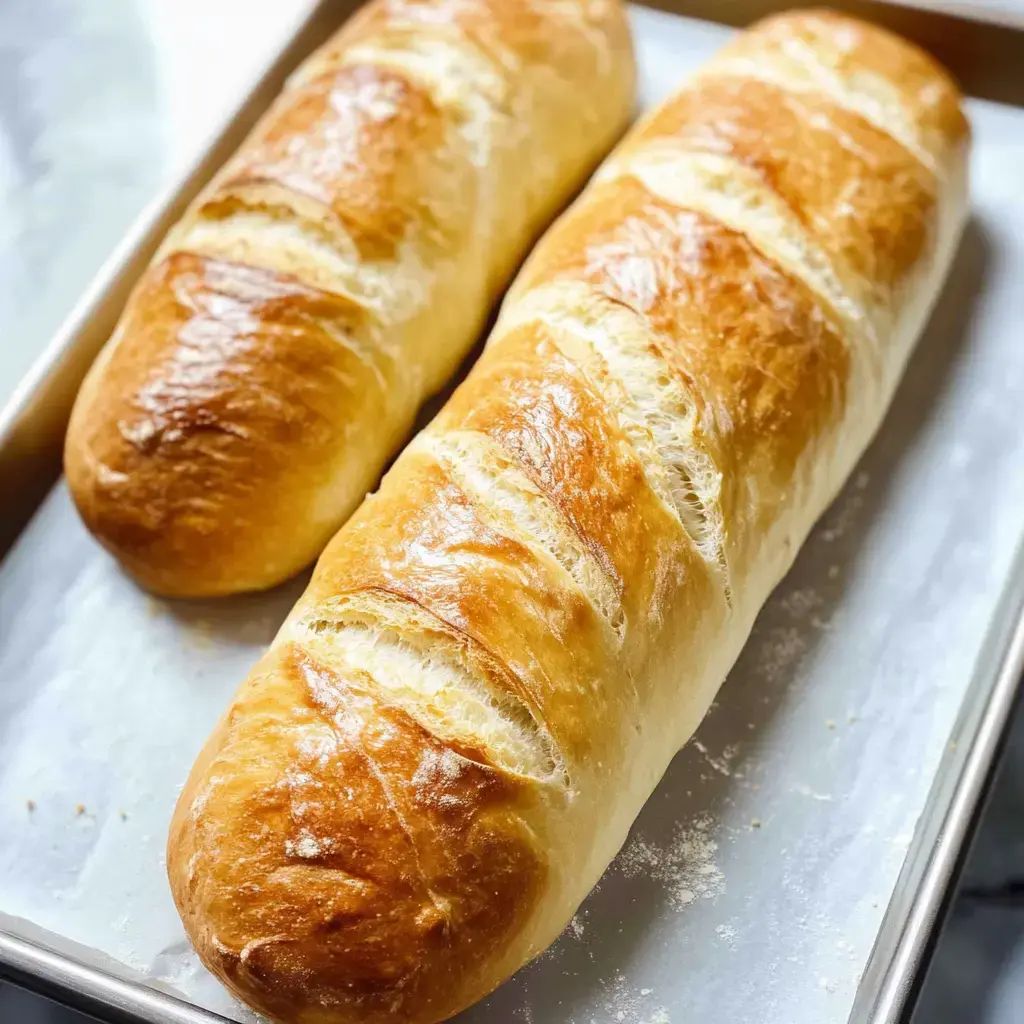
Those diagonal slashes aren't just for looks they help the bread rise evenly in the oven. I always feel like a real baker when I'm making these cuts. Use your sharpest knife and be confident with your slashes.
Into the Oven
My kitchen starts smelling amazing about 10 minutes into baking. I always keep an eye on the color we want that perfect golden brown. When you tap the bottom it should sound hollow like knocking on a door.
 Pin it
The Final Touch
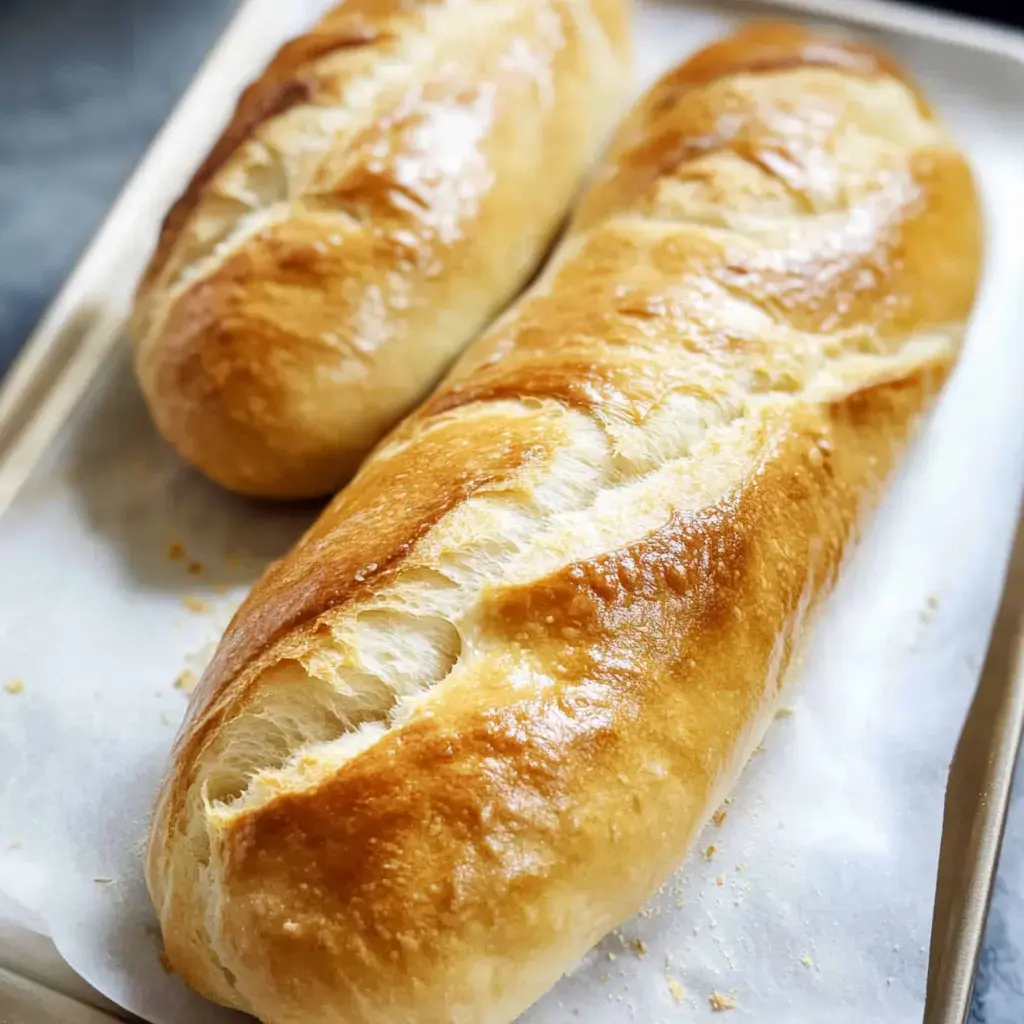
Sometimes I brush the hot loaves with melted butter. It gives them such a beautiful shine and keeps the crust just a bit softer. The hardest part is waiting for them to cool before slicing.
Ways to Enjoy
There's nothing like tearing into warm homemade bread. We love it with soup dipped in olive oil or slathered with butter and jam. It makes the best garlic bread too just add butter garlic and herbs.
Saving Some For Later
If we somehow have leftovers I wrap them up tight and pop them in the freezer. They thaw beautifully and a quick warm in the oven brings back that fresh-baked taste.
My Best Tips
Over the years I've learned a few tricks. Your water should feel like warm bath water not hot tea. And find a cozy spot for rising I use the top of my fridge in winter.
Why Homemade is Worth It
There's something so satisfying about making your own bread. No preservatives just simple ingredients and love. Plus nothing beats that fresh bread smell filling your home.
 Pin it
Mix It Up
Sometimes I add fresh herbs rosemary is amazing or sprinkle some sesame seeds on top. These little touches make each batch special and unique.
Share the Love
Fresh bread makes the best gift. I love surprising neighbors or bringing a warm loaf to dinner parties. Everyone's faces light up when they receive homemade bread.
Don't Waste a Crumb
Even stale bread has purpose. I turn it into the most amazing croutons or bread pudding. Sometimes I'll make breadcrumbs for meatballs nothing goes to waste.
Perfect Partners
We love this bread with everything from morning eggs to evening soups. It's especially wonderful with a cheese board and some good wine for casual entertaining.
Baking Joy
This French bread recipe has brought so much joy to my kitchen. It's more than just bread it's about creating something special from scratch and sharing it with people you love. I hope it becomes a beloved recipe in your home too.
 Pin it
Frequently Asked Questions
- → How do I know when the bread is done baking?
The bread should be golden brown on top and sound hollow when tapped. If it's browning too quickly, cover with foil and reduce temperature to 375°F.
- → What's the best way to store this bread?
Store the bread in a brown paper bag on the counter for best results. For longer storage, freeze in an airtight bag for up to 3 months.
- → Can I make the crust crispier?
Yes, brush with beaten egg white mixed with water before baking, or add ice cubes to the oven to create steam. This will create a crispier, shinier crust.
- → Why let the dough rise twice?
The first rise develops flavor and gluten structure, while the second rise creates the final texture. Longer rise times result in better flavor.
- → How warm should the water be for the yeast?
The water should be about 105°F - warm but not hot. Too hot will kill the yeast, while too cool won't activate it properly.
Conclusion
A straightforward French bread recipe that delivers professional-quality results with minimal effort. Perfect for home bakers looking to create authentic, fresh bread in under two hours.
