
 Pin it
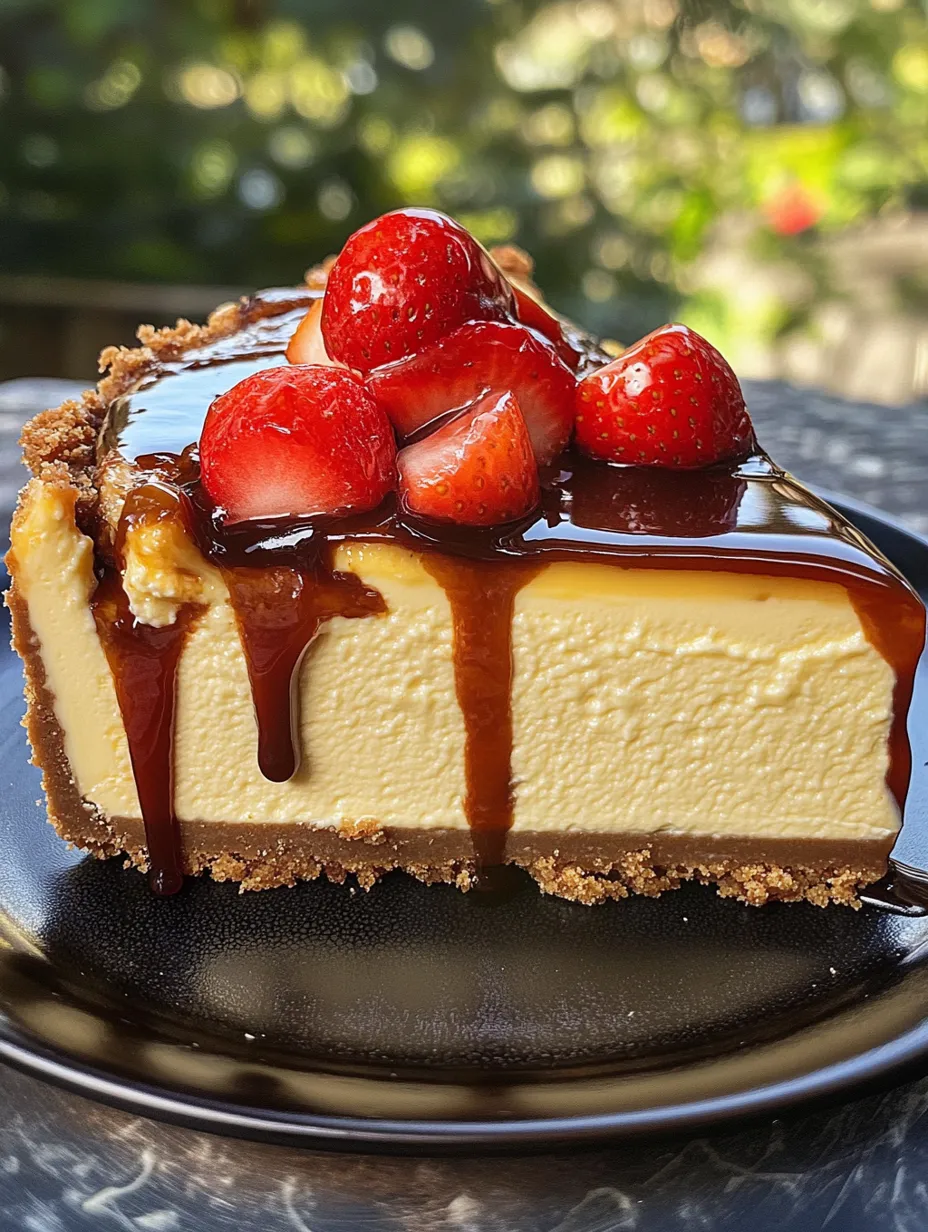
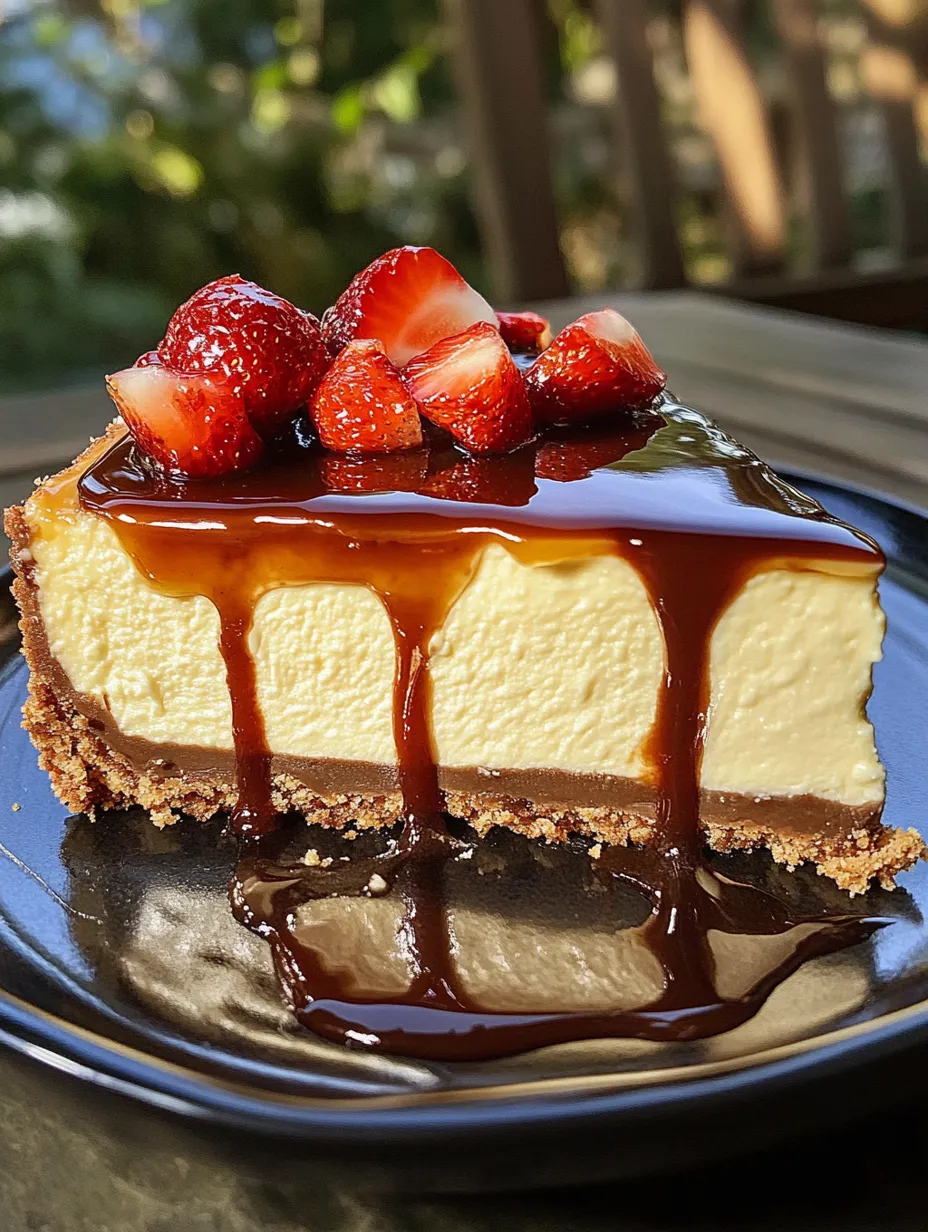
This showstopper cheesecake came about completely by accident last Christmas when I couldn't decide between making my family's traditional pound cake or my husband's favorite cheesecake. Instead of choosing, I combined them into one magnificent dessert that's become our most requested special occasion treat! The buttery pound cake hidden inside creates this amazing textural surprise that makes everyone's eyes widen when they cut into it. Topped with homemade caramel sauce, it's the perfect balance of creamy, dense, and sweet.
My sister-in-law, who's notoriously stingy with compliments, actually asked for the recipe after trying it at our family reunion last summer. My teenage nephew, who normally picks at desserts, devoured two huge slices and then asked if he could take some home! I've never seen a dessert disappear so quickly from our holiday table.
Ingredients
- Pound cake: Creates that perfect surprise center with its dense, buttery texture. Using whole milk gives it richness, but the real key is creaming the butter and sugar properly until it's genuinely light and fluffy. I've tried shortcuts here, and trust me, those extra few minutes of beating make all the difference.
- Cream cheese: Philadelphia brand is absolutely non-negotiable for a true New York style cheesecake. Store brands just don't have the same consistency or flavor. I learned this lesson the hard way after trying to save a few bucks and ending up with a weepy cheesecake that never properly set.
- Sour cream: Adds that signature tang that differentiates New York style from other cheesecakes. Full-fat is essential here - the light versions contain stabilizers that affect the texture of the final product.
- Heavy cream: Just a touch creates the perfect velvety texture without making the filling too loose. The first time I made this, I used all sour cream instead of the combination, and the texture wasn't nearly as luxurious.
- Brown sugar: The backbone of that gorgeous caramel sauce. Dark brown sugar gives deeper flavor with more molasses notes, but light brown works beautifully too. I actually prefer a combination of both when I have them on hand.
 Pin it
Step-by-Step Instructions
- Pound cake perfection
- Creating that ideal center begins with proper mixing. Cream the butter and sugar until truly light and fluffy – this usually takes a good 3-4 minutes at medium-high speed, not the 30 seconds many people do. The mixture should visibly change color to a much lighter shade. This incorporates air that gives the cake its proper structure. Add eggs one at a time, letting each fully incorporate before adding the next. My grandmother taught me to warm the eggs in a bowl of hot water for a few minutes before cracking them – this helps them incorporate more smoothly.
- Cheesecake smoothness
- Achieving that silky texture requires patience and attention. Your cream cheese MUST be completely room temperature – I leave mine out for at least two hours before starting. Cold cream cheese will leave lumps that no amount of mixing will remove. Beat the cream cheese alone first until completely smooth, then add sugar and beat again until no graininess remains. Scrape down the sides of your bowl frequently during this process – stubborn cream cheese lumps like to hide there. The tablespoon of flour might seem minor, but it helps stabilize the filling and prevent cracking.
- Pound cake placement
- Creating that perfect center takes some finesse. Pour exactly half of your cheesecake batter into the pan, then gently place the pound cake in the center. If your pound cake is too big for the pan, trim it into a slightly smaller circle, but don't make it too small or it will float and shift during baking. Pour the remaining cheesecake batter over and around the pound cake, making sure to cover it completely. I use an offset spatula to gently guide the batter around the sides of the pound cake and smooth the top.
- Baking wisdom
- Achieving the perfect texture requires gentle heat. I always place a pan of hot water on the rack below the cheesecake to create a moist environment that prevents cracking. Some recipes call for a water bath, but I've found this method simpler and just as effective. The long, slow bake at 325°F ensures the cheesecake cooks evenly without curdling or browning too quickly. You'll know it's done when the edges are set but the center still has a slight jiggle – it will continue to set as it cools.
- Cooling technique
- Preventing cracks depends on gradual temperature changes. When the baking time is up, turn off the oven, crack the door open slightly, and let the cheesecake cool slowly for about an hour before removing it to room temperature. This prevents the sudden temperature change that causes those dreaded cracks across the top. Once it's completely cool, refrigerate for at least 4 hours, but preferably overnight. The flavor and texture actually improve with time.
- Caramel creation
- Achieving that perfect pour takes attention to detail. Melt the butter completely before adding the brown sugar to prevent graininess. Once you add the cream, whisk constantly – this is not the moment to step away from the stove! The sauce is ready when it coats the back of a spoon and leaves a clean line when you run your finger through it. Let it cool slightly before pouring over the cheesecake – it should be warm but not hot to prevent melting the cheesecake top.
I've been refining this recipe for about three years now. The original version used a much thicker pound cake that overwhelmed the cheesecake. I've gradually adjusted the ratio to get it just right – enough pound cake to create that wonderful texture contrast, but not so much that it dominates. My mother-in-law, a cheesecake purist, was skeptical when I first described this dessert, but now she requests it for her birthday every year!
Serving Suggestions
This stunning cheesecake makes a gorgeous centerpiece for any special occasion dessert table. I love to serve it slightly chilled but not cold from the refrigerator – about 20 minutes at room temperature lets the flavors really shine. For an extra-special presentation, warm the caramel sauce slightly before serving and drizzle it over individual slices for that restaurant-quality finish. During the holidays, I sometimes add a sprinkle of flaky sea salt over the caramel for a sweet-salty contrast that's absolutely divine. For summer gatherings, a few fresh berries on the side add a pop of color and a bright contrast to the richness.
Flavor Variations
This versatile concept works beautifully with different flavor combinations. For a chocolate lover's version, I sometimes use chocolate pound cake in the center and top with chocolate ganache instead of caramel. During fall, a pumpkin spice pound cake with cinnamon cheesecake is absolutely spectacular. My husband's favorite variation includes lemon zest in the pound cake and cheesecake with a blueberry compote topping instead of caramel. For an adults-only version, try adding a tablespoon of bourbon to the caramel sauce – the slight vanilla-oak flavor complements both the pound cake and cheesecake beautifully.
Smart Storage
This cheesecake keeps beautifully in the refrigerator for up to 5 days, though it rarely lasts that long in my house! For the best presentation, store the cheesecake and caramel sauce separately, warming and adding the sauce just before serving. If you need to make it further in advance, the cheesecake freezes surprisingly well – wrap it tightly in plastic wrap, then foil, and freeze for up to a month. Thaw overnight in the refrigerator before serving. The caramel sauce can be refrigerated for up to two weeks in a sealed container – just warm it gently in the microwave or on the stovetop before using.
 Pin it
I've made this pound cake-stuffed cheesecake for countless celebrations over the years, from anniversary dinners to holiday gatherings. There's something truly magical about the moment when someone cuts into it for the first time and discovers the surprise inside – that look of delight is why I love baking! While it does take some time to prepare, most of that is inactive baking and chilling time, and the results are absolutely worth it. The combination of two beloved classics in one showstopping dessert never fails to impress, even the most discerning dessert lovers. My family now divides special occasions into "cheesecake worthy" and "not cheesecake worthy" – and this particular recipe is reserved for only the most special celebrations!
Frequently Asked Questions
- → Can I use a storebought pound cake to save time?
- Yes! A high-quality store-bought pound cake works perfectly for this recipe. Just make sure it's the right size to fit in your springform pan, and trim if necessary.
- → How do I prevent my cheesecake from cracking?
- Use room temperature ingredients, don't overmix after adding eggs, avoid opening the oven during baking, and cool the cheesecake gradually. Some bakers also use a water bath for extra insurance.
- → Can I make this cheesecake ahead of time?
- Absolutely! This cheesecake actually improves with time. You can make it 2-3 days ahead and store in the refrigerator. Add the caramel sauce just before serving.
- → How do I know when my cheesecake is done baking?
- The edges should be set but the center should still have a slight jiggle (not a wet, liquid jiggle). It will continue to set as it cools. The top should be just slightly golden.
- → Can I freeze this cheesecake?
- Yes! Freeze the cheesecake without the caramel sauce for up to 1 month. Thaw overnight in the refrigerator and add fresh caramel sauce before serving.