
 Pin it
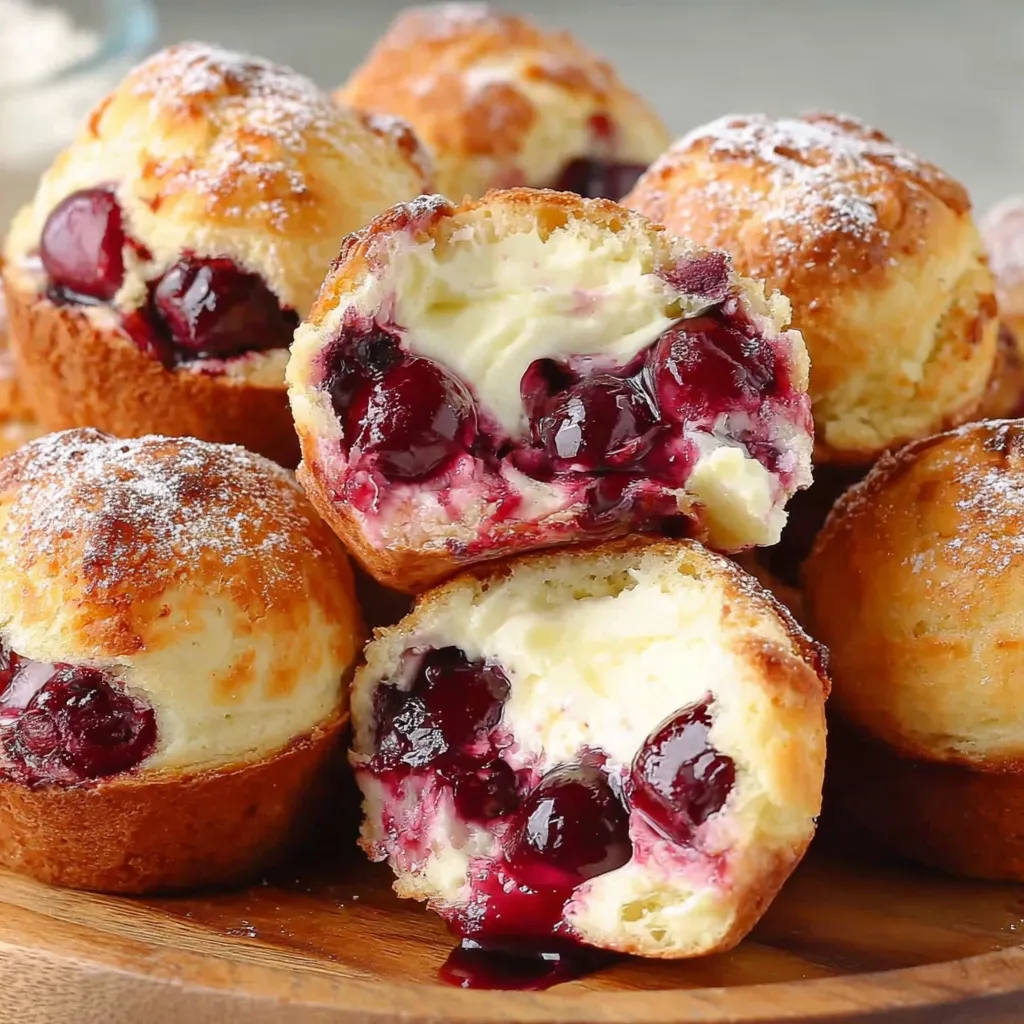
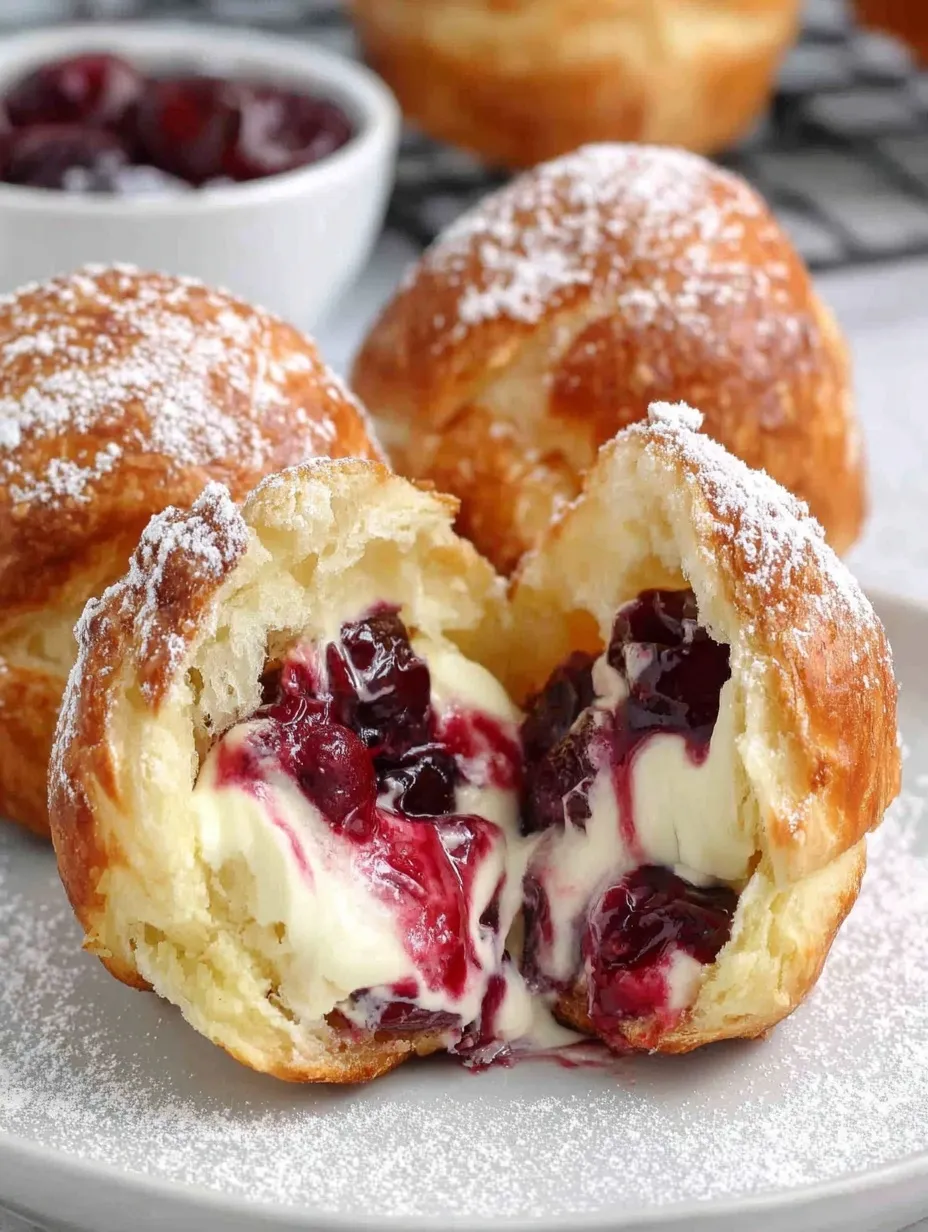
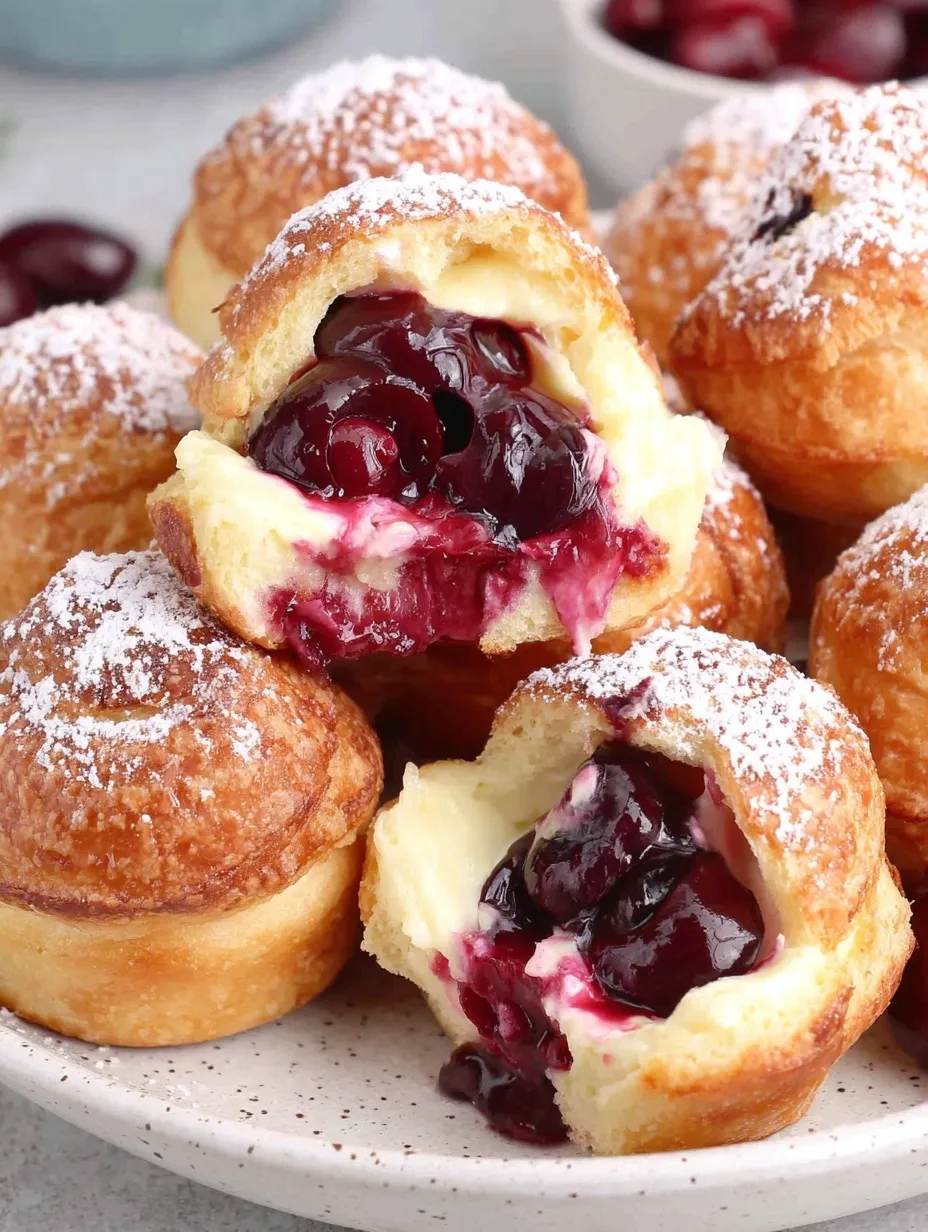
These cherry cheesecake crescent muffins have become my secret weapon when I need something that looks and tastes impressive but comes together in less time than it takes to watch a sitcom. I discovered this recipe during a particularly chaotic morning when my daughter announced at breakfast that she'd volunteered me to bring treats for her class party that afternoon, and I somehow managed to pull these together between loads of laundry and conference calls. The combination of flaky, buttery crescent dough wrapped around sweet cream cheese filling and juicy cherries creates these little pockets of heaven that taste like you spent hours making fancy pastries when in reality they took about 30 minutes from start to finish.
My neighbor Sue, who swears she has zero baking skills and usually buys everything from the grocery store bakery, tried making these after watching me pull a batch out of the oven during a coffee visit. She texted me two hours later with a photo of her finished muffins looking absolutely perfect, saying her teenagers devoured them immediately and demanded she make them weekly. Now she brings these to every book club meeting and accepts compliments on her baking prowess without mentioning how unbelievably easy they are, which makes me laugh every time because I know her secret.
Essential Ingredients Breakdown
- Refrigerated crescent dough: Provides the flaky, buttery pastry base (use regular, not reduced-fat). Seal perforations to create rectangles.
- Cream cheese: Forms the tangy, creamy cheesecake filling (must be **softened to room temperature**).
- Sugar and vanilla: Sweeten and flavor the cream cheese filling.
- Cherry pie filling: Delivers sweet-tart fruit flavor (use ¾ cup from a standard can).
- Melted butter: Brushed on the outside for golden color and richness.
- Light brown sugar: Sprinkled on top; caramelizes for a crunchy, sweet topping.
 Pin it
Creating Perfect Muffins
- Preparing your pan:
- Preheat oven to 350°F (175°C). Spray 8 cups of a standard 12-cup muffin tin thoroughly.
- Making the filling:
- Stir softened cream cheese, granulated sugar, and vanilla extract vigorously until completely **smooth and creamy** with no lumps.
- Preparing the dough:
- Unroll crescent dough. Press the perforations firmly to seal them, creating four solid rectangles. Cut each rectangle in half to create **eight smaller squares** of dough.
- Filling and shaping:
- Gently stretch one dough square. Drop 1 heaping tablespoon of cream cheese filling, then 1 tablespoon of cherry pie filling, into the center. Bring all four corners of the dough up over the filling and **pinch them together firmly** in the center and along the seams to seal completely. Roll gently into a smooth ball shape.
- Final preparation:
- Brush the entire surface of each dough ball with melted butter. Place each buttered ball **seam-side down** in a prepared muffin cup. Sprinkle generously with light brown sugar.
- Baking to perfection:
- Bake for **16 to 20 minutes** until the tops are golden-brown, puffed, and crispy. Let cool in the pan for 5 minutes before removing. Serve warm or at room temperature.
I've learned through making these muffins many times that the temperature of your cream cheese genuinely matters for easy mixing and smooth filling. My first attempt involved trying to mix cream cheese straight from the refrigerator, and I ended up with a lumpy mess that required several minutes of aggressive stirring and still had some chunks. Now I always remember to set my cream cheese out at least an hour before I plan to bake, or I soften it in the microwave at 30 percent power in 10-second bursts, which results in perfectly smooth filling every time. I also discovered that brushing the dough balls with butter before adding the brown sugar helps the sugar stick much better than sprinkling it on dry dough.
Dough Handling Tips
- Keep dough refrigerated until ready to use.
- Press firmly along the perforations to seal them completely before cutting squares.
- Pinch tears closed or use a small piece of dough to patch them; the dough is forgiving.
Cherry Alternatives
- Apple pie filling: For a cinnamon-spiced, autumn version.
- Blueberry pie filling: Creates beautiful color.
- Lemon curd: For sophisticated, tangy muffins.
- Nutella or Cookie Butter: For rich, indulgent versions.
Perfect Serving Ideas
- Serve **warm** for breakfast alongside coffee or tea.
- For an indulgent dessert, serve warm topped with vanilla ice cream and extra cherry pie filling.
- Dust with powdered sugar for an elegant brunch presentation.
Keeping Them Fresh
- Keep well at room temperature for up to **2 days** in an airtight container.
- Refrigerate for up to 5 days (dough will soften).
- Freeze for up to 2 months (thaw at room temperature or microwave briefly).
 Pin it
I've made these cherry cheesecake crescent muffins countless times for breakfast gatherings, bake sales, holiday brunches, and random weekday mornings when I wanted something special, and they never fail to disappear almost instantly. There's something about the combination of flaky pastry, creamy cheesecake filling, and sweet cherries that appeals to absolutely everyone regardless of age or usual preferences. The fact that these come together so quickly using mostly convenience products means I can have impressive homemade pastries on the table in less time than it would take to drive to a bakery and buy something similar. They've become one of my most-requested recipes, with friends and family asking me to make them for every special occasion, and I happily oblige because I know they'll be a hit without requiring any significant effort on my part!
Frequently Asked Questions
- → Can I use a different pie filling?
- Yes, blueberry, apple, or strawberry pie filling all work great. Just use the same amount as the cherry filling.
- → Why is my filling leaking out?
- Make sure to seal the dough completely by pinching all the edges together well. Place them seam-side down in the pan.
- → Can I make these ahead?
- Yes, bake them and store in an airtight container in the fridge for up to 3 days. Reheat briefly in the microwave.
- → What if I don't have a muffin pan?
- You can bake these on a regular baking sheet lined with parchment paper. Space them a few inches apart.
- → Can I freeze these muffins?
- Yes, freeze them after baking and cooling. Wrap individually and freeze for up to 2 months. Thaw and reheat in the microwave.
- → Do I have to use butter on top?
- The butter helps them brown nicely and adds flavor, but you can skip it if you prefer.