
 Pin it
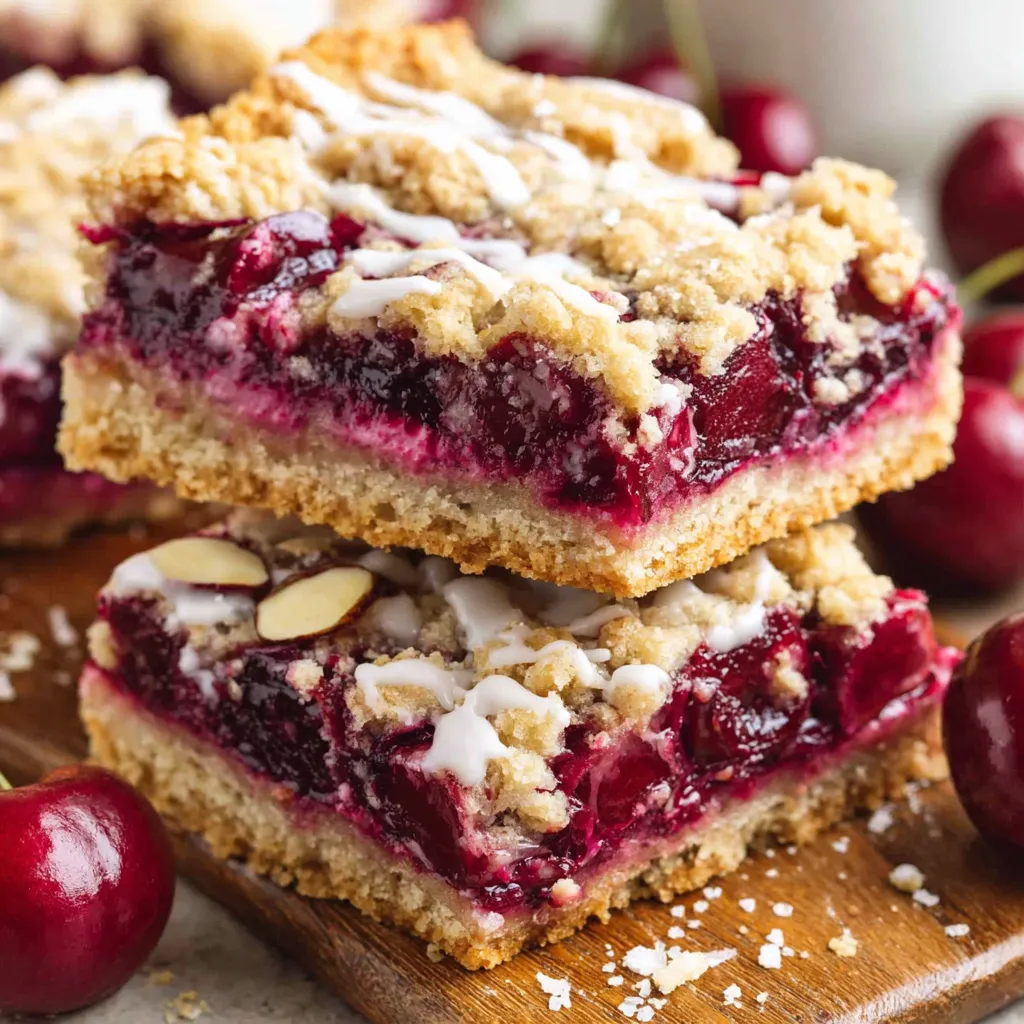
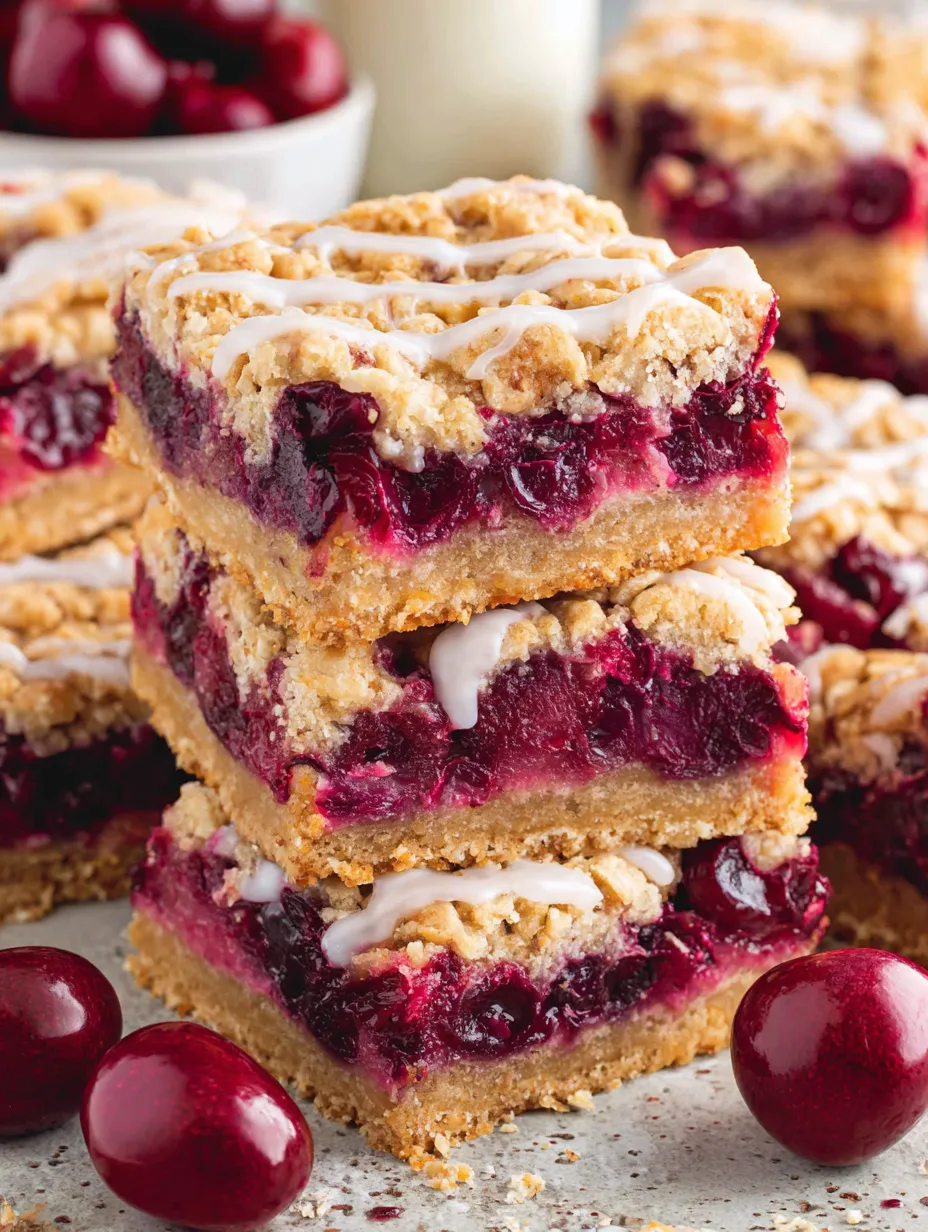
These cherry pie bars have become my solution for when I want all the satisfaction of homemade cherry pie without the stress of rolling out perfect pastry or worrying about soggy bottoms and collapsing lattice tops. I started making these several summers ago when my neighbor gave me a huge bag of fresh cherries from her tree, and I realized that transforming them into bars instead of traditional pie meant I could serve them at a backyard gathering without needing plates and forks. The buttery oat crust provides that satisfying crunch, the homemade cherry filling bursts with bright fruit flavor, and that sweet lemon glaze adds just enough tang to balance everything perfectly.
Last summer at our annual family reunion, I brought two pans of these cherry pie bars and watched them disappear within twenty minutes while the store-bought desserts sat mostly untouched. My aunt, who's an excellent baker and makes elaborate layer cakes for every occasion, pulled me aside to get the recipe because she said the cherry filling tasted so much brighter and more natural than anything she'd made with canned filling. Now she makes these every Fourth of July because the red cherries look so festive, and she always credits me even though I keep telling her the recipe is incredibly simple.
Essential Ingredients Breakdown
- All-purpose flour: Forms the structure of the crust and topping.
- Old-fashioned rolled oats: Adds texture, nutty flavor, and chewiness to the crust and crumble (use old-fashioned, not quick oats).
- Light brown sugar: Provides sweetness, moisture, and a molasses flavor to the crust.
- **Unsalted butter:** Must be **cold and cubed** for a rich, tender, and flaky crust.
- Fresh sweet cherries: Deliver bright, intense fruit flavor (pit them carefully). Frozen cherries can be used with slight adjustments.
- **Tapioca starch:** Thickens the cherry filling without making it cloudy (cornstarch is a substitute).
- Lemon juice: Brightens the cherry flavor in the filling and provides tang in the glaze.
 Pin it
Creating Perfect Bars
- Preparing your pan:
- Preheat the oven to **350 degrees F**. Line a **9-inch square baking pan** with parchment paper, leaving an overhang for handles.
- Making the filling:
- Combine pitted cherries, brown sugar, lemon juice, and vanilla extract in a saucepan. Cook over medium heat for 3–4 minutes until cherries soften and release juice. Sprinkle in tapioca starch and cook, stirring constantly, for 2–3 minutes until thick and glossy. Set aside to cool slightly.
- Preparing the crust:
- In a food processor, pulse flour, oats, brown sugar, baking powder, and salt. Add cold, cubed butter and pulse 10–15 times until the mixture resembles coarse crumbs. Add lightly beaten egg and pulse 5–8 more times until the mixture clumps when pinched.
- Dividing the mixture:
- **Reserve one heaping cup** (approx. 150g) of the oat mixture for the topping. Press the remaining mixture **firmly and evenly** into the bottom of the prepared pan for the crust.
- Assembling the layers:
- Spoon the slightly cooled cherry filling evenly over the pressed crust. Sprinkle the reserved oat mixture evenly over the filling.
- Baking process:
- Bake for **40 to 45 minutes** on the center rack until the topping is golden brown and the cherry filling bubbles at the edges. Cool on a wire rack **completely** before cutting (at least 1 hour).
- Making the glaze:
- Whisk powdered sugar and lemon juice together. Gradually whisk in milk (or cream) until you achieve a thick but pourable consistency.
- Finishing touches:
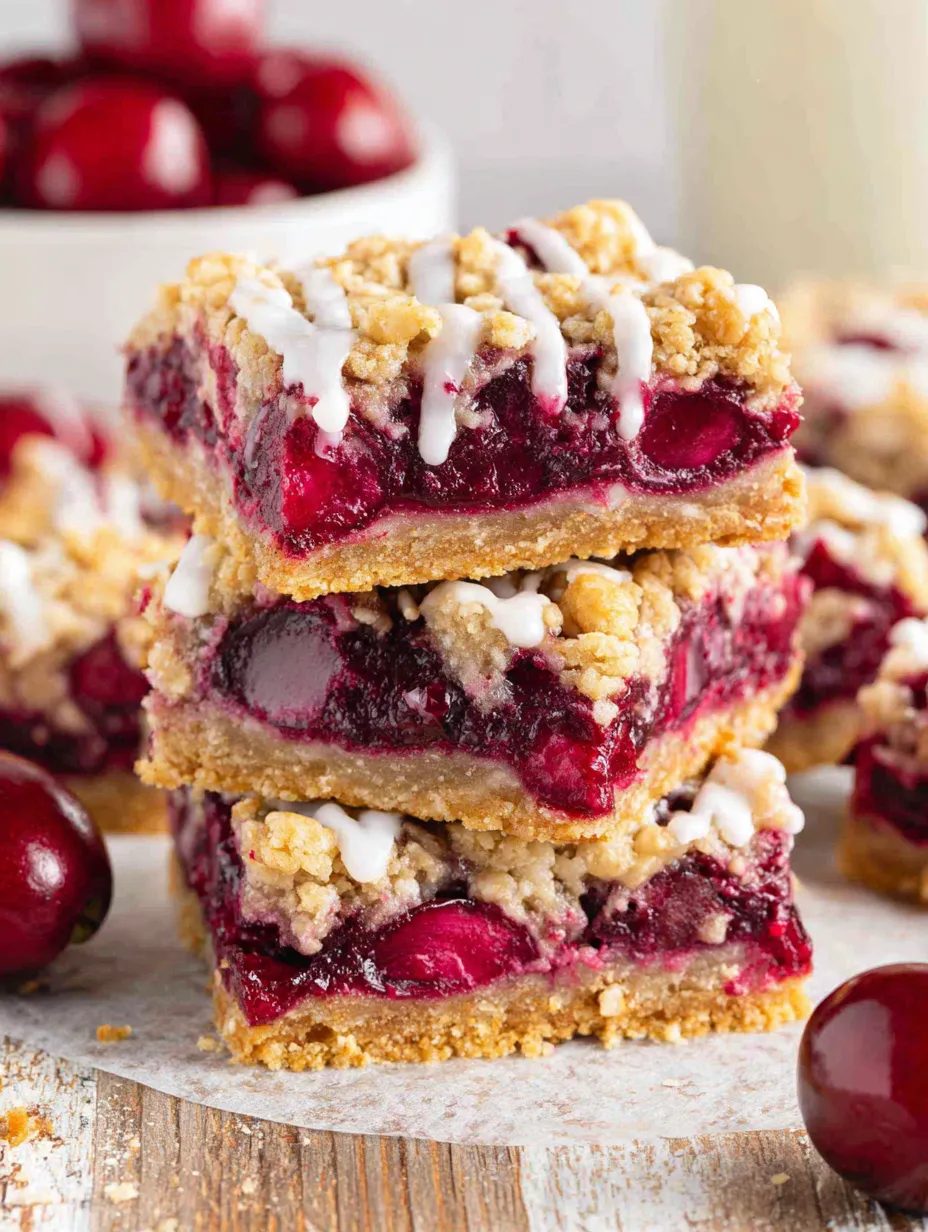
- Use the parchment paper handles to lift the cooled bars out of the pan. Cut into 12 equal squares. Drizzle the lemon glaze over the bars. Let the glaze set for 10 minutes before serving.
I've learned through making these bars many times that patience during cooling makes the difference between beautiful, clean-cut bars and a messy pile of delicious crumbs. My first batch went straight from oven to cutting board because I was too excited to wait, and the filling oozed everywhere while the crust crumbled into pieces. Now I always bake these in the morning if I need them for an evening event, or even the day before, which gives them plenty of time to set up properly and actually makes them taste even better as the flavors meld together.
Cherry Selection Matters
- Use **fresh sweet cherries** (Bing, Rainier) for peak flavor when in season.
- **Frozen cherries** are an excellent year-round alternative; add them frozen and adjust thickener/cook time slightly.
- **Pit cherries carefully** to keep the fruit intact for chunky filling.
Oat Texture Balance
Only use **old-fashioned rolled oats** for the crust and topping. Quick oats absorb too much moisture and create a mushy texture; steel-cut oats are too hard.
Preventing Soggy Bottoms
- **Cook the filling** to evaporate excess liquid and activate the starch before assembly.
- **Press the crust firmly** into the pan.
- **Bake until bubbling** at the edges to ensure the crust is cooked through.
- **Cool completely** to allow the filling to set fully.
Delicious Flavor Variations
- Replace half the cherries with **fresh blueberries** for a mixed berry look.
- Add a 1/4 teaspoon of **almond extract** to the filling.
- Use **fresh cranberries** (and increase sugar) for a tart fall version.
- Add a tablespoon of **bourbon or amaretto** to the filling for an adult twist.
Keeping Them Fresh
- Store at **room temperature** for up to 2 days, or **refrigerate** for up to 5 days.
- Bring refrigerated bars to room temperature before serving for best flavor/texture.
- **Freeze exceptionally well** for up to 2 months (wrap tightly). Thaw in the refrigerator.
 Pin it
I've made these cherry pie bars for countless gatherings, from casual weekend barbecues to fancy dinner parties, and they work beautifully in every situation. There's something universally appealing about the combination of buttery oat crust, sweet-tart cherry filling, and that bright lemon glaze that makes even people who claim they don't like fruit desserts reach for a second bar. The fact that they're easier to make than traditional pie but deliver the same satisfying flavors means I can have homemade dessert without spending hours rolling pastry or stressing about whether my lattice will hold together. They've become one of my most-requested recipes, the dessert that friends and family specifically ask me to bring to gatherings because they know how good these bars are and how much everyone enjoys them!
Frequently Asked Questions
- → Can I use canned cherry pie filling?
- Yes, but homemade filling tastes much fresher. If using canned, reduce the sugar in the crust since canned filling is already very sweet.
- → How do I keep the crust from getting soggy with frozen cherries?
- Don't thaw the cherries before using them. Make sure to use the full amount of starch and bake until the filling bubbles at the edges.
- → Can I make these gluten-free?
- Yes, use a 1:1 gluten-free flour blend and certified gluten-free oats. The texture will be slightly more crumbly but still tasty.
- → How should I store these bars?
- Keep them covered at room temperature for up to 2 days, or in the fridge for up to 5 days. They also freeze well for 2 months.
- → Can I make these ahead of time?
- Absolutely. Bake them a day in advance and add the glaze before serving. You can also make the cherry filling up to 2 days ahead.
- → Do I need a cherry pitter?
- Not required, but it makes pitting cherries much faster and easier. You can find them online for pretty cheap.