
 Pin it
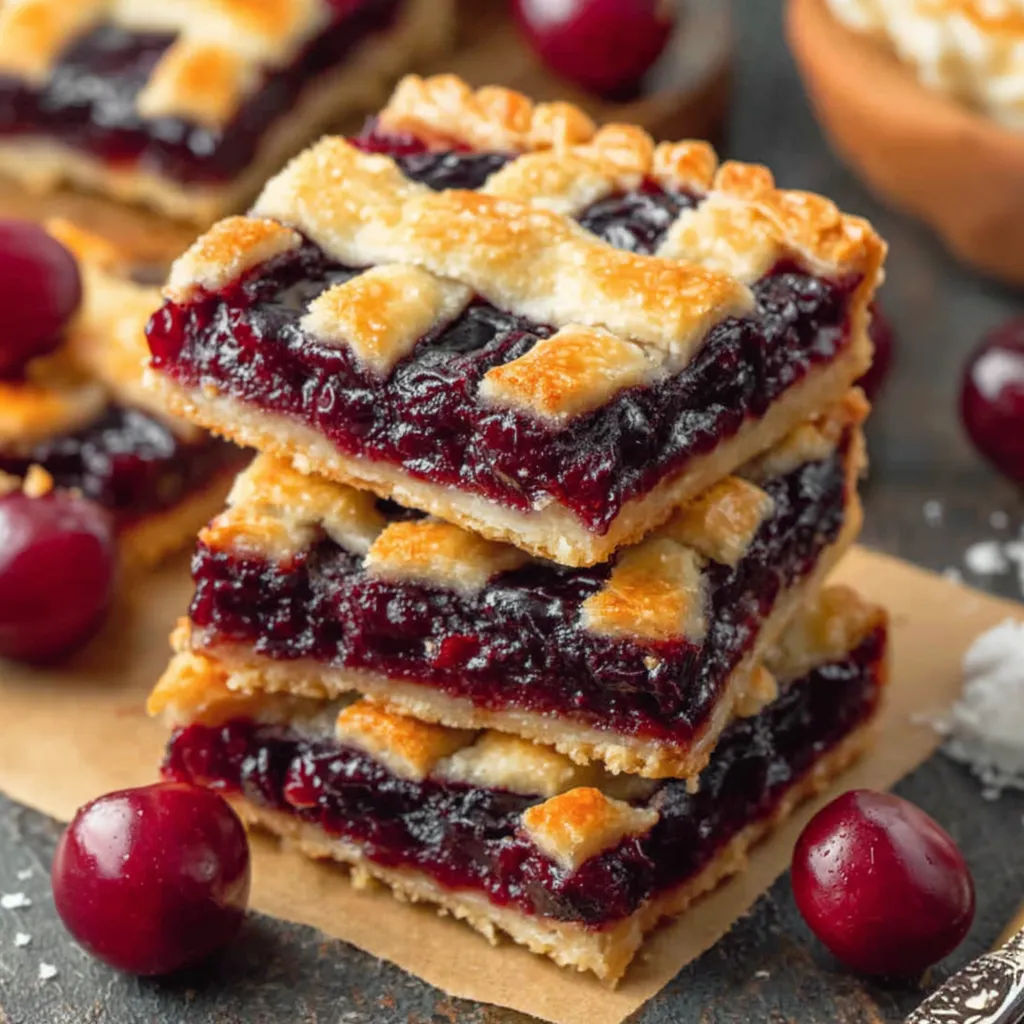
These cherry pie bars transform the beloved classic American dessert into portable, handheld squares featuring sweet homemade cherry filling nestled between flaky crusts and crowned with a stunning woven lattice top. The convenience of refrigerated pie crusts meets the satisfaction of homemade filling, creating a dessert that looks impressively artisanal while remaining entirely approachable for bakers of all skill levels. What makes these cherry pie bars so perfect for gatherings is how they eliminate the fuss of slicing and serving traditional pie, allowing guests to simply grab a square and enjoy without plates or forks required. Whether you're contributing to a summer potluck or simply craving that nostalgic cherry pie flavor, these bars deliver all the satisfaction of homemade pie with significantly less stress.
I first made these for a Fourth of July barbecue when I couldn't face the prospect of transporting a whole pie in the summer heat. The bar format solved every logistical problem—they traveled without sliding and served themselves without a pie server. When I uncovered the container and guests saw that golden lattice top, several people asked which bakery I had ordered from. My neighbor even joked she wasn't bringing dessert to any more of my parties because I always showed her up! Now, these are my signature contribution to every summer gathering.
Cherry Filling Ingredients
- Frozen sweet red cherries: 2.5 cups for a genuine, jammy fruit foundation.
- Granulated sugar: 2 tablespoons to balance the natural tartness.
- Cornstarch: 1 tablespoon mixed with water (slurry) to thicken the juices.
- Water: For the cornstarch slurry.
Crust and Topping Components
- Refrigerated pie crusts: One standard box (2 sheets) for the base and lattice.
- Egg: 1 large egg, beaten with a splash of water for the egg wash.
- Turbinado sugar: For that bakery-style sparkle and crunchy finish.
 Pin it
Baking Method Explained
- Preparing Your Pan
- Preheat your oven to 375°F. Line an 8x8 inch baking dish with parchment paper, leaving an overhang on two sides to act as handles for easy removal.
- Cooking the Filling
- Cook frozen cherries and sugar in a saucepan over medium heat for 15 to 20 minutes. Mash some cherries to create a mix of whole fruit and sauce. Whisk cornstarch and water, then stir into the bubbling fruit. Cook for 2 more minutes until thickened, then cool completely to room temperature.
- Baking the Bottom Crust
- Unroll one crust and press it into the pan, pricking the bottom with a fork. Bake for 15 to 20 minutes until the edges are golden and the bottom is set.
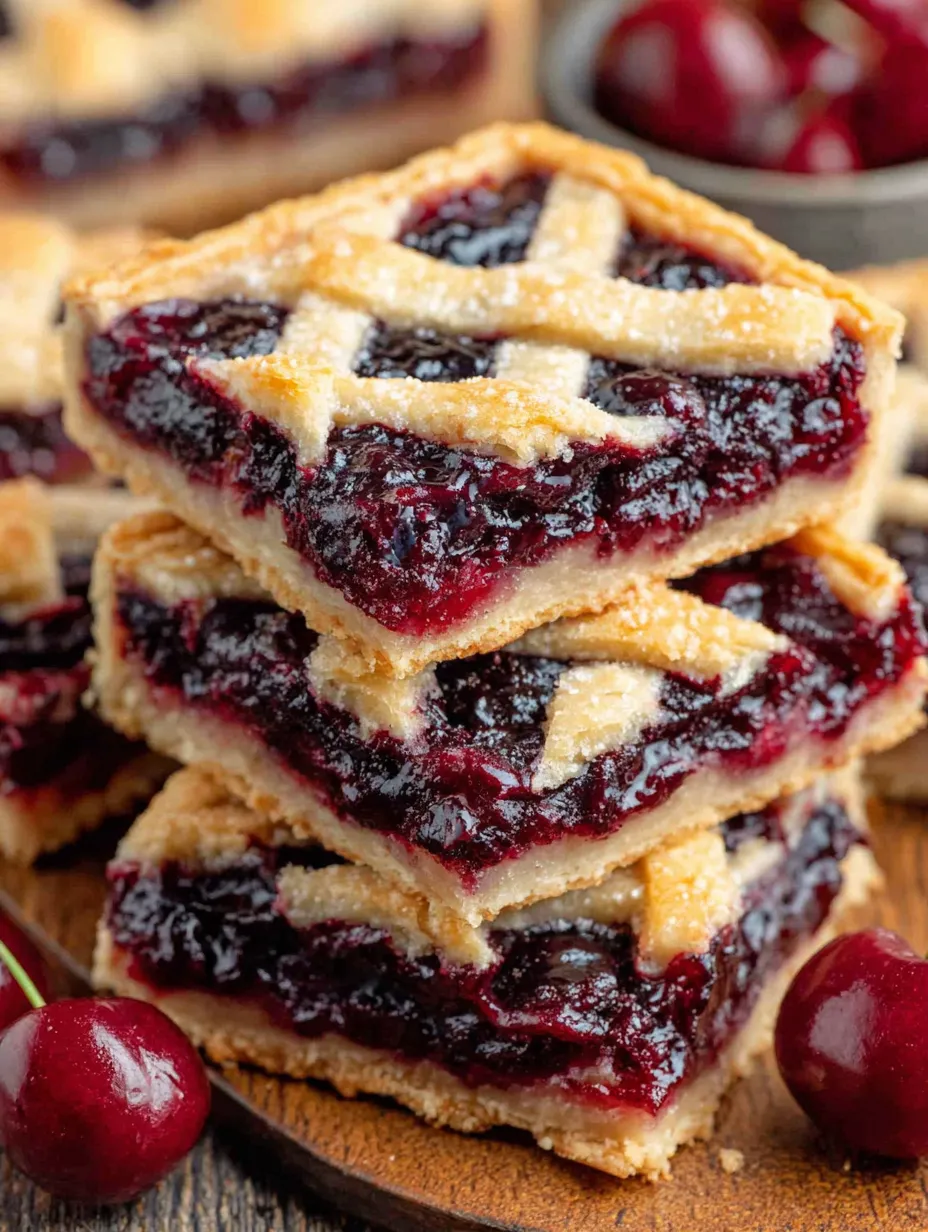
- Creating the Lattice Top
- Roll the second crust into a 9x9 square and cut into half-inch strips. Weave the strips into a lattice on a piece of parchment paper. Crucial Step: Place the woven lattice in the freezer for 15 minutes to firm up.
- Assembling the Bars
- Spread the cooled filling over the baked crust. Flip the frozen lattice onto the filling, peel away the parchment, and press the edges to seal.
- Finishing and Final Bake
- Brush the lattice with egg wash and sprinkle generously with turbinado sugar. Bake for 25 to 30 minutes until the top is deep golden brown and the filling is bubbling. Cool completely (about 2 hours) before slicing.
Working with pie crust used to intimidate me until I realized that refrigerated versions are a baker's best friend. This recipe is all about practical baking—using high-quality convenience products strategically so you can focus on the fun parts like weaving a beautiful lattice. My grandmother might have made her dough from scratch, but she’d approve of anything that gets family around the table for a second helping.
Lattice and Filling Mastery
If the weaving seems tricky, remember the alternating pattern: fold back every other strip, lay a perpendicular piece, then swap which strips you fold back. For the filling, look for it to "coat the back of a spoon." If it’s too thin, your bars will be messy; if it's too thick, it becomes gummy. Aim for a jam-like consistency that holds a trail when you run a finger through it.
Storage and Reheating
Store these bars at room temperature for up to 2 days, or in the fridge for up to 5 days. For the best texture, let chilled bars sit out for 15 minutes before eating. To restore that "just-baked" crunch, pop a square in the air fryer at 325°F for 5 minutes. You can also freeze the cut squares for up to 2 months; just thaw them overnight in the refrigerator.
 Pin it
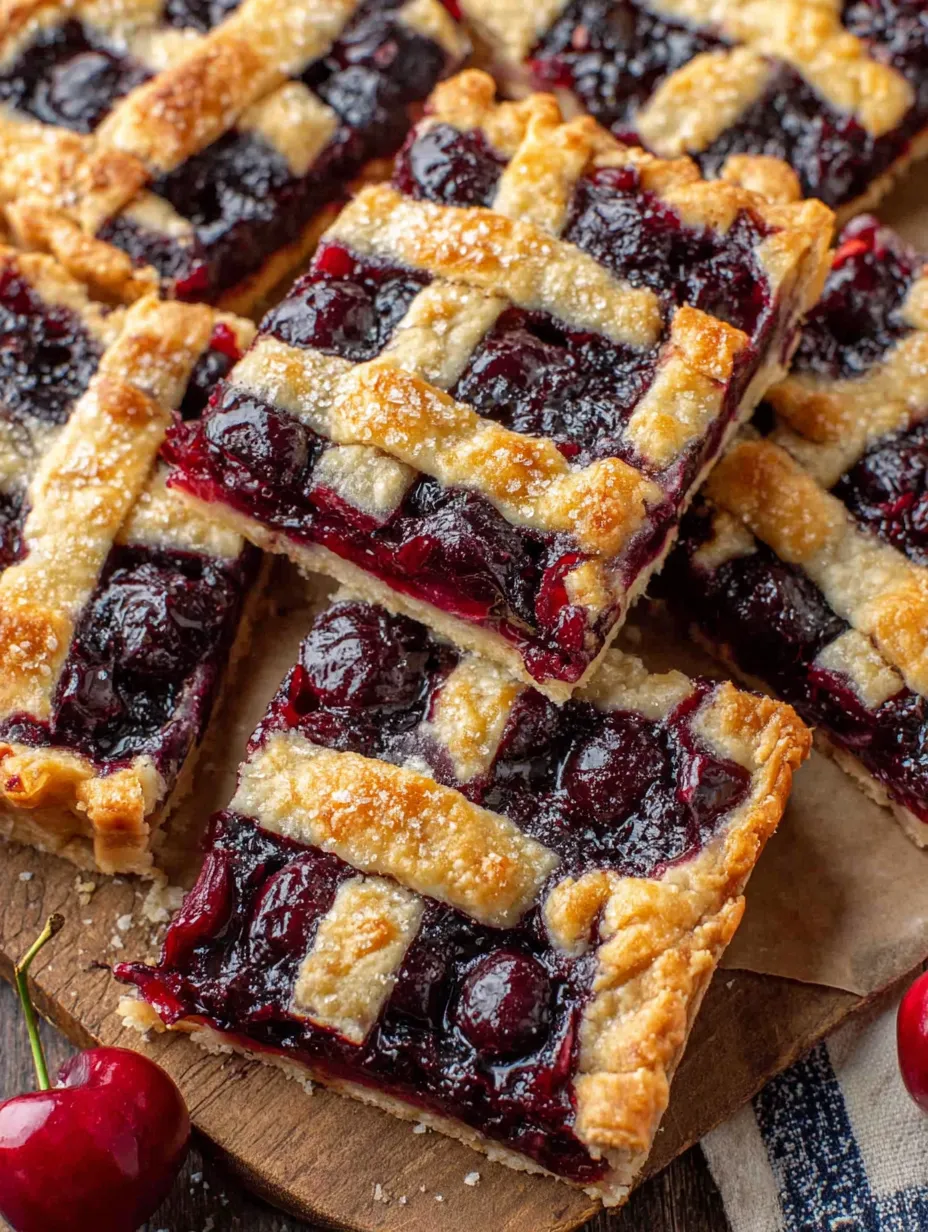
These cherry pie bars are the perfect answer to the "what should I bring?" question for any event. They deliver the nostalgia of a traditional pie with the modern convenience of a grab-and-go treat. When you see the smiles on your guests' faces as they reach for a second square, you'll know the effort was worth every minute.
Frequently Asked Questions
- → Can I use fresh cherries instead of frozen?
- Yes! You'll need about 2 1/2 cups of pitted fresh cherries. The cooking time might be a bit shorter since fresh cherries have less water than frozen.
- → Why do I need to freeze the lattice before putting it on?
- Freezing the lattice keeps it from falling apart when you transfer it to the filling. It's much easier to handle when it's firm!
- → Can I use canned cherry pie filling instead?
- You can, but homemade filling tastes so much better and isn't too hard to make. If you do use canned, you'll need about 21 ounces.
- → What is turbinado sugar?
- Turbinado is a coarse raw sugar with big crystals that gives a nice crunch. You can use regular granulated sugar if you don't have it, though.
- → Why do my bars have a soggy bottom?
- Make sure the cherry filling is completely cool before adding it to the crust. Hot filling will make the bottom crust soggy.
- → Can I make these ahead of time?
- Yes! Bake them, let them cool completely, then store covered at room temperature for up to 2 days or in the fridge for up to 5 days.