
 Pin it
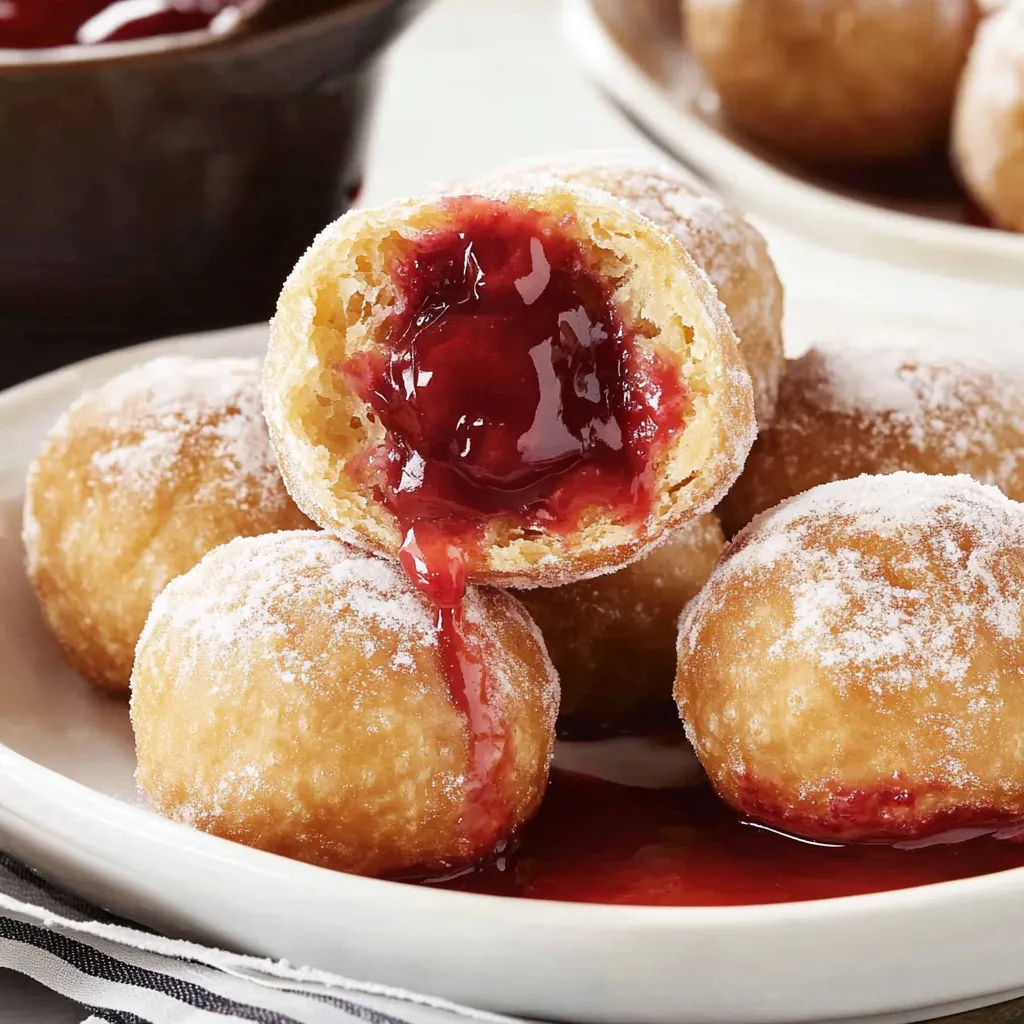
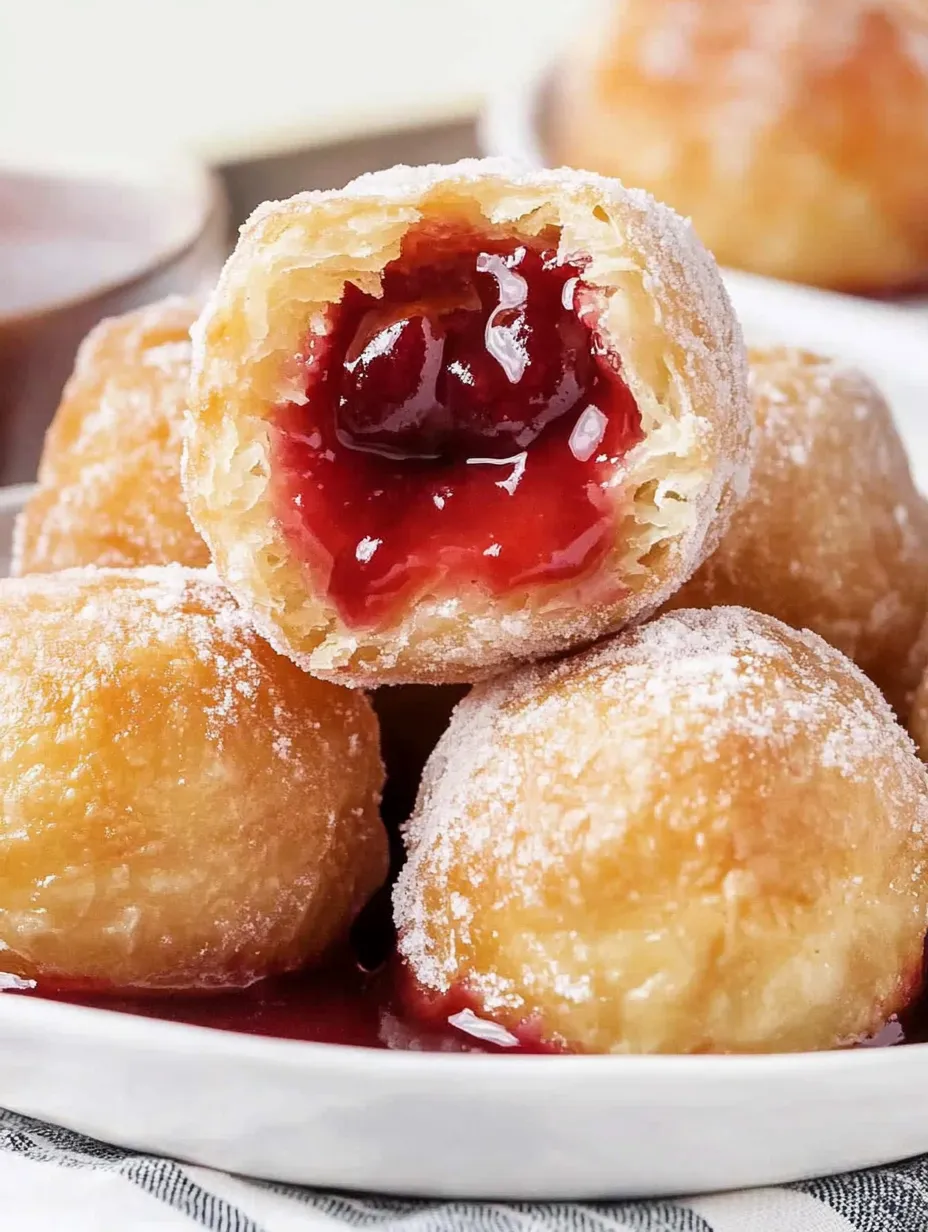
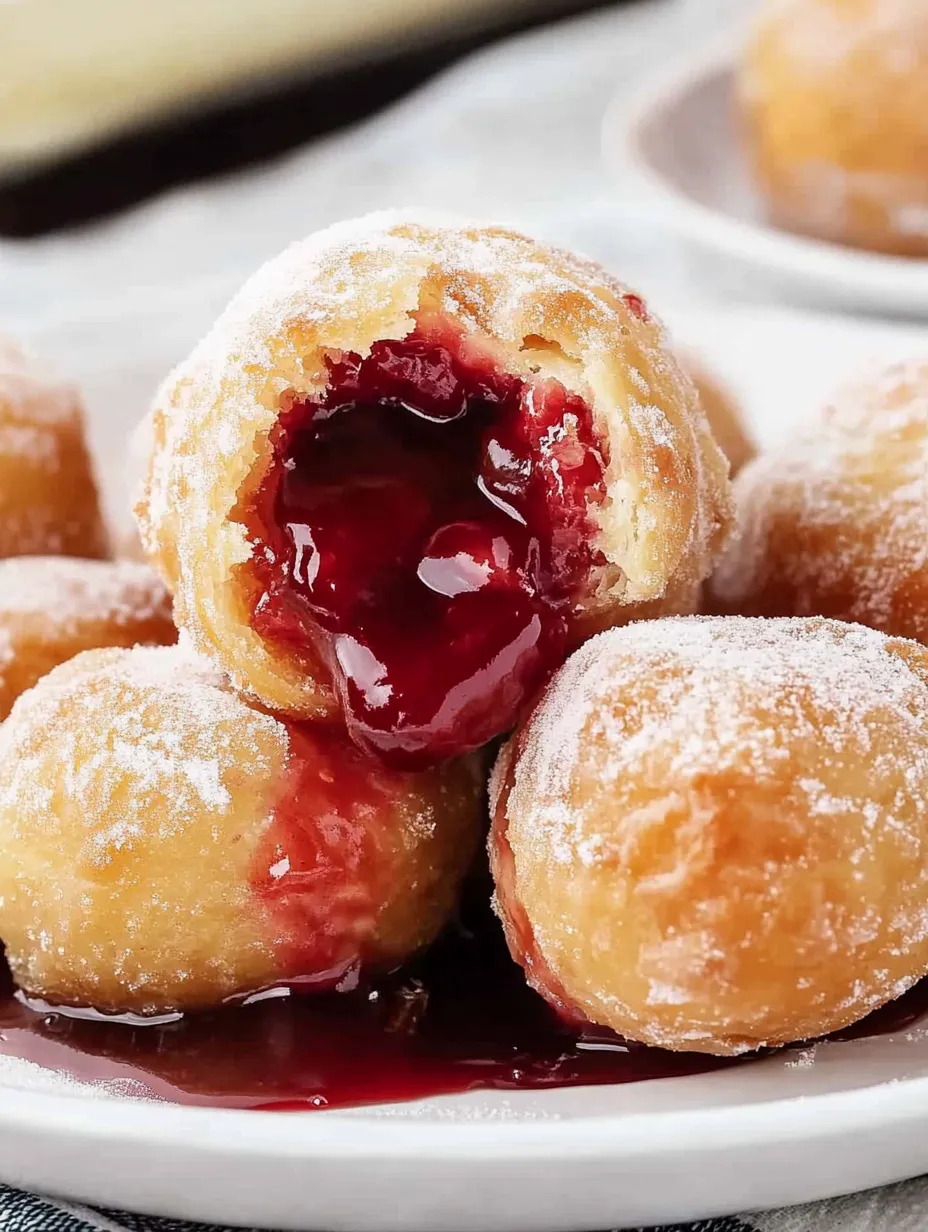
These cherry pie bombs came into my life during a kitchen experiment gone wonderfully right. I was craving cherry pie but didn't have the patience (or frankly, the skill) to make a proper pie crust. What started as a desperate sweet tooth solution has turned into my most requested treat for potlucks and family gatherings. There's something magical about biting through that crisp, glazed exterior into the warm, gooey cherry filling that makes people forget their manners and reach for seconds before they've finished their first. The best part? They come together in about half the time of a traditional pie but somehow taste even more indulgent.
My brother-in-law, who claims he "doesn't like cherry pie," ate four of these at our last family dinner and then asked me for the recipe to make for his poker night. Something about the bite-sized format and that perfect ratio of dough to filling just works. My neighbor's kids started calling me "the cherry bomb lady" after I brought these to their backyard barbecue last summer. If creating a neighborhood nickname isn't the sign of a winning recipe, I don't know what is.
Simple Ingredients
- Grands flaky biscuits create layers similar to puff pastry without any of the work – I tried making these with homemade dough once and it wasn't worth the effort
- Cherry pie filling brings that perfect sweet-tart balance – the canned stuff works beautifully, but I've used homemade when cherries are in season
- The sugar glaze isn't optional – I skipped it the first time and while they were good, the glaze takes them to a whole new level
- Corn syrup in the glaze might seem fussy but it prevents the sugar from crystallizing and keeps that smooth, shiny finish
 Pin it
Step-by-Step Instructions
- Don't rush the oil heating process.
- My first attempt, I got impatient and dropped the dough in too soon – the outside burned while the inside stayed raw. Now I use a candy thermometer and don't even think about frying until it reads exactly 325°F.
- Splitting those biscuits can be tricky.
- I've found that gently pulling from the sides rather than trying to peel from the top works best. Some stubborn ones might need a little help from a fork to get started, but don't force it or you'll tear the layers.
- The filling amount matters more than you'd think.
- That first tablespoon seems tiny, especially if you're a cherry lover like me, but resist the urge to overfill. My initial batch had explosive results when too much filling burst through the dough during frying. Now I stick to a level tablespoon and focus on sealing well.
- Sealing these properly is crucial.
- My first few attempts, I just pinched the edges together and called it good – big mistake. Now I pinch firmly all the way around, then roll the whole thing gently between my palms to ensure there are no weak spots where filling can escape.
- That oil temperature is non-negotiable.
- Too hot and you'll have burnt exteriors with raw centers; too cool and they'll absorb oil like a sponge and turn greasy. I keep my thermometer in the pot the whole time and adjust the heat constantly to maintain that sweet spot at 325°F.
- Babysitting them while frying pays off.
- I used to drop them in and walk away, but learned quickly that they need gentle rolling to brown evenly. I use a slotted spoon to give them a nudge every 30 seconds or so, which prevents dark spots and encourages even cooking.
My first attempt at these was actually with apple pie filling (it was what I had on hand), and while tasty, the cherry version stole my heart. I've experimented with different glazes too – a maple glaze works beautifully with apple filled bombs, and a lemon glaze pairs wonderfully with blueberry filling. The basic technique stays the same, but the flavor possibilities are endless.
Serving Ideas
Serve these while still slightly warm for the ultimate comfort food experience. For brunch gatherings, I arrange them on a cake stand alongside fresh fruit for a beautiful presentation. They make an incredible dessert paired with vanilla ice cream – the hot-cold contrast is amazing. For potlucks, I place them in a disposable aluminum pan and cover with foil – they stay perfectly warm for about an hour.
Tasty Twists
Try using different pie fillings for variety – blueberry, apple, and peach all work beautifully with the same technique. For a fall twist, add a sprinkle of cinnamon to the glaze when using apple filling. Around the holidays, I sometimes add a drop of almond extract to the cherry filling for a more complex flavor. For a fun bite-sized dessert platter, make a variety of flavors and arrange them together – your guests will love trying different versions.
Keeping Fresh
These are definitely best enjoyed the same day they're made – the contrast between crisp exterior and soft middle is at its peak. If you need to make them ahead, skip the glaze and store in an airtight container at room temperature for up to a day. Reheat in a 300°F oven for about 5 minutes to crisp them back up, then glaze while still warm. I wouldn't recommend refrigerating them as the texture changes significantly.
 Pin it
I've made these cherry pie bombs for countless gatherings, late-night cravings, and even as a birthday "cake" alternative for my cherry-obsessed niece. There's something so satisfying about transforming simple ingredients into something that makes people's eyes light up. The process has become almost therapeutic for me – the rhythmic assembly, the careful frying, the meditative glazing. What started as a shortcut to cherry pie satisfaction has become one of my signature treats – the one that friends text me about when they know I'm bringing dessert to an event.
Frequently Asked Questions
- → Can I use a different pie filling?
- Absolutely! Apple, blueberry, strawberry or peach pie fillings all work great in this recipe. Just make sure to drain any excess liquid before using.
- → Can I bake these instead of frying?
- Yes, you can bake them at 350°F for about 15-18 minutes or until golden brown. They won't be quite as crispy, but they'll still be delicious.
- → Why do I need corn syrup in the glaze?
- The corn syrup helps create a smoother, shinier glaze that sets nicely. You can omit it, but your glaze may be a bit more matte in appearance.
- → What's the best way to maintain oil temperature?
- Use a deep-fry or candy thermometer and adjust your heat as needed. Working in small batches helps prevent the oil temperature from dropping too much.
- → How do I store leftovers?
- Store in an airtight container at room temperature for 1-2 days. They're best enjoyed fresh, as the texture changes slightly upon storage.