
 Pin it
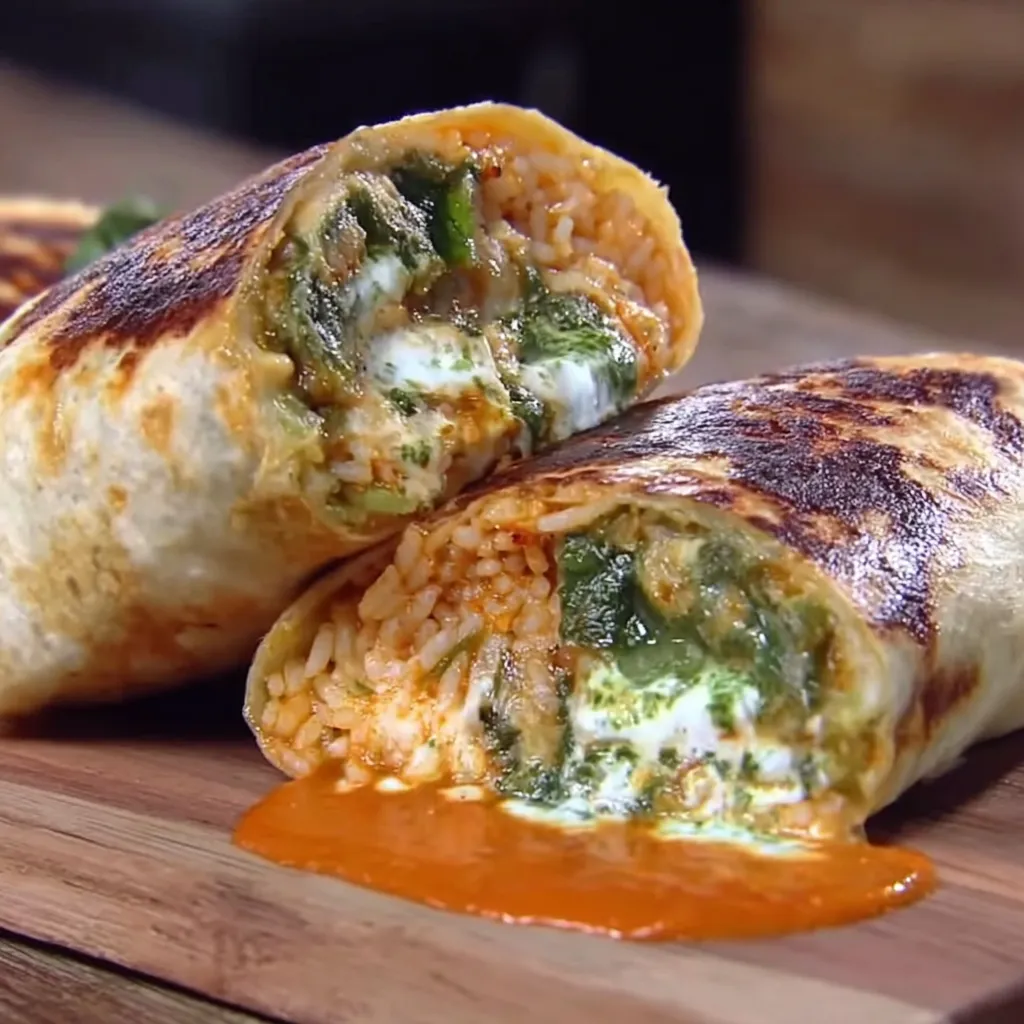
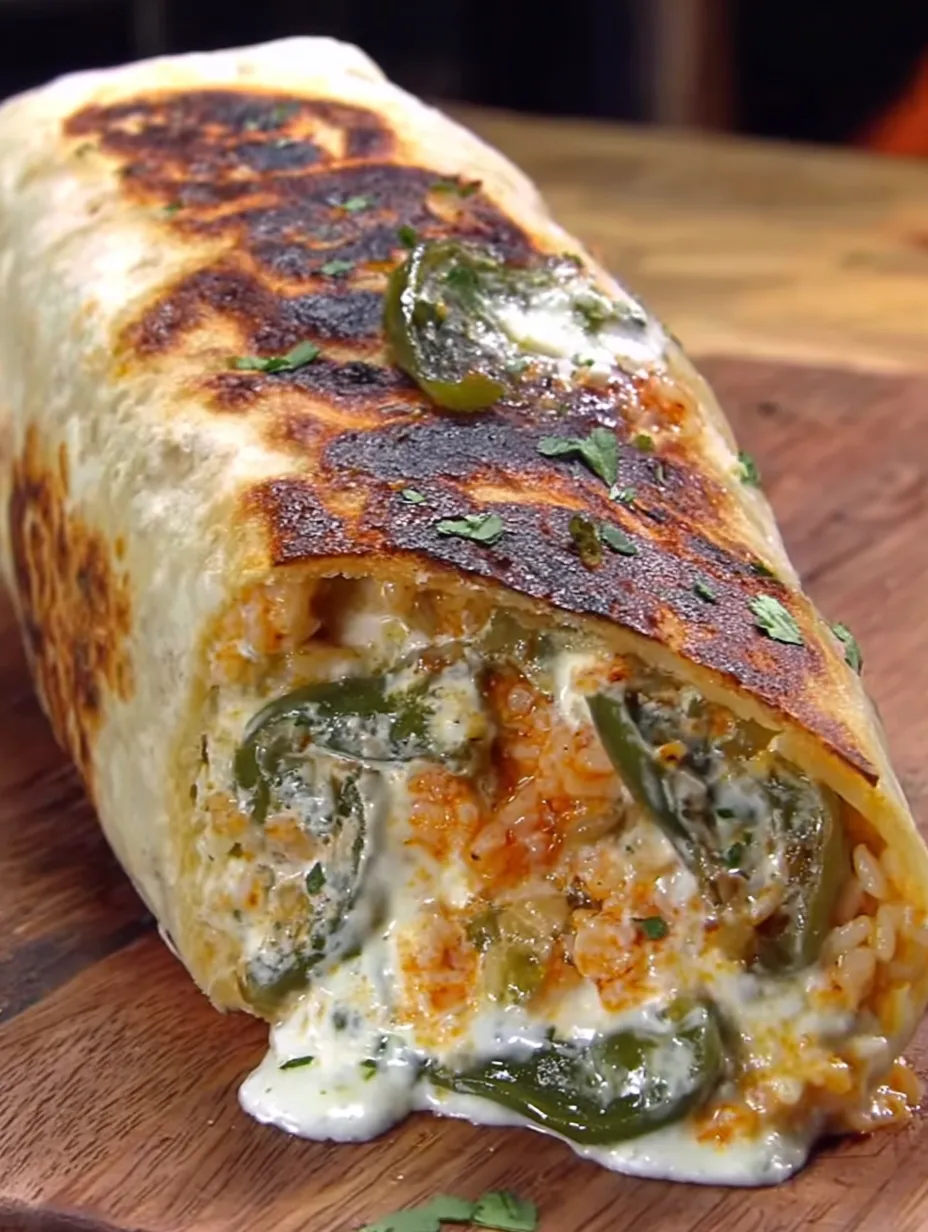
This chile relleno burrito started as one of those weekend kitchen experiments when I was craving comfort food but wanted something different. I had poblano peppers from the farmers market and leftover Mexican rice that needed using up. My husband thought I was nuts when I announced my plan to combine chile rellenos with burritos, but after watching me struggle through my first disastrous attempt, he actually helped me troubleshoot the technique. The crispy pepper stuffed with melted cheese, wrapped up with seasoned rice in a soft tortilla creates this amazing handheld meal that's become our go-to Saturday lunch.
My friend Rachel helped me perfect this after my first attempt turned into a complete kitchen disaster. I made the egg batter way too thin and everything just fell apart in the oil, creating this greasy mess that nobody wanted to eat. She suggested proper egg white technique and careful folding, which completely transformed the results. Now whenever I make these for parties, people always ask how I came up with the idea, and Rachel jumps in to tell everyone about my epic first failure.
Getting Your Ingredients Right
- Fresh poblano selection: Look for peppers that feel heavy for their size with smooth, tight skin that doesn't have soft spots or wrinkles
- Block cheese advantage: Monterey Jack from a block melts way better than pre-shredded stuff and doesn't have those weird additives
- Egg temperature matters: Room temperature eggs whip up much better than cold ones straight from the fridge
- Oil quality counts: Fresh oil that hasn't been used for other frying gives cleaner flavor without any off tastes
- Large tortilla necessity: You really need burrito-size flour tortillas to fit everything without the whole thing falling apart
- Flour consistency: All-purpose flour works perfectly for both the batter and dredging without getting too heavy
 Pin it
Making It Step by Step
- Getting those peppers ready
- Fire up your broiler or turn on a gas burner and get those poblanos completely blackened all over. This takes patience - about eight to ten minutes of turning them constantly until every bit of skin is charred and blistered. The blacker they get, the easier the skin comes off later. Once they're done, immediately stuff them into a paper bag or ziplock and seal it tight. Let them steam for fifteen minutes while you prep other stuff.
- Peeling technique that works
- After steaming, the skins should slip off pretty easily with your fingers or a paper towel. Don't stress about getting every tiny black bit - some charred pieces actually add good smoky flavor. Work gently so you don't tear the pepper flesh underneath. Once they're clean, make about a four-inch cut along one side and carefully scrape out all the seeds and white membrane parts.
- Stuffing without breaking
- Slide those cheese pieces into each pepper, pushing gently but firmly so they fill up the cavity without poking through the walls. If your peppers are on the smaller side, you might need to trim the cheese a bit. The goal is to get as much cheese in there as possible without overstuffing and causing tears.
- Mastering the batter
- This part took me forever to get right. Separate your eggs super carefully - any yolk in the whites prevents proper whipping. Beat the whites with one tablespoon of flour until they form peaks that hold their shape but aren't dry and stiff. In another bowl, beat those yolks for a couple minutes until they're pale and slightly thick.
- Folding without deflating
- Add the yolks to the whites and fold everything together using a rubber spatula. Cut down through the middle, scrape along the bottom, and fold up and over, turning the bowl as you go. This should take maybe ten to twelve gentle folds - don't overdo it or you'll knock out all that air you worked to get.
- Frying for perfect results
- Heat your oil to exactly 350 degrees in a heavy pan or cast iron skillet. Dust each stuffed pepper with flour, shake off the excess, then coat with that fluffy egg batter. Lower them carefully into the hot oil and fry about three minutes per side until golden brown all over. Use tongs to turn them gently so you don't break the coating.
My early attempts at this recipe taught me that shortcuts don't work here. I tried to rush the pepper steaming, which made peeling them nearly impossible. I also overmixed the batter several times, turning it into thick paste instead of light, airy coating. The oil temperature took practice too - I burned plenty of batches before figuring out that a candy thermometer was essential for consistent results.
Best Ways to Serve
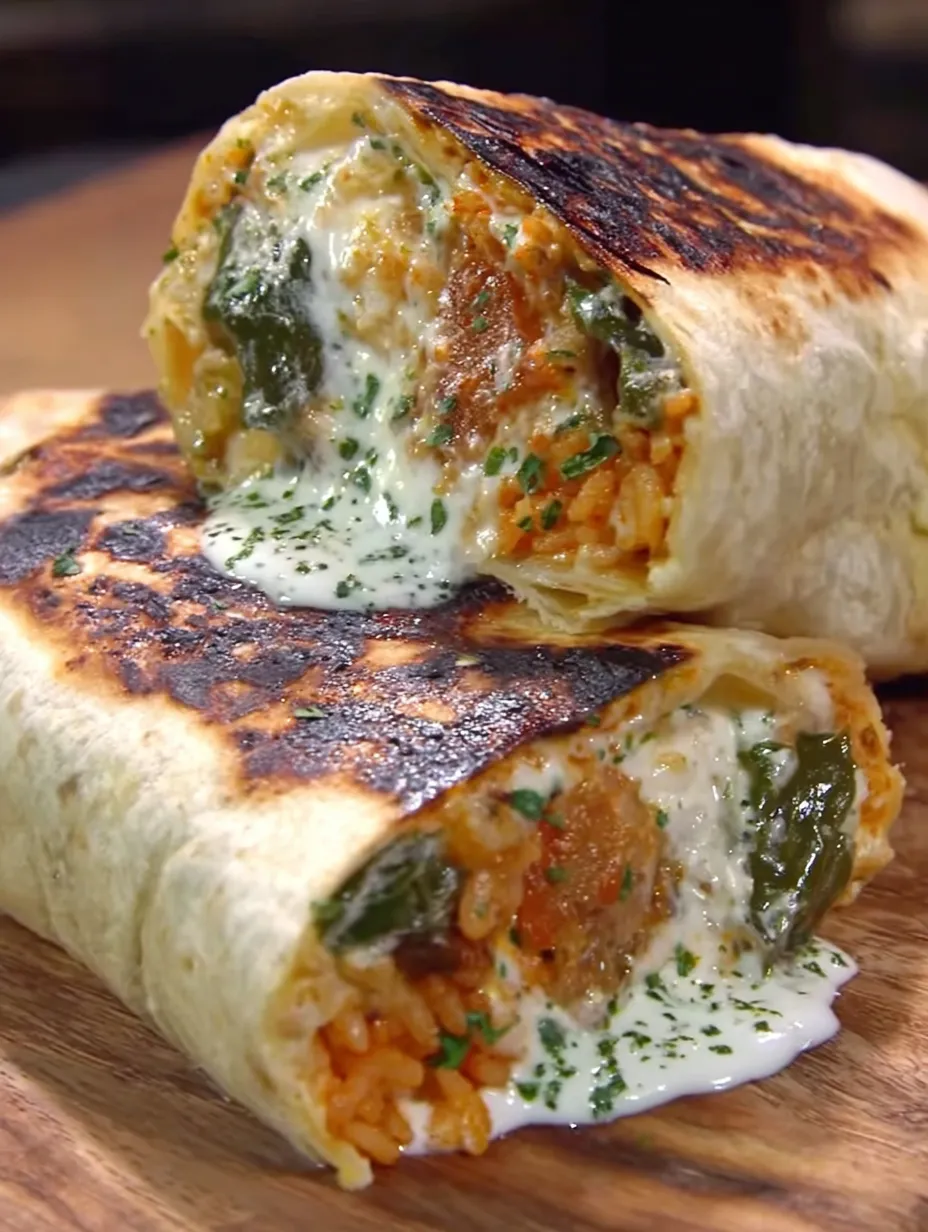
Cut these burritos in half right after wrapping to show off that gorgeous cross-section with the golden pepper and melted cheese. Serve them immediately while everything's still hot and the cheese is perfectly gooey. Some fresh salsa verde and sour cream on the side complement the rich flavors without overwhelming them. For bigger appetites, add some black beans to the rice mixture before wrapping everything up.
Making It Your Own
Try different cheese combinations like pepper jack for more heat or a mix of cheddar and Monterey Jack for deeper flavor. During corn season, I add roasted corn kernels to the rice for extra sweetness and texture. You can also experiment with different peppers - Anaheim chiles work great and are usually milder than poblanos. For breakfast versions, add scrambled eggs to the rice mixture and serve with hot sauce.
Leftovers and Storage
These taste absolutely best when eaten right away while the coating stays crispy and the cheese is still melted. The individual components keep well though - fried peppers last a couple days in the fridge and can be reheated in the oven to crisp up again. The rice stays good for four days refrigerated. If you need to reheat whole burritos, wrap them in foil and warm in a low oven, though the coating won't be quite as crispy.
 Pin it
This chile relleno burrito represents everything I love about creative home cooking. It takes familiar flavors and presents them in a completely new way that somehow makes perfect sense. The technique requires some practice, especially getting that egg batter right, but once you nail it, you'll have people convinced you're some kind of culinary genius. My family requests these for special weekend meals now, and I love how impressed guests get when they realize what they're eating.
Frequently Asked Questions
- → Can I use a different type of chile?
- Poblanos work best because of their size and mild heat, but you could try large Anaheim or Hatch chiles. Avoid jalapeños - they're too small to stuff properly.
- → What if I can't get the poblano skin off completely?
- Don't worry if some charred bits remain - they actually add flavor! Just remove the major pieces of blackened skin for the best texture.
- → Can I make the chile rellenos ahead of time?
- They're best eaten immediately for maximum crispiness, but you can fry them a few hours ahead and reheat in a 350°F oven for 5-10 minutes.
- → What's the secret to light, fluffy batter?
- Don't overmix when folding the yolks into the whites, and make sure your egg whites are beaten to medium-stiff peaks, not over-beaten.
- → Can I bake these instead of frying?
- You can, but you won't get the same crispy texture. Brush with oil and bake at 425°F for 15-20 minutes, turning once.