 Pin it
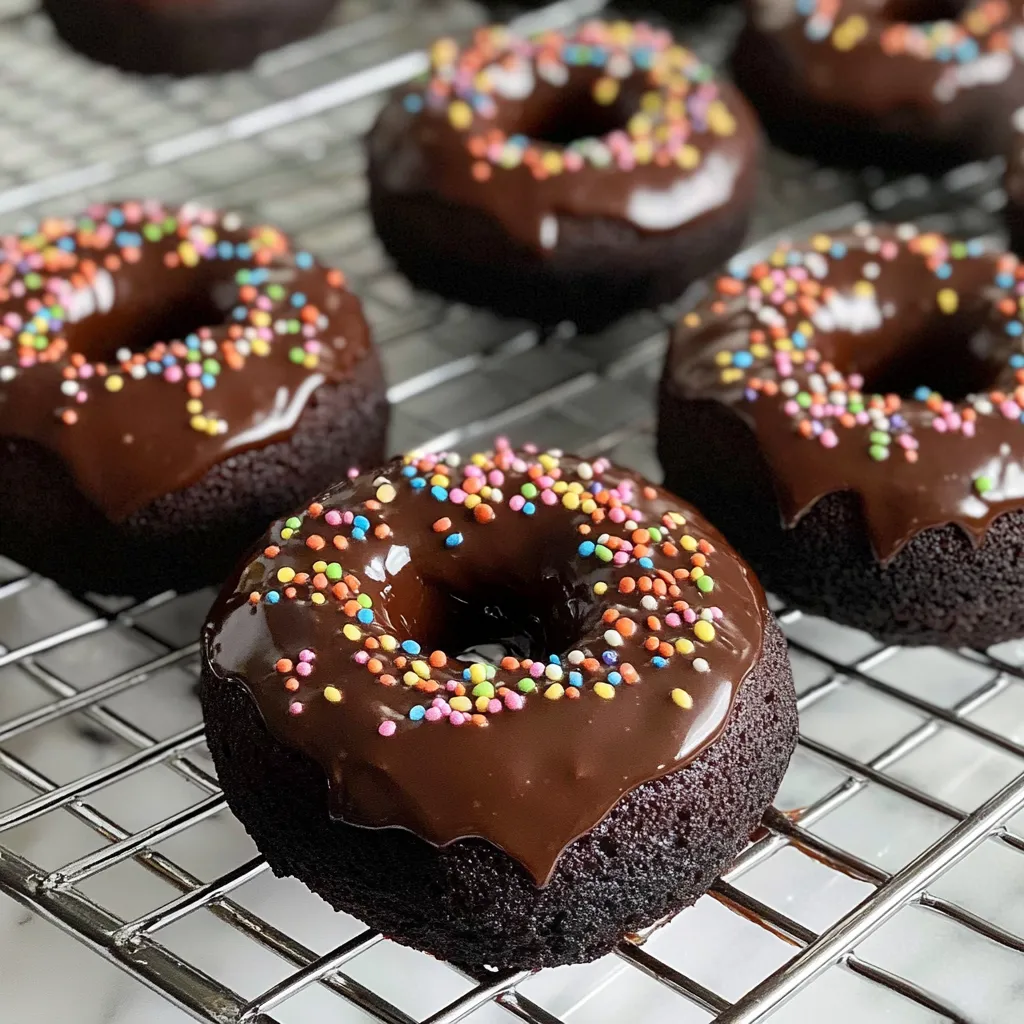
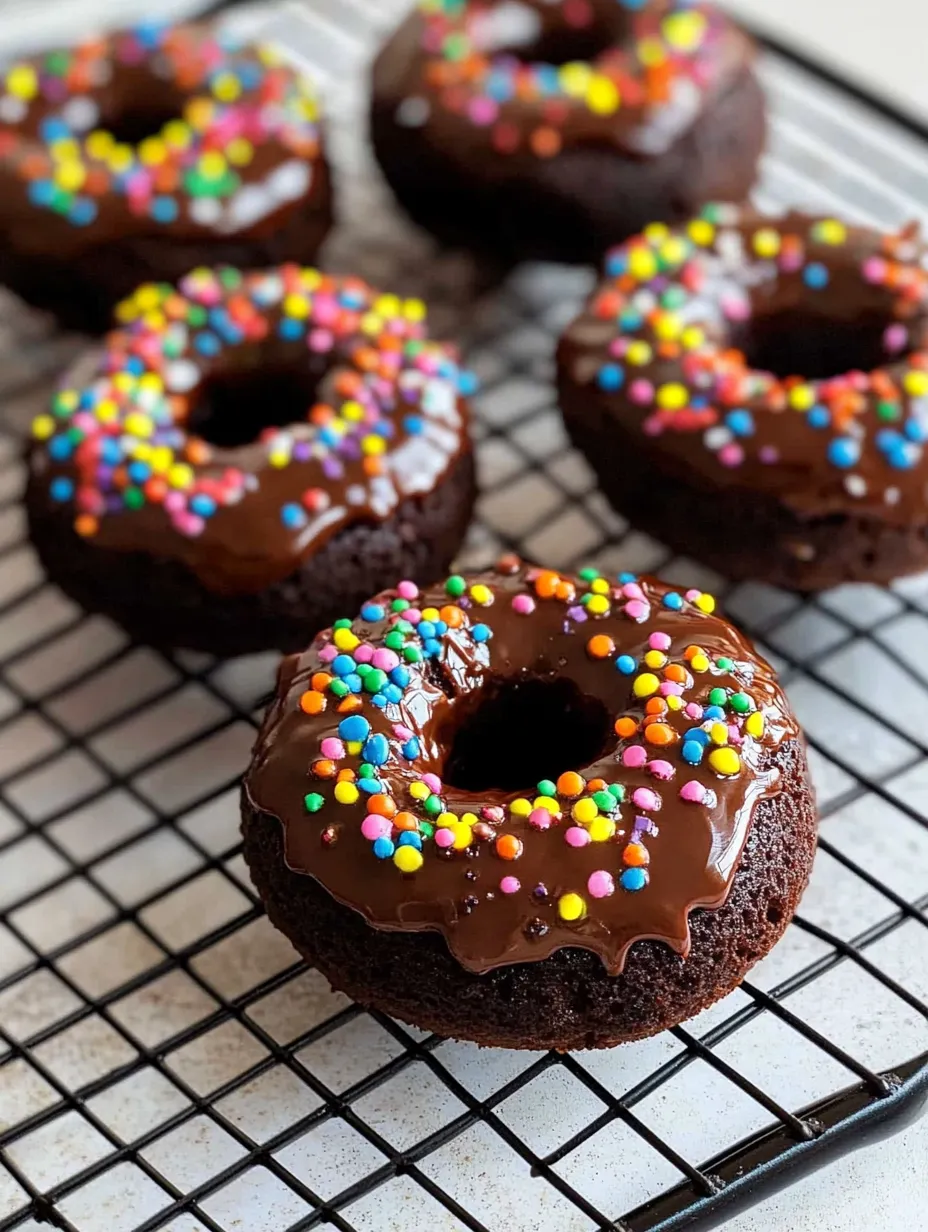
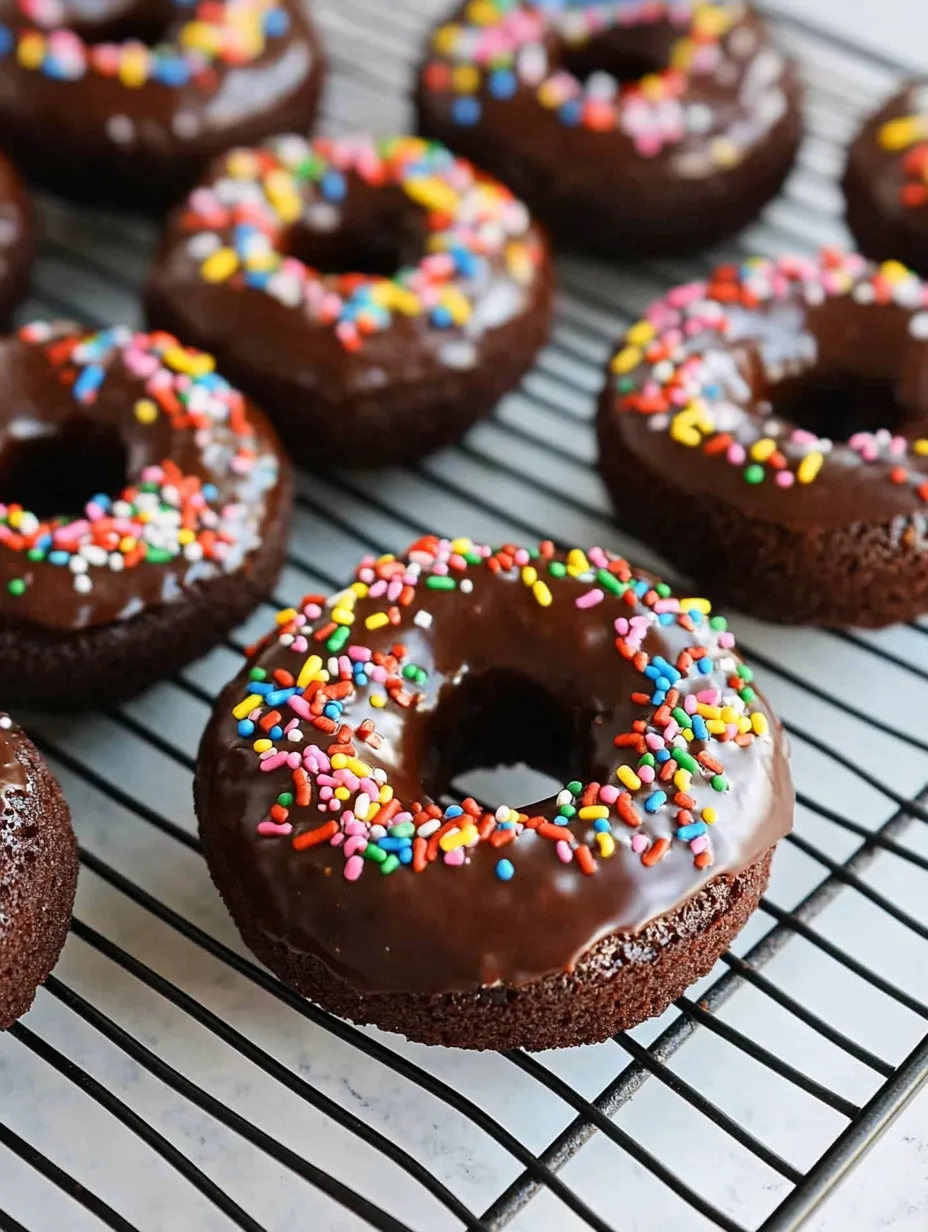
I discovered the magic of baked donuts during a rainy Sunday morning when my kids were begging for a sweet breakfast, but I wasn't about to heat up a pot of oil for frying. These chocolate baked donuts have since become our weekend tradition – all the satisfaction of a donut shop treat without the hassle of deep-frying. They have that perfect cake donut texture – moist, tender, and just dense enough to feel substantial – all crowned with a glossy chocolate glaze that sets up with the perfect crackle when you bite into it. The best part? They come together in about 30 minutes from start to finish.
Last weekend I brought these to a neighbor's brunch, and her seven-year-old daughter looked at me wide-eyed after taking her first bite and whispered, "How did you get the donut store to give you their secret recipe?" That's the kind of reaction these consistently get, even from dedicated fried donut enthusiasts.
Simple Ingredients
- All-purpose flour – Creates the perfect tender structure. No need for cake flour here – the cocoa powder already softens the proteins in regular flour, giving you that ideal texture.
- Cocoa powder – This is where the chocolate magic happens. Regular unsweetened cocoa works beautifully, but Dutch-processed cocoa creates an even deeper color and slightly less acidic flavor. Either works well – use what you have on hand.
- Milk and oil – The combination of these two creates the perfect moisture balance. The milk adds flavor while the oil ensures they stay tender for days (though they rarely last that long in my house).
- Vinegar – Don't worry, you won't taste it! When combined with the baking soda, it creates a reaction that helps the donuts rise beautifully without eggs. It's also the secret to their tender texture.
- Chocolate chips – For the glaze, choose a chocolate that you enjoy eating straight. Semi-sweet creates a balanced glaze that appeals to most people, while dark chocolate makes a more sophisticated, less sweet topping that coffee lovers particularly appreciate.
 Pin it
Creating Donut Magic
- Perfect batter consistency:
- The batter should be thick enough to spoon into the pan but still fluid enough to settle into an even surface. If it seems too thick, add an extra tablespoon of milk; if too thin, a tablespoon of flour brings it back to balance.
- Filling the pan properly:
- Don't overfill the donut cavities – about 2/3 full is perfect. The donuts rise considerably, and overfilling leads to losing that characteristic donut hole. A piping bag makes this process incredibly neat, but two spoons work just fine too.
- Knowing when they're done:
- The donuts are ready when they spring back lightly when touched and a toothpick inserted comes out with just a few moist crumbs – not wet batter. Overbaking even by a minute can dry them out, so start checking at the 13-minute mark.
- Glaze temperature matters:
- The glaze should be warm when dipping – this ensures the smoothest coating. If it starts to thicken as you work, place it back over low heat for a few seconds, stirring constantly.
- The perfect dip:
- Dip just the tops, then lift straight up and give a gentle twist as you turn the donut right-side up. This prevents drip marks on the sides and gives you that professional-looking finish.
My first attempt at these taught me a valuable lesson about patience – I tried to remove them from the pan while still hot and ended up with a pile of delicious crumbs instead of donuts. I've also experimented with different oils over the years, finding that while olive oil adds a subtle complexity that adults appreciate, a neutral oil like canola makes them more kid-friendly. The recipe has evolved to this perfect version after many Sunday mornings of "necessary" testing.
Serving Inspiration
Transform these chocolate baked donuts into an even more impressive treat by setting up a topping bar. After glazing, let everyone customize with their favorite sprinkles, chopped nuts, toasted coconut, or crushed candy. For brunch gatherings, I arrange them on a pedestal cake stand in a pyramid for an eye-catching centerpiece. They pair beautifully with hot coffee, cold milk, or even a glass of champagne for an adult brunch.
Sweet Variations
Once you've mastered the basic recipe, try some creative variations. Add a teaspoon of espresso powder to the batter for mocha donuts. Stir mini chocolate chips into the batter for double chocolate intensity. For a holiday twist, add a drop of peppermint extract to the glaze and sprinkle with crushed candy canes. Orange zest in the batter creates a chocolate-orange combination that's sophisticated and bright. For special occasions, top the glaze with edible gold dust or stars for a magical touch.
Storage Secrets
These chocolate baked donuts maintain their best texture for about two days when stored in an airtight container at room temperature. The glaze stays shiny and intact, unlike some donut toppings that become sticky overtime. If you need to store them longer, place them in a single layer in an airtight container with wax paper between any layers. They can be frozen for up to a month – thaw at room temperature for about an hour before enjoying.
 Pin it
I've made these chocolate baked donuts for countless weekend breakfasts, bake sale contributions, and even as an alternative to birthday cupcakes. There's something about their perfect chocolate intensity and familiar shape that brings joy to people of all ages. While they might not be traditional fried donuts, many friends have told me they actually prefer these – they're less greasy, more flavorful, and leave you feeling satisfied without the heavy feeling that sometimes follows a fried treat. Plus, the easy cleanup means you're more likely to make them again and again!
Frequently Asked Questions
- → Do I need a special pan to make these donuts?
- Yes, you'll need a donut pan, which is a special baking pan with ring-shaped cavities. If you don't have one, you can make these in a muffin tin for a similar taste, though they won't have the classic donut shape with a hole in the middle.
- → Can I make these donuts dairy-free?
- Yes! You can substitute the milk with almond milk, soy milk, or another plant-based milk in both the donuts and glaze. Use a plant-based butter alternative for the glaze. Just make sure your chocolate chips are dairy-free as well.
- → Why does this recipe use vinegar?
- The vinegar reacts with the baking soda to help the donuts rise and creates a tender texture. Don't worry—you won't taste it in the finished product! This reaction is similar to what happens in traditional buttermilk recipes.
- → Can I make the batter ahead of time?
- It's best to bake these donuts right after mixing the batter, as the leavening action starts immediately when the wet and dry ingredients are combined. However, you can mix the dry ingredients ahead of time and add the wet ingredients when you're ready to bake.
- → My glaze is too thick/thin. How can I fix it?
- If your glaze is too thick, add a little more milk or cream, one teaspoon at a time. If it's too thin, add more powdered sugar, one tablespoon at a time, until you reach your desired consistency. The glaze should coat the back of a spoon but still run off.
- → How do I know when the donuts are done baking?
- The donuts are done when they spring back when lightly touched and a toothpick inserted into the thickest part comes out clean or with a few moist crumbs. Be careful not to overbake, as they can quickly become dry.
