
 Pin it
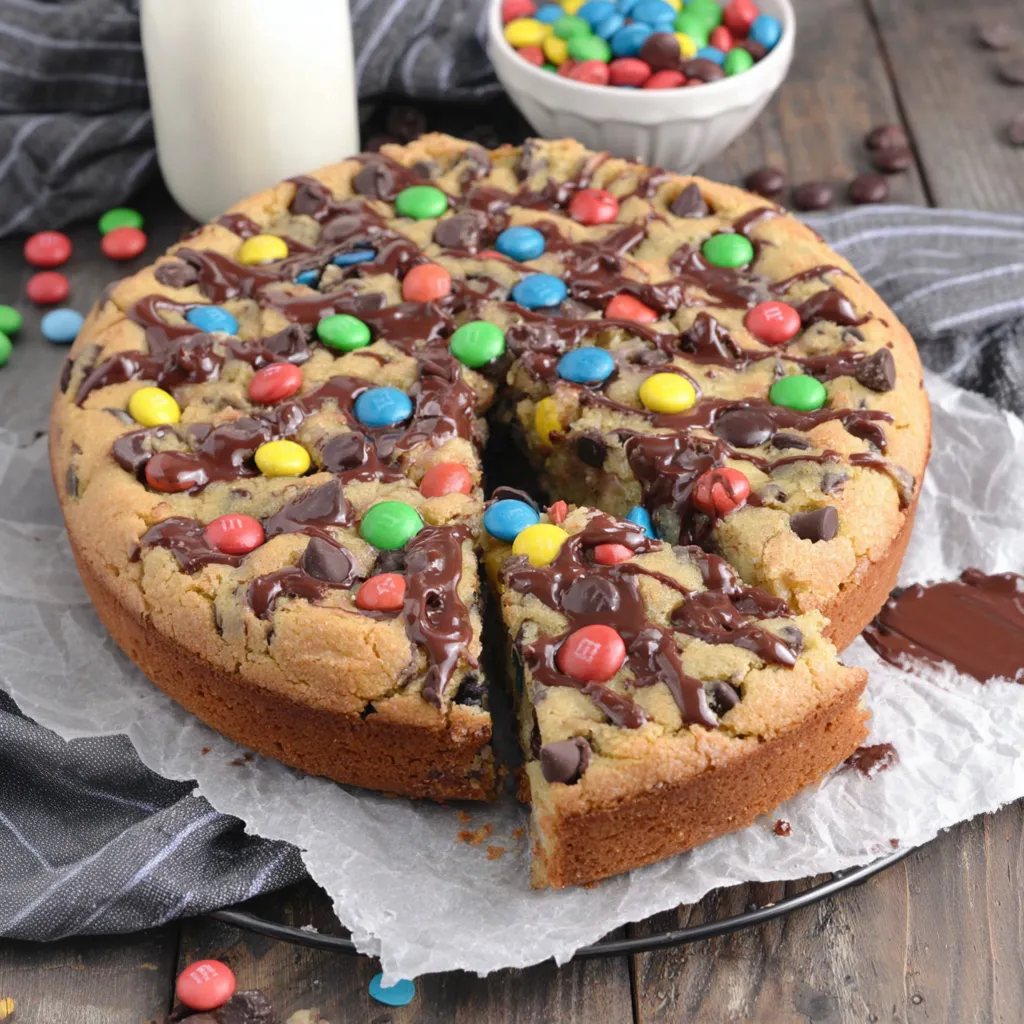
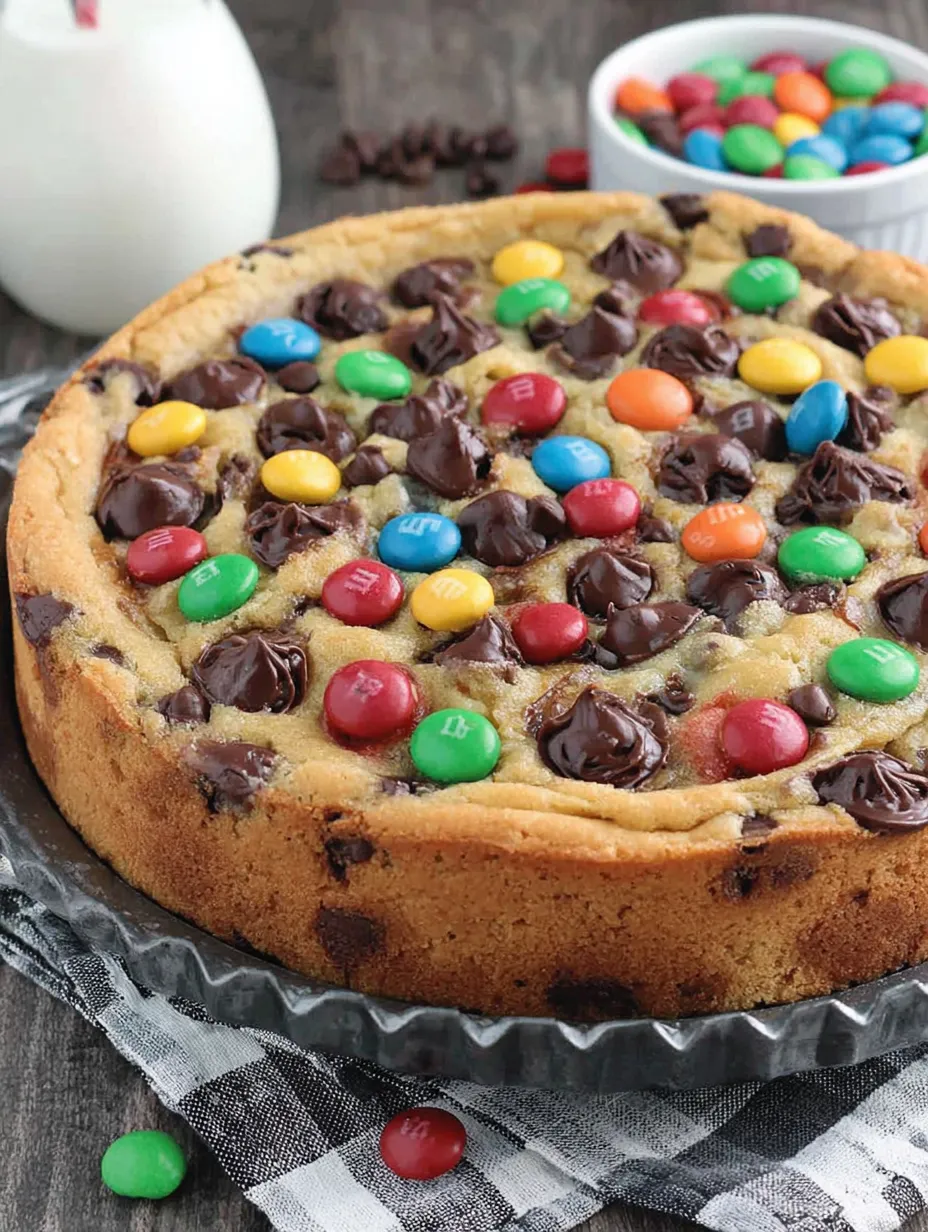
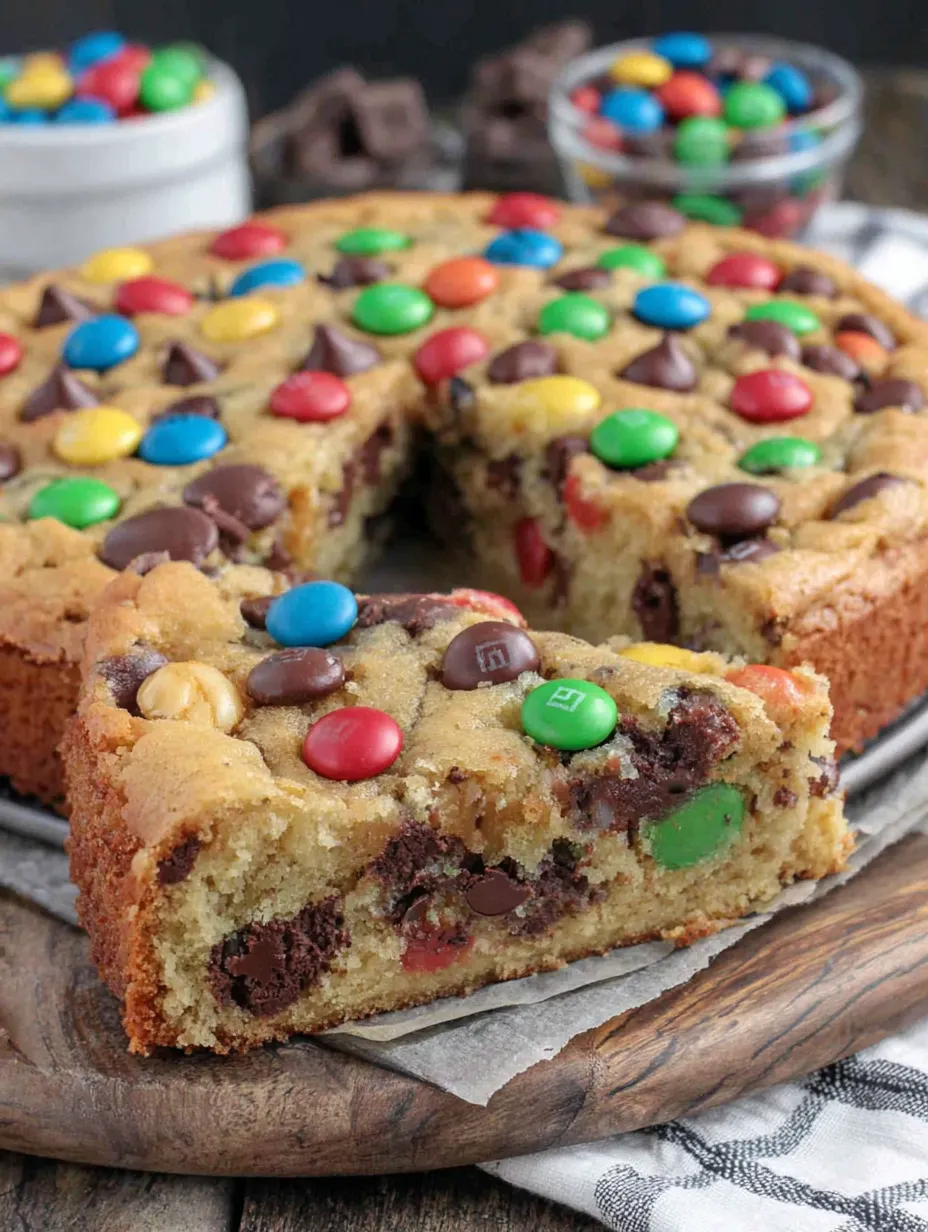
This chocolate chip cookie cake is the ultimate celebration dessert, offering the nostalgic charm of a bakery-style treat with the wholesome taste of home baking. Designed for birthdays, graduations, or "just because" moments, this giant cookie strikes the perfect balance between a chewy center and slightly crisp, golden edges. Loaded with melty chocolate discs and vibrant M&Ms, it provides a festive centerpiece that is far more satisfying than a traditional layer cake and significantly easier to decorate. It is a high-impact, low-stress recipe that brings the joy of a professional bakery into your kitchen in less than an hour.
I first turned to this recipe when I realized I’d forgotten to order a birthday cake for my daughter. I whipped this up the morning of her party, pressed in some pink M&Ms, and piped a quick message around the edge. The other parents were convinced I’d made a special trip to a boutique bakery. Now, it’s the only thing my kids request—they’ve officially retired traditional cake in favor of this giant cookie masterpiece.
Master Your Ingredients
- Room Temperature Butter: Essential for the creaming process. Properly softened butter incorporates air, ensuring the cookie cake is tender rather than a greasy, flat disc
- Brown Sugar: Use more brown sugar than white sugar to achieve that signature chewy, molasses-rich texture that defines a great cookie cake
- Chocolate Discs: These melt into wider pools of chocolate than standard chips, providing a better chocolate-to-dough ratio in every single bite
- M&Ms: Provide a necessary crunch and a pop of festive color. Reserving half for the top ensures the cake looks as good as it tastes
- Pure Vanilla Extract: Use high-quality vanilla to add depth and complexity to the dough; it’s the secret to making the flavors "pop"
- Eggs: Two large eggs at room temperature provide the binding and structure necessary to slice the cake into neat wedges
 Pin it
Creating Your Cookie Cake
- The Creaming Foundation:
- Beat the softened butter and sugars for 3–4 minutes until the mixture is pale and fluffy. This step is non-negotiable for a tender crumb. Add the eggs one at a time, followed by the vanilla, ensuring each is fully incorporated before moving on.
- Mixing and Folding:
- Whisk the dry ingredients separately, then stir them into the wet mixture just until the flour disappears. Fold in the chocolate discs and the first half of the M&Ms. Overmixing at this stage will develop gluten, turning your chewy cookie into a tough, bread-like cake.
- The Perfect Bake:
- Spread the dough evenly into a greased, parchment-lined 14-inch pizza pan. Bake at 375°F for 20–25 minutes. Pull it from the oven when the edges are golden but the center still looks slightly soft—the residual heat will finish the cooking while keeping the center chewy.
- Decoration Strategy:
- Immediately after baking, press the remaining M&Ms into the warm surface. This ensures they adhere perfectly as the cookie sets, creating a professional-looking finish without the need for additional frosting or "glue."
Through dozens of birthday parties, I’ve learned that the secret to the best texture is patience. I once used butter straight from the fridge and ended up with a dense, disappointing slab. Now, I let the butter sit out until it’s perfectly soft. I also discovered that if you wait too long to add the topping candies, they won't stick. You have about a 2-minute window after it leaves the oven to get those M&Ms positioned for a perfect look.
Creative Variations
Switch up the mix-ins to suit the season—red and green M&Ms for Christmas or pastels for Easter. For a richer flavor, swap the chocolate discs for peanut butter chips or white chocolate and macadamia nuts. If you want a more "grown-up" version, add a cup of chopped toasted pecans and a sprinkle of flaky sea salt over the top immediately after baking.
Storage and Freshness
This cookie cake actually improves after a day as the flavors meld. Store leftovers in an airtight container at room temperature for up to 5 days. It also freezes beautifully; wrap individual wedges in plastic wrap and freeze for up to 3 months. A quick 10-second zap in the microwave will bring a frozen slice back to melty, fresh-baked perfection.
 Pin it
Ultimately, this chocolate chip cookie cake is a celebration of simple joys. It proves that you don't need complicated techniques to create a dessert that makes people feel special. Once you see the smiles when this candy-studded masterpiece hits the table, you'll understand why it's been the star of our family celebrations for years.
Frequently Asked Questions
- → What size pan do I need?
- A 14-inch deep round pizza pan works best. You could use a slightly smaller pan, but the cookie will be thicker and may need a few extra minutes to bake.
- → Can I use chocolate chips instead of discs?
- Yes! Chocolate chips work fine, they just don't create as big of chocolate pockets as the discs do. Either way tastes great.
- → How do I know when it's done?
- The edges should be golden brown and the center should look set but still slightly soft. It'll firm up as it cools. Don't overbake or it'll be dry.
- → Can I add a message on top?
- Absolutely! Use chocolate or vanilla frosting in a piping bag to write a birthday message or add decorative swirls around the edge, just like the bakery does.
- → How long does this keep?
- Store covered at room temperature for up to 3 days. You can also freeze slices wrapped individually for up to 3 months.
- → Can I make this in a regular cake pan?
- You could use a 9x13 inch pan, but it won't have that classic round cookie cake shape. The baking time will be similar - just watch for golden edges.