
 Pin it
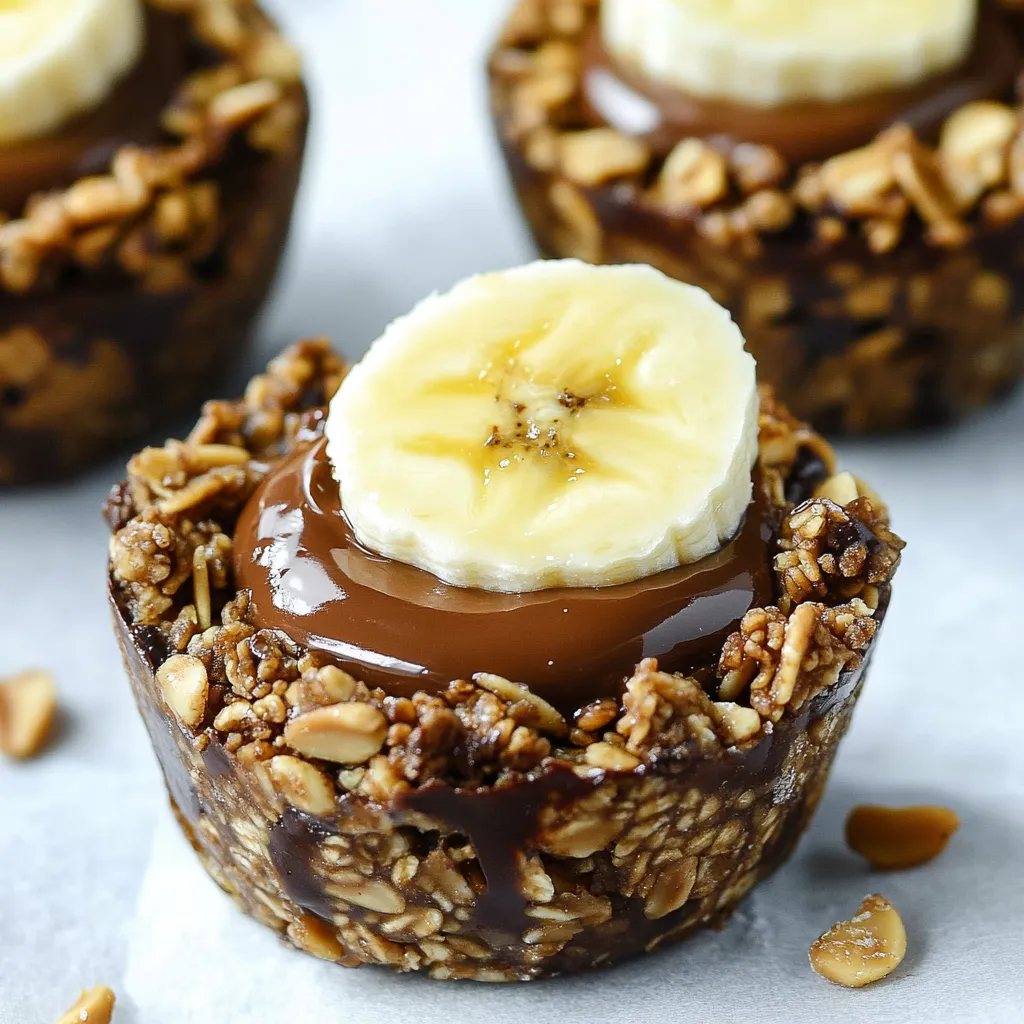
These chocolate granola cups have become my breakfast hero on busy mornings. I created them last year during a particularly chaotic week when I needed something grab-and-go that would keep me satisfied until lunch. The combination of crunchy chocolate-coated granola with that creamy peanut butter center creates this perfect balance of textures and flavors that feels like a treat but actually provides lasting energy.
Last month, I made a batch for my hiking group's early morning meetup. My friend Jen, who typically brings fancy energy bars, took one bite and immediately asked for the recipe. Three others in the group have since texted me photos of their own versions. There's something so satisfying about that moment when the peanut butter oozes out as you bite into the crunchy chocolate shell.
Simple Ingredients
- Honey granola: Use your favorite brand, but one with clusters works best for texture. I sometimes use homemade when I have it on hand.
- Chopped peanuts: These add an extra crunch and reinforce the peanut flavor. Toast them lightly for even more flavor.
- Dark chocolate: The slight bitterness balances the sweet granola perfectly. I prefer around 60% cacao, but use what you enjoy.
- Peanut butter: Natural works fine for the filling, but for the chocolate mixture, a conventional creamy variety blends better with the chocolate.
- Honey: This natural sweetener also acts as the binding agent that helps the cups hold their shape.
- Coconut oil: Just a touch helps the chocolate melt smoothly and gives the cups a better set.
 Pin it
Cup-Making Magic
- Granola preparation
- Crushing any large clusters creates a more uniform texture that holds together better. Don't pulverize it entirely - you still want some texture.
- Chocolate consistency
- The chocolate mixture should be completely smooth before adding to the granola. Any lumps now will be impossible to fix later.
- Mixture texture
- You're looking for that sweet spot where the mixture is wet enough to hold together when pressed but not so wet that it won't set up. If needed, adjust with more granola or honey.
- Proper packing
- When pressing the mixture into the cups, use the back of a spoon to really compact it, especially around the edges. This prevents crumbling when you remove them from the pan.
- Creating the dent
- Make the center depression deep enough to hold a good amount of peanut butter but not so deep that you break through the bottom of the cup.
- Chilling strategy
- The quick freeze helps the cups set up firmly enough to remove from the pan, but don't leave them in too long or they'll be difficult to remove. Aim for just firm, not frozen solid.
I developed this recipe after getting tired of spending $3 each on similar treats at my local coffee shop. My first attempt was too crumbly, falling apart at first bite. After adjusting the ratio of honey and chocolate to granola, I found the perfect binding formula. My teenage son, who normally rushes out the door without breakfast, now grabs one of these on his way to school - parenting win!
Serving Ideas
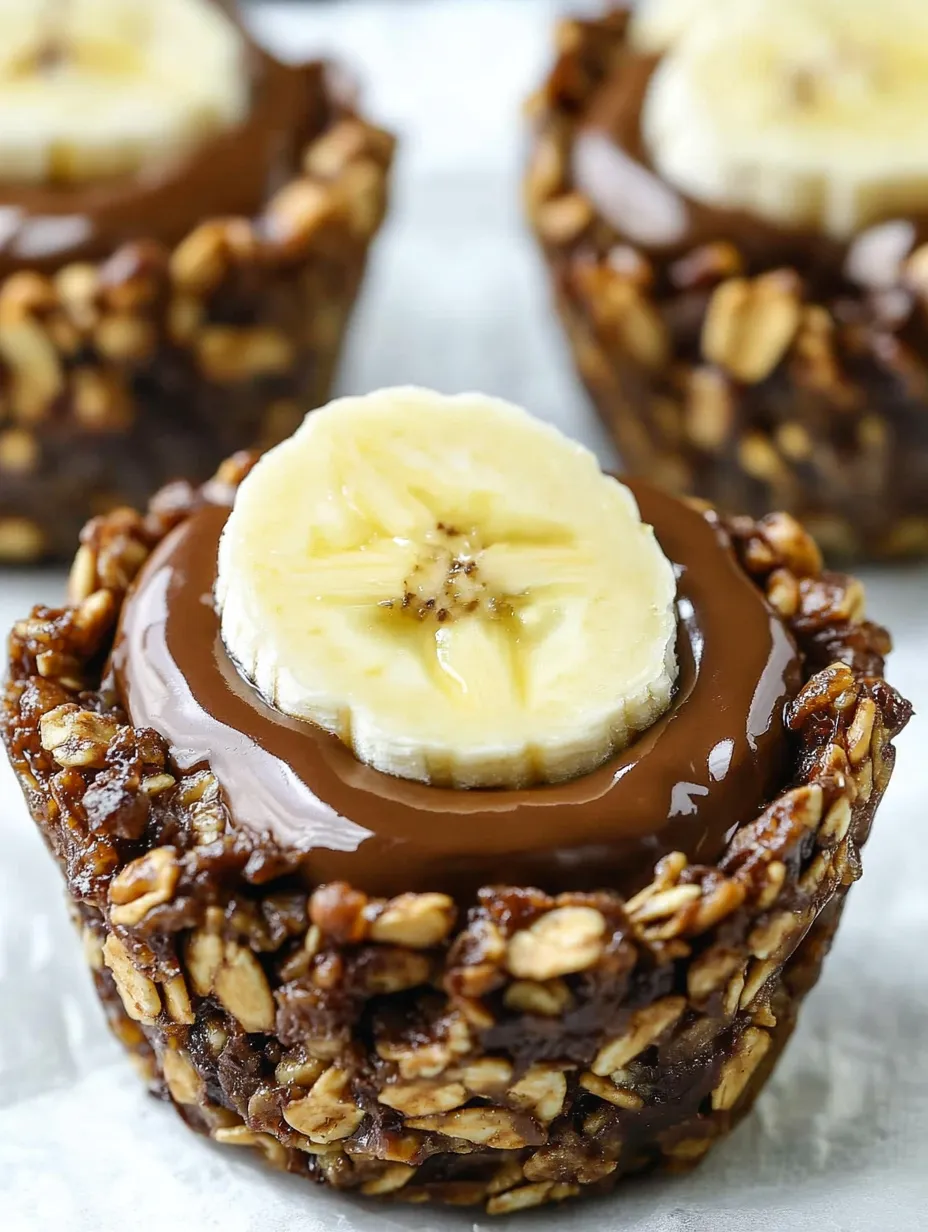
Serve these cups as part of a brunch spread with fresh fruit and yogurt. For an elevated dessert version, drizzle with a little extra melted chocolate before serving. They make a perfect afternoon snack with coffee or tea when you need a little energy boost.
Tasty Twists
Try almond butter or cookie butter as the filling for variation. Add mini chocolate chips to the granola mixture for extra chocolate flavor. For a holiday version, mix some crushed peppermint candies into the chocolate coating.
Storage Smarts
These keep beautifully in the refrigerator for up to a week in an airtight container. For longer storage, freeze them for up to 3 months. I often make a double batch and freeze half for emergency snacks. Let frozen cups thaw in the refrigerator overnight or at room temperature for about 30 minutes.
 Pin it
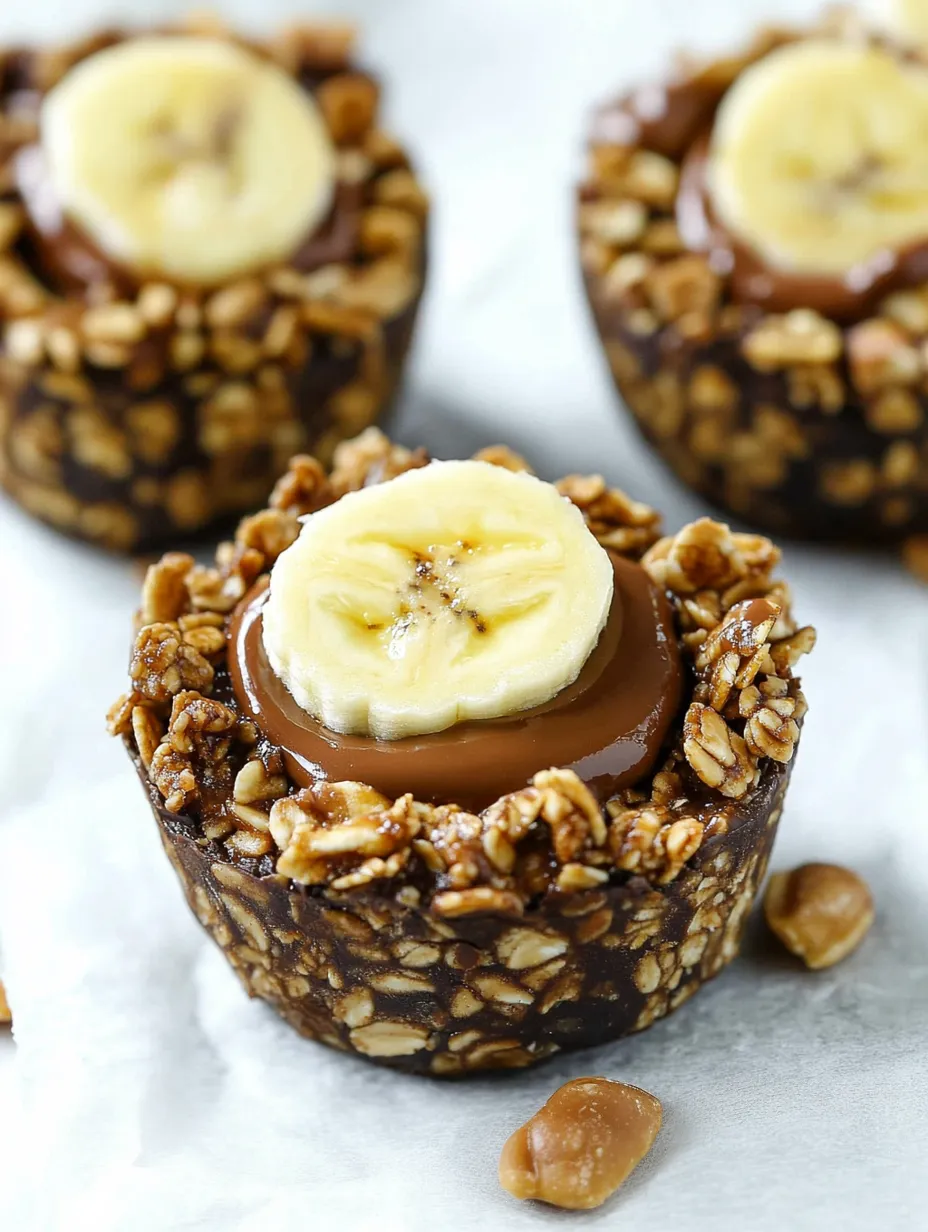
I've made these chocolate granola cups for countless breakfast meal preps, hiking trips, and as afternoon treats for my kids and their friends. There's something so satisfying about their portability and the way they walk that fine line between nutritious and indulgent. The fact that I can whip them up in about 15 minutes with ingredients I always have on hand makes them my go-to when I need something special without much effort.
Frequently Asked Questions
- → Can I use a different type of nut butter?
- Absolutely! Almond butter, cashew butter, or sunflower seed butter all work well as substitutes for the peanut butter.
- → How do I make these gluten-free?
- Simply use a certified gluten-free granola and check that all other ingredients are labeled gluten-free.
- → Can I make these without nuts?
- Yes! Replace the peanuts with seeds like sunflower or pumpkin seeds, and use sunflower seed butter instead of peanut butter.
- → What's the best way to remove the cups from the pan?
- After freezing, let them sit at room temperature for 1-2 minutes, then run a thin knife around the edges before gently lifting them out.
- → Can I use a silicone muffin pan instead?
- Yes! Silicone pans work wonderfully for this recipe and make removing the cups much easier, often without any additional greasing needed.