 Pin it
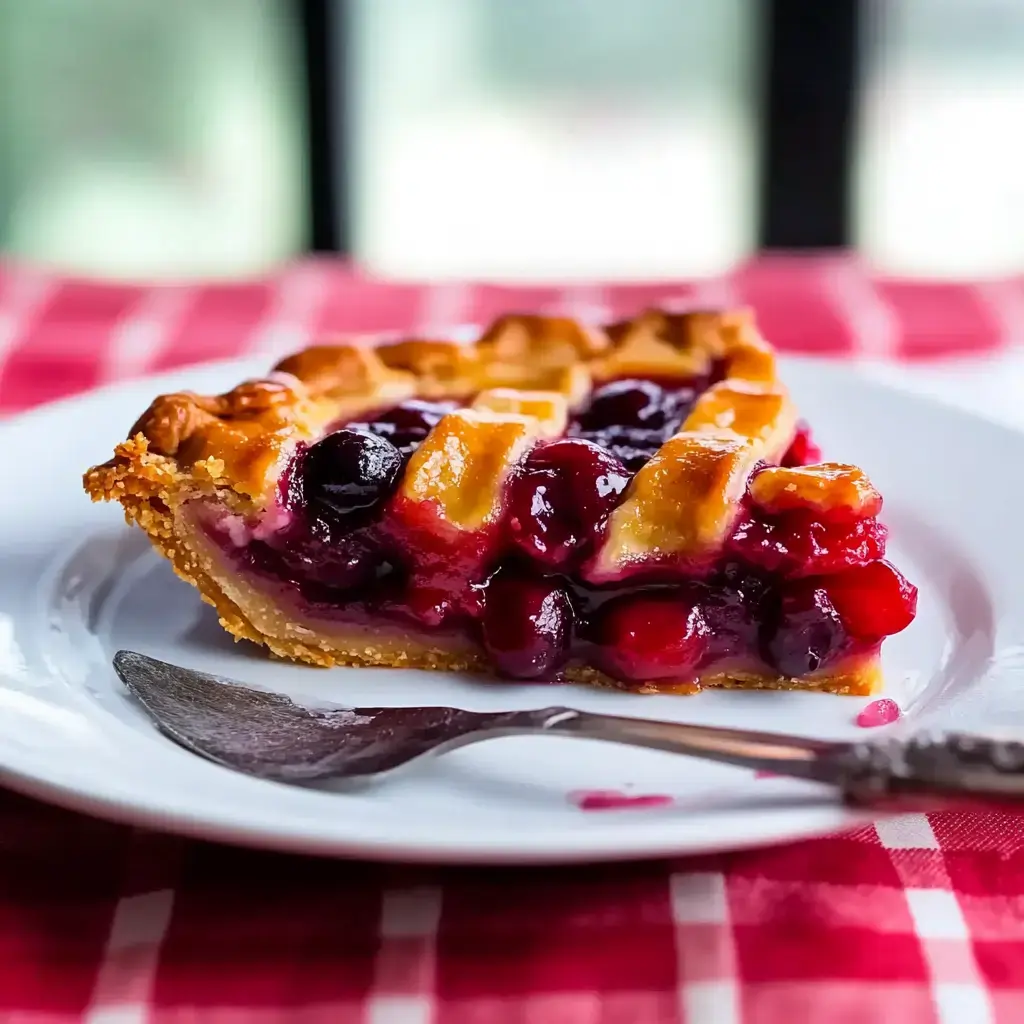
After years of testing and tweaking I've finally cracked the code to making the perfect cherry pie. Gone are the days of soggy bottoms and runny filling. This recipe brings together precise measurements and simple techniques to create a pie that's absolutely dreamy crispy crust perfect filling and flavors that'll make your taste buds dance.
The Science Behind Perfect Pie
What makes this pie special isn't just luck it's all about getting the ratios right. I discovered that using tapioca starch instead of flour creates this silky smooth filling that's never cloudy. And measuring sugar by weight rather than volume was a game changer for consistent results every single time.
What You'll Need
- Cherries: 1,000 grams (about 2.2 pounds), fresh or frozen, pitted.
- Sugar: 250 grams (25% of cherry weight), adjusted with lemon juice and salt as needed.
- Tapioca starch: 55 grams (5.5% of cherry weight), finely powdered.
- Lemon juice: Freshly squeezed, for balancing sweetness.
- Salt: A pinch to enhance flavors.
- Pie crust: Two rounds, one for the base and one for the lattice or full top, chilled.
- Optional: Toasted sugar for a nuanced sweetness, or cherry pits for whipped cream infusion.
Let's Bake
- Prepare the Filling
- Combine pitted cherries, sugar, tapioca starch, lemon juice, and salt in a large bowl. Mix thoroughly and let sit for 15 minutes to allow the flavors to meld.
- Assemble the Pie
- Roll out the bottom crust and press it into a tempered-glass pie plate. Add the prepared cherry filling, spreading evenly. Top with a lattice crust or a full crust, sealing the edges and trimming any excess.
- Bake the Pie
- Preheat the oven to 425°F (220°C). Bake the pie for 20 minutes, then reduce the temperature to 350°F (175°C) and bake for an additional 40 minutes, or until the filling bubbles and the crust is golden brown.
- Cool and Serve
- Let the pie cool completely to set the filling before slicing. Serve with whipped cream or a scoop of vanilla ice cream for an indulgent treat.
 Pin it
The Magic of Tapioca
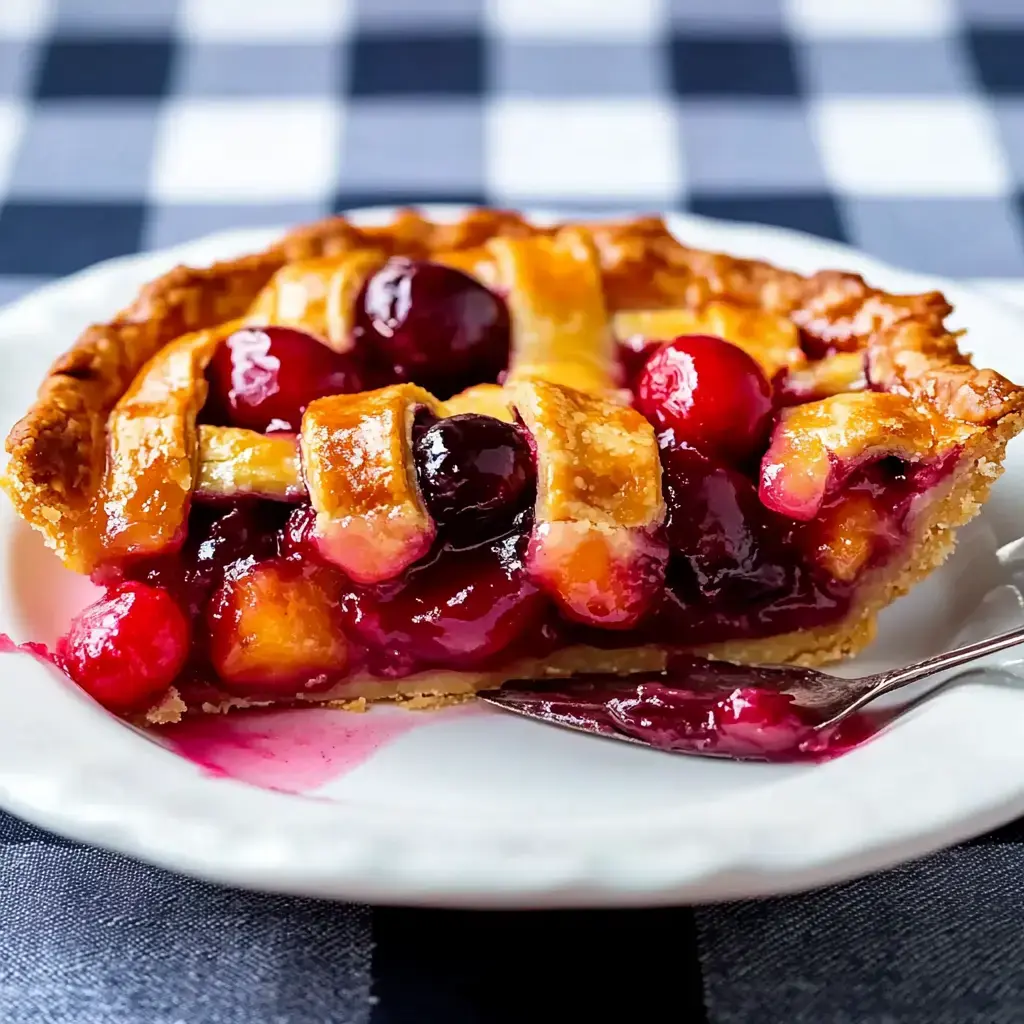
Trust me on using tapioca starch it's the secret weapon for perfect pie filling. I tried everything from flour to cornstarch but tapioca gives you this gorgeous glossy filling that holds its shape when sliced. No more soup in a crust disasters.
Getting That Perfect Balance
The 25% sugar rule changed my pie game forever. My grandmother used to say pie making was all about feeling but I've found that being precise with measurements makes a huge difference. Don't skip the pinch of salt it makes the cherry flavor pop in the most amazing way.
Level Up Your Sugar
When I discovered toasted sugar it took this pie from great to extraordinary. Just pop some sugar in the oven at 300°F and let it slowly caramelize. The subtle toffee notes it adds are absolutely incredible with the cherries.
 Pin it
Don't Toss Those Pits
Here's a pro tip I learned from a pastry chef friend save those cherry pits and steep them in cream. The almond-like flavor they add to whipped cream is absolutely magical with the pie. Just strain them out before whipping.
Your Pan Matters
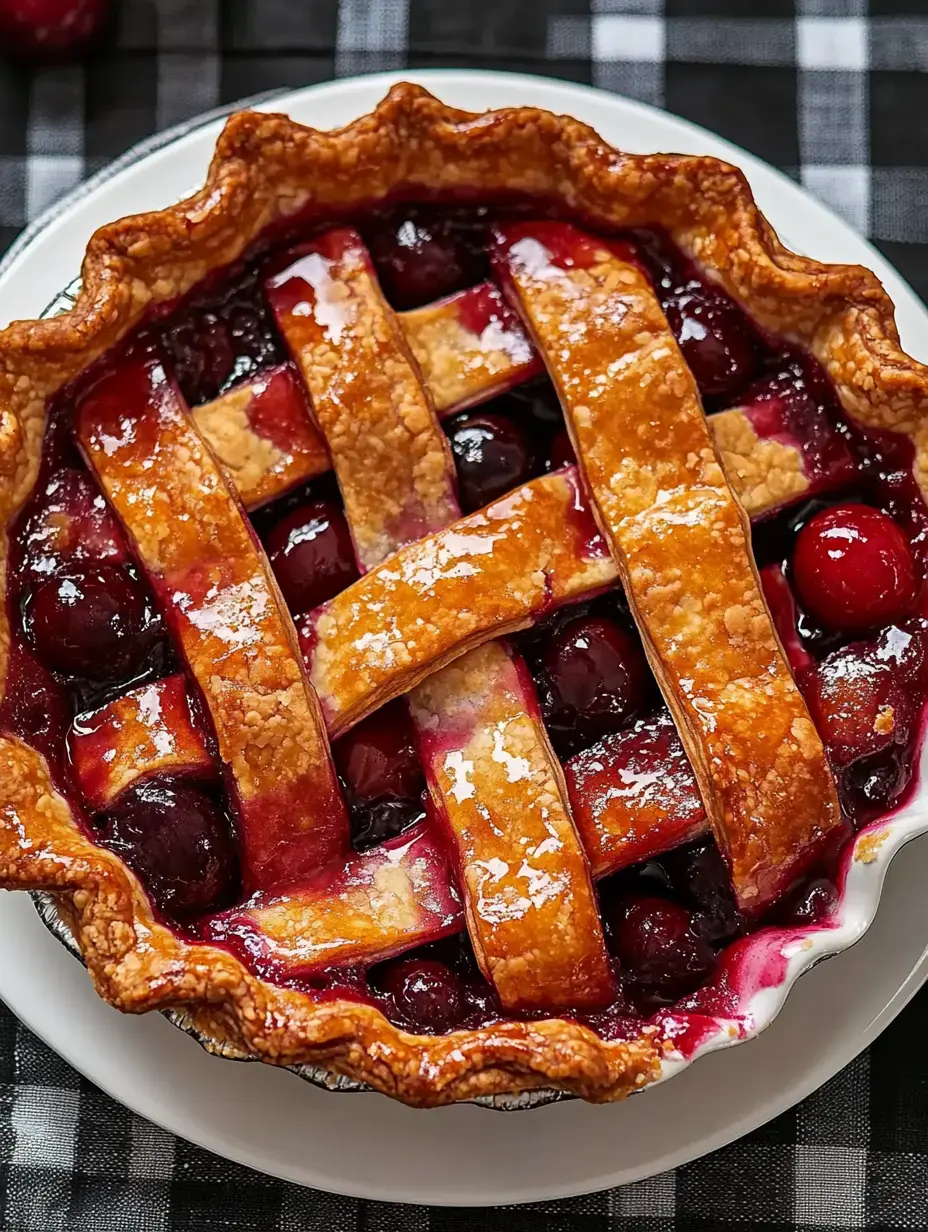
Glass pie plates have become my go-to after countless experiments. I tried ceramic metal you name it but nothing beats tempered glass for that perfectly crisp bottom crust. You can actually see when the bottom is done browning which takes all the guesswork out of baking.
A Classic Pairing
There's nothing quite like a slice of warm cherry pie with a cup of strong black coffee. This combo brings back memories of late night diners and that perfect balance of sweet and bitter. My husband says it's like having dessert and an after dinner coffee all in one perfect moment.
 Pin it
Fresh vs Frozen Cherries
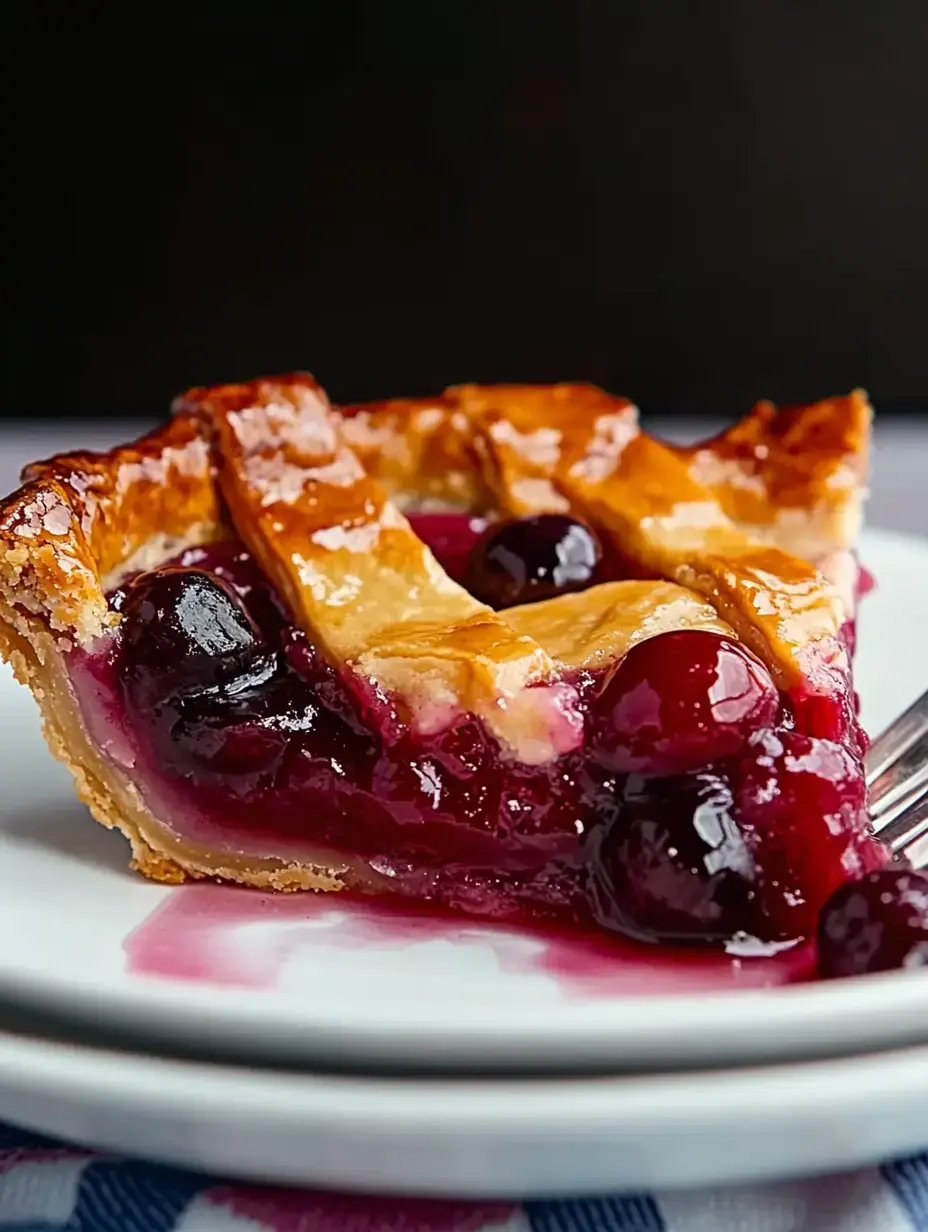
Living in Michigan I'm spoiled with fresh cherries in summer but I've tested this recipe extensively with frozen ones too. The key is thawing and draining them well before using. Sometimes I even save that cherry juice for cocktails nothing goes to waste in my kitchen.
The Science at Work
My food scientist friend explained why this recipe works so perfectly. The sugar and tapioca work together like a dance team the sugar slows down the tapioca's thickening just enough to let the crust get golden and flaky before the filling sets. It's kitchen chemistry at its finest.
Rolling Out Success
After years of struggling with sticky dough I finally learned the parchment paper trick. Roll your crust between two sheets and you'll never have to worry about it sticking to the counter again. Plus transferring it to the pie plate becomes absolutely foolproof.
Keep It Fresh
While this pie never lasts long in my house when it does survive more than a day I've found the best way to store it. Keep it covered in the fridge for up to three days and pop slices in a warm oven for 10 minutes before serving. The crust crisps right back up like it's fresh baked.
 Pin it
Make It Extra Special
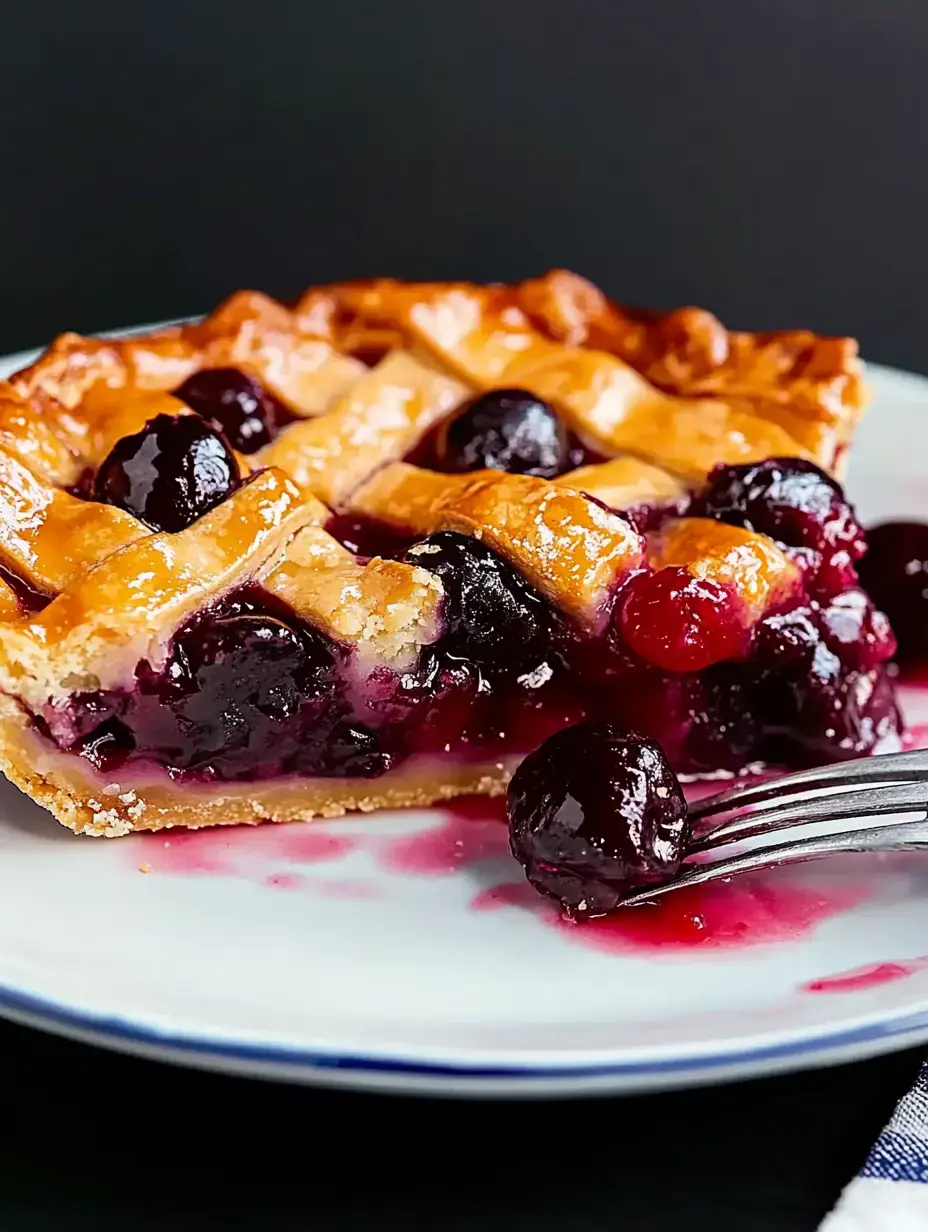
Want to really impress? Serve your pie with a scoop of good vanilla ice cream or that cherry pit whipped cream I mentioned. Sometimes I drizzle a bit of melted dark chocolate over the top too. The combination of warm pie cold ice cream and chocolate is absolutely heavenly.
Frequently Asked Questions
- → Can I use frozen cherries?
Yes, use an equal weight of frozen cherries, thawed until softened. A mix of sweet and sour cherries gives the best flavor.
- → Why do I need to check internal temperature?
The pie needs to reach 213°F (100°C) to ensure the filling properly sets. Timing varies based on pie plate and crust coverage.
- → How long should the pie cool?
Cool until internal temperature reaches 85°F (29°C), about 3 hours. This ensures proper filling consistency.
- → Can I make this ahead?
Fresh cherries can be pitted and refrigerated up to 3 days. The baked pie keeps 3 days at room temperature.
- → Is egg wash necessary?
Egg wash gives the crust a golden sheen but is optional and doesn't affect taste or texture.
