
 Pin it
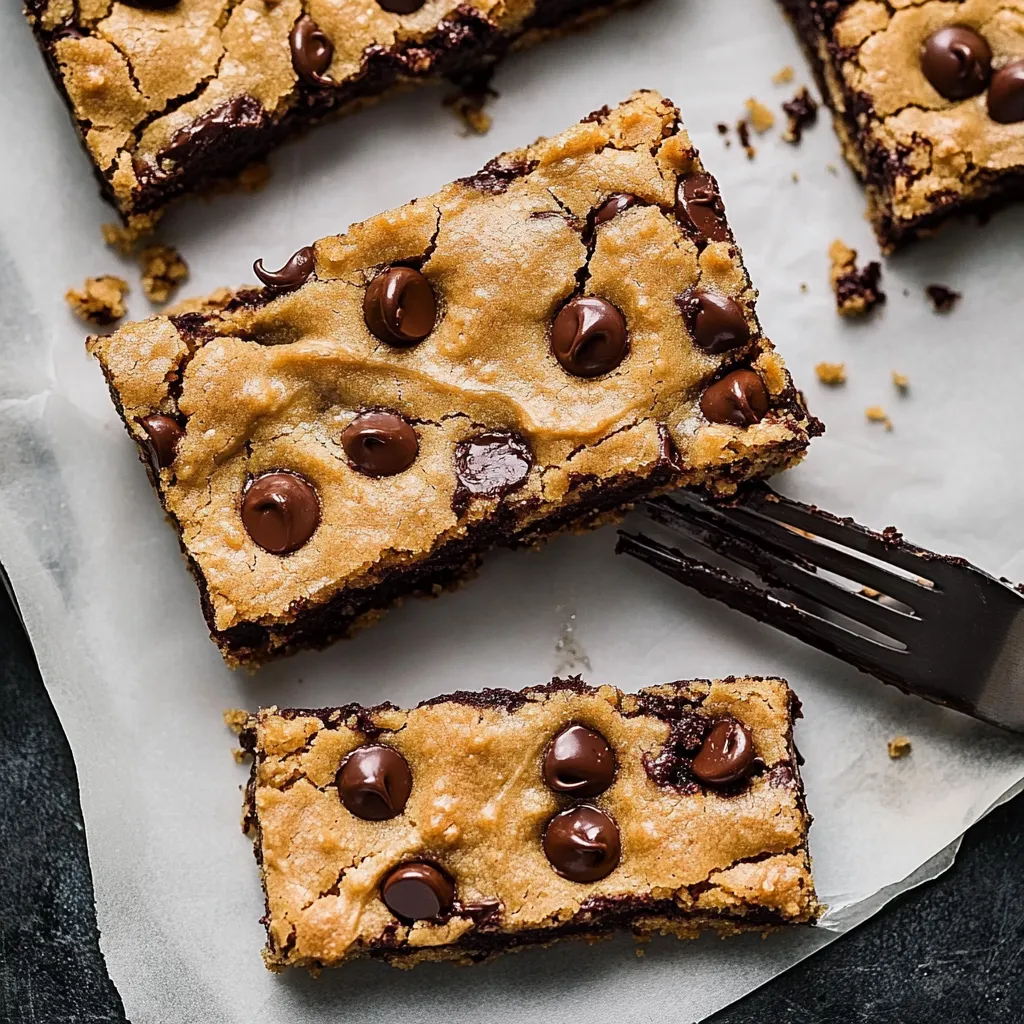
Nothing beats the comforting aroma of classic chocolate chip cookies baking in the oven - except maybe these cookie bars, which deliver all that nostalgic flavor with half the effort. After countless batches in my kitchen, I've discovered that transforming beloved chocolate chip cookies into bars creates something even more irresistible: a perfect combination of chewy edges, soft centers, and melty chocolate in every square. The beauty lies in their simplicity - one pan, classic ingredients, and no scooping required.
Last weekend, I served these still slightly warm at my daughter's study group. The way those chocolate chips created perfect pockets of melted goodness had even the strictest studiers reaching for seconds.
Essential Ingredients
- Butter: Must be melted and cooled just enough - too hot and you'll end up with greasy bars
- Brown Sugar: Creates that caramel undertone and chewy texture we all crave
- Chocolate Chips: A mix of regular and mini ensures chocolate in every bite
- Sea Salt: The finishing sprinkle that makes all the flavors pop
Like my grandmother always said, 'Rushed butter makes sad cookies.'
 Pin it
Creating Cookie Magic
- Buttery Beginning:
- Melt your butter slowly, letting it cool just until it's warm but not hot.
- Sugar Symphony:
- Whisk brown and white sugars into melted butter until the mixture looks like wet sand. This creates that irresistible caramel undertone.
- Vanilla Velvet:
- Add eggs and vanilla, whisking until the mixture becomes silky smooth. This step creates that perfect cookie bar texture.
- Flour Finale:
- Fold in dry ingredients gently - overtaxing the flour leads to tough bars. Stop when you still see a few streaks of flour.
Growing up, my mom always made individual cookies. One hectic Sunday afternoon changed everything when I discovered these bars saved time without sacrificing that classic cookie taste. Now they're my go-to for everything from bake sales to late-night cravings.
The Art of Perfect Timing
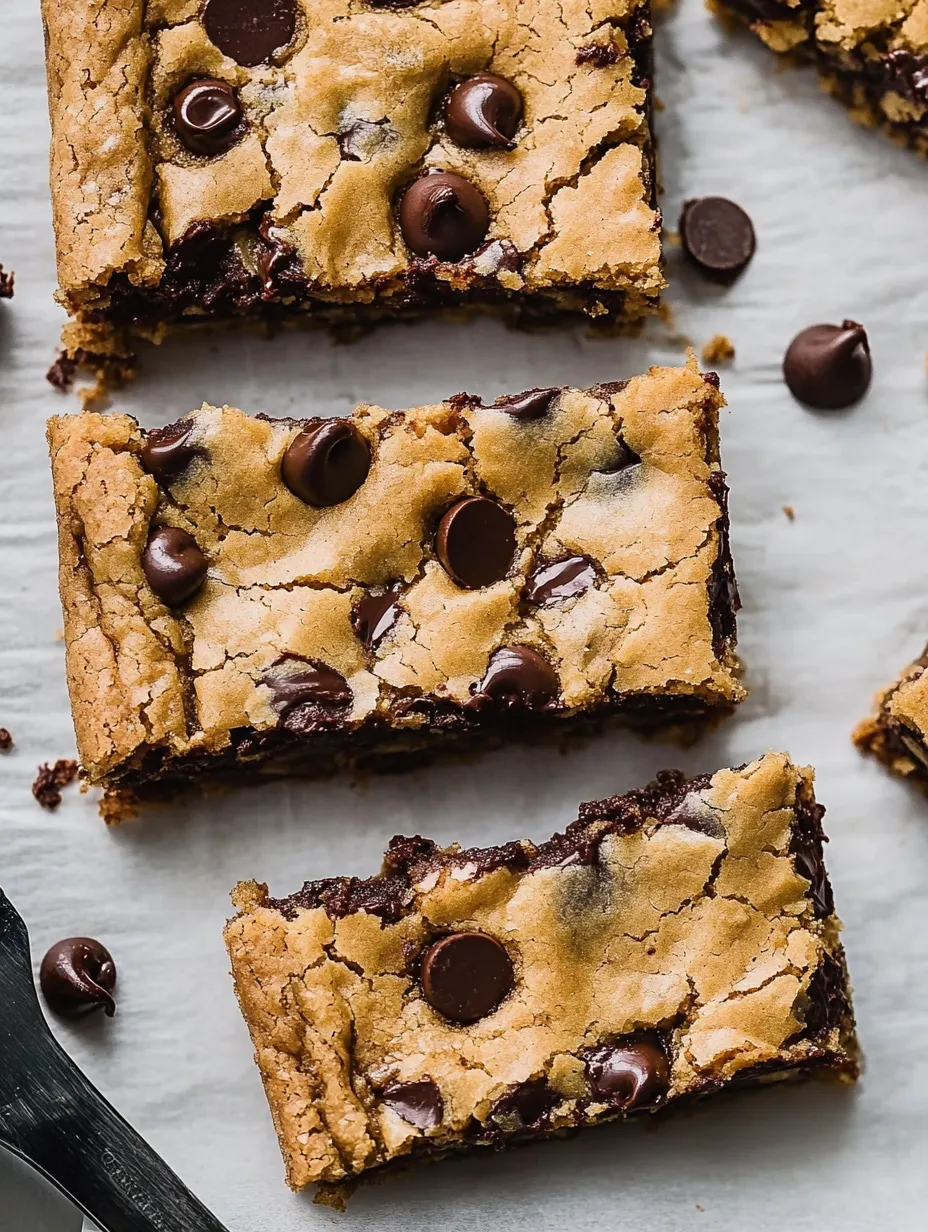
Watch the edges carefully as they bake - they should be just turning golden while the center remains slightly puffy. It's like a dance between done and not-quite-done, and finding that sweet spot makes all the difference.
Temperature Tales
Learning to read your oven's personality is crucial. Mine runs hot in the back right corner, so I rotate the pan halfway through baking. Each oven has its quirks - get to know yours.
Serving Suggestions
Enjoy these bars slightly warm with a cold glass of milk. For special occasions, crumble them over vanilla ice cream or sandwich two pieces around a scoop of your favorite flavor.
Creative Variations
Switch up the chocolate chips with butterscotch, peanut butter chips, or chopped nuts. Sometimes I brown the butter first for a deeper, nuttier flavor that makes people ask, 'What's your secret?'
Storage Success
Keep these treasures in an airtight container at room temperature for up to a week. Layer with parchment paper to prevent sticking. They actually get fudgier after a day in the fridge.
 Pin it
Professional Baker's Secrets
- Line your pan with parchment paper, leaving overhang for easy lifting
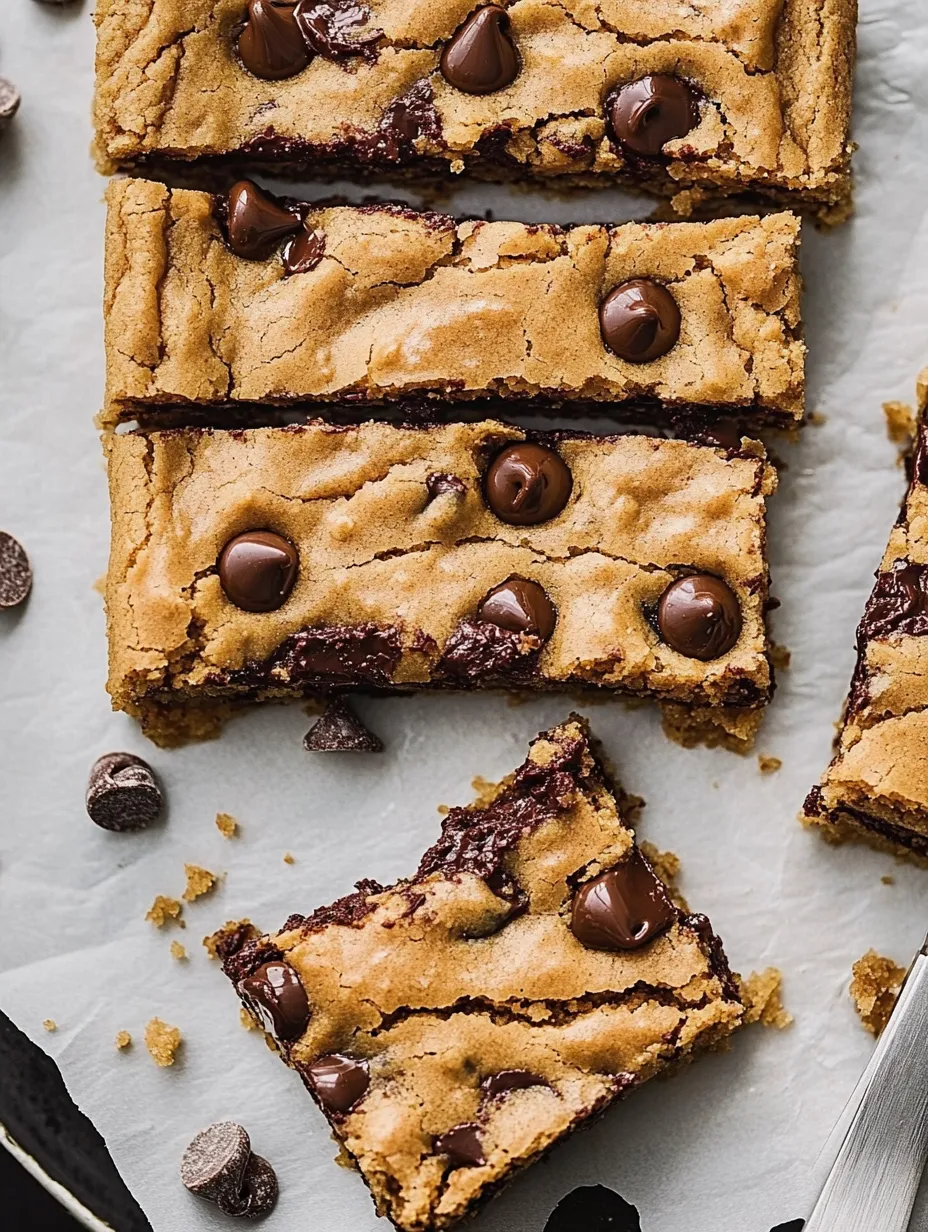
- Press extra chocolate chips on top before baking for that bakery-style look
- Cut with a warm knife for the cleanest edges
After years of making these bars, they've become my signature bring-along treat. They've comforted friends through breakups, celebrated new jobs, and brightened countless lunch boxes. The real magic isn't just in their taste - it's in their ability to make any moment feel a little more special. Whether you're an experienced baker or just starting out, these cookie bars prove that sometimes the simplest recipes bring the most joy.
Frequently Asked Questions
- → Can I make these cookie bars ahead of time?
- Yes! Store them in an airtight container for up to a week at room temperature, or freeze for up to 3 months.
- → Why did my cookie bars come out cakey?
- Over-mixing the dough or using too much flour can make them cakey. Mix just until combined and measure flour correctly.
- → How do I know when the bars are done baking?
- The edges should be light golden brown and the center slightly puffed, usually after 18-25 minutes.
- → Can I use milk chocolate chips instead?
- Absolutely! Any chocolate chips work well - milk, semi-sweet, or dark chocolate all taste great.
- → Do I have to use parchment paper?
- While not required, parchment paper makes it much easier to lift out and slice the bars cleanly.