 Pin it
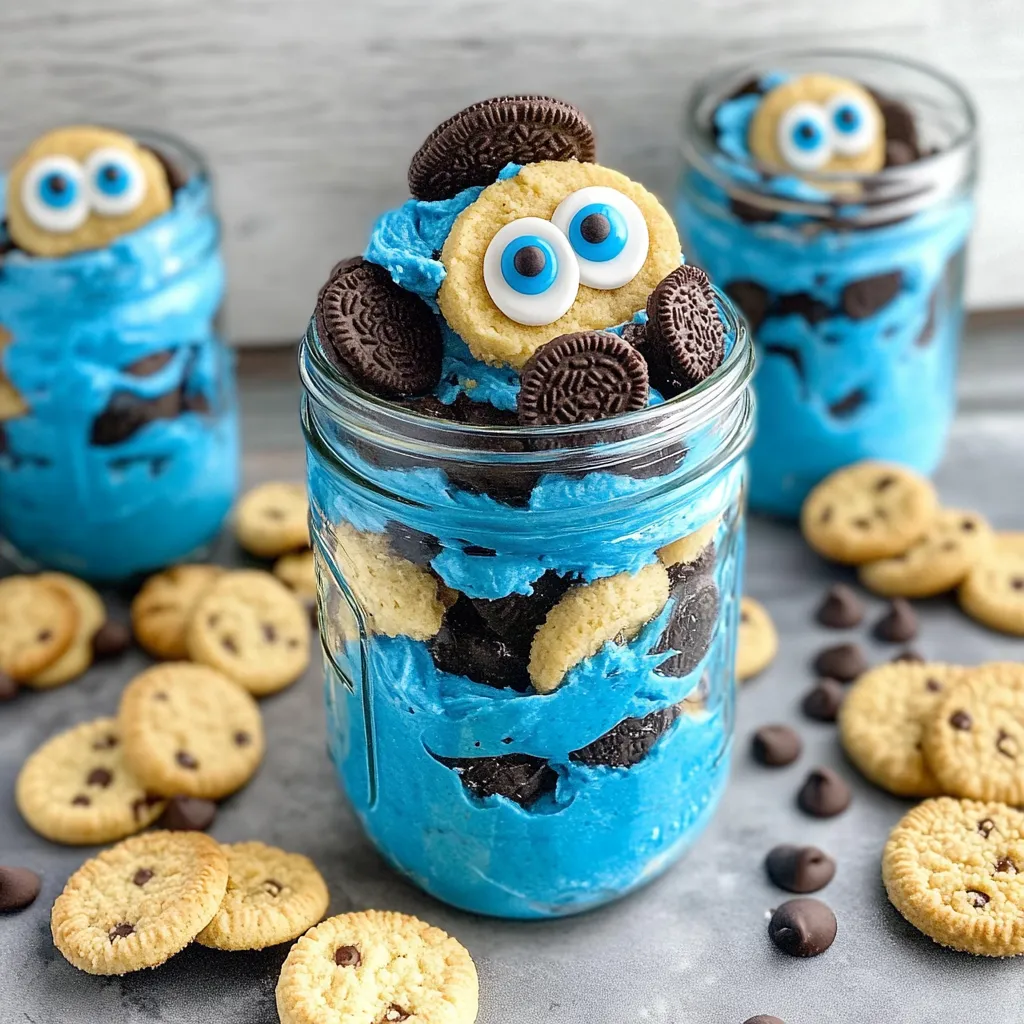
I created these Cookie Monster Cake Jars for my nephew's third birthday party, and they were such a hit that I've made them for countless celebrations since. There's something irresistibly fun about these vibrant blue layered treats that brings out the kid in everyone. The combination of moist vanilla cake studded with Oreo pieces, silky blue frosting, and chunks of cookies creates a dessert that's not just adorable to look at but absolutely delicious to eat. The best part? They're surprisingly simple to make but look like you spent hours on them – my favorite kind of recipe for impressing a crowd!
Last summer I brought these to a neighborhood block party, and they disappeared faster than I could set them down. One dad, who claimed he was "just getting one for his daughter," was caught sneaking back for his third jar when his wife pointed out that their daughter was playing on the swings empty-handed. These jars have that effect on people – they turn adults into cookie-stealing monsters themselves!
Sweet Essentials
- Vanilla cake mix – This creates our base layer with minimal fuss. While homemade cake would work too, the texture of boxed cake holds up particularly well in jars without getting too dense or dry. The neutral flavor lets the Cookie Monster colors and cookie additions shine.
- Oreos – These iconic cookies add those signature black specks throughout the cake and layers that instantly signal "Cookie Monster." No need to remove the cream filling – just chop them up, filling and all. The cream actually melts slightly into the cake while baking, creating little pockets of extra moistness.
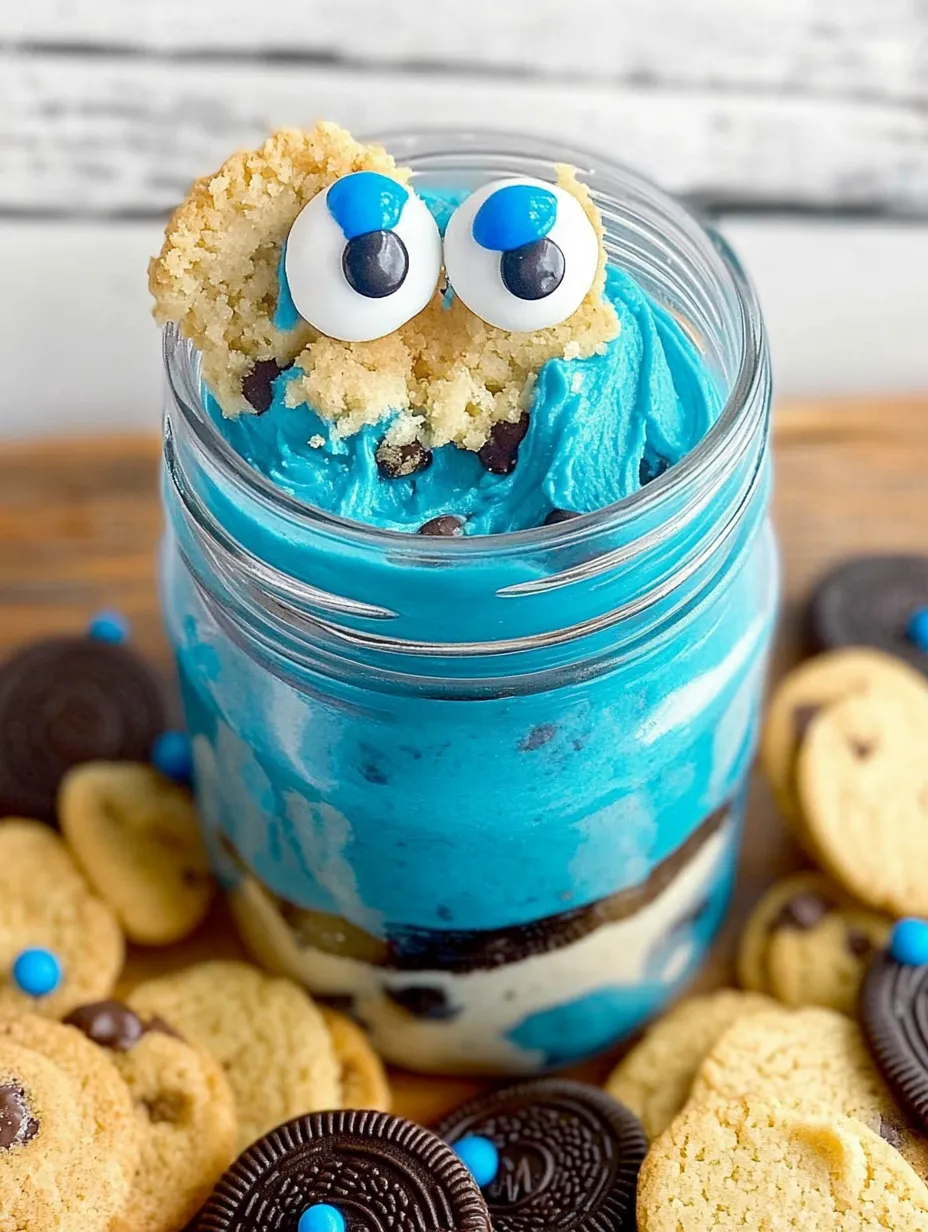
- Blue gel food coloring – The secret to that perfect Cookie Monster blue is combining electric blue and royal blue gel colors. Liquid food coloring won't give you the same vibrant shade and can thin out your frosting. The brands specified in the recipe create that iconic Cookie Monster hue that's instantly recognizable.
- Shortening and butter combination – Using both in the frosting creates the perfect texture that holds up well in the jars without getting too soft. All-butter frosting tastes amazing but can become too soft at room temperature, while all-shortening lacks flavor depth. This combination gives us the best of both worlds.
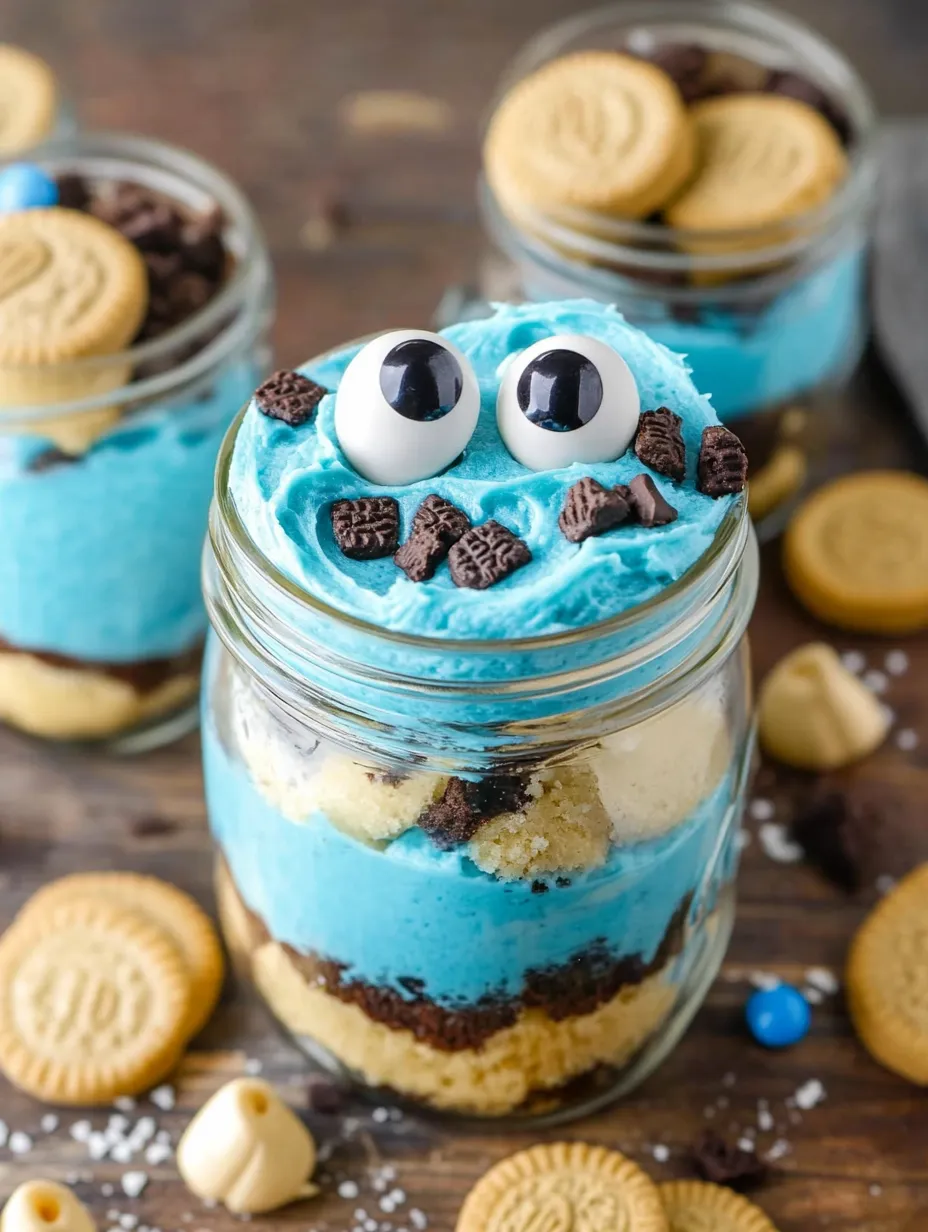
- Candy eyes – These transform simple blue frosting into Cookie Monster faces! You can find them in the baking section of craft stores or online. In a pinch, white chocolate chips with a dot of black icing work too, though they don't have quite the same charm as the googly eyes.
 Pin it
Creating Cookie Magic
- Perfect cake texture:
- When folding the chopped Oreos into the cake batter, use a gentle hand to avoid overmixing. Too much stirring can make the cake tough. The Oreos may sink slightly during baking, but this actually creates a nice distribution throughout the cake.
- Frosting consistency secrets:
- The key to pipe-able frosting is the right consistency – not too stiff and not too soft. When you lift a spoonful and let it fall back into the bowl, it should hold its shape for a moment before slowly melting back in. If it's too stiff, add milk a teaspoon at a time; if too soft, add powdered sugar.
- Achieving the perfect blue:
- Add the gel colors gradually, mixing thoroughly between additions. Cookie Monster blue is vibrant but not navy – aim for a sky blue with just a hint of purple undertone. Remember that the color deepens slightly as it sits, so you can stop just before you think it's perfect.
- Assembly strategy:
- When layering in the jars, press each cake layer down gently but don't compact it too much or you'll lose the fluffy texture. Keep the layers relatively even for the most attractive appearance through the glass. Using a piping bag for the frosting creates cleaner layers than spooning it in.
- Eye placement:
- Position the candy eyes slightly off-center and at different angles for the most character and charm. Cookie Monster has a slightly chaotic energy, so perfectly symmetrical eyes won't capture his essence as well as slightly askew ones.
My first attempt at these was a learning experience – I tried using whipped cream instead of frosting for lighter layers, only to find it collapsed within hours. I've also experimented with different cookie combinations and found that the contrast between chocolate chip cookies and Oreos creates the most interesting flavor and visual appeal. The recipe has evolved over many birthday parties, with the current version striking the perfect balance of sweetness, texture, and visual impact.
Serving Inspiration
Transform these Cookie Monster Cake Jars into an even more impressive dessert by adding a mini chocolate chip cookie garnish on top of each jar's frosting. For Cookie Monster themed parties, display them on a tiered stand with scattered cookies around the base. Add blue and white striped paper straws for a festive touch. For gift-giving, tie a ribbon around the lid with a small wooden spoon attached. For children's parties, create a "decorate your own" station where kids can add their own eyes and cookie pieces to pre-filled jars.
Creative Variations
Once you've mastered the basic recipe, try some creative variations. Use chocolate cake instead of vanilla for a different flavor profile. Add a layer of cookie dough (eggless, of course) between the cake and frosting. For adults, add a splash of Irish cream to the frosting for a more sophisticated twist. During holidays, coordinate the colors and cookies to match the season – red and green for Christmas, orange and black for Halloween. For a lower-sugar version, try using Greek yogurt swirled with a bit of blue food coloring in place of some of the frosting layers.
Storage Secrets
These Cookie Monster Cake Jars maintain their perfect texture for up to five days when stored in the refrigerator with lids tightly secured. The flavors actually meld and improve after the first day, making them an ideal make-ahead dessert. If making them more than a day ahead, wait to add the cookie garnish on top until just before serving to maintain its crunch. For transporting to events, place the jars in a shallow box with dividers to prevent tipping or jostling.
 Pin it
I've made these Cookie Monster Cake Jars for countless children's birthdays, classroom parties, and even adult gatherings. There's something about the combination of their whimsical appearance and nostalgic flavors that brings joy to people of all ages. While they might look elaborate, the beauty of this recipe is its simplicity and forgiving nature – even if your layers aren't perfect or your frosting isn't professionally piped, those googly eyes peeking out from vibrant blue frosting never fail to make people smile. And isn't that what dessert should be about?
Frequently Asked Questions
- → Can I make these Cookie Monster Cake Jars ahead of time?
- Yes! You can prepare these 1-2 days in advance. Just cover each jar tightly and store in the refrigerator. The cake may absorb some moisture from the frosting, making it even more delicious and moist.
- → What size mason jars work best for this recipe?
- 8-ounce (half-pint) mason jars are ideal for individual servings. You can also use 4-ounce jars for smaller portions, especially for children, or clear plastic cups if you don't have mason jars on hand.
- → Can I use store-bought frosting instead of making my own?
- Absolutely! To save time, use vanilla or white frosting and tint it blue with gel food coloring. You'll need about two 16-ounce containers for this recipe. The homemade frosting will have a better texture and flavor, but store-bought works in a pinch.
- → What if I can't find the exact food coloring brands mentioned?
- Any brand of blue gel food coloring will work. The recipe calls for a combination of electric blue and royal blue to achieve Cookie Monster's distinctive color, but you can experiment with what you have available. Add coloring gradually until you reach the desired shade.
- → Where can I find candy eyes for decorating?
- Candy eyes are available in the baking section of most craft stores like Michaels or Hobby Lobby, as well as in the baking aisle of many grocery stores. You can also find them online. In a pinch, you can make eyes using white chocolate chips with a dot of black icing.
- → Can I use different cookies for this recipe?
- Yes! While Oreos and chocolate chip cookies are traditional for Cookie Monster, you can use any cookies you prefer. Blue cookies, sugar cookies, or even cookie dough pieces would work well. Just make sure to include some chocolate chip cookies for the signature 'mouth' on top.
