
 Pin it
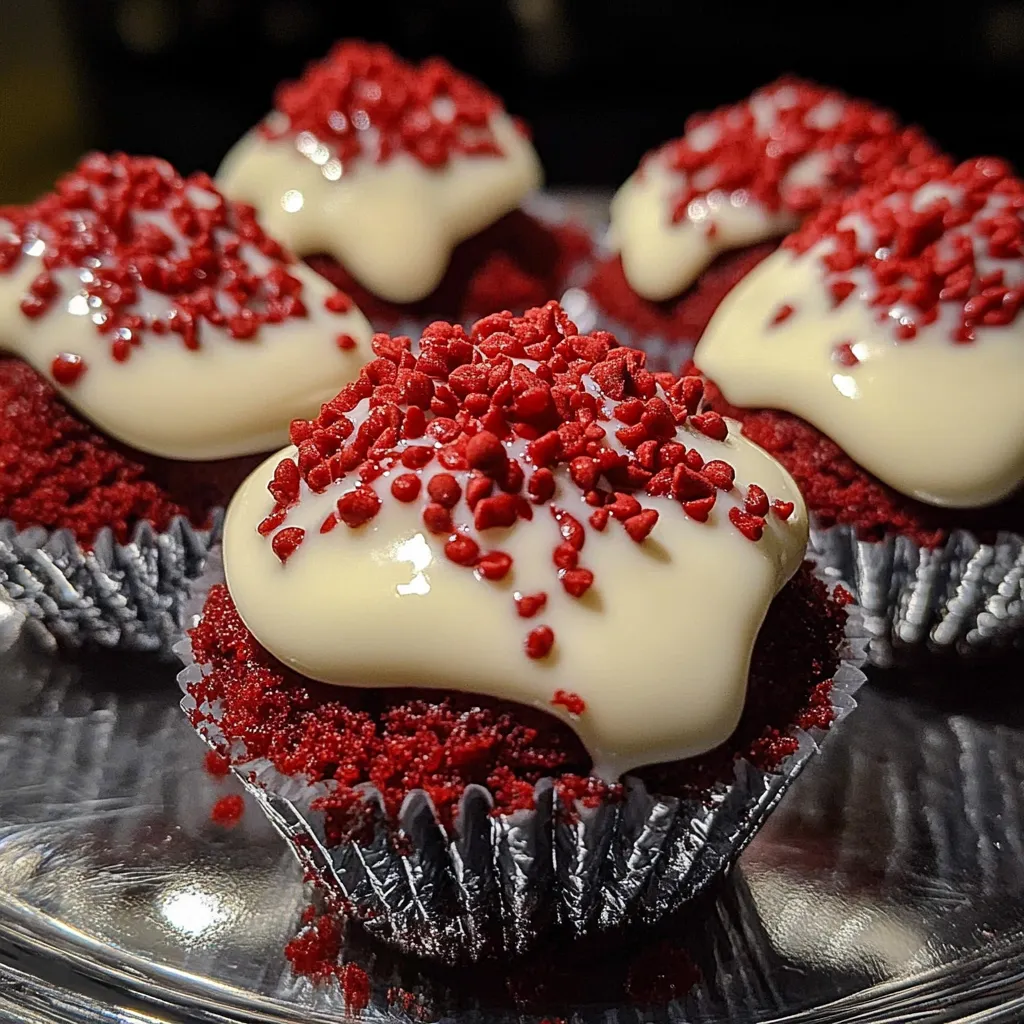
I stumbled across this recipe last Valentine's Day when looking for something different than the usual chocolate-covered strawberries and heart-shaped cookies. These red velvet bites topped with cookies and cream frosting quickly became my new obsession. The combination of rich, fudgy red velvet cake with that creamy Oreo-packed frosting creates this incredible flavor marriage that's impossible to resist.
Last month, I brought these to my friend's housewarming party. Her teenage son, who apparently "hates frosting" according to his mom, ate four of them and then asked if I could teach him how to make them. Sometimes the right combination can convert even the most stubborn dessert critics!
Flavor-Packed Ingredients
- Buttermilk - Creates that signature red velvet tang and helps keep the cake incredibly moist. If you don't have buttermilk, add a tablespoon of vinegar or lemon juice to regular milk and let it sit for 5 minutes.
- Cocoa powder - Red velvet isn't just about the color - that hint of chocolate from the cocoa is essential. Use natural cocoa powder rather than Dutch-processed for the best reaction with the vinegar.
- Vinegar - Don't skip this! It reacts with the baking soda to create a tender crumb and enhances the red color. White vinegar or apple cider vinegar both work well here.
- Red food coloring - Creates that dramatic color that makes red velvet so distinctive. Gel food coloring gives the most vibrant color with the least amount of liquid.
- Cream cheese - The foundation of our frosting that adds tanginess to balance the sweetness. Make sure it's fully softened for a smooth frosting texture.
- Crushed Oreos - The star of the frosting show. I like to leave some bigger chunks for texture contrast rather than crushing them to dust.
 Pin it
Baking Instructions
- Create the perfect base:
- Preheat your oven and prepare your baking dish with a light coating of cooking spray or line with parchment paper for easy removal. Whisk your dry ingredients thoroughly to avoid cocoa powder lumps.
- Mix with care:
- Combine your wet ingredients until smooth before adding the food coloring. The vibrant red color might seem alarming at first, but it will deepen during baking. Fold in your dry ingredients just until combined - overmixing leads to a tough cake.
- Test for doneness:
- Bake until a toothpick inserted in the center comes out with a few moist crumbs, not wet batter. The edges will pull slightly away from the sides of the pan. Don't overbake or your cake will dry out.
- Cool completely:
- This step is non-negotiable! Attempting to cut or frost warm cake will result in a crumbly mess. I speed things up by placing the pan on a cooling rack, then popping it in the refrigerator for 30 minutes after it reaches room temperature.
- Whip up the frosting:
- Beat the cream cheese and butter until completely smooth before adding other ingredients. This prevents lumps in your frosting. Add the powdered sugar gradually to avoid a sugar explosion all over your kitchen.
- Add the mix-ins:
- Fold in the crushed Oreos and optional chocolate chips by hand using a spatula. This preserves the texture better than beating them in with the mixer, which would break them down too much.
- Cut and frost:
- Slice the completely cooled cake into even squares. I find chilling the cake first makes for cleaner cuts. Then generously smother each square with the Oreo-studded frosting for the perfect cake-to-frosting ratio.
First time I made these, I didn't let the cake cool completely before frosting, and ended up with a delicious but messy trifle-like situation. Another batch I made with too much food coloring had a slightly bitter aftertaste. I've learned that a tablespoon is plenty for vibrant color without affecting the flavor. My latest improvement was adding those mini chocolate chips to the frosting - they provide this wonderful little crunch that contrasts beautifully with the soft cake and creamy frosting.
Presentation Ideas
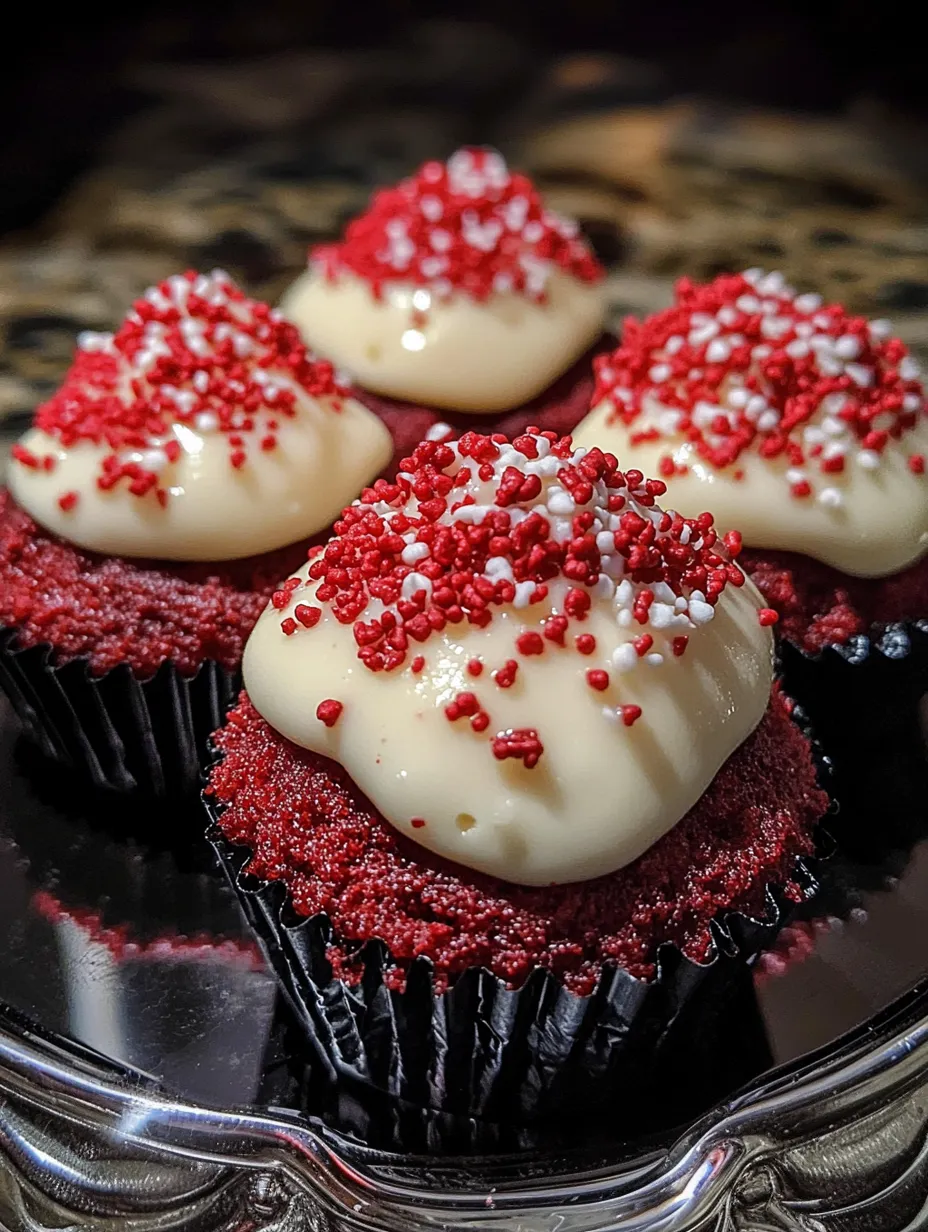
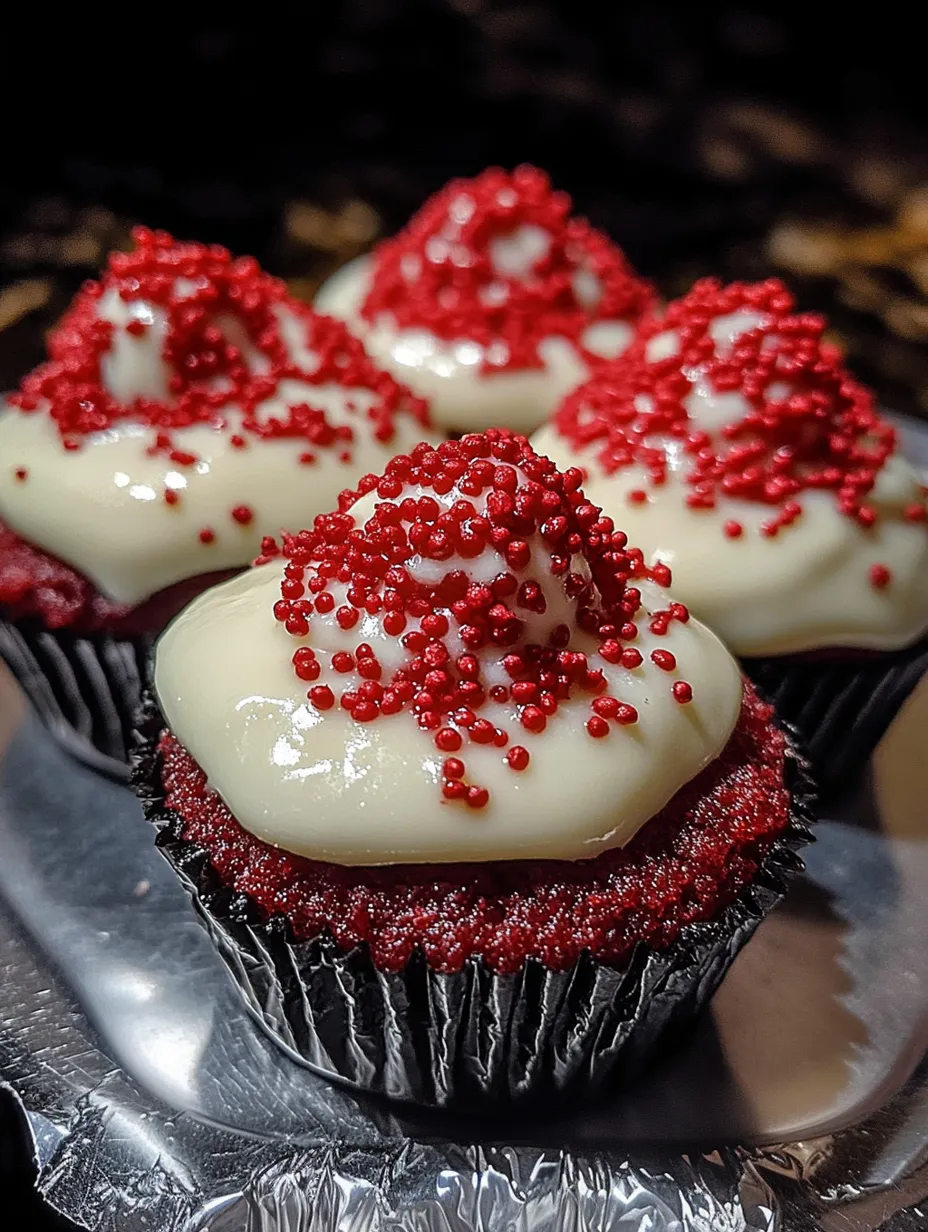
Display these eye-catching treats on a white serving platter for maximum color contrast. The vibrant red against the white frosting with black Oreo specks creates a stunning visual. For Valentine's Day, arrange them in a heart shape on a large board with strawberries and chocolate truffles surrounding them. These also look beautiful in individual cupcake liners for easy grabbing at parties. For an extra fancy touch, drizzle the tops with a thin stream of melted chocolate just before serving.
Tasty Variations
Try adding a teaspoon of espresso powder to the cake batter to enhance the chocolate flavor without making it taste like coffee. For a boozy adult version, add a tablespoon of Kahlúa to the frosting for subtle coffee notes that complement the Oreos beautifully. White chocolate lovers can add white chocolate chips to the batter for creamy pockets throughout the cake. During the holidays, use peppermint Oreos in the frosting and add a drop of peppermint extract to the cake for a festive twist that everyone will love.
Freshness Tips
These bites keep beautifully in an airtight container in the refrigerator for up to 4 days, though they're at their best within the first 2-3 days. The cream cheese frosting necessitates refrigeration, but I recommend bringing them to room temperature for about 15 minutes before serving for the best flavor and texture. If you need to make them further ahead, you can freeze the unfrosted cake squares wrapped tightly in plastic wrap and aluminum foil for up to a month. Thaw overnight in the refrigerator before frosting and serving.
 Pin it
I've made these red velvet bites for everything from office potlucks to birthday celebrations. There's something about that classic red velvet flavor paired with cookies and cream that appeals to nearly everyone. My niece requested them for her graduation party instead of a traditional cake, and guests were delighted by the unique presentation and incredible flavor combination. While they might look complicated, the effort-to-impression ratio makes these worth every minute spent making them!
Frequently Asked Questions
- → Can I make these red velvet bites ahead of time?
- Yes! You can bake the cake up to 2 days in advance and store it covered at room temperature. The frosting can be made 1 day ahead and refrigerated. Assemble the bites a few hours before serving for the best texture.
- → What can I substitute for buttermilk?
- If you don't have buttermilk, make your own by adding 1½ teaspoons of white vinegar or lemon juice to ½ cup regular milk. Let it sit for 5 minutes before using in the recipe.
- → Can I make these without red food coloring?
- Yes, you can omit the red food coloring for a classic chocolate cake bite, or use natural alternatives like beet powder (2-3 tablespoons) for a more natural red color.
- → How should I store leftover bites?
- Store leftover bites in an airtight container in the refrigerator for up to 5 days. Allow them to come to room temperature for about 15 minutes before serving for the best flavor and texture.
- → Can I freeze these red velvet bites?
- Yes! Freeze them in a single layer until solid, then transfer to a freezer-safe container. They'll keep for up to 3 months. Thaw in the refrigerator overnight before serving.