
 Pin it
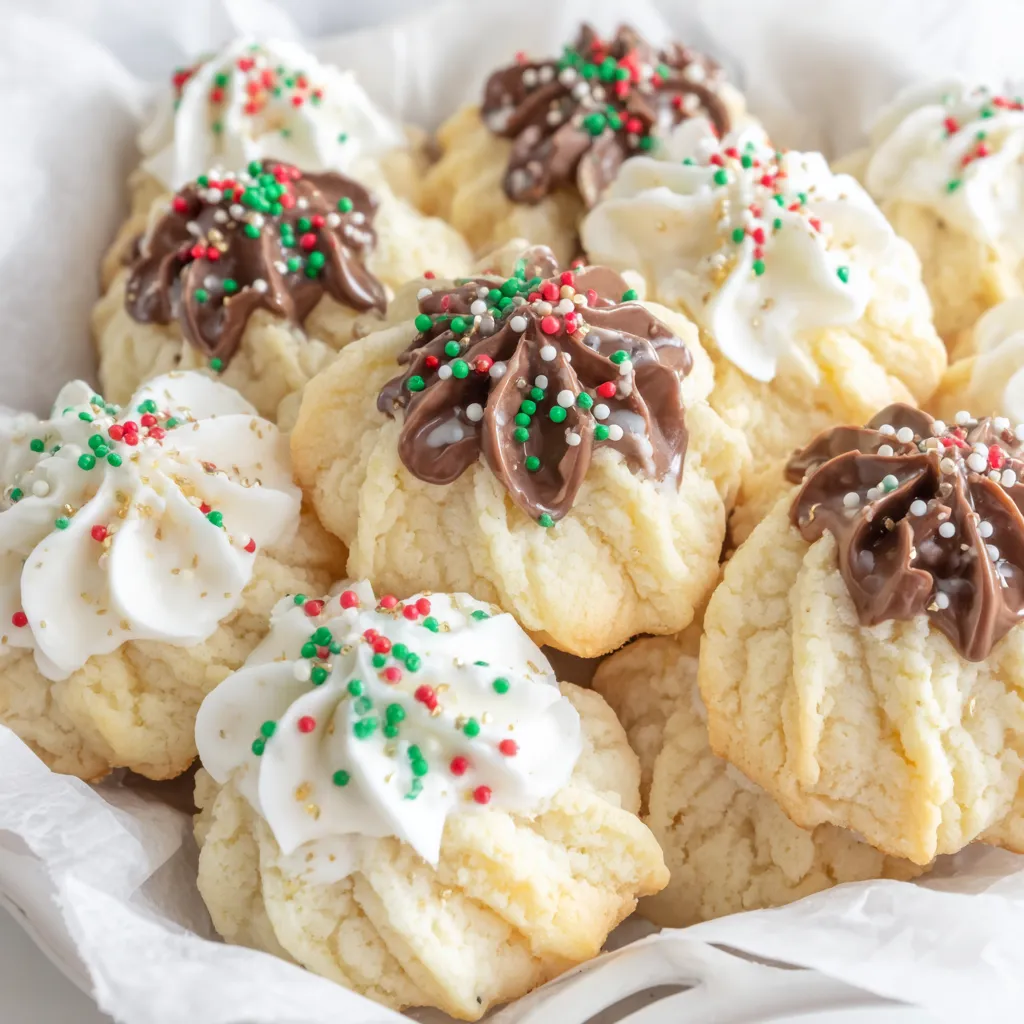
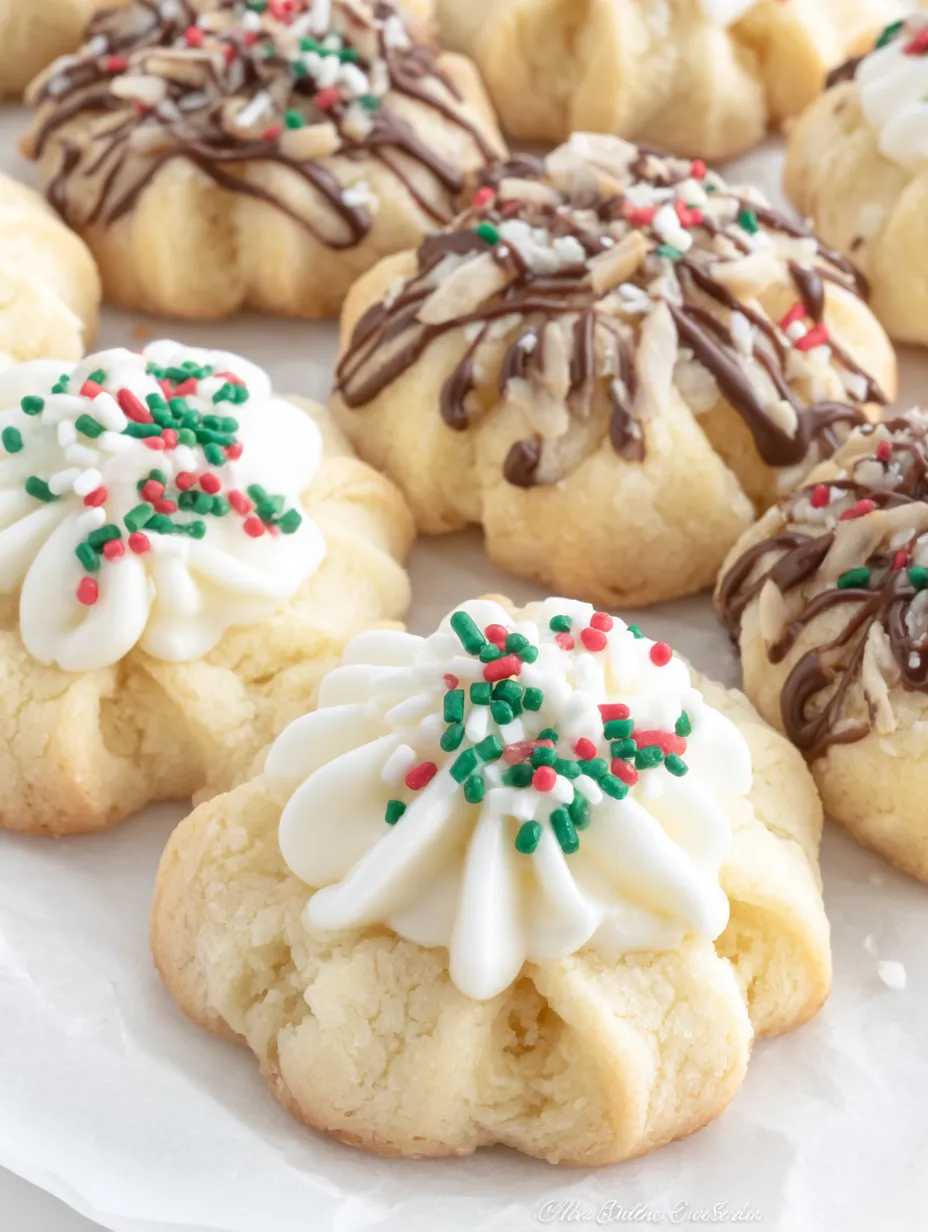
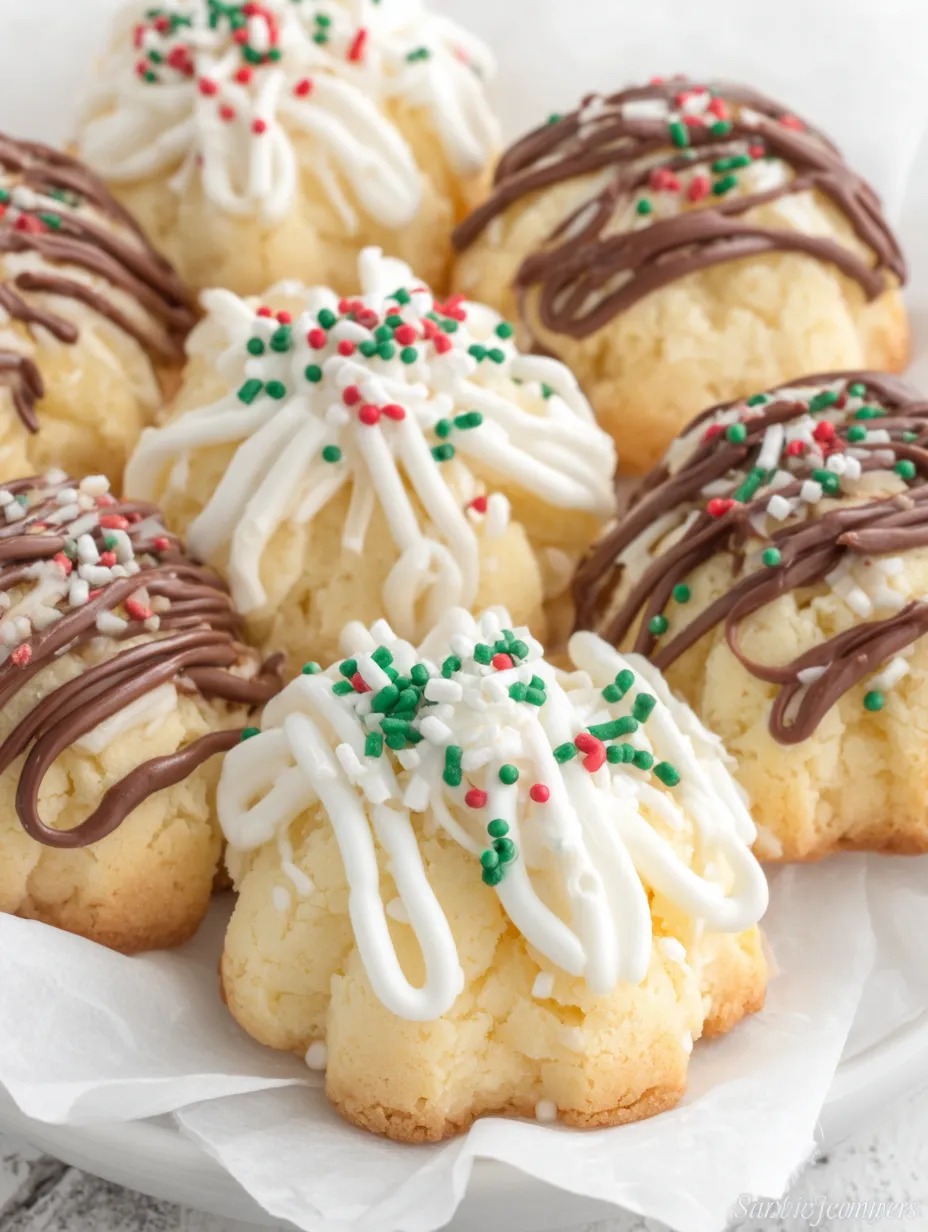
Danish butter cookies are a masterclass in elegant simplicity, capturing the timeless appeal of a Copenhagen bakery in a few basic pantry staples. This recipe focuses on achieving that elusive, melt-in-your-mouth texture by balancing high-quality butter with a touch of cornstarch and delicate powdered sugar. Whether piped into classic rosettes or dipped in glossy dark chocolate, these cookies offer a sophisticated crunch that dissolves into rich, buttery bliss. They are the ultimate holiday tin staple, standing out for their professional appearance and refined, subtle sweetness that pairs perfectly with afternoon tea or festive coffee gatherings.
I spent months perfecting this recipe after a trip to Copenhagen, trying to replicate that specific "snap" followed by a buttery melt. Last year, my mother-in-law compared these to a forty-dollar imported tin and declared mine superior. Now, I have to make extra batches just so she can "show them off" to her friends. It’s a rewarding recipe that turns simple ingredients into a genuine tradition.
Essential Ingredients
- Unsalted Butter: The soul of the cookie. Use the highest quality European-style butter you can find for the most authentic flavor.
- Powdered Sugar: Provides a finer crumb than granulated sugar and contains cornstarch, which helps tenderize the dough.
- Cornstarch: The "shortening" agent that keeps the cookies delicate and helps them retain their piped shape in the oven.
- All-Purpose Flour: Measured with a spoon-and-level technique to prevent the cookies from becoming dense or tough.
- Dark or White Chocolate: For dipping. High-cacao chocolate provides a sophisticated bitterness that balances the rich butter.
- Heavy Cream: A small optional amount to adjust the dough’s consistency for easier piping if your kitchen is cool.
 Pin it
Preparing Your Cookies
- Creaming for Aeration:
- Beat softened butter for 3 full minutes until pale and fluffy. Add the powdered sugar and beat for 2 more minutes. This creates the tiny air pockets necessary for a delicate, dissolving texture. Stir in vanilla just until combined.
- Folding and Testing:
- Fold in the flour and cornstarch on the lowest mixer speed. The dough should be soft like clay. If it’s too stiff to pipe, add a teaspoon of heavy cream. Fit a piping bag with a large star tip and create 2-inch rosettes on parchment paper.
- The Critical Chill:
- Refrigerate the piped cookies for exactly 30 minutes. This firms up the butter so the ridges stay sharp and defined during the bake, preventing them from melting into flat blobs.
- Baking and Finishing:
- Bake at 175°C (350°F) for 8–10 minutes. Pull them when the edges are just barely golden but the tops remain pale. Once cooled, dip half of each cookie in melted chocolate and top with sprinkles before the coating sets.
I learned the hard way that skipping the 30-minute chill results in a very different cookie. My first attempt without chilling turned into flat, buttery discs that tasted good but looked nothing like the elegant Danish classics. Now, I religiously set a timer. I also found that using high-fat European butter makes the house smell like a professional pâtisserie—a small upgrade that is totally worth it.
Creative Variations
For an authentic Scandinavian twist, add 1/2 teaspoon of almond extract to the dough. You can also incorporate lemon zest for a bright citrus note or replace a tablespoon of flour with cocoa powder for chocolate butter cookies. If you're feeling adventurous, sandwich two cookies together with a thin layer of raspberry jam or chocolate ganache for a sophisticated filled version.
Storage and Gifting
Store these cookies in an airtight container for up to 3 weeks at room temperature. They are remarkably sturdy and travel well, making them the perfect choice for mailing in care packages. For long-term storage, you can freeze the undipped cookies for up to 2 months; just thaw them at room temperature before adding the chocolate coating.
 Pin it
Ultimately, Danish butter cookies are a testament to the idea that the best things in life are simple. They prove that you don't need exotic ingredients to create something that feels truly luxurious. Once you take that first bite of a crisp, chocolate-dipped rosette, you’ll understand why these remain the absolute crown jewel of my holiday baking season.
Frequently Asked Questions
- → Why do I need to chill the piped cookies?
- Chilling helps the cookies hold their pretty piped shapes during baking. Without chilling, they'll spread and lose their definition.
- → Can I make these without a piping bag?
- You can roll the dough into balls and flatten them slightly, but piping creates those classic Danish cookie shapes. If you don't have a piping bag, use a ziplock bag with the corner cut off.
- → Why is my dough too stiff to pipe?
- The dough might be too cold or too dry. Add 1 to 2 teaspoons of heavy cream and mix until it reaches a pipeable consistency. It should be soft but hold its shape.
- → Do I have to dip them in chocolate?
- Not at all! The cookies are delicious plain. The chocolate dipping is completely optional and just adds an extra special touch.
- → How do I store these cookies?
- Store them in an airtight container at room temperature for up to a week. If you've dipped them in chocolate, layer them with parchment paper between layers.
- → Can I freeze the dough?
- Yes! You can freeze the piped unbaked cookies on a baking sheet, then transfer to a freezer bag. Bake from frozen, adding a minute or two to the baking time.