
 Pin it
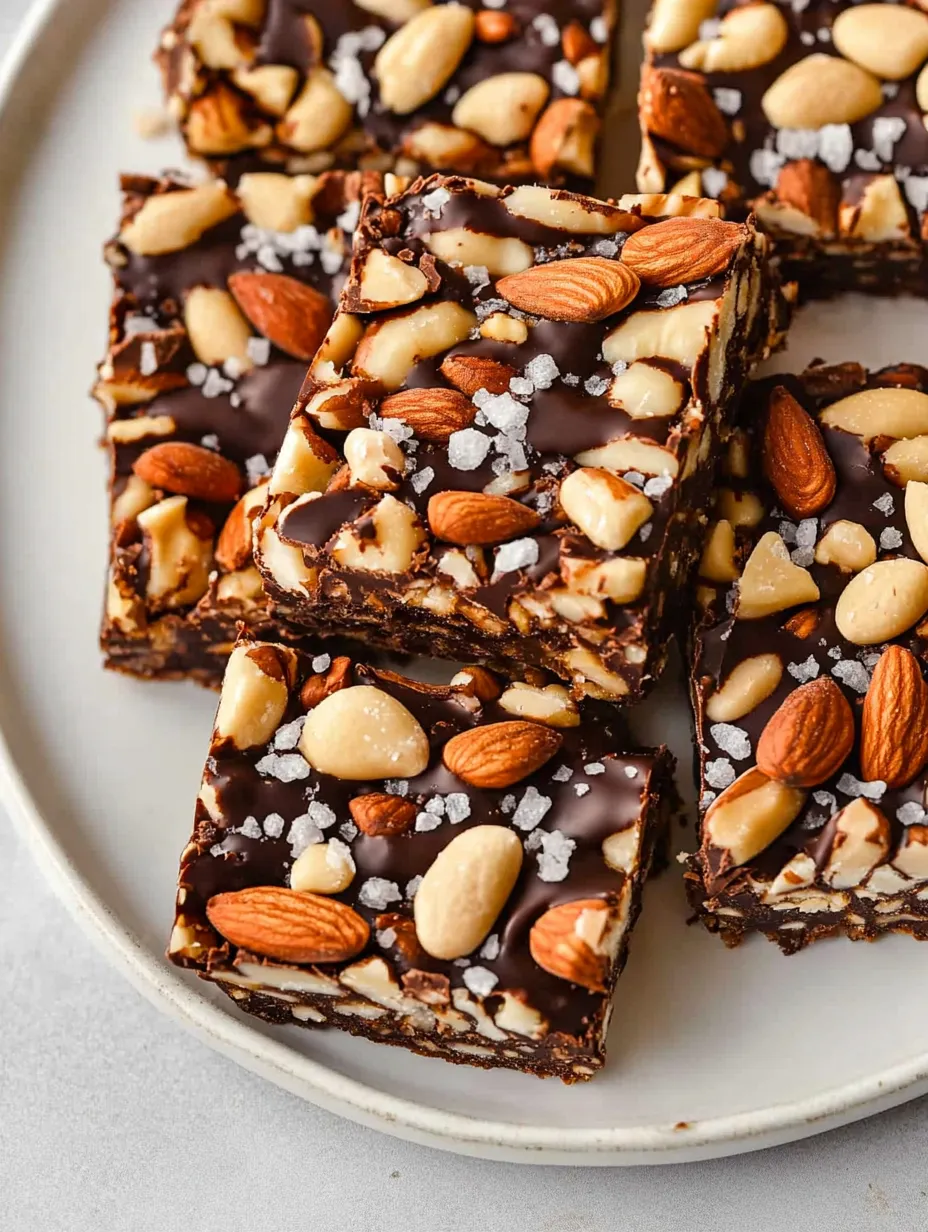
These homemade nut bars were born after I got tired of spending a small fortune on those fancy KIND bars at the grocery store! After some kitchen experimenting (and a few sticky disasters), I landed on this recipe that perfectly captures that sweet-salty crunch I was craving. The dark chocolate bottom and drizzle with a sprinkle of flaky salt takes them from good to absolutely addictive. They've become my go-to snack for hikes, my kids' lunchboxes, and those mid-afternoon energy slumps when I need something substantial but not too sweet.
My husband, who usually reaches for chips when he wants something crunchy, now grabs these bars instead! My neighbor actually thought I'd bought them at a fancy health food store and was shocked when I told her I made them myself. There's something about that combination of toasty nuts, sticky-sweet binding, and dark chocolate that appeals to almost everyone.
Simple Ingredients
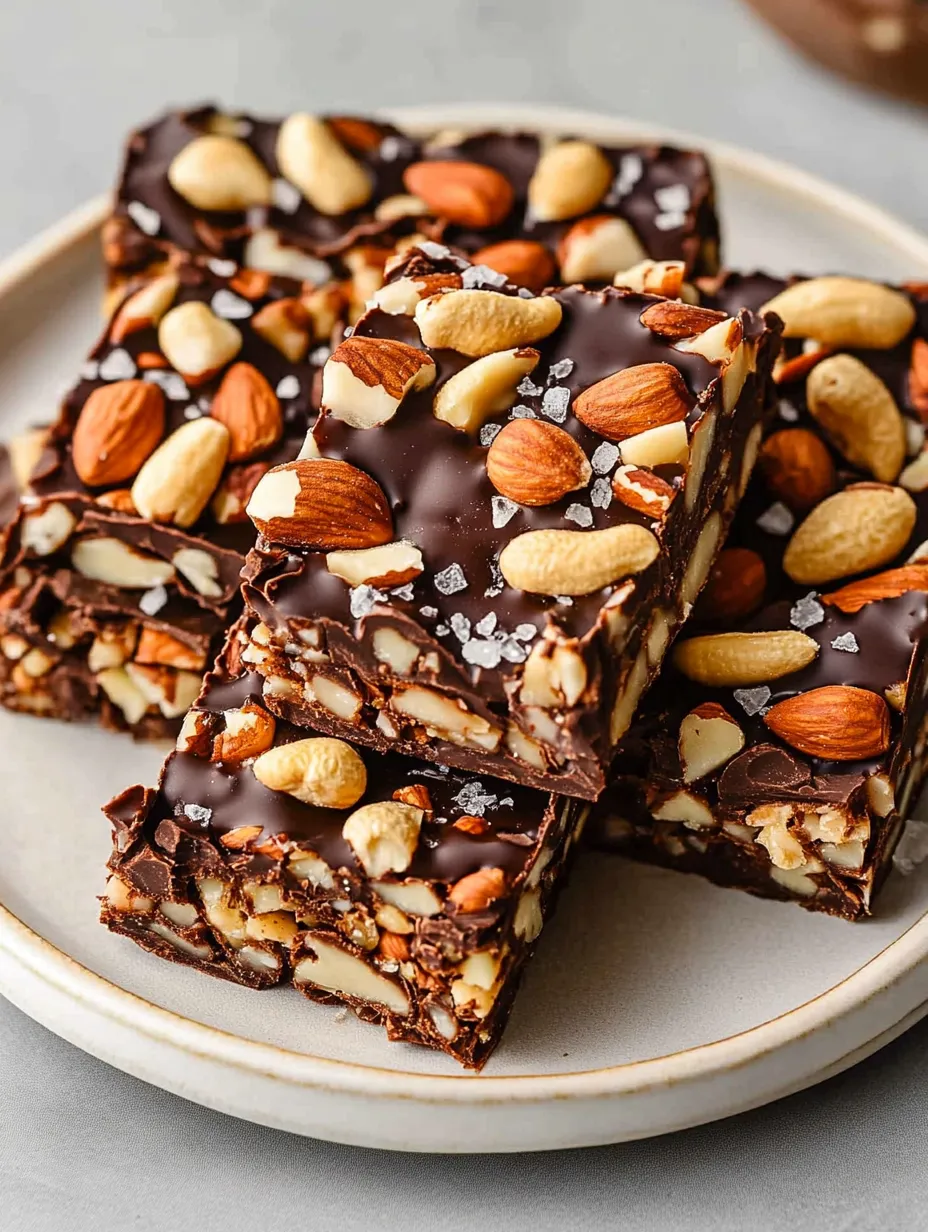
- Mixed nuts: I like using a variety for different flavors and textures. Cashews add butteriness, peanuts bring that classic salty flavor, and almonds provide the perfect crunch. Use whatever nuts you have on hand though - hazelnuts and pecans are amazing too!
- Puffed rice: This lightens up the bars so they're not too dense. I use plain unsweetened puffed rice cereal, but I've tried puffed quinoa too which gives them a fun, nutty flavor.
- Brown rice syrup: This is the magic ingredient that holds everything together! It's stickier and less sweet than honey, which gives these bars that authentic chewy-crunchy texture. I've tried substituting honey in a pinch, but the bars don't hold together quite as well.
- Dark chocolate: Use the best quality you can get your hands on. I prefer around 70% cacao for the perfect balance of sweetness and rich chocolate flavor. Those big bags of chocolate chips from Costco work great for this.
- Flaky sea salt: Don't skip this! That little sprinkle on top is what makes these bars special. I use Maldon, but any flaky sea salt works beautifully. Regular table salt just isn't the same here.
 Pin it
Step-by-Step Instructions
- Perfect nut toasting
- Getting that ideal toasty flavor starts with properly roasting your nuts. Watch them carefully while they're in the oven - the difference between perfectly toasted and burnt is literally about 30 seconds! You want them fragrant and just starting to brown. The first time I made these, I got distracted and over-roasted the nuts, giving the bars a slightly bitter flavor. Now I set a timer for 5 minutes and start checking them then.
- Binding secrets
- Achieving that perfect chewy-but-still-crunchy texture takes the right approach with the brown rice syrup. Warming it slightly makes it much easier to work with - it pours and coats the nuts evenly instead of being a sticky mess. Make sure you work quickly once you add it to the nuts, as it starts to set up fast. I use a silicone spatula sprayed with a little cooking spray to prevent sticking when mixing.
- Compression technique
- Creating bars that don't fall apart requires proper pressing. Really pack that mixture firmly into your pan - I use the bottom of a measuring cup sprayed with cooking oil to press it into a compact, even layer. The edges tend to be a bit thinner, so I pay special attention to pressing those areas firmly. Don't be gentle here - solid compression is key to bars that hold together when cut.
- Cutting timing
- Getting clean cuts takes some strategy. Letting the baked bars cool for about 30 minutes is perfect - they're still slightly warm and pliable, but set enough to cut without crumbling. If you try to cut them straight from the oven, you'll have a sticky mess; too cool and they can crack rather than cut cleanly. I find a sharp chef's knife works best, cleaned between cuts for the neatest edges.
- Chocolate dipping
- Achieving that perfect chocolate coating requires patience. Melting the chocolate with a bit of coconut oil creates a smoother consistency that's perfect for dipping and drizzling. I've tried melting chocolate without the oil, and it tends to be too thick and doesn't set with that nice snap. The microwave method works great, but be careful not to overheat - chocolate can seize in an instant! I always err on the side of caution and microwave in short bursts, stirring thoroughly between each.
- Storage wisdom
- Keeping these bars fresh takes proper storage. Once the chocolate is fully set, I store them in an airtight container with parchment paper between layers to prevent sticking. They keep perfectly at room temperature for about a week, though they rarely last that long in my house! In summer months, I store them in the refrigerator to prevent the chocolate from getting too soft.
My first batch of these bars was a bit of a disaster - I didn't toast the nuts or compress the mixture firmly enough, resulting in bars that crumbled the moment I tried to pick them up. I've gradually refined the recipe over about six batches to get the perfect texture and flavor balance. I've experimented with different nut combinations too - my favorite for fall is pecans, almonds and pepitas with a sprinkle of cinnamon added to the mix. For a more tropical version, I sometimes add unsweetened coconut flakes and use cashews, macadamias, and almonds.
Snack Time
These beautiful bars deserve proper appreciation when eating! I love having one with my afternoon coffee as a little treat to myself. They're perfect for outdoor adventures since they don't melt or crumble easily in a backpack. For lunchboxes, I wrap individual bars in parchment paper then tuck them into reusable silicone bags. They make great pre-workout snacks too - that perfect combination of carbs, protein, and healthy fats provides lasting energy. When I'm serving them to guests with coffee, I arrange them on a wooden board with some fresh berries for a simple but impressive offering.
Bar Variations
These versatile bars welcome creative adaptations while maintaining that perfect chewy-crunchy texture. For a spiced version, add 1 teaspoon of cinnamon and a pinch of cardamom to the syrup mixture. During the holidays, I sometimes add dried cranberries and orange zest for a festive touch. My chocolate-loving husband enjoys when I mix mini chocolate chips into the nut mixture (add them after the mixture has cooled slightly so they don't melt completely). And for an extra-decadent treat, try drizzling with white chocolate in addition to dark for a beautiful contrast.
Quick Storage
These bars keep beautifully at room temperature for up to a week in an airtight container. I separate layers with parchment paper to prevent sticking. For longer storage, they freeze surprisingly well - wrap individual bars tightly in plastic wrap then foil and freeze for up to 3 months. Let them thaw at room temperature for about 30 minutes before enjoying. In hot weather, I store them in the refrigerator to prevent the chocolate from melting, but I prefer the texture when they're eaten at room temperature.
 Pin it
I created these dark chocolate and sea salt nut bars as a money-saving alternative to store-bought versions, but they've become so much more than that. There's something satisfying about making your own snacks from scratch - controlling the ingredients, adjusting the sweetness to your preference, and creating something that's both delicious and nourishing. While they do take a bit of time, most of that is hands-off cooling time, and the results are absolutely worth it. The happy sighs I hear when family members bite into these crunchy, salty-sweet bars makes them worth making again and again!
Frequently Asked Questions
- → Can I substitute the brown rice syrup with something else?
- Brown rice syrup is ideal because it's thick and sticky, creating the right binding texture. Honey can work as a substitute but may result in slightly less firm bars. Avoid maple syrup as it's too thin.
- → What other nuts can I use in these bars?
- You can use any combination of nuts you prefer! Hazelnuts, pecans, walnuts, macadamias, or Brazil nuts all work well. Just keep the total quantity the same (2 1/2 cups).
- → Why are my bars falling apart?
- This could be because they weren't pressed firmly enough into the pan, weren't baked long enough, or were cut before cooling completely. Make sure to press the mixture very firmly and let the bars cool thoroughly before cutting.
- → Can I make these bars vegan?
- Yes! Just make sure to use vegan dark chocolate chips (most dark chocolate chips are naturally vegan, but always check the label).
- → How long do these homemade nut bars last?
- Stored in an airtight container in the refrigerator, these bars will keep for up to 2 weeks. You can also freeze them for up to 3 months.