 Pin it
The first time I made these Easter bunny and chick cupcakes for my kids' school party, I nearly caused a stampede of excited children. Something about those adorable marshmallow bunny ears and fluffy yellow chicks brings out the joy in everyone – not just the little ones! What I love most about these festive treats is how deceptively simple they are to create. Despite looking like they require professional decorating skills, they come together with basic ingredients and simple techniques that even the most novice baker can master. They've become our family's Easter tradition, with everyone claiming their favorite character before they're even out of the decorating stage.
Last spring I brought these to my neighbor's Easter gathering, and her typically stoic father-in-law—who apparently "doesn't eat sweets"—secretly tucked two chick cupcakes into a napkin to enjoy later. His wife caught him and sent me a hilarious text about finding him in their guest room, yellow sprinkles stuck to his mustache, looking completely unapologetic. Sometimes cute food just breaks down all resistance!
Sweet Essentials
- Vanilla cupcakes – These create the perfect blank canvas for our Easter characters. You can make them from scratch using your favorite recipe or take a shortcut with boxed mix. If using a mix, add an extra egg and substitute butter for the oil to create a more homemade flavor and texture.
- Fluffy vanilla frosting – The key to these cupcakes is having a frosting that holds its shape well. Homemade buttercream is ideal because you can control the consistency, but store-bought works in a pinch. If using store-bought, whip it with a mixer for a couple of minutes to incorporate air and make it fluffier.
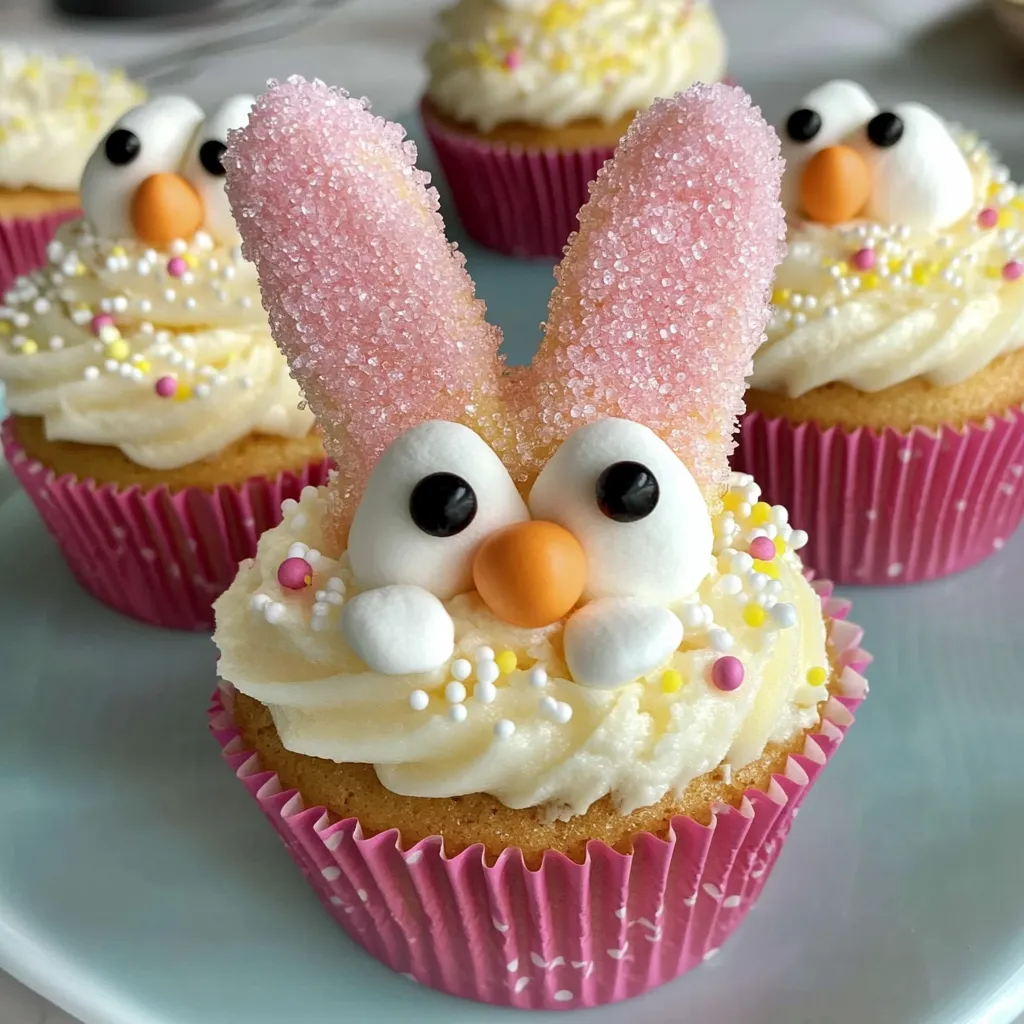
- Marshmallows – The secret weapon for those adorable bunny ears! Regular large marshmallows create the perfect ear shape when cut diagonally, while mini marshmallows make the sweetest bunny cheeks. Fresh, soft marshmallows work best since they're easier to cut cleanly.
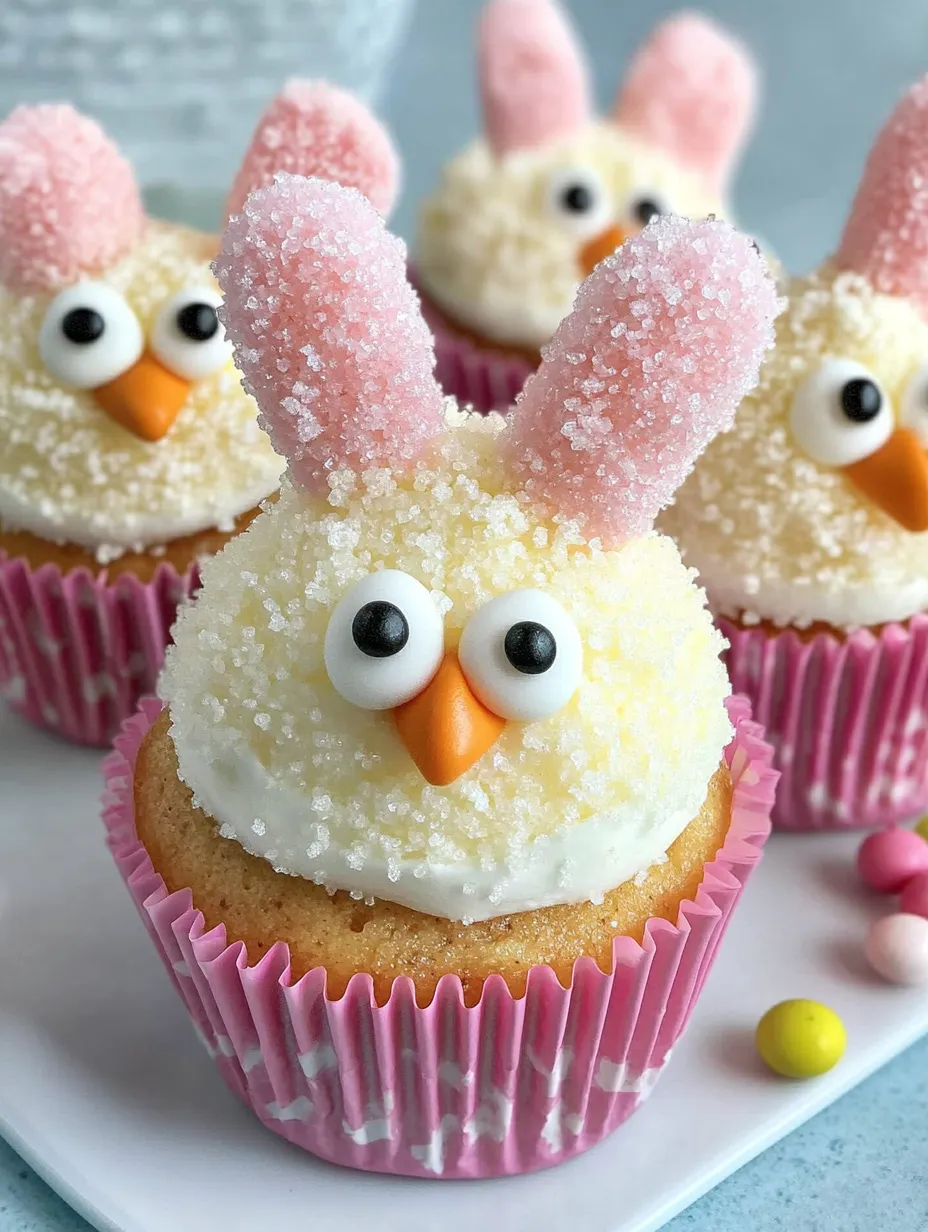
- Colored sanding sugar – This gives our characters their magical sparkle and texture. The fine crystals stick perfectly to marshmallows and frosting alike. Pink for the inner ears and yellow for the chicks create that classic Easter look.
- Decorative candies – Jelly beans make perfect bunny noses, while pieces of colored gum or M&Ms create those cute beaks for the chicks. Black decorator icing creates the simplest, most expressive eyes without requiring any artistic skill.
 Pin it
Creating Cupcake Magic
- Perfecting bunny ears:
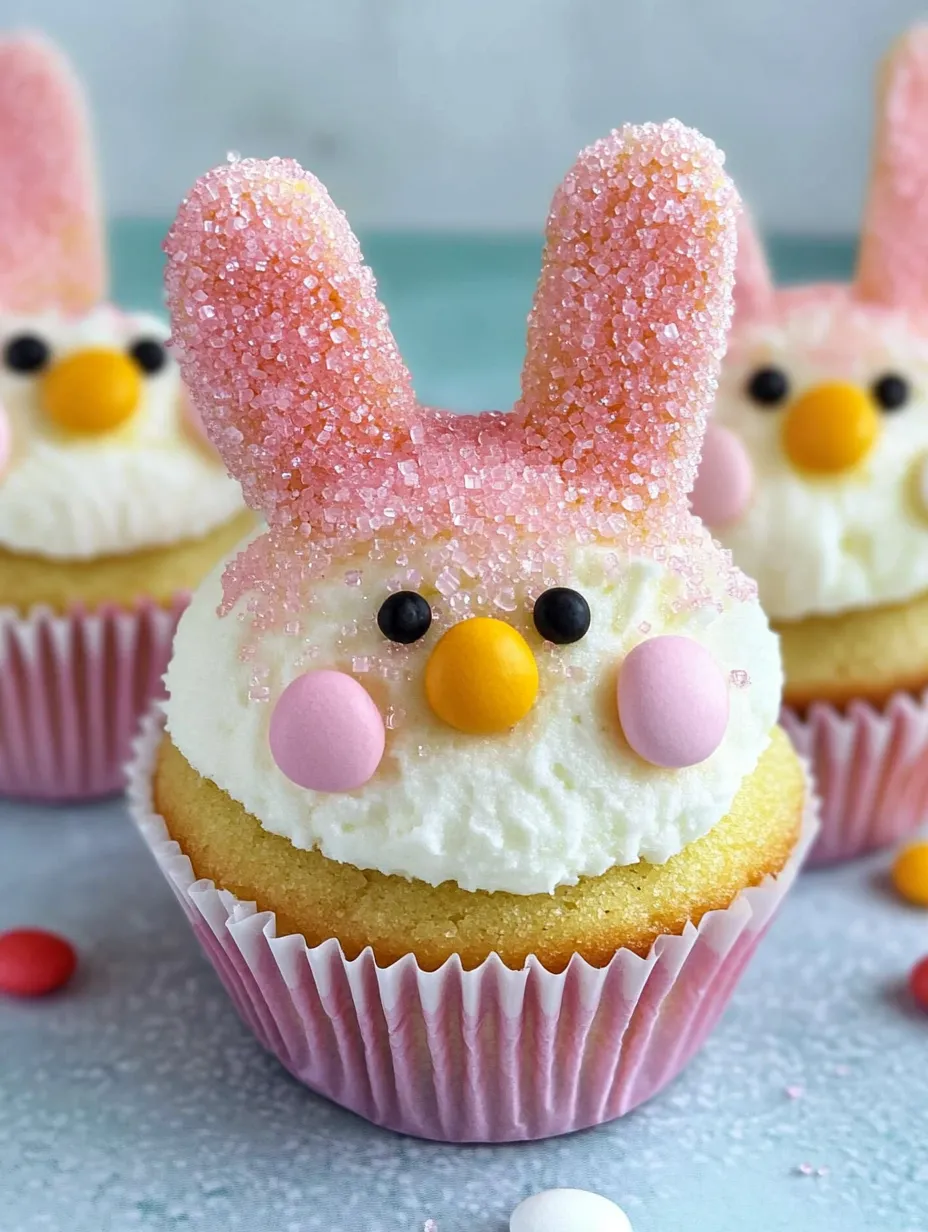
- The diagonal marshmallow cut is key to creating realistic bunny ears. Spray your scissors lightly with cooking spray between cuts to prevent sticking. Immediately dip the cut sides into pink sanding sugar while they're still sticky from cutting. If the sugar isn't adhering well, touch the cut side to a barely damp paper towel first.
- Building the bunny base:
- Mound that frosting generously – these aren't the time for a flat frosting top! Create a dome shape that resembles a bunny head. I use the back of a spoon to smooth it into a rounded shape. Press those sugar-dipped ears gently into the frosting at the top, angling them slightly outward for the most realistic look.
- Adding bunny character:
- Those mini marshmallow cheeks make all the difference in creating an expressive face. Position them on either side of the jelly bean nose, pushing them gently into the frosting. When piping the eyes, less is more – just two small dots placed slightly above the nose create that sweet bunny expression.
- Creating fluffy chicks:
- For the chick cupcakes, that spiral piping technique creates the perfect base for sprinkles to adhere to. If you don't have piping bags, simply snip the corner off a ziplock bag for a makeshift piping tool. The key is creating texture for the sprinkles to catch on, mimicking fluffy chick feathers.
- Finishing touches:
- A light dusting of clear or matching sanding sugar over the completed characters adds a magical sparkle that catches the light. For the chicks, position the beak slightly off-center for the most natural look, with the eyes just above.
My first attempt at these was both a success and a learning experience. I initially tried using food coloring to paint the inside of the bunny ears, which created a soggy mess. The sanding sugar technique was a game-changer! I've also learned that room temperature frosting adheres to sprinkles much better than cold frosting, and that children have very strong opinions about whether their bunny should have a pink or blue jelly bean nose.
Presentation Perfection
Transform these Easter cupcakes into an even more impressive dessert by arranging them on a serving platter covered with green-tinted coconut "grass." For spring gatherings, create a display with the bunnies and chicks clustered in separate "families" with fresh flowers between the groupings. Individual cupcakes can be placed in colorful egg cups for a special touch at each place setting. For classroom parties, I arrange them in the shape of a giant egg or bunny outline for maximum "wow" factor when the kids walk in.
Sweet Variations
Once you've mastered the basic technique, try some creative variations. Create chocolate bunnies and chicks by using chocolate cupcakes and frosting as the base. Add small candy flowers around the base of each cupcake for a spring garden theme. For a more pastel palette, tint the frosting light blue, lavender, or mint green before adding sprinkles. During other seasons, adapt the technique to create different characters – orange sprinkles for Halloween pumpkins or red and white for Christmas Santa cupcakes.
Freshness Tips
These Easter cupcakes maintain their best appearance for about 24 hours when stored in a container at cool room temperature. The marshmallow ears will gradually soften in humidity or harden if the air is very dry, so they're best enjoyed the day they're decorated. If you need to make the cupcakes ahead, prepare the bases and store them covered, then add the decorative elements the day of your event. For transport, place them in a shallow box with a bit of frosting on the bottom of each cupcake to "glue" them in place and prevent sliding.
 Pin it
I've made these Easter bunny and chick cupcakes for countless spring celebrations, from preschool parties to family Easter gatherings. There's something magical about watching people's faces light up when they see these cheerful characters – even the most sophisticated adults can't help but smile. While they might look elaborate, the simplicity of the techniques makes them accessible to bakers of all skill levels. The fact that you can customize them with homemade or store-bought components means they fit into any schedule, no matter how hectic your holiday preparations. Just be warned – once you make these cute creations, you'll be getting requests for them every Easter!
Frequently Asked Questions
- → Can I use a cake mix instead of making cupcakes from scratch?
- Absolutely! Store-bought cake mix works perfectly for these cupcakes. Any vanilla or white cake mix will work great, and you'll save time while still creating adorable Easter treats.
- → Can I make these cupcakes ahead of time?
- Yes, you can make these 1-2 days ahead of time. Store them in an airtight container at room temperature. For best results, decorate them the day before your event, as the marshmallow ears might soften over time.
- → What can I use if I don't have sanding sugar?
- Regular granulated sugar with a few drops of food coloring mixed in works in a pinch. You can also use colored sprinkles crushed into smaller pieces, or even pink frosting thinly spread on the marshmallow ears.
- → How can I make the frosting more stable for decorating?
- If using store-bought frosting, whip it with a mixer for a couple of minutes to make it fluffier and more stable. For homemade frosting, make sure it's stiff enough to hold shape by adding a bit more powdered sugar if needed.
- → What other candies can I use for decorating?
- Get creative with what you have! Mini chocolate chips work for eyes, licorice pieces can make whiskers, pink Starburst cut into small triangles make cute noses, and small candies like Nerds can create textured feathers for the chicks.
- → Can I make these without artificial colors?
- Yes! Use natural food coloring for the frosting, and look for naturally colored candies and decorations. You can also use ingredients like strawberry powder to create pink sugar for the bunny ears.
