
 Pin it
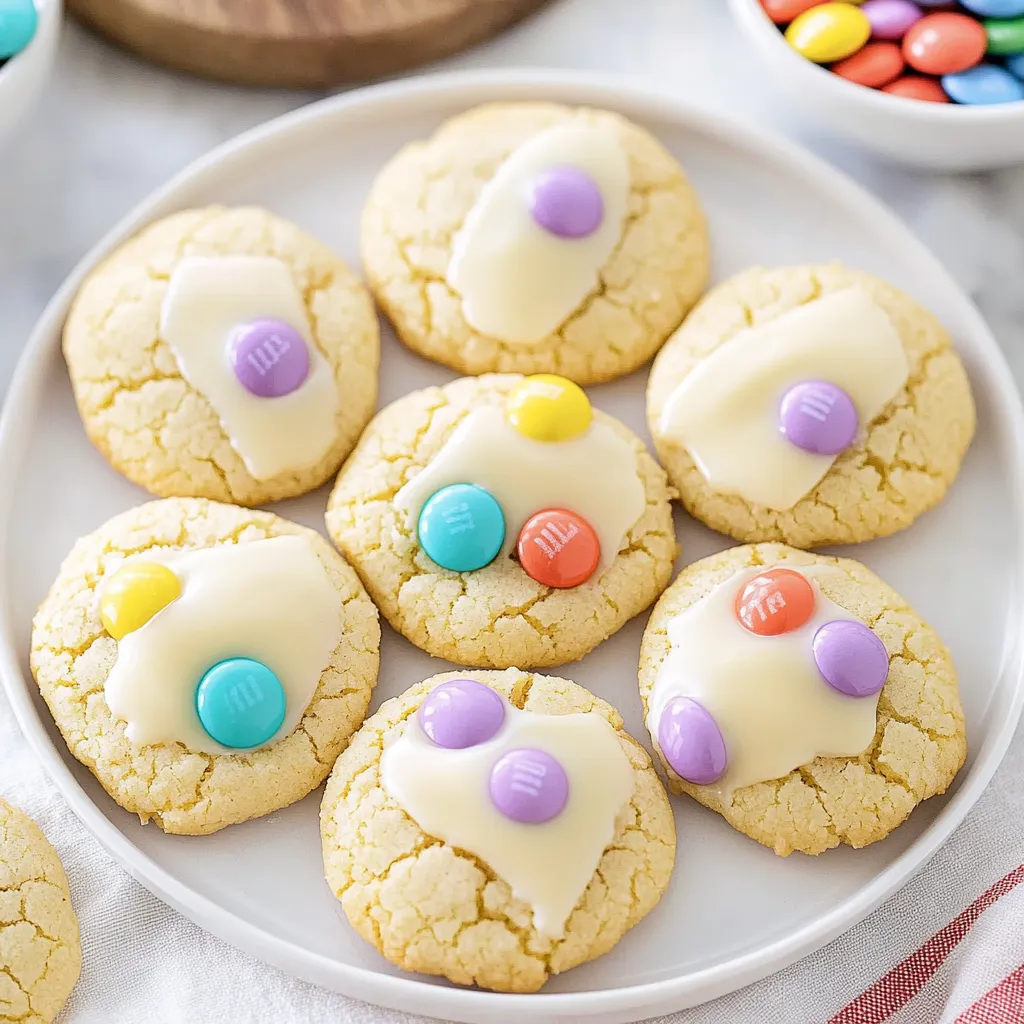
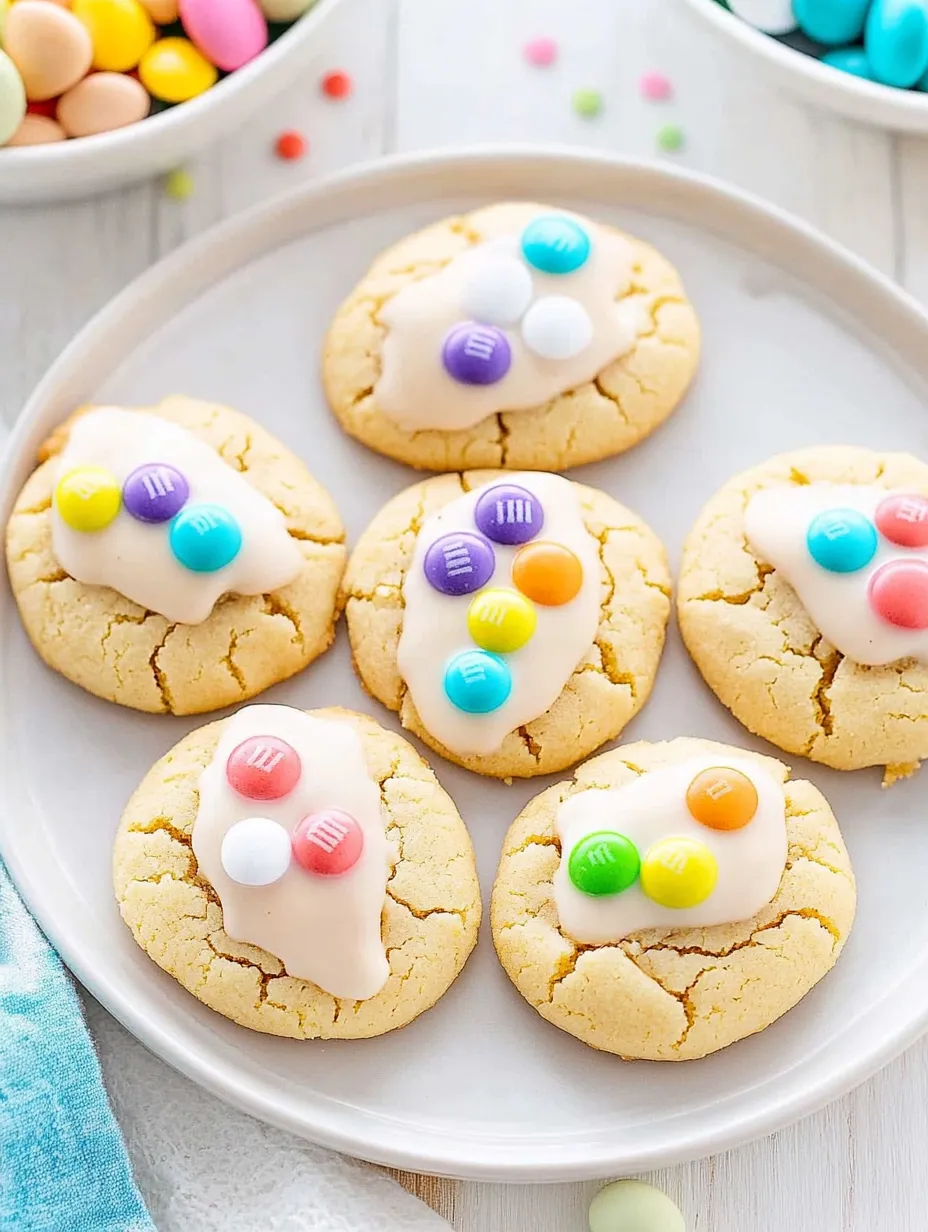
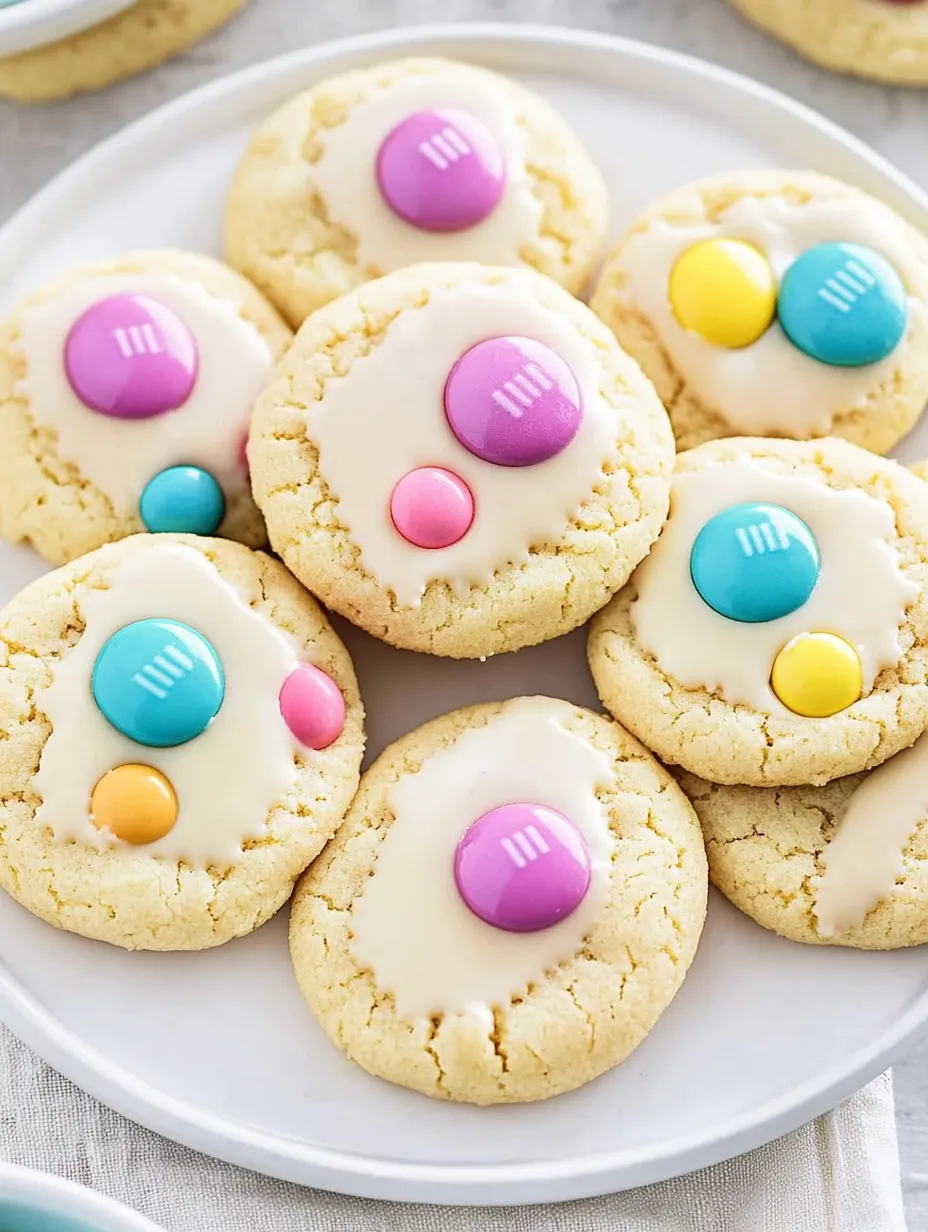
I stumbled onto this Easter cake mix cookie recipe last spring when I needed something quick but festive for my daughter's classroom party. The combination of soft, tender cookies with that partial candy coating creates these incredible treats that look like you spent hours making them, though they take almost no effort. They've become my go-to for any holiday when I need something colorful and fun without spending the whole day baking.
My neighbor's children were playing with mine when I made these, and their eyes went wide with excitement when they saw me dipping the cookies. They immediately wanted to help add the M&Ms, and by the end of the afternoon, they were asking their mom if they could make them at home too. Sometimes the simplest recipes create the biggest impressions, especially with kids.
Simple Ingredients
- White cake mix - The ultimate shortcut for soft, foolproof cookies
- Vegetable oil - Creates moisture and tenderness without fussing with butter
- Eggs and vanilla - The basics that transform cake mix into cookie dough
- Candy melts - Easy to work with and available in countless colors
- Seasonal M&Ms - The perfect decorative topping that adds color and crunch
 Pin it
Cookie Creation
- Mixing Method
- Combining the ingredients is incredibly simple, but I've found that room temperature eggs incorporate more smoothly than cold ones. I stir everything by hand with a wooden spoon rather than using a mixer, which helps prevent overmixing. The dough will be quite sticky at this stage - don't worry, that's exactly right. If it seems too sticky to handle, the chilling step will take care of that. The first time I made these, I was concerned about the thick, sticky consistency, but it creates the perfect texture once baked.
- Chilling Time
- That 30-minute chill in the refrigerator is crucial - it firms up the dough so it's easier to handle and helps the cookies maintain their shape during baking rather than spreading too thin. I've tried skipping this step when in a hurry, and the cookies spread into thin puddles rather than staying thick and soft. If your kitchen is particularly warm, you might even benefit from 45 minutes of chilling. I sometimes make the dough the night before and refrigerate it overnight, which works perfectly too.
- Dough Portioning
- Using a cookie scoop or tablespoon ensures all the cookies are uniform in size, which means they'll bake evenly. I roll the scooped dough between my palms to create smooth balls, which results in the prettiest finished cookies. If the dough starts sticking to your hands, lightly dust your palms with powdered sugar (not flour, which can make the cookies tough). Spacing them 2 inches apart is important - they do spread somewhat during baking, and if they're too close together, they'll merge into one giant cookie.
- Baking Precision
- The 8 to 10 minute baking time might seem short, but it's perfect for these cookies. They should look almost underdone in the centers when you remove them - they'll continue cooking from residual heat and firm up as they cool. If you wait until they look completely done, they'll end up overbaked and crispy rather than soft and chewy. I start checking at 8 minutes, as oven temperatures can vary significantly. The cookies should be set around the edges but still soft in the center.
- Cooling Strategy
- That brief 2-3 minute rest on the baking sheet allows the cookies to firm up enough to transfer without breaking. They're very soft when first removed from the oven, but they set up quickly. Using a spatula to transfer them to a cooling rack ensures they don't stretch or break. It's essential to let them cool completely before dipping - warm cookies will melt the candy coating and create a mess rather than a smooth finish.
- Dipping Technique
- I melt the candy wafers in a deep, narrow container rather than a wide bowl, which makes dipping easier and requires less melted candy. When dipping, I hold the cookie at an angle and rotate it slightly as I lift it out, which helps excess coating drip off evenly. Tapping the cookie gently against the side of the container removes more excess, creating a smoother finish. Adding the M&Ms or sprinkles immediately after dipping each cookie ensures they stick before the coating sets.
My teenage son, who normally doesn't show much interest in "cutesy" holiday treats, actually asked if he could take some of these cookies to share with friends. There's something about that combination of soft cookie and candy coating that appeals to everyone, regardless of age.
Perfect Pairings
Serve these colorful cookies with milk for the classic combination. For Easter gatherings, I arrange them on a pastel-colored platter alongside fresh fruit for a beautiful dessert table. They make an excellent addition to cookie platters or holiday gift boxes, providing both color and textural contrast to other treats. My kids love them as an after-school snack with hot chocolate during spring break week.
Creative Variations
Try different flavored cake mixes like strawberry or lemon for varied colors and flavors. Use cookie cutters to create shaped cookies instead of rounds - just roll out the chilled dough between sheets of parchment paper. Add a teaspoon of citrus zest to the dough for a fresh flavor twist. Last Easter, I experimented with marbling different colors of candy melts for the dipping, which created a beautiful swirled effect that looked far more complicated than it was.
 Pin it
I've made these Easter cake mix cookies for everything from classroom parties to family gatherings, and they never fail to bring smiles. There's something magical about their simplicity - a basic cookie transformed with a partial dip of candy coating and a few colorful candies. My daughter has started requesting them for every holiday, suggesting different color combinations and toppings. Sometimes the most beloved recipes are the ones that allow for creativity while still being foolproof, creating treats that look special without requiring special skills.
Frequently Asked Questions
- → Can I use a different flavor of cake mix?
- Absolutely! While the recipe calls for white cake mix to showcase the Easter decorations, you can use any flavor cake mix you prefer. Vanilla, chocolate, strawberry, or even funfetti would all work wonderfully. Just keep in mind that different flavors might affect the overall look of your cookies, especially if you're dipping them in white candy coating.
- → Why do I need to chill the dough?
- Chilling the dough for 30 minutes helps prevent the cookies from spreading too much during baking. The cooler dough allows the fat to solidify, which means it will take longer to melt in the oven, resulting in thicker, chewier cookies. If you're short on time, you can skip this step, but your cookies may spread more and be flatter.
- → How do I store these cookies and how long do they last?
- Store these cookies in an airtight container at room temperature for up to 5 days. Place parchment paper between layers to prevent sticking, especially if your kitchen is warm and the candy coating might soften. For longer storage, you can freeze the cookies (before decorating) for up to 3 months.
- → What's the best way to melt candy melts without burning them?
- To melt candy melts or chocolate properly, microwave them in short intervals (30 seconds to start, then 15-second intervals), stirring well between each. This prevents burning. Alternatively, use a double boiler method by placing them in a heat-safe bowl over simmering water (ensuring no water gets into the chocolate). Adding a teaspoon of vegetable shortening or coconut oil can help achieve a smoother consistency.
- → Can I make these cookies without eggs?
- Yes, you can substitute the eggs with alternative binding agents. For each egg, you can use ¼ cup of unsweetened applesauce, ¼ cup of mashed banana, or a commercial egg replacer following package directions. The texture might be slightly different, but the cookies will still be delicious.