
 Pin it
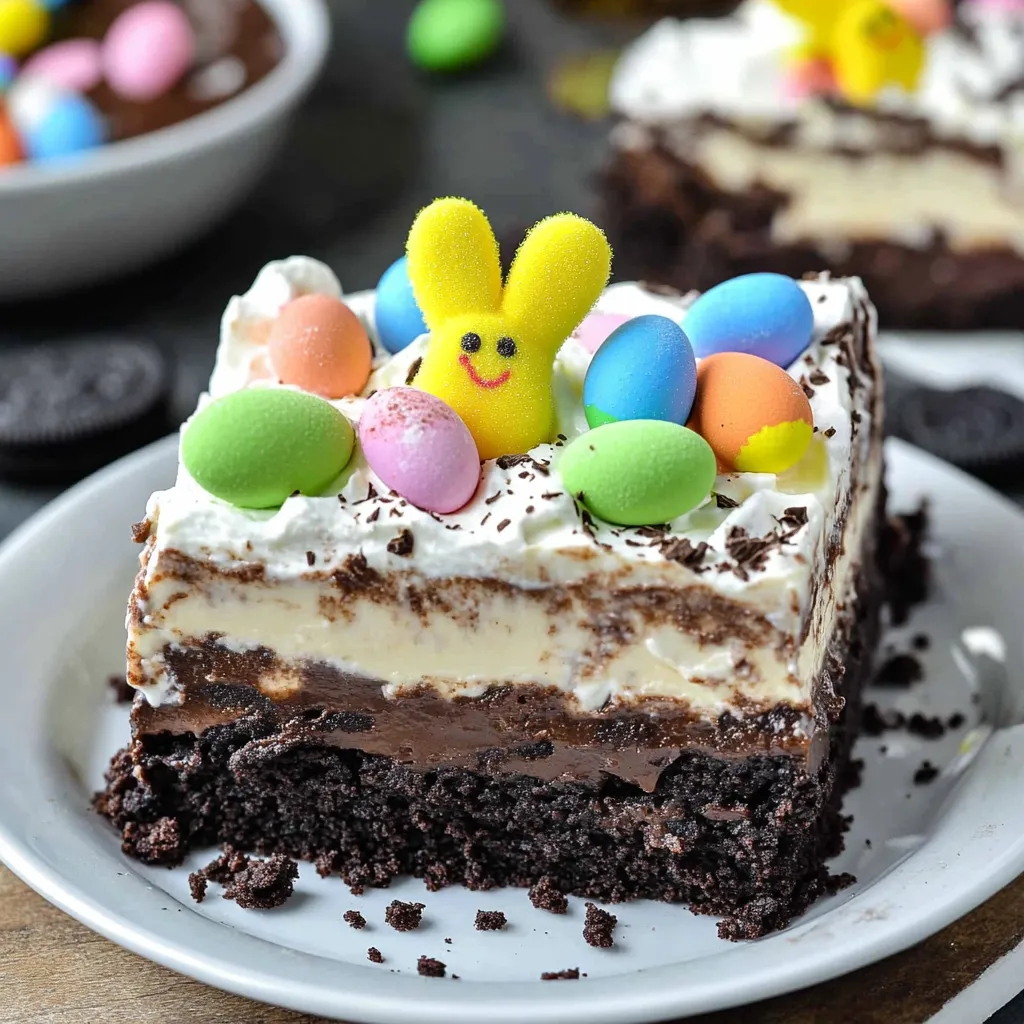
I stumbled onto this surprise-inside mini Easter bundt cake recipe last spring when I needed something fun and festive for a family gathering. The combination of cute little bundt cakes with a candy-filled center creates this incredible "wow" moment when guests cut into them. They've become our Easter tradition, bringing just as much joy in the making as in the revealing.
My niece was helping me in the kitchen when I made these for the first time, and her eyes went wide with excitement when we started filling the centers with candy. She could hardly wait to show everyone the surprise inside at dessert time. Sometimes the simplest recipes create the biggest impressions, especially with kids.
Simple Ingredients
- Cake mix - The perfect shortcut that creates consistently good results
- Mini bundt pan - Creates those adorable individual cakes with the hollow center
- Easter candy - The colorful surprise that makes these cakes special
- Simple glaze - Just sweet enough to complement the cake without overwhelming
- Gel food coloring - Creates those beautiful pastel colors perfect for Easter
 Pin it
Cake Creation
- Bundt Pan Preparation
- Thoroughly greasing and flouring the mini bundt pan is crucial for easy removal of the baked cakes. I've found that using butter rather than cooking spray creates the best release, making sure to get into all the nooks and crannies of the pan. A light dusting of flour over the butter ensures the cakes don't stick. The first time I made these, I skimped on this step and ended up with cakes that tore when I tried to remove them. Now I take my time with this prep, and the cakes slide out perfectly every time.
- Cake Mixing
- While the recipe offers the option of homemade or boxed cake mix, I usually go with boxed for convenience and consistent results. I've found that adding an extra egg to the box directions creates a slightly denser cake that holds up better for this application. When mixing, I beat it a bit longer than the box suggests to incorporate more air, which helps the cakes rise evenly in the bundt shapes. Sometimes I add a teaspoon of vanilla extract for extra flavor, even to a white or vanilla cake mix.
- Baking Precision
- Mini bundt cakes typically bake faster than the time suggested on a cake mix box. I start checking about 5-7 minutes earlier than the recommended time, looking for the cakes to pull away slightly from the edges of the pan and spring back when lightly touched. Overbaking dries them out, while underbaking can make them collapse when filled. Letting them cool in the pan for about 10 minutes before turning out onto a rack strikes the perfect balance - enough time to set up but not so long that they stick.
- Bottom Trimming
- That small trim off the bottom is a game-changer for presentation. I use a serrated knife and take off just enough to create a flat, stable base. This not only prevents wobbling but allows the cakes to stand perfectly upright, showcasing their beautiful bundt shape. I save these cake scraps in a container - they're perfect for cake pops or trifles later!
- Candy Selection
- The choice of candy affects both the visual impact and the eating experience. I look for colorful options that aren't too hard or chewy - mini chocolate eggs, jelly beans, pastel M&Ms, and small chocolate bunnies work beautifully. I avoid anything with caramel or nougat centers that might be too difficult to eat alongside cake. Creating a mix of colors and sizes creates the most exciting reveal when the cake is cut open. I sometimes coordinate candy colors with the glaze colors for a cohesive look.
- Glaze Application
- The consistency of the glaze is key - too thin and it runs right off, too thick and it won't drape nicely over the ridges of the bundt cakes. I always start with less milk than called for and add more by the teaspoonful until I reach that perfect thick-but-pourable consistency. When applying the glaze, I pour it in a circular motion around the top ridge of the bundt, allowing it to naturally flow down the sides. Being careful to avoid getting glaze in the center hole helps keep the candy reveal intact. For multiple colors, I either do sections of different colors or drizzle contrasting colors over a base color for a festive effect.
My normally stoic father-in-law actually smiled with delight when he cut into his cake and candy spilled out onto his plate. When you can surprise and delight someone who's seen it all, you know you've found a winning recipe.
Perfect Pairings
Serve these festive cakes with coffee or tea for an afternoon Easter treat. For brunch, they make a colorful addition to the dessert table alongside fresh fruit. During Easter dinner, they're a perfect light dessert option after a heavy meal. My kids love them with a scoop of vanilla ice cream on the side, which complements the sweet cake and candy beautifully.
Creative Variations
Try different cake flavors like lemon or strawberry for variety. Use themed candy for other holidays - red and green M&Ms for Christmas, conversation hearts for Valentine's Day, or Halloween candy for fall. Add food coloring to the cake batter itself for colorful slices that match or contrast with the glaze. Last Easter, I experimented with marbling different colors of batter, which created beautiful rainbow cakes that were even more festive when cut open.
 Pin it
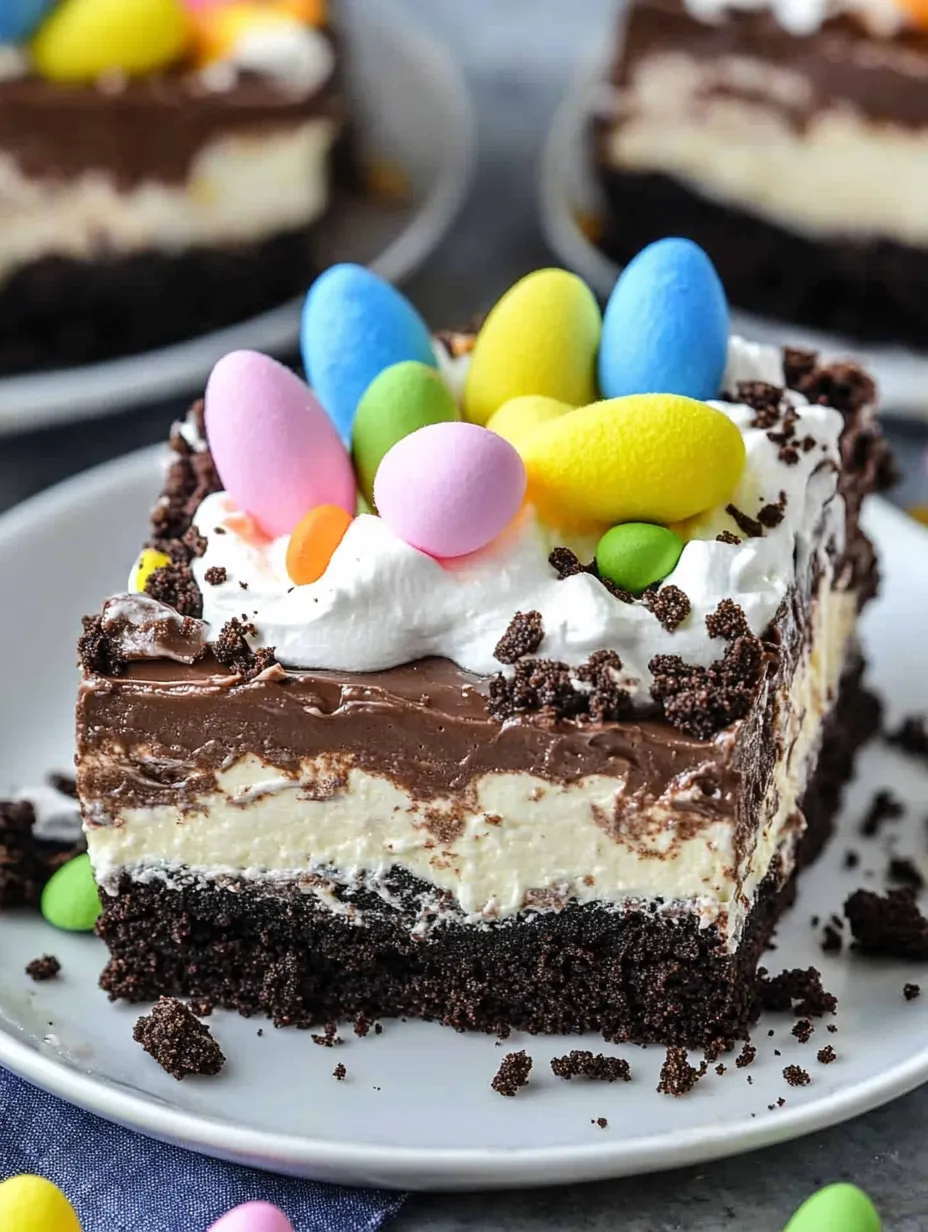
I've made these surprise inside mini Easter bundt cakes for family gatherings, school events, and Easter celebrations, and they never fail to create excitement. There's something magical about cutting into what looks like a simple glazed cake and having colorful candy spill out onto the plate. My children have started helping me make them each Easter, carefully selecting which candies to use and decorating each cake with their own creative flair. Sometimes the most memorable recipes are the ones that bring a bit of surprise and wonder to our celebrations, creating traditions that everyone looks forward to year after year.
Frequently Asked Questions
- → Can I make this dessert ahead of time?
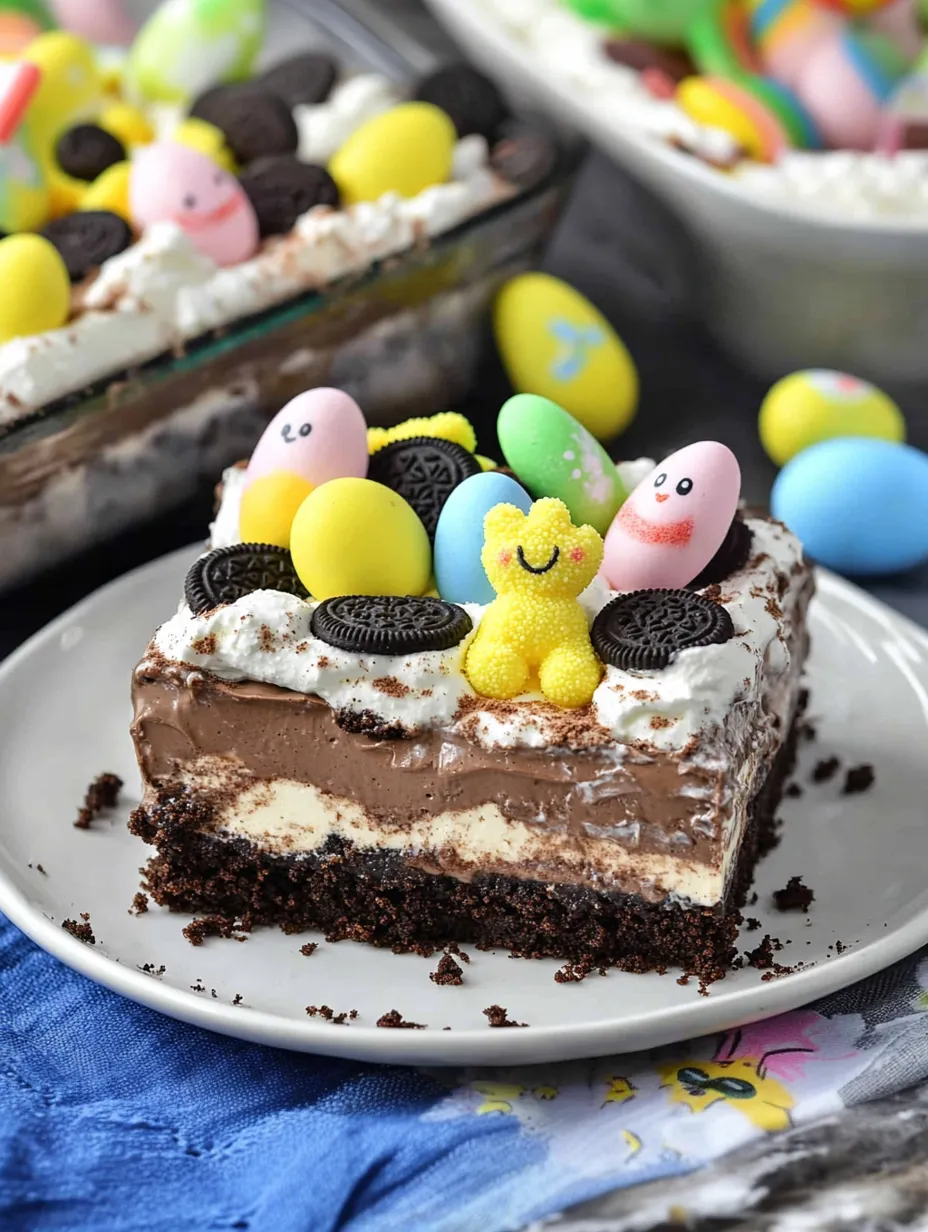
- Yes! This dessert actually benefits from being made ahead. Prepare it up to 2 days in advance but add the Peeps and Easter candy decorations just before serving for the freshest look.
- → Can I use homemade whipped cream instead of Cool Whip?
- Absolutely! Whip 2 cups of heavy cream with 1/4 cup powdered sugar and 1 tsp vanilla until stiff peaks form as a substitute. Just note that homemade whipped cream may not hold up as long as Cool Whip.
- → How should I store leftovers?
- Cover tightly with plastic wrap and store in the refrigerator for up to 3 days. The texture is best within the first 48 hours after making it.
- → Can I make this in a different size pan?
- Yes! For a smaller version, halve the recipe and use an 8x8 inch pan. For individual servings, assemble in clear plastic cups or small mason jars for a fun presentation.
- → Can I use different pudding flavors?
- Definitely! Try vanilla, white chocolate, or even strawberry pudding for different variations. You can also use seasonal Oreo flavors to match your theme.
- → Is there a way to make this without a food processor?
- Yes! Place Oreos in a sealed plastic bag and crush them with a rolling pin or the bottom of a heavy pan. You want fine crumbs for the crust, but slightly larger pieces work well for the topping.