 Pin it
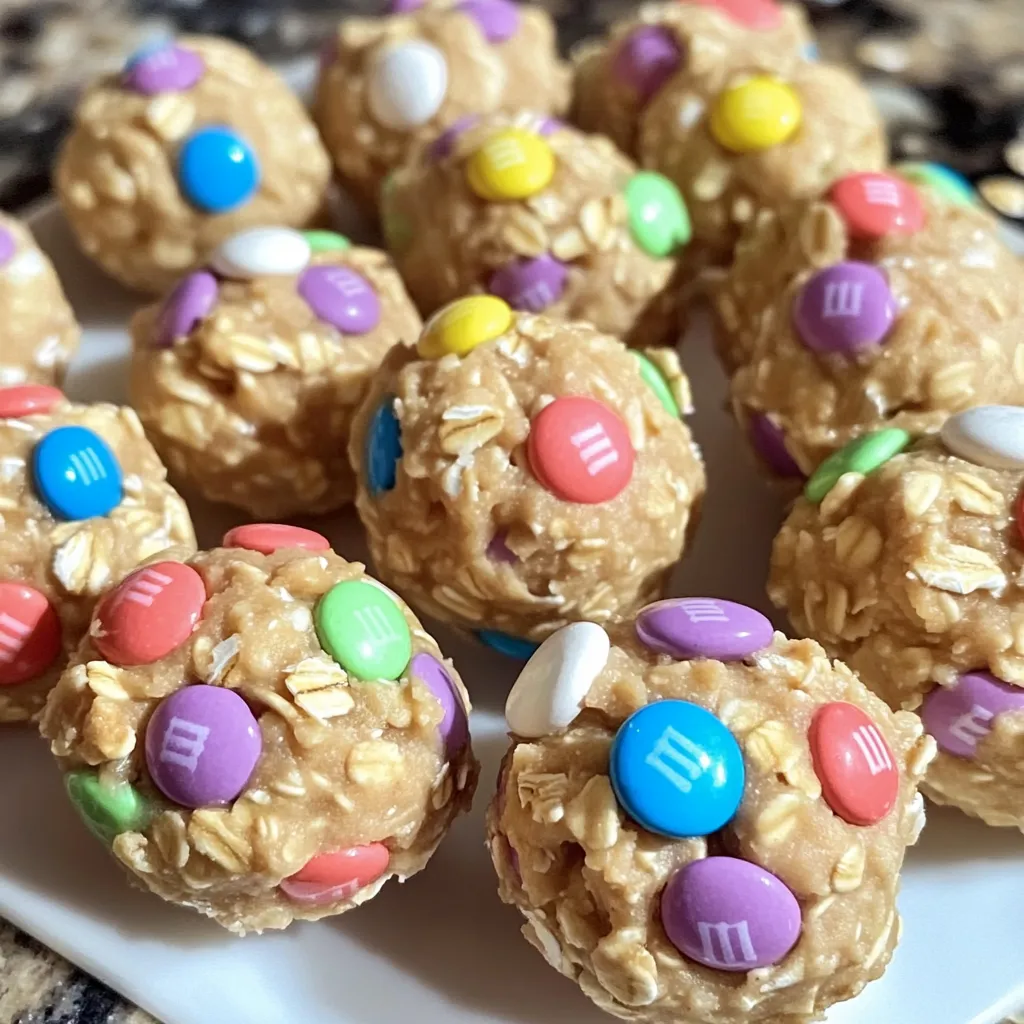
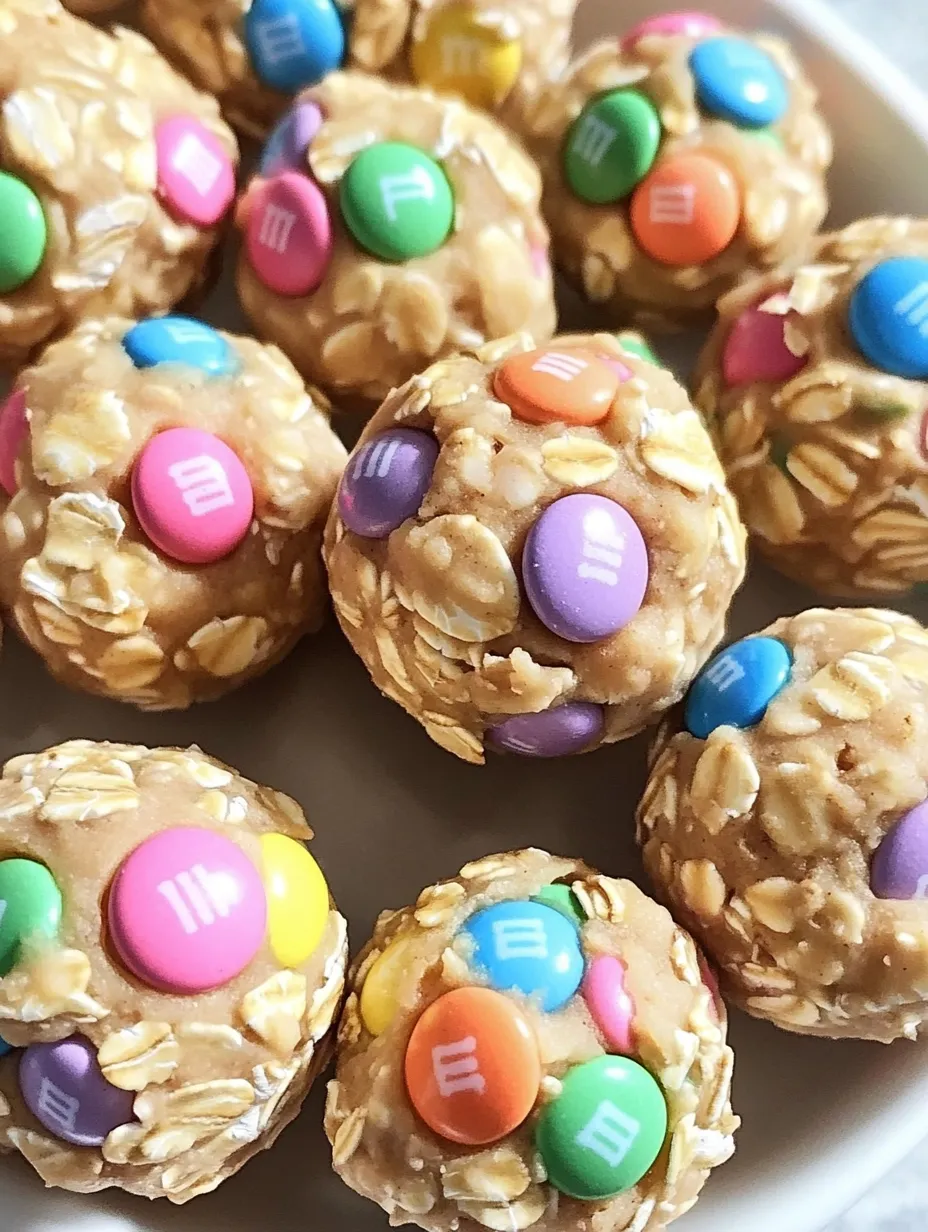
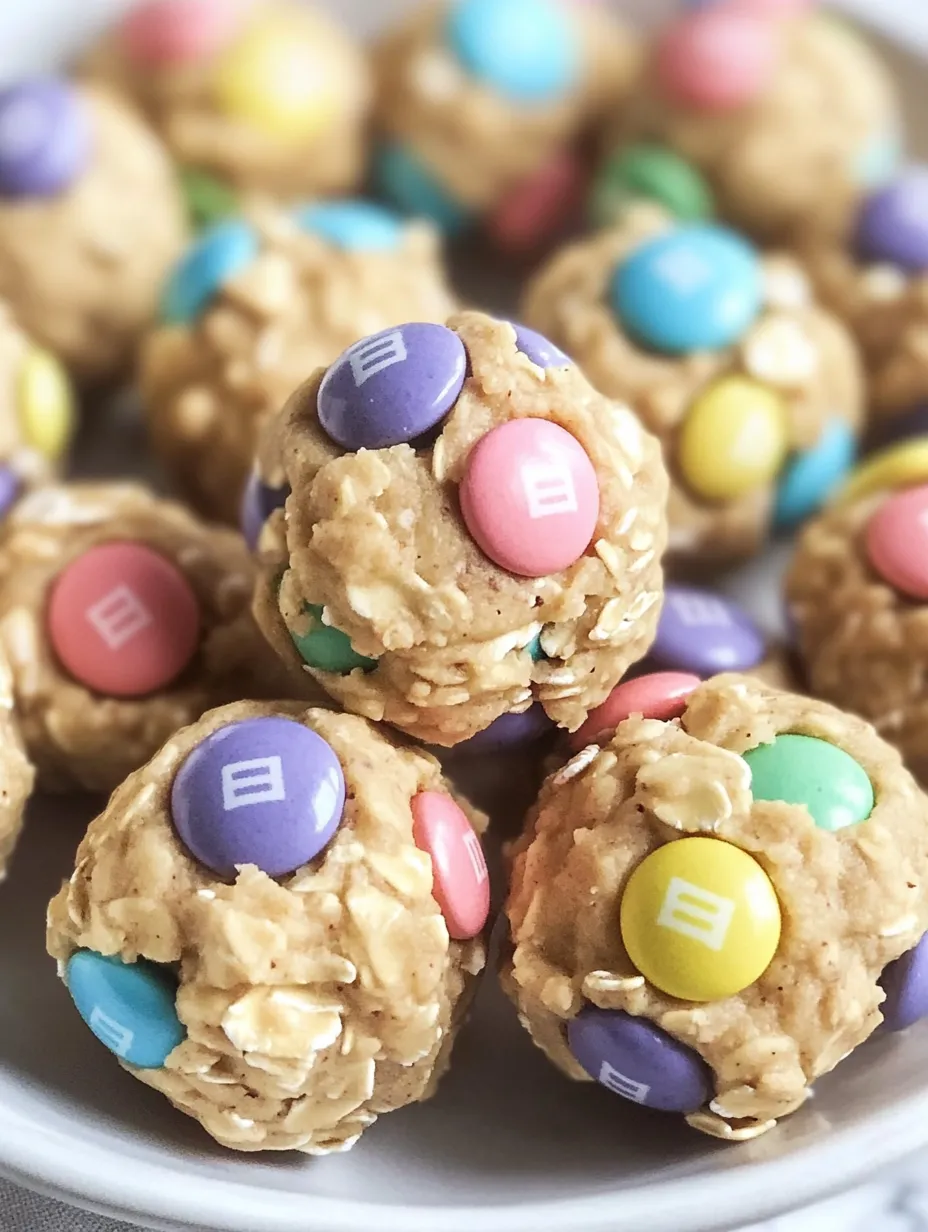
I stumbled upon this recipe idea last Easter when I had a house full of hungry kids and not enough time to bake proper cookies. These colorful little no-bake treats were born out of necessity, but they've become our spring tradition. Imagine the flavors of cookie dough combined with the festive colors of Easter egg hunts—all rolled into bite-sized morsels that take minutes to make. The combination of oats, peanut butter, honey, and pastel candies creates something that feels indulgent yet has enough nutritious ingredients that I don't mind serving them as an afternoon snack.
Last spring, I brought these to my nephew's Easter egg hunt party. His friend Tommy, who according to his mom "never eats anything homemade," devoured seven of these before wandering off with his pockets suspiciously bulging. His mom texted me later asking for the recipe, saying he'd been begging her to make "those egg ball things" every day since. There's something about the combination of familiar cookie dough flavor with festive colors that makes them irresistible to kids and adults alike.
Simple Ingredients
- Oats - These create the hearty base that makes these bites substantial rather than just sugary treats. I use old-fashioned rolled oats for the best texture, but quick oats will work in a pinch. The slight chewiness provides a perfect cookie dough-like consistency.
- Peanut butter - This provides protein and healthy fats while binding everything together. I prefer natural peanut butter with no added sugar, since the honey and candies already add plenty of sweetness. Make sure it's well-stirred before measuring for the right consistency.
- Honey - Nature's sweetener adds the perfect touch without being overpowering. The subtle floral notes complement the peanut butter beautifully. I've tried maple syrup as a substitute, and while it works, honey really does create the best flavor profile for these spring treats.
- White chocolate chips - These melt slightly into the mixture, creating pockets of sweetness throughout and enhancing that cookie dough experience. In a pinch, you can chop up a white chocolate bar instead.
- Pastel M&Ms - The star of the show that makes these truly Easter-themed! The pastel colors create that perfect spring vibe while adding chocolate flavor and crunch. The mini ones distribute better throughout the dough, giving you color in every bite.
 Pin it
Creating Cookie Magic
- Perfect mixture technique:
- When combining the wet and dry ingredients, use a sturdy spoon or your hands to ensure everything is evenly coated. The mixture might seem too dry at first, but keep mixing—the warmth of your hands helps the peanut butter and honey distribute more evenly through the oats.
- Rolling for success:
- Slightly damp hands make rolling these bites infinitely easier. I keep a small bowl of water nearby to dip my fingertips occasionally. This prevents sticking and creates smoother, more uniform balls. If the mixture feels too sticky, refrigerate it for 15 minutes before rolling.
- Size matters:
- Aim for bites that are about 1-inch in diameter—roughly the size of a large gumball. This creates the perfect two-bite treat. Larger balls take longer to firm up and can be messier to eat, while smaller ones are more tedious to roll.
- Chilling properly:
- Don't skip the chilling step! These bites firm up significantly in the refrigerator, making them less sticky and more enjoyable to eat. The flavors also meld together beautifully during this time. Thirty minutes is the minimum, but an hour or more is even better if you have the patience.
- Festive variations:
- For an extra Easter touch, roll the finished balls in shredded coconut tinted with a drop of food coloring to look like little nests. You can also press an additional M&M on top of each ball before chilling for a pop of color.
My first attempt at these was a sticky mess because I didn't chill the mixture before trying to roll it (impatience is my middle name in the kitchen). I've since learned that a brief stint in the refrigerator makes the rolling process much cleaner. I've also experimented with different ratios of ingredients and found this version creates the perfect balance – enough binder to hold everything together but not so much that they become overly soft or sticky.
Serving Inspiration
Transform these Easter Egg Cookie Dough Bites into an even more festive treat by arranging them in paper cupcake liners nestled in an egg carton—this creates an adorable presentation for Easter brunches. For spring parties, serve them on a platter with fresh strawberries and mint leaves for a pop of color. They make perfect additions to Easter baskets as a homemade treat among the commercial candies. For classroom parties, place each bite in a miniature cupcake liner inside a plastic egg for a fun surprise.
Flavor Variations
Once you've mastered the basic recipe, try some creative variations. Replace the peanut butter with cookie butter for a uniquely spiced flavor. Add a tablespoon of cocoa powder for chocolate cookie dough bites. Mix in a teaspoon of cinnamon for a snickerdoodle version. For a more grown-up flavor, add the zest of one lemon or orange for a bright, citrusy note. During other seasons, swap the pastel M&Ms for holiday-colored versions to create treats for any occasion.
Storage Secrets
These Easter Egg Cookie Dough Bites maintain their perfect texture for up to a week when stored in an airtight container in the refrigerator. They actually improve after the first day as the flavors meld together and the oats soften slightly. If your kitchen is warm, keep them refrigerated until just before serving. They also freeze beautifully for up to three months—just thaw in the refrigerator for a few hours before enjoying. I often make a double batch and freeze half for quick snacks later.
 Pin it
I've made these Easter Egg Cookie Dough Bites for countless spring gatherings, classroom parties, and family Easter celebrations. There's something about their cheerful appearance and nostalgic cookie dough flavor that brings joy to people of all ages. What started as a time-saving solution has become a beloved tradition that my family and friends look forward to each spring. The best part? I can whip them up in minutes with ingredients I already have on hand, making last-minute entertaining completely stress-free.
Frequently Asked Questions
- → Are these cookie dough bites safe to eat?
- Yes! Unlike traditional cookie dough, these bites don't contain raw flour or eggs, making them completely safe to eat without baking. The oats provide the texture similar to flour in cookie dough.
- → Can I make these nut-free for school snacks?
- Absolutely! Simply substitute the peanut butter with sunflower seed butter or cookie butter for a nut-free version. Also check that your chocolate chips and M&Ms are processed in a nut-free facility if severe allergies are a concern.
- → My mixture is too dry and crumbly. What should I do?
- Add a bit more peanut butter or honey, one teaspoon at a time, until the mixture holds together when pressed. Different brands of peanut butter have varying consistencies, so slight adjustments may be needed.
- → Can I use regular M&Ms instead of pastel ones?
- Yes! While pastel colors give these bites an Easter theme, you can use regular M&Ms or seasonal colors for different holidays—red and green for Christmas, orange and brown for Halloween, etc.
- → How long do these cookie dough bites last?
- When stored in an airtight container in the refrigerator, these bites will stay fresh for up to 1 week. You can also freeze them for up to 3 months—just thaw in the refrigerator before enjoying.
- → Can I use quick oats instead of regular rolled oats?
- Yes! Both quick oats and old-fashioned rolled oats work in this recipe. Quick oats will give a smoother texture, while rolled oats provide more chew. You can even pulse rolled oats in a food processor a few times if you prefer a finer texture.
