
 Pin it
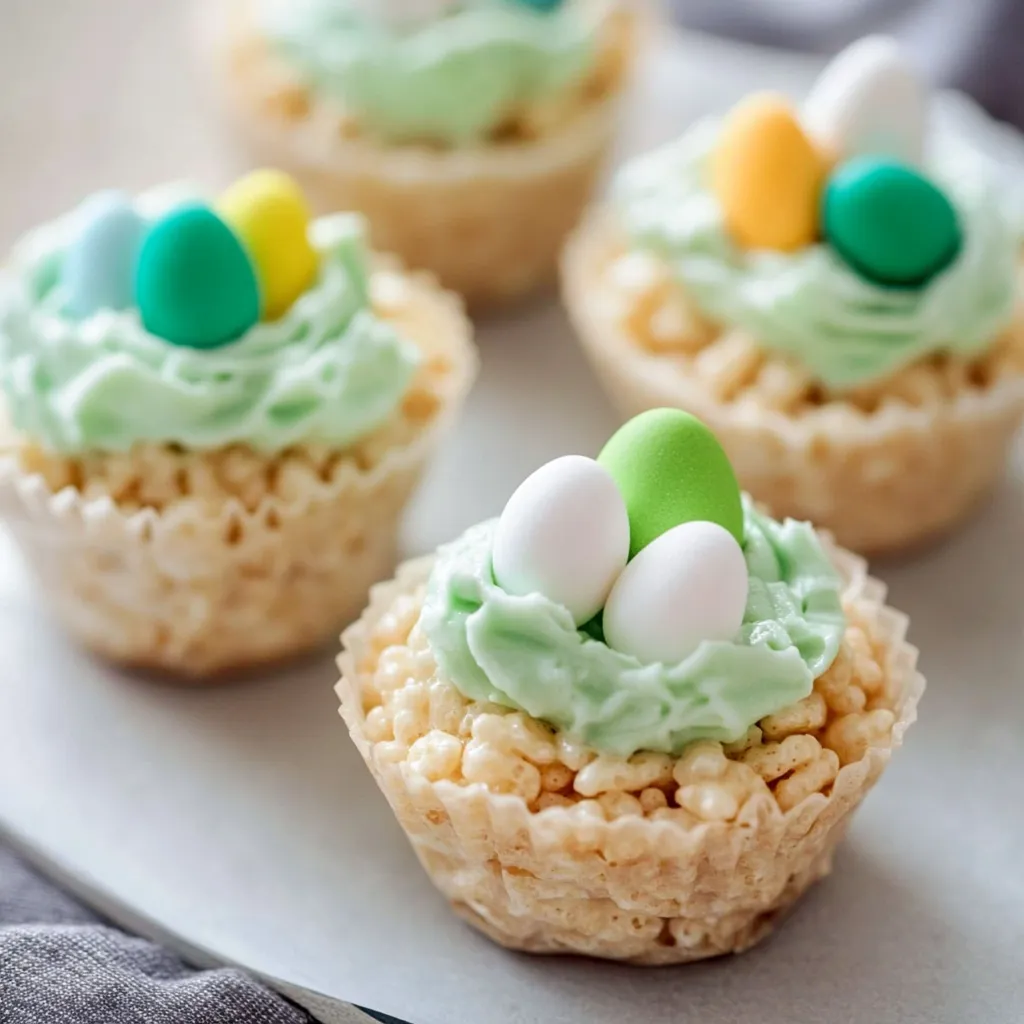
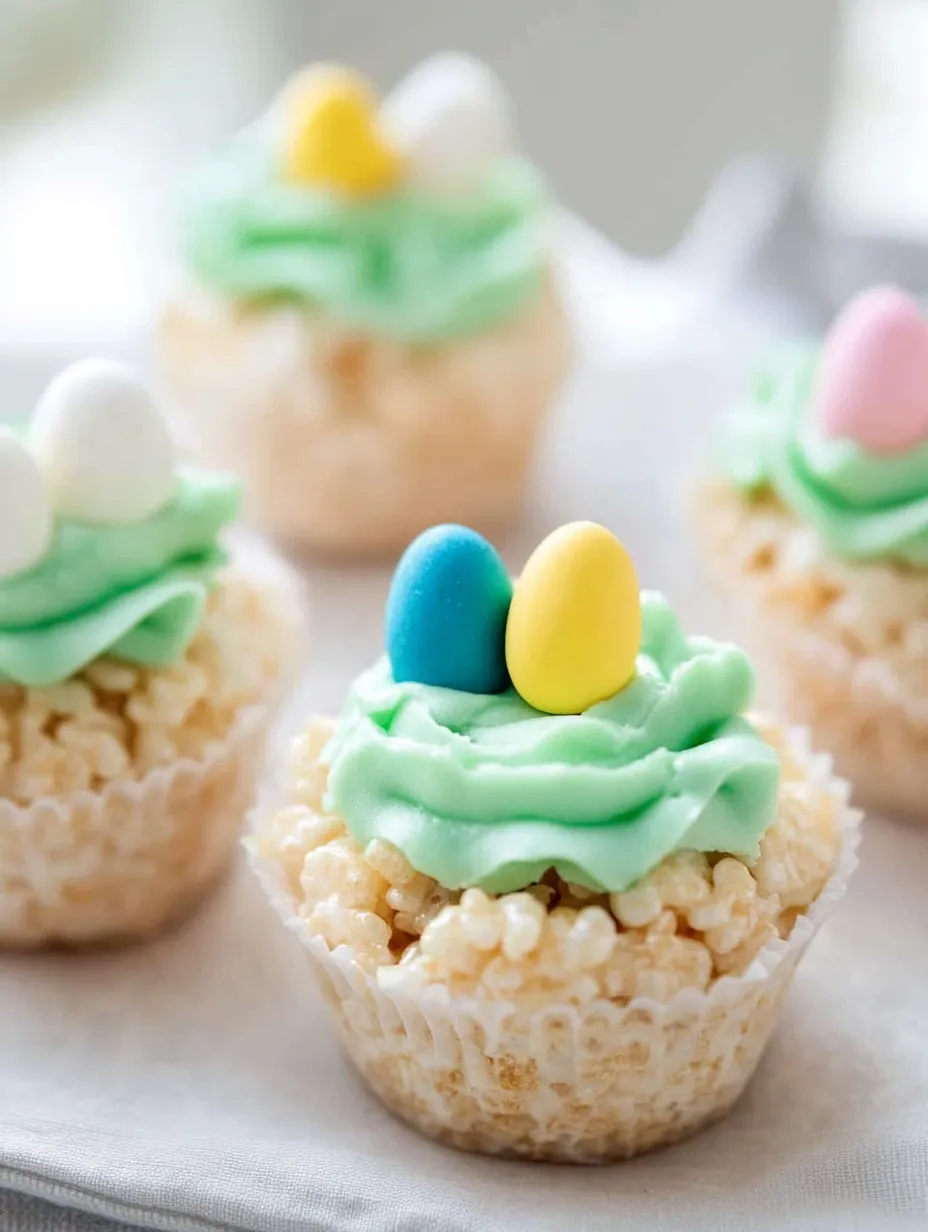
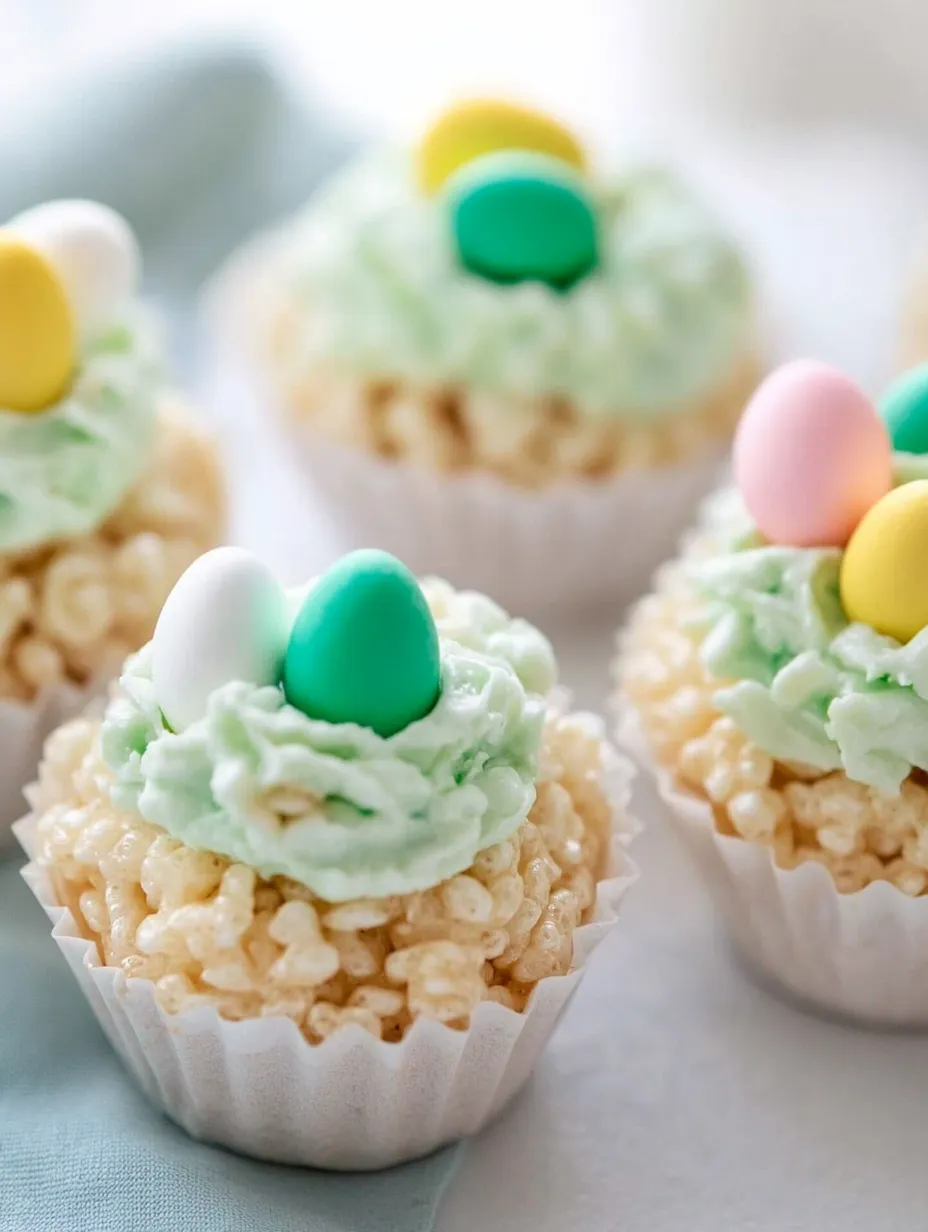
I discovered these adorable treats when looking for something beyond chocolate eggs and jelly beans for our family Easter gathering. These crispy marshmallow nests topped with buttercream grass and candy eggs combine the nostalgic flavor of Rice Krispie treats with a festive spring presentation. They look impressive on any Easter table but require minimal effort – my kind of holiday recipe when there's already so much else to prepare.
Made these last Easter when my sister brought her kids over for our annual egg hunt. My 7-year-old niece insisted on helping with everything, especially placing those candy eggs "just right" in each nest. After the hunt, watching the kids devour these treats with green-tinted frosting all over their faces became my favorite memory of the day. Sometimes the simplest recipes create the best traditions.
Important Ingredients
- Marshmallows: Fresh marshmallows are non-negotiable here. Those half-open bags from last summer's s'mores will make tough treats. Both jumbo and mini melt beautifully, so use whatever's in your pantry.
- Rice Krispies cereal: The classic cereal creates that perfect light crunch and distinctive texture. Store brands work fine, but make sure they're fresh for best texture.
- Unsalted butter: Adds richness and helps prevent sticking. Don't skimp on greasing everything - these treats are seriously sticky business.
- Easter egg candies: Mini chocolate eggs with candy shells look most realistic, but jellybeans work in a pinch. I've found those speckled malted milk eggs create the most convincing "robin's egg" look.
- Buttercream components: Real butter makes all the difference in flavor here. The powdered sugar-to-butter ratio can be adjusted depending on how stiff you want your frosting grass.
- Green food coloring: Gel food coloring gives the most vibrant "grass" color without thinning your frosting. I mix a tiny bit of yellow with green for that perfect spring shade.
 Pin it
Crafting Method
- Prepare your pans:
- Thoroughly grease cupcake tins with butter or cooking spray. Don't trust non-stick pans here – these treats will stick to everything unless properly greased. Having pans ready before starting ensures you can work quickly when needed.
- Melt the mixture:
- Place marshmallows and butter in a large microwave-safe bowl. Microwave in 30-second bursts, stirring between each interval. Watch carefully as marshmallows expand dramatically when heating. They're ready when completely smooth with no lumps.
- Create the base:
- Pour Rice Krispies into the melted marshmallow mixture, folding gently but thoroughly until every piece is coated. Work quickly as the mixture starts setting fast. A buttered spatula helps prevent the mixture from sticking to your tools.
- Shape your nests:
- Spoon the mixture into prepared cupcake wells while still warm and pliable. Use a piece of wax paper to press down in the center, creating a nest-like depression. The wax paper prevents the mixture from sticking to your fingers.
- Allow setting time:
- Let the nests sit undisturbed for at least 30 minutes. They'll firm up enough to hold their shape but remain pleasantly chewy. Rushing this step makes removal from pans much more difficult.
- Whip the frosting:
- Beat room temperature butter until light and fluffy. Add vanilla, milk, and half the powdered sugar, beating until smooth. Gradually add remaining powdered sugar until you reach a pipeable consistency. Add green food coloring drop by drop until you achieve the perfect grassy shade.
- Assemble your creation:
- Transfer green frosting to a piping bag fitted with a grass tip or small round tip. Pipe frosting onto cooled nests in a random pattern resembling grass or twigs. Immediately place candy eggs into the frosting before it crusts over.
First time I made these, I foolishly tried using those paper liners thinking they'd help with removal. What a mess! The treats stuck completely to the paper. Now I just thoroughly butter the pans and use a small offset spatula to gently release each nest. Another improvement I've made over the years is warming my measuring cup before scooping marshmallows – they slide right out without sticking. Little tricks like this make the process so much smoother when you're making several batches for a bigger gathering.
Serving Suggestions
Create an Easter dessert table centerpiece by arranging these nests on a tiered stand surrounded by fresh spring flowers and scattered jelly beans. The height variation makes for a stunning presentation that guests will photograph before diving in. For a casual Easter brunch, place one at each place setting as an edible name card holder – just add a small paper flag with each person's name. Kids absolutely love finding these as part of their Easter basket goodies, especially when wrapped in clear cellophane with pastel ribbons. These also pair wonderfully with spring-themed cupcakes or cookies for a varied dessert offering.
Tasty Twists
Try using Cocoa Krispies for chocolate nests that contrast beautifully with pastel candy eggs. The chocolate version has been a huge hit with my family's chocoholics. For a more colorful approach, use Fruity Pebbles to create speckled nests that look like they've been decorated by artistic birds. Add 1/2 teaspoon of orange or lemon zest to the marshmallow mixture for a subtle citrus note that brightens the whole treat. For adults, consider adding a splash of Bailey's Irish Cream to the buttercream for a sophisticated twist that's still playful and festive.
Storage Smarts
Keep assembled nests in a single layer in an airtight container at room temperature. They'll stay fresh for 2-3 days, though the Rice Krispie base will gradually become firmer. Never refrigerate these treats as cold temperatures make them rock-hard and unpleasant. If making ahead, prepare the nests and store undecorated, then add frosting and candy eggs within a few hours of serving. In warm weather, keep them in the coolest part of your kitchen away from direct sunlight to prevent the frosting from melting or sliding off. If you need to transport them to a gathering, a shallow box with a tight-fitting lid works perfectly.
 Pin it
I've made these Rice Krispie nests for school functions, family gatherings, and even adult Easter brunches. Something about their whimsical appearance brings out childlike joy in people of all ages. My neighbor Tom, who claims to "not care for sweets," somehow always manages to eat two when we have our annual neighborhood Easter potluck. There's magic in combining simple ingredients into something that looks special enough for a holiday celebration but takes barely any time to create. That sweet spot between effort and reward makes this recipe one I return to year after year, with everyone asking if I'll be bringing "those adorable nests" again.
Frequently Asked Questions
- → Can I make these Rice Krispie nests ahead of time?
- Yes! You can make these 1-2 days ahead. Store them in an airtight container at room temperature. For best results, add the frosting and candy eggs the day you plan to serve them.
- → Why are my Rice Krispie treats too hard?
- Hard Rice Krispie treats usually result from pressing the mixture too firmly into the pan or cooking the marshmallows too long. Use gentle pressure when forming the nests and be careful not to overheat the marshmallows.
- → Can I use store-bought frosting instead of making buttercream?
- Absolutely! Pre-made vanilla frosting works great. Just add green food coloring and mix well. This is a perfect time-saving option that still looks festive.
- → What's the best way to remove the nests from the cupcake pan?
- Make sure to grease the pan well before adding the mixture. After they've set, run a butter knife around the edges and gently twist to release. If they're still sticking, let them sit at room temperature a bit longer.
- → What other candies work well for the eggs?
- Mini chocolate eggs work best, but you can also use jelly beans, pastel M&Ms, Cadbury mini eggs, or even small Jordan almonds. Choose candies that are egg-shaped or small enough to look like eggs in your nests.
- → How do I get the perfect nest shape?
- After spooning the mixture into the cupcake pan, use your thumb or the back of a greased spoon to create an indentation in the center. You can also wrap your fingers in wax paper and press down to form the nest shape.