 Pin it
French Dip Sliders
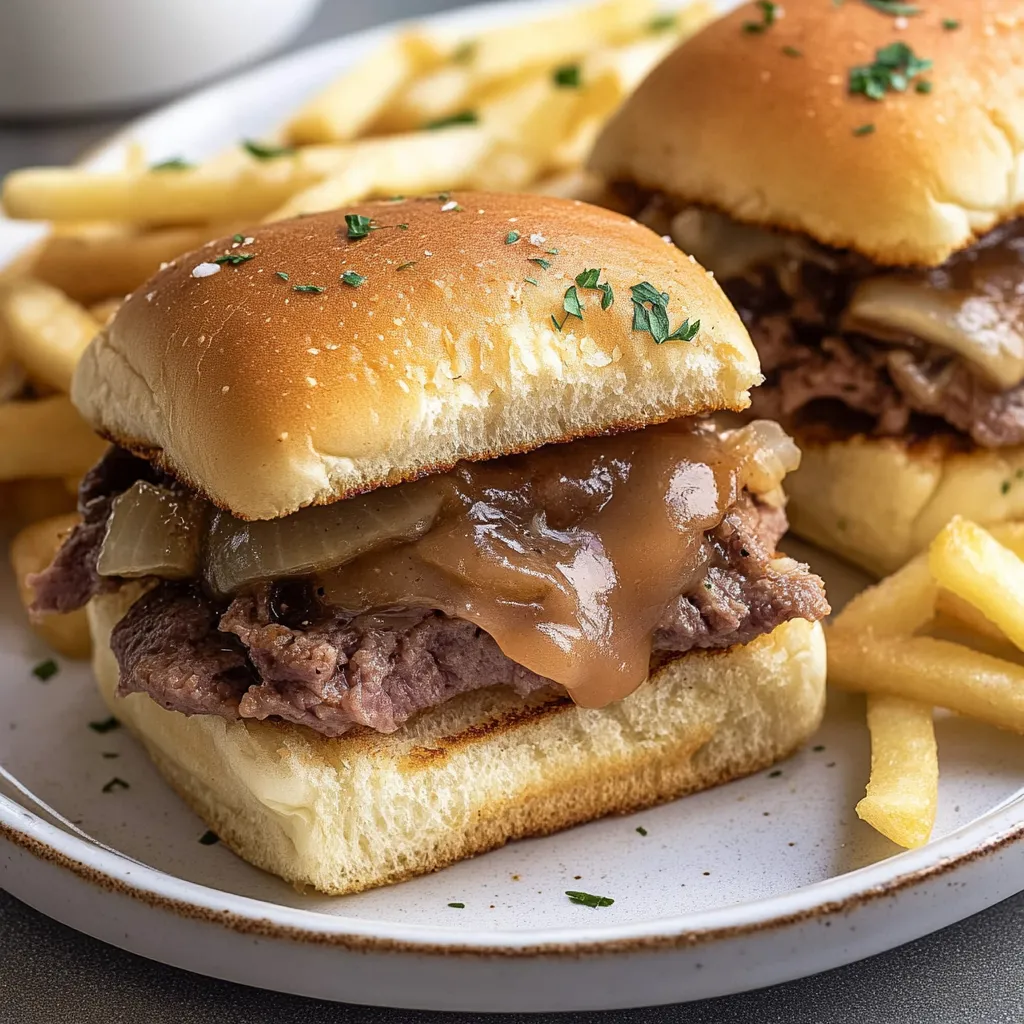
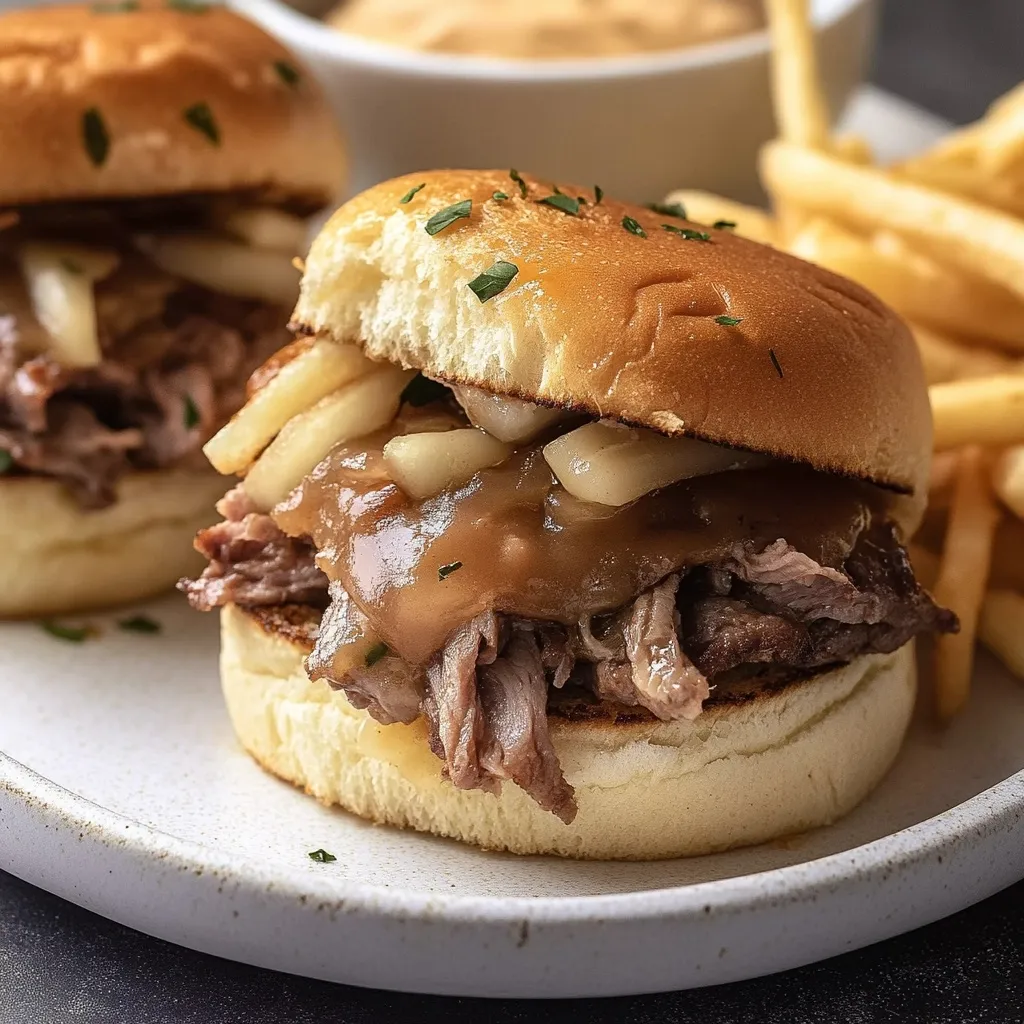
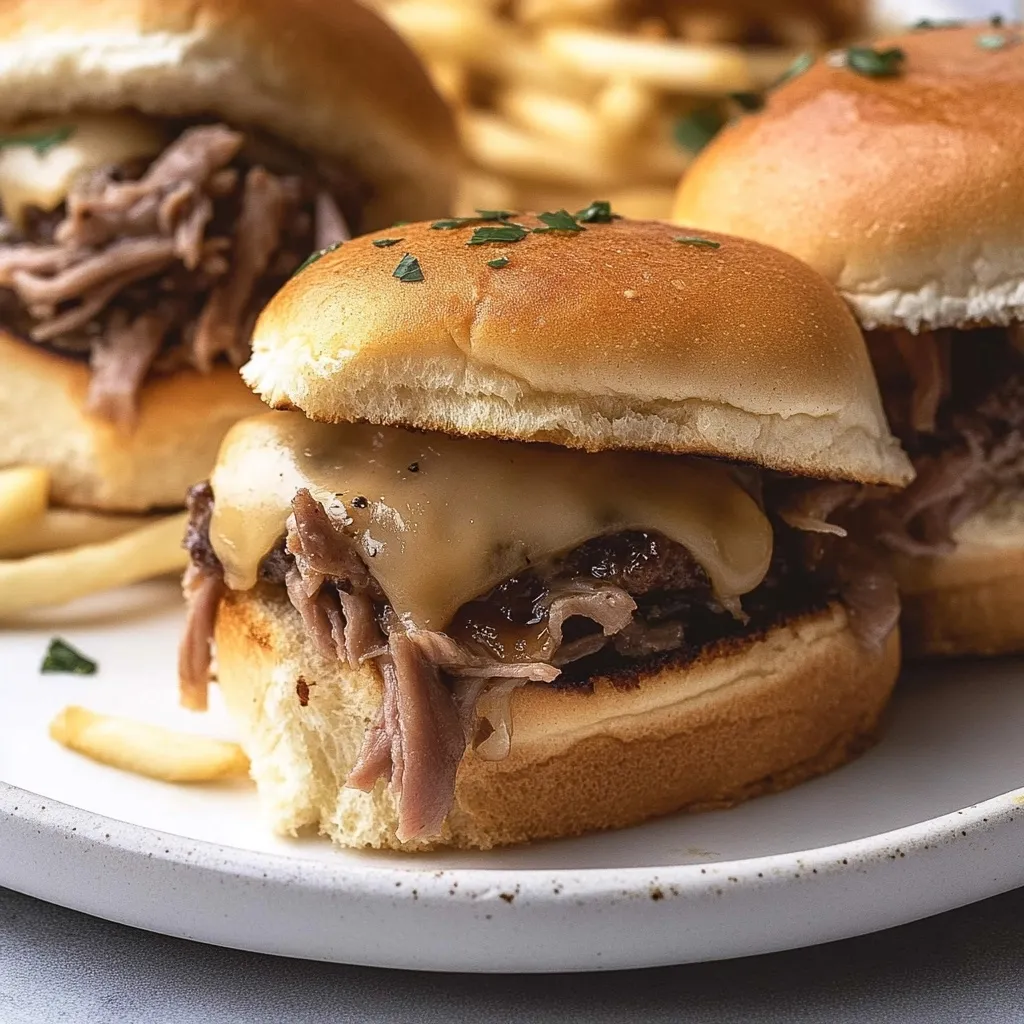
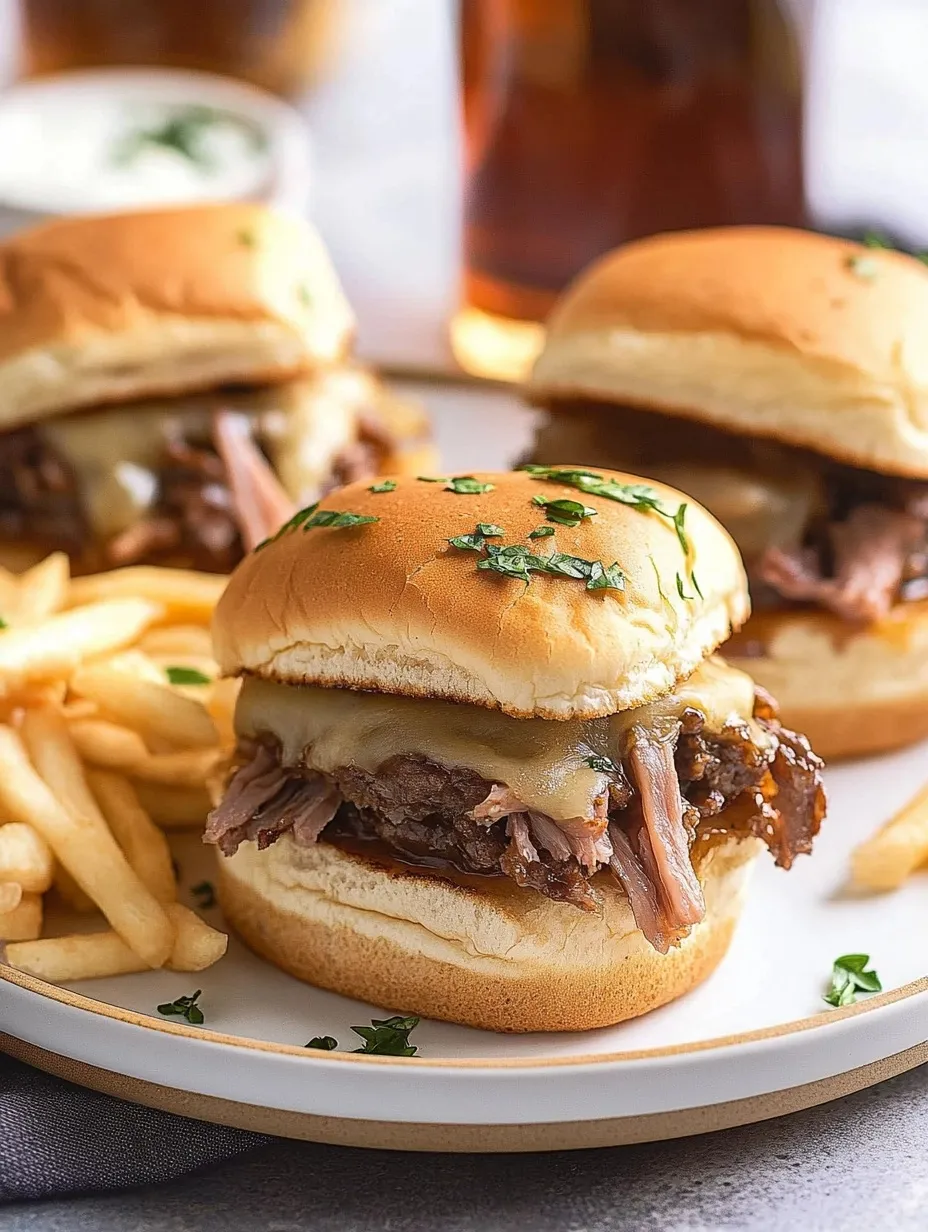
Picture this - soft rolls stuffed with tender roast beef and melted cheese, all begging to be dunked in rich, warm jus. After messing up batch after batch trying to get these right, I finally nailed the perfect party slider. My friends now fight over the corner pieces because they get extra crispy with all that buttery goodness.
Last weekend I brought these to my neighbor's watch party. Two guys nearly came to blows over the last slider. Now my friend's wife makes me promise to bring them to every gathering. No complaints here!
What You Really Need:
- Hawaiian rolls: the buttery ones in the yellow package
- Rare roast beef: tell your deli person to slice it paper-thin
- Swiss cheese: it melts like a dream
- Yellow onions: worth the time to caramelize them right
- Good beef stock: the cheap stuff just won't cut it
- Real butter: no substitutes here
Let's Make Magic:
The Roll Prep
Split that whole slab of rolls at once
Quick toast under the broiler
Keep an eye on them - they'll burn in seconds
Building Layers
Spread some horseradish mayo on the bottom
Layer cheese, then beef, then those sweet onions
More cheese on top because why not?
 Pin it
That Butter Bath
Mix melted butter with garlic and herbs
Brush it everywhere - be generous
Let it drip down the sides
Baking to Perfection
Cover them up first
Finish uncovered to get that golden top
Rest before cutting or it's a mess
Making That Jus
Start with butter and garlic
Add your stock slowly
Let it simmer until it's rich and dark
Made these for my dad's birthday last month. He's usually pretty quiet about food but asked for the recipe. That's basically a standing ovation in dad-speak.
Through trial and error (mostly error), I've learned that sometimes simple is better. These sliders aren't fancy, but they're the first thing to disappear at every party.
Making it Work for Parties:
Listen, I learned this the hard way - set up matters. Put out those little ramekins for individual dipping. Trust me, nobody wants to share jus with 12 other people. And napkins. Lots of napkins. These babies can get messy, but that's half the fun.
Keep in Mind:
Appetizers: Figure 2 per person
Main dish: At least 3-4 each
Always make extra jus
Set out small plates, not just napkins
My sister grabbed this recipe after trying them at our Super Bowl party. Now her kids beg for "those drippy sandwiches" every weekend. Can't blame them - that cheese pull gets me every time.
 Pin it
What Goes Great With These:
Crispy shoestring fries - dip them in extra jus
Tangy coleslaw cuts through all that richness
Kettle chips for crunch
Something fresh and green to feel better about yourself
Prep Ahead Game Plan:
Caramelize onions up to 4 days before
Assemble everything but wait on the butter topping
Make jus a day ahead
Pull from fridge 30 minutes before baking
If Things Go Wrong:
Too brown on bottom? Move your rack up. Too soggy? You probably skipped toasting those buns. Cheese not melty enough? Give them a few more minutes under foil.
Mix It Up Sometimes:
Try mushrooms instead of onions
Add those crispy fried onions on top
Pepper jack for heat lovers
Layer in some peppers and garlic
Leftovers (If You're Lucky):
Wrap them up tight in the fridge
Reheat in foil to keep them from drying out
Keep that jus separate until serving
Best within 2 days
Took me about six tries to get these just right. But now? They're my go-to for everything from game days to casual dinners. Something about that combination of soft bread, melty cheese, and rich jus just brings people together.
Remember, perfect is overrated. If some of the cheese oozes out and gets crispy on the pan? Consider it a cook's treat. Those crispy bits are gold.
Whether you're feeding a crowd or just making dinner special, these sliders hit the spot every time. Just don't forget to save one for yourself - they have a way of disappearing fast.
Real Kitchen Moments:
You know what makes me laugh? Every time I serve these, there's always that one person who tries to be fancy with their dipping technique. Then halfway through, they give up and just go for it, jus dripping everywhere. That's when you know they're really enjoying it.
Perfect for Any Weather:
Summer gatherings - add a light slaw
Fall game days - pair with hot soup
Winter comfort food - extra jus for dipping
Spring parties - brighten with fresh herbs
Around here, these have become known as "those sandwiches." As in, "Are you bringing those sandwiches?" to every potluck. Not that I'm complaining - it's nice having a signature dish that people actually get excited about.
Quick Fixes:
Cheese not stretchy enough? Add a slice of mozzarella
Rolls browning too fast? Lower oven rack
Need more servings? Double stack the meat
Jus too thin? Let it reduce a bit more
My teenage son's friends have started showing up right around dinner time when they know these are on the menu. Funny how word spreads, right? Now I keep extra rolls in the freezer just in case.
When Things Go Really Right:
- The dough can be refrigerated for up to 48 hours
- Baked crackers freeze beautifully for up to 3 months
- Make a double batch - one for now, one for later
 Pin it
Flavor Variations
Over the years, I've experimented with different additions:
- Cracked black pepper for a spicy kick
- Smoked paprika for a subtle heat
- Dried herbs like rosemary or thyme
- Different cheese combinations - try adding a bit of parmesan!
Kid-Friendly Tips
Turn this into a fun family activity:
- Let kids help with cutting shapes
- Use cookie cutters for special occasions
- Make it educational by counting crackers together
- Let them sprinkle the salt (with supervision)
Serving Suggestions
Beyond snacking, these crackers are versatile:
- Crush them for a crunchy casserole topping
- Add them to lunch boxes
- Serve with homemade soup
- Use as a base for canapes
Final Thoughts
Making these crackers has taught me that sometimes the simplest recipes bring the most joy. The process is therapeutic, the results are delicious, and the memories created in the kitchen are priceless. Whether you're baking them for a special occasion or just because, these homemade Cheez-Its will quickly become a family favorite.
Remember: Baking is both an art and an adventure. Don't be afraid to experiment and make this recipe your own. The more you make them, the more intuitive the process becomes, and soon you'll be adding your own special touches to this beloved snack.
Chef's Final Tips:
- Always use fresh, high-quality ingredients for the best results
- Trust your instincts with baking time - look for that perfect golden color
- Don't rush the cooling process - it's crucial for the right texture
I hope these additional insights help you create perfect batches of homemade Cheez-Its every time. Happy baking!
