
 Pin it
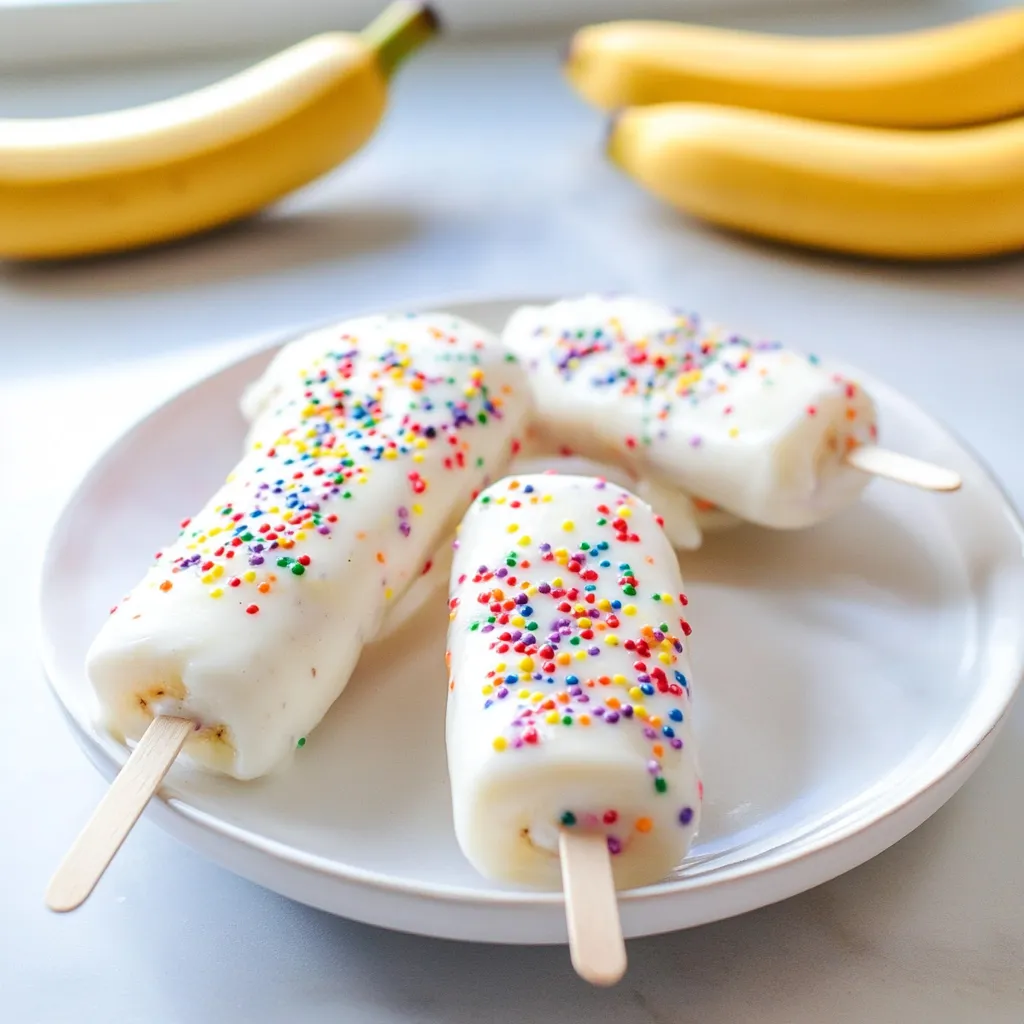
I discovered these Frozen Banana Yogurt Pops during a particularly hot summer when my kids were constantly begging for ice cream and popsicles. As a compromise between their sweet cravings and my desire to offer something at least somewhat nutritious, these frozen treats were born – and they've become our go-to summer snack ever since. With just three simple ingredients and minimal prep time, these pops deliver all the fun of a frozen treat with the benefit of actual fruit and protein-packed yogurt. The best part? My kids love making them almost as much as they love eating them!
Last summer, I set up a DIY banana pop station for my daughter's playdate – bowls of different yogurt flavors and an array of toppings from sprinkles to crushed cereal. Not only did it keep six energetic 7-year-olds happily occupied for a good half hour, but one mom texted me later saying her notoriously picky eater asked if they could make "those banana ice creams" at home. That's the kind of snack win that makes you feel like you've somehow cracked the parenting code!
Simple Ingredients
- Bananas – The perfect natural base for these pops, bananas provide sweetness and a creamy texture when frozen. For the best results, choose bananas that are ripe (yellow with a few small brown spots) but not overripe. Too green and they'll lack sweetness; too brown and they'll be softer and more difficult to coat evenly.
- Yogurt – Creates a creamy, tangy coating that transforms a simple banana into something special. Vanilla yogurt provides a classic flavor that pairs beautifully with the banana, but don't be afraid to experiment with other flavors like strawberry, blueberry, or even chocolate! Greek yogurt adds extra protein, while regular yogurt offers a smoother coating.
- Toppings – This is where the fun really happens! Colorful sprinkles are always a hit with kids, but consider other options like chopped nuts, mini chocolate chips, granola, crushed graham crackers, shredded coconut, or crushed freeze-dried fruit. These add texture, flavor, and visual appeal to your banana pops.
- Popsicle sticks – Essential for the "pop" experience, these make the frozen bananas easy to hold. In a pinch, you can use wooden chopsticks, skewers (with the sharp ends removed), or even plastic forks.
 Pin it
Creating Pop Magic
- Perfect banana preparation:
- Cut your bananas in half crosswise rather than lengthwise for the ideal pop size. Make sure to peel them before inserting the stick – it sounds obvious, but I've definitely had a distracted moment where I nearly forgot this crucial step!
- Stick insertion strategy:
- Insert the popsicle stick about halfway into the cut end of the banana, being careful not to push too hard or you might split the banana. If you're working with kids, you may want to handle this step for them.
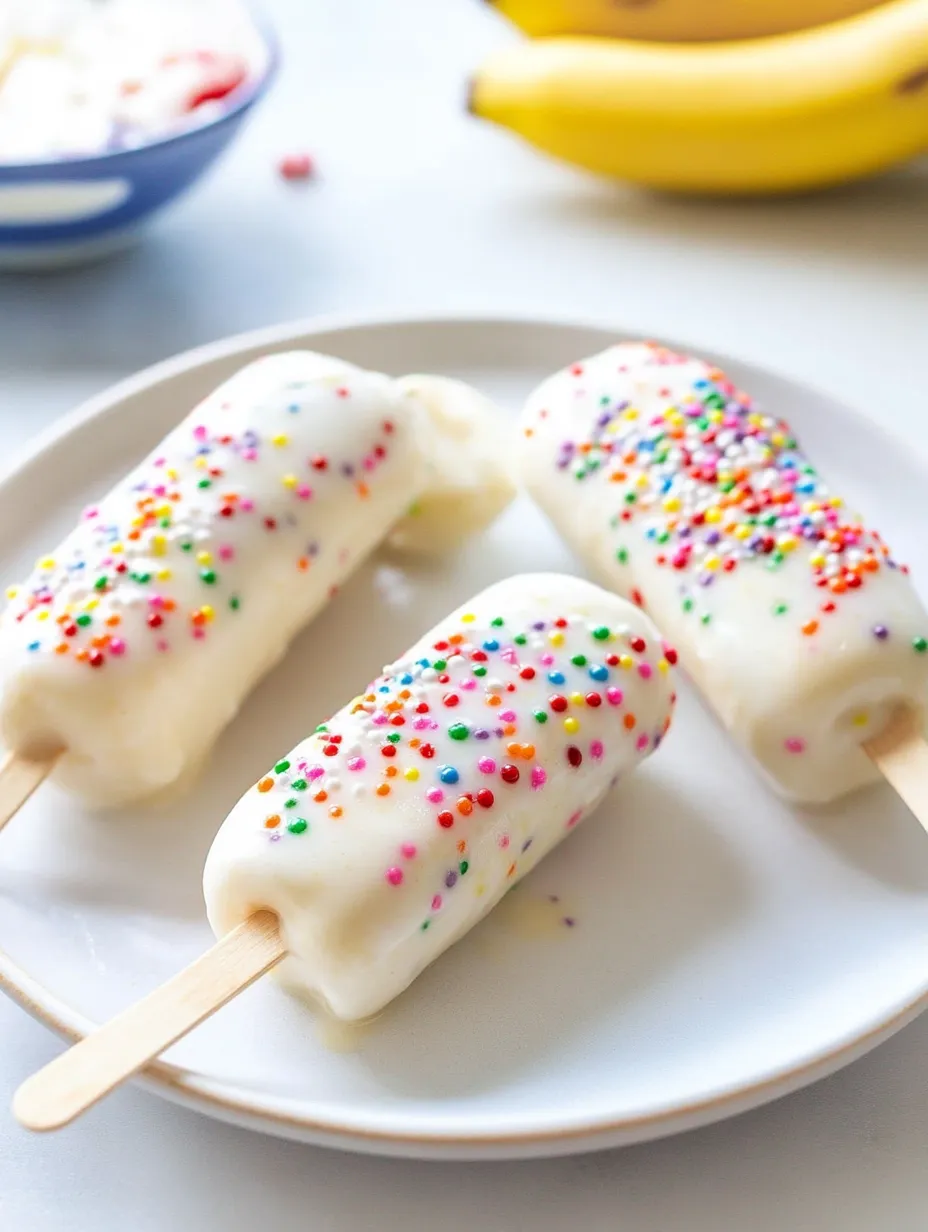
- Yogurt coating technique:
- Spooning the yogurt over the banana gives you more control than dipping, especially with younger helpers. Hold the banana over a bowl and rotate it slowly while spooning the yogurt to ensure even coverage. Let the excess drip off for a few seconds to prevent puddles on your parchment paper.
- Topping timing:
- Add your sprinkles or other toppings immediately after coating each banana with yogurt, before it has a chance to set. The yogurt acts as the "glue" that holds your toppings in place, so timing matters here.
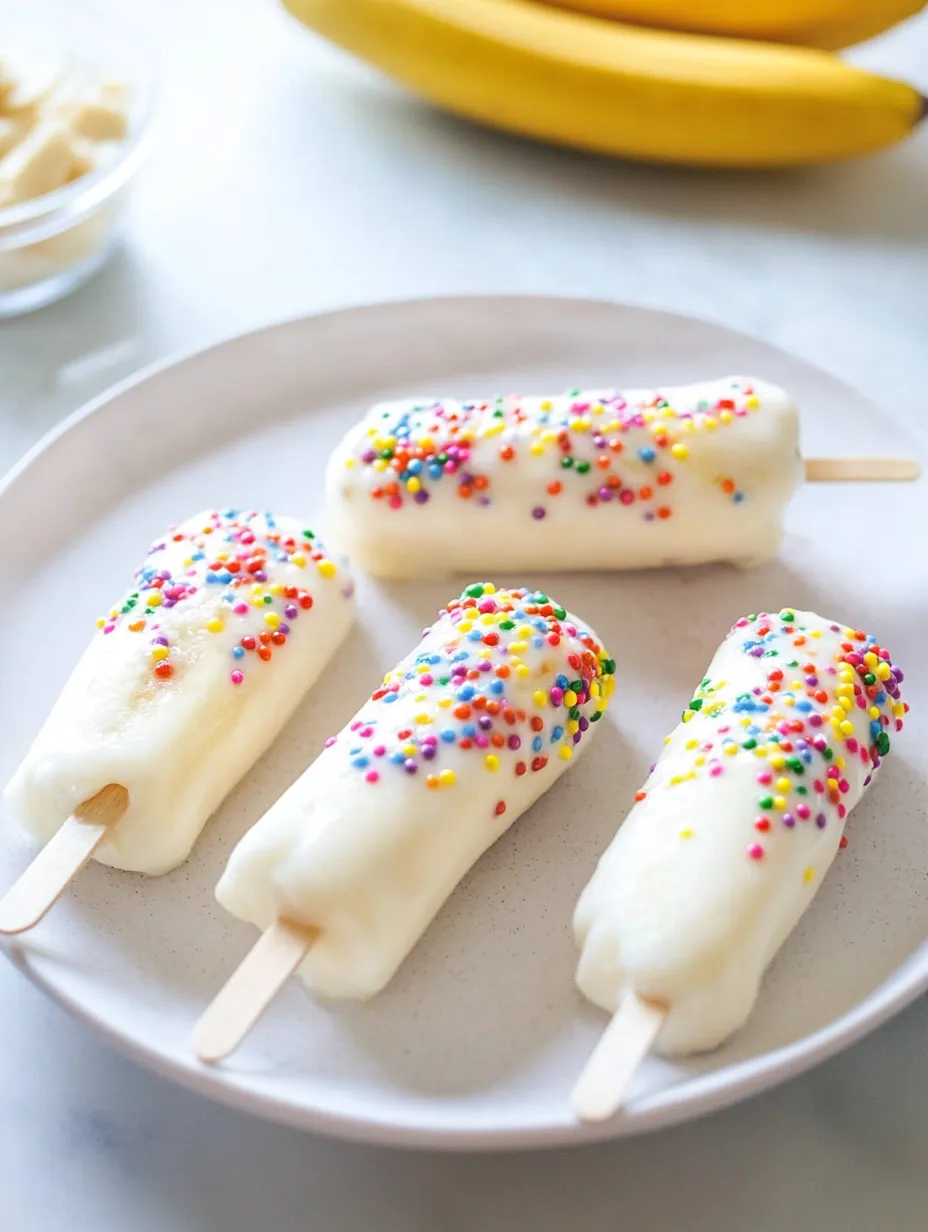
- Freezing perfection:
- Arrange your coated bananas on parchment or wax paper with some space between them to prevent sticking together. A flat baking sheet or plate that fits in your freezer works perfectly. For extra security, you can place the sticks between the rungs of a wire cooling rack to keep the bananas elevated during freezing.
My first attempt at these was a bit of a learning experience – I tried to dip the bananas directly into a narrow yogurt container, which resulted in yogurt everywhere except on the bananas! I've since refined the process to spooning the yogurt over the bananas, which gives much better control and coverage. I've also discovered that a brief 15-minute pre-freeze of the peeled banana halves before coating makes the yogurt adhere better and drip less.
Serving Inspiration
Transform these simple Frozen Banana Yogurt Pops into an even more special treat by serving them as part of a summer dessert board. Arrange the pops alongside fresh fruit, small cookies, and additional little bowls of toppings for an interactive, build-your-own-dessert experience. For birthday parties, stand the pops upright in a colorful container filled with crushed ice to keep them frozen longer. They also make perfect pool-side treats on hot days – just keep them in a cooler until serving time.
Tasty Variations
Once you've mastered the basic recipe, try some creative variations:
- Berry Banana Pops: Press fresh blueberries or sliced strawberries into the yogurt coating before freezing.
- Tropical Twist: Use coconut yogurt and roll in toasted coconut flakes for a piña colada-inspired treat.
- Breakfast Pops: Coat in vanilla Greek yogurt and roll in granola for a grab-and-go breakfast option.
- Chocolate Lovers: Use chocolate yogurt and sprinkle with mini chocolate chips for a more indulgent version.
- PB&B Pops: Spread a thin layer of peanut butter on the banana before coating with yogurt for a protein boost.
Storage Secrets
These Frozen Banana Yogurt Pops are best enjoyed within 1-2 days of making them, as bananas can darken and change texture with prolonged freezing. To store, place the fully frozen pops in a single layer in an airtight container, or wrap each pop individually in parchment paper and then place in a freezer bag. If you're making a large batch, separate layers with parchment paper to prevent sticking. For a grab-and-go snack option, wrap individually frozen pops in parchment paper secured with a piece of tape or string. This makes them easy to grab from the freezer for quick snacks or lunchbox treats (with an ice pack).
 Pin it
I've made these Frozen Banana Yogurt Pops countless times over the years, tweaking the process and trying new flavor combinations each summer. There's something deeply satisfying about creating a treat that brings so much joy while sneaking in some actual nutrition. Whether you're making them with kids as a fun kitchen project or preparing them for yourself as a healthier dessert alternative, these simple banana pops deliver big on both flavor and fun with minimal effort – and that's a summer win in my book!
Frequently Asked Questions
- → Can I use Greek yogurt instead of regular yogurt?
- Absolutely! Greek yogurt works great and adds extra protein to your frozen treats. You may need to thin it slightly with a teaspoon or two of milk for easier dipping.
- → What other toppings can I use besides sprinkles?
- Try mini chocolate chips, chopped nuts, shredded coconut, crushed graham crackers, or granola. You can even drizzle with a little honey or chocolate sauce before freezing.
- → How ripe should the bananas be?
- Use bananas that are ripe but still firm. Overly ripe (brown) bananas will be too soft for the sticks to hold properly, while underripe bananas won't be sweet enough.
- → Can I make these dairy-free?
- Yes! Simply substitute the vanilla yogurt with any dairy-free alternative like coconut, almond, or soy-based yogurt for a vegan version of this treat.
- → How long do these banana pops last in the freezer?
- They can be stored in the freezer for up to 2 weeks if wrapped individually in plastic wrap or stored in an airtight container. For best results, eat within the first week.