 Pin it
I discovered these frozen candy grapes with Jell-O last summer during a particularly brutal heatwave when I needed something cold and sweet for the kids that wouldn't melt everywhere. The combination of icy grapes with that tangy, colorful Jell-O coating creates these amazing little frozen treats that taste like mini popsicles. They've become our go-to summer snack, especially for pool days and outdoor gatherings.
My neighbor's children were over for a playdate when I first made these, and they were absolutely fascinated by the process. The next day, my neighbor texted to say her daughter had insisted they make their own batch. Sometimes the simplest recipes create the biggest impressions, especially with kids.
Simple Ingredients
- Fresh grapes - They provide the perfect juicy base and natural sweetness
- Jell-O powder - Creates that candy-like coating with endless flavor options
- Water - Just enough to help the powder stick without making it dissolve
- Toothpicks - The simple tool that makes the dipping process much easier
 Pin it
Grape Creation
- Grape Selection
- - The type of grapes you choose makes a big difference in the final treat. I prefer seedless green grapes because they're typically firmer and have a nice tartness that balances the sweet coating. Red grapes work beautifully too, especially if you match them with complementary Jell-O flavors like raspberry or grape. The most important factor is firmness - soft, overripe grapes don't freeze as well and can get mushy when thawed. I always look for plump, firm grapes with the stems still bright green, which indicates freshness.
- Drying Process
- Thoroughly drying the grapes after washing is absolutely crucial for the coating to stick properly. I lay mine out on paper towels and pat them dry, then let them air dry for about 15-20 minutes to ensure there's no moisture on the surface. Any water left on the grapes will cause the Jell-O to dissolve rather than stick as a powder. The first time I made these, I rushed this step and ended up with unevenly coated grapes. Now I make sure they're completely dry before starting the coating process.
- Dipping Technique
- The toothpick method works brilliantly for handling the grapes without creating a sticky mess. I insert the toothpick just deep enough to secure the grape without piercing through the other side. When dipping in water, I use just a quick dunk - too long and the grape gets too wet. For the Jell-O coating, I've found that rolling the grape gently in the powder rather than just dipping it creates the most even coverage. Sometimes I'll do a second water dip and Jell-O coat for extra flavor and color intensity.
- Flavor Combinations
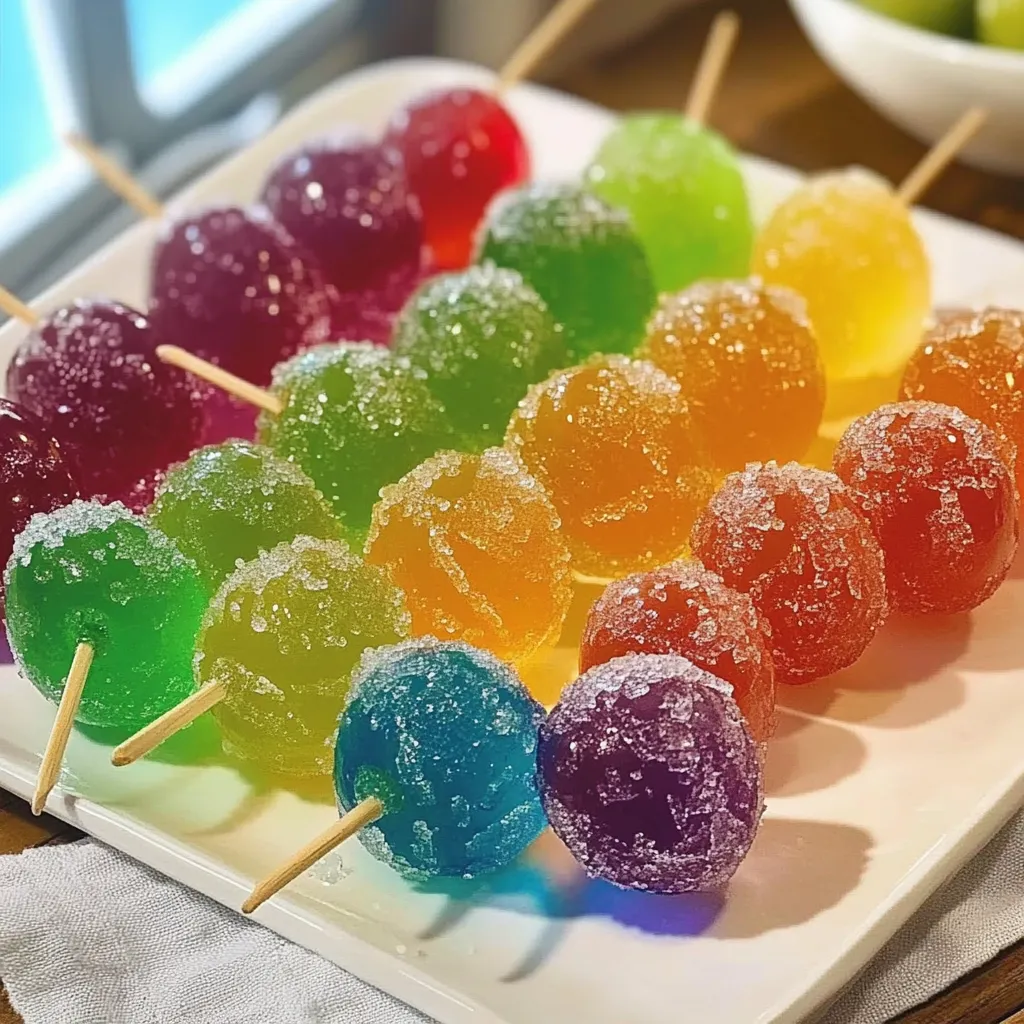
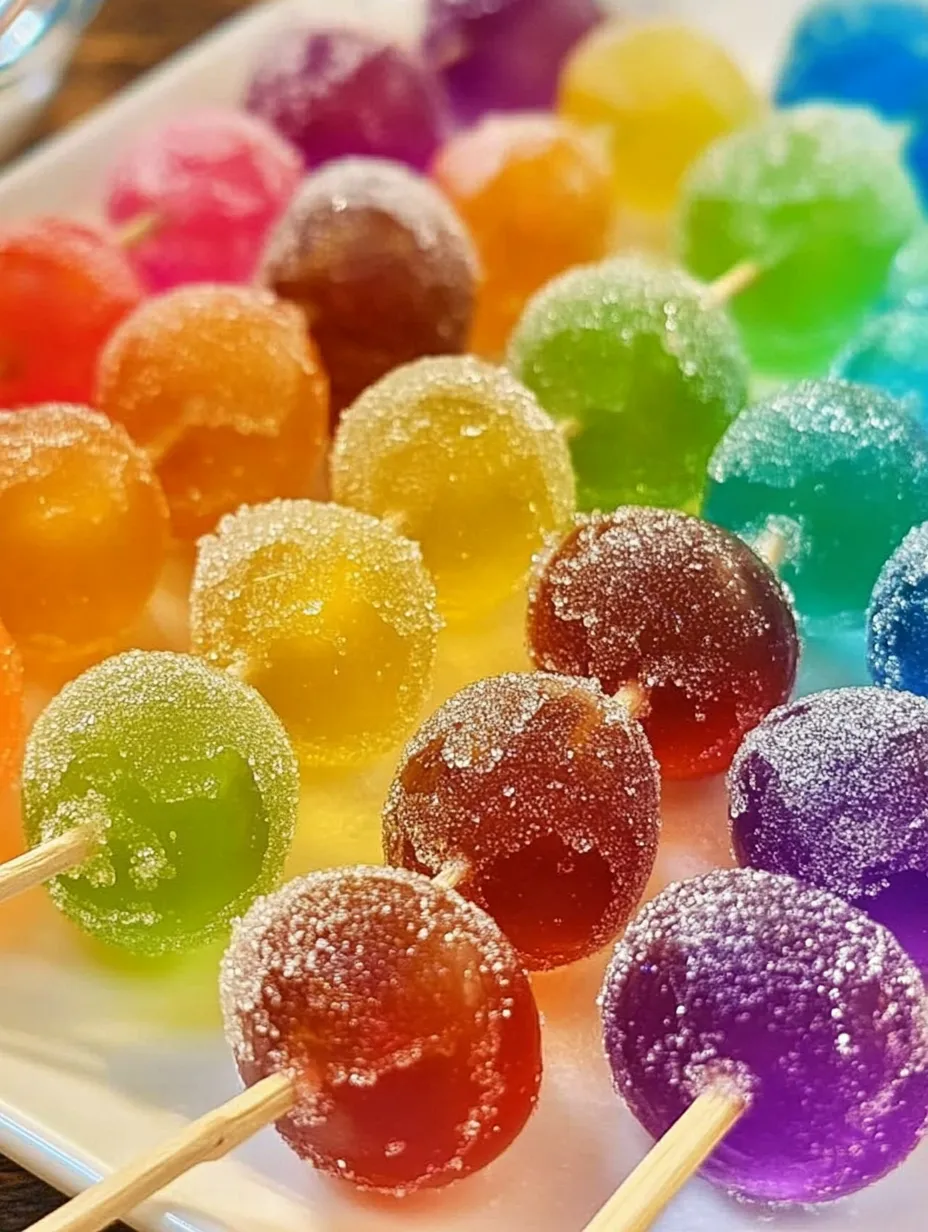
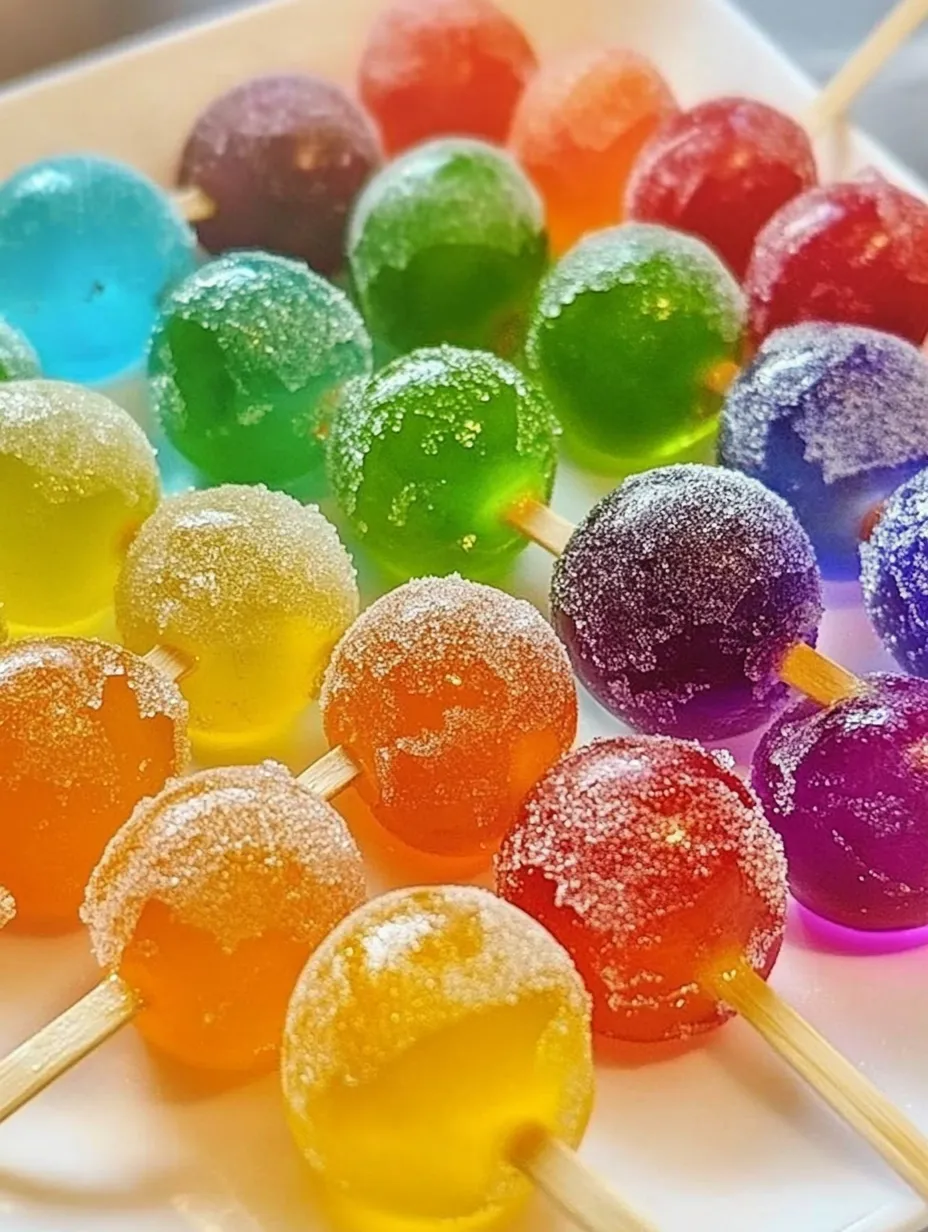
- While you can certainly use all the Jell-O flavors listed, I often match the Jell-O flavor to the grape color for a more cohesive look - like green grapes with lime Jell-O or red grapes with raspberry. For parties, creating a rainbow of colors makes for a spectacular presentation. My kids love experimenting with unexpected combinations, like coating green grapes with raspberry Jell-O for that sweet-tart contrast. The beauty of this recipe is its flexibility - you can use whatever flavors appeal to you.
- Freezing Method
- Arranging the grapes in a single layer with space between them is key to preventing them from freezing in one big clump. I line my baking sheet with parchment paper rather than wax paper, as some Jell-O powder can stick to wax paper. If making a large batch, you can layer them with parchment between layers once they're partially frozen. The minimum one-hour freezing time works for a quick treat, but I find that 2-3 hours creates the perfect texture - frozen solid but still easy to bite into.
- Storage Solutions
- Once fully frozen, I transfer the grapes to a freezer-safe container or zip-top bag for longer storage. They'll keep for about a month in the freezer without losing quality, though they rarely last that long in my house! I sometimes make several different flavors and mix them together for storage, creating a colorful candy grape mix that the kids can grab by the handful. For serving at parties, I place them in a bowl nestled in ice to keep them cold without fully thawing.
My teenage son, who normally passes on fruit in favor of packaged snacks, actually started grabbing these from the freezer instead of ice cream bars last summer. There's something about that combination of cold, juicy grape and tangy, sweet coating that appeals to even the most discriminating snackers.
Perfect Pairings
Serve these frozen treats alongside fresh fruit for a colorful dessert platter. For pool parties, I set out a bowl of these alongside other frozen treats for a refreshing snack bar. They make a wonderful addition to summer brunch spreads, adding a pop of color and a cool, sweet option. My kids love them as an after-school snack on hot days, while I enjoy a small bowl of them as a guilt-free sweet treat after dinner.
Creative Variations
Try mixing a little citric acid with the Jell-O powder for a more intense sour candy flavor. For grown-up gatherings, soak the grapes in wine for an hour before drying and coating them. Add a sprinkle of coarse sugar over the Jell-O coating for extra crunch and sparkle. Last summer, I experimented with rolling some in a mixture of Jell-O and Pop Rocks for a fizzy surprise, which was a huge hit at my daughter's birthday party.
 Pin it
I've made these frozen candy grapes for everything from everyday snacks to birthday parties, and they never fail to delight. There's something magical about transforming ordinary grapes into colorful, sweet-tangy frozen treats with just a few simple ingredients. My daughter now asks to make a new batch whenever we run low, eagerly suggesting new flavor combinations to try. Sometimes the most memorable recipes are the ones that turn healthy ingredients into something that feels like a special treat, creating happy kitchen memories along the way.
Frequently Asked Questions
- → How long do frozen candy grapes last?
- Frozen candy grapes will keep well in the freezer for up to 2 weeks when stored in an airtight container or freezer bag. For best texture and flavor, eat them within the first week. If you notice the Jell-O coating starting to absorb moisture or the grapes developing freezer burn, it's time to make a fresh batch.
- → Can I use sugar-free Jell-O for this recipe?
- Yes! Sugar-free Jell-O works perfectly for this recipe and is a great option if you're looking to reduce sugar content even further. The texture and coating process are exactly the same, but you'll get a guilt-free treat with even fewer calories.
- → Do I need to let the grapes thaw before eating?
- Nope! These grapes are meant to be enjoyed straight from the freezer. The freezing process gives them a sorbet-like texture that's part of their appeal. However, if you prefer a slightly softer texture, you can let them sit at room temperature for about 5 minutes before enjoying.
- → Why do my grapes need to be completely dry before coating?
- Thoroughly drying the grapes after washing is crucial because excess moisture will dissolve the Jell-O powder before it has a chance to adhere properly. Pat the grapes dry with paper towels and even let them air dry for a few minutes to ensure the best coating results.
- → Can I mix different flavors of Jell-O together for coating?
- Absolutely! Creating your own custom mixes can be fun and yield unique flavor combinations. Try mixing complementary flavors like strawberry and lime for a sweet-tart combination, or get creative with holiday color themes by mixing red and green for Christmas or orange and black (grape) for Halloween.
