
 Pin it
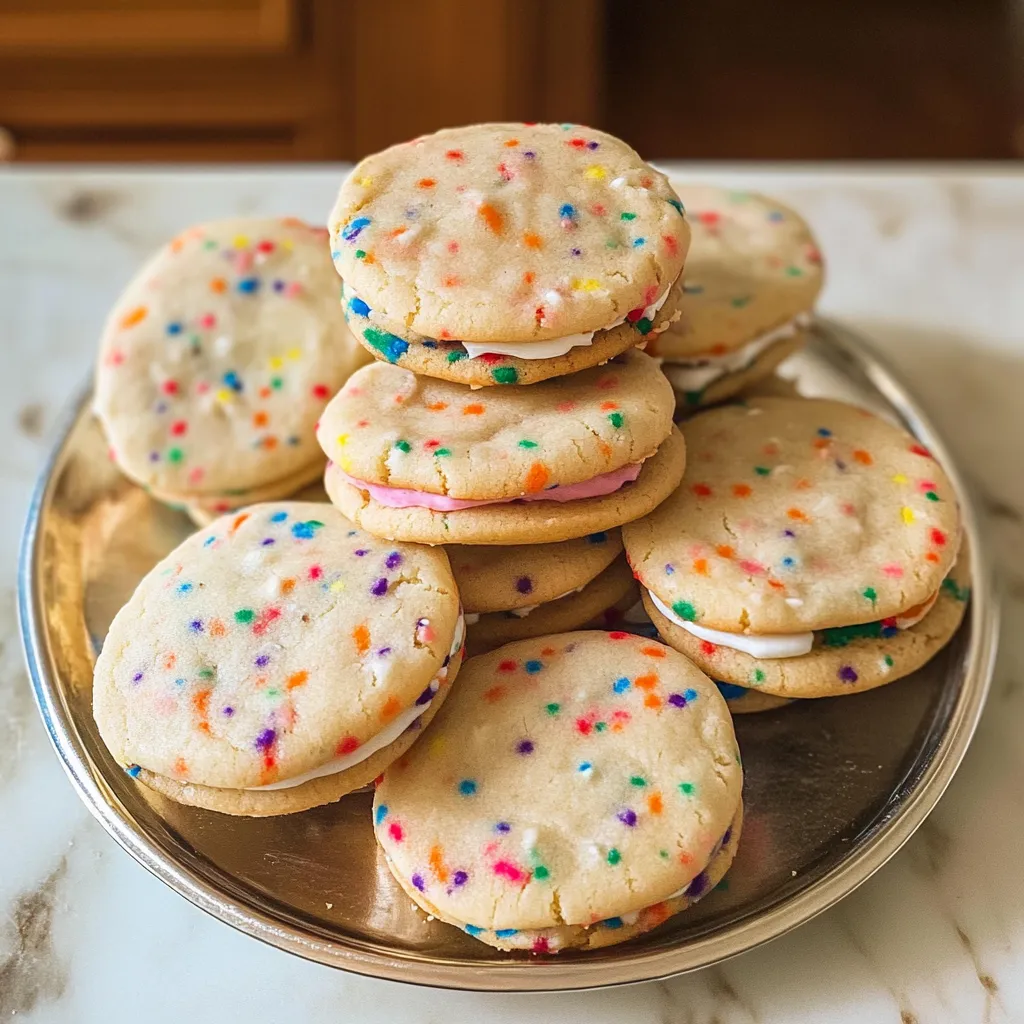
I created these funfetti sandwich cookies for my niece's birthday party last year, and they've quickly become my most requested dessert for celebrations. There's something magical about sprinkle-studded sugar cookies sandwiched around a creamy frosting center that brings pure joy to any gathering. The combination of buttery cookies with their slight almond undertone and tangy cream cheese frosting creates the perfect balance of flavors and textures. While they look impressively festive, the recipe is surprisingly straightforward – just be sure to plan ahead for the chilling time!
Last month I brought these to my friend's housewarming, and her six-year-old daughter took one bite before announcing to the entire party that these were "the best cookies in the universe." Her mom later texted me that her daughter had been asking every day since when they could make "those sprinkle sandwich things." That's the kind of cookie magic we're going for here!
Sweet Essentials
- Almond flour - This secret ingredient creates the most tender, melt-in-your-mouth texture. The cookies maintain their shape while baking but still have that perfect softness when you bite into them. If you need to substitute due to nut allergies, additional all-purpose flour works, but the texture will be slightly different.
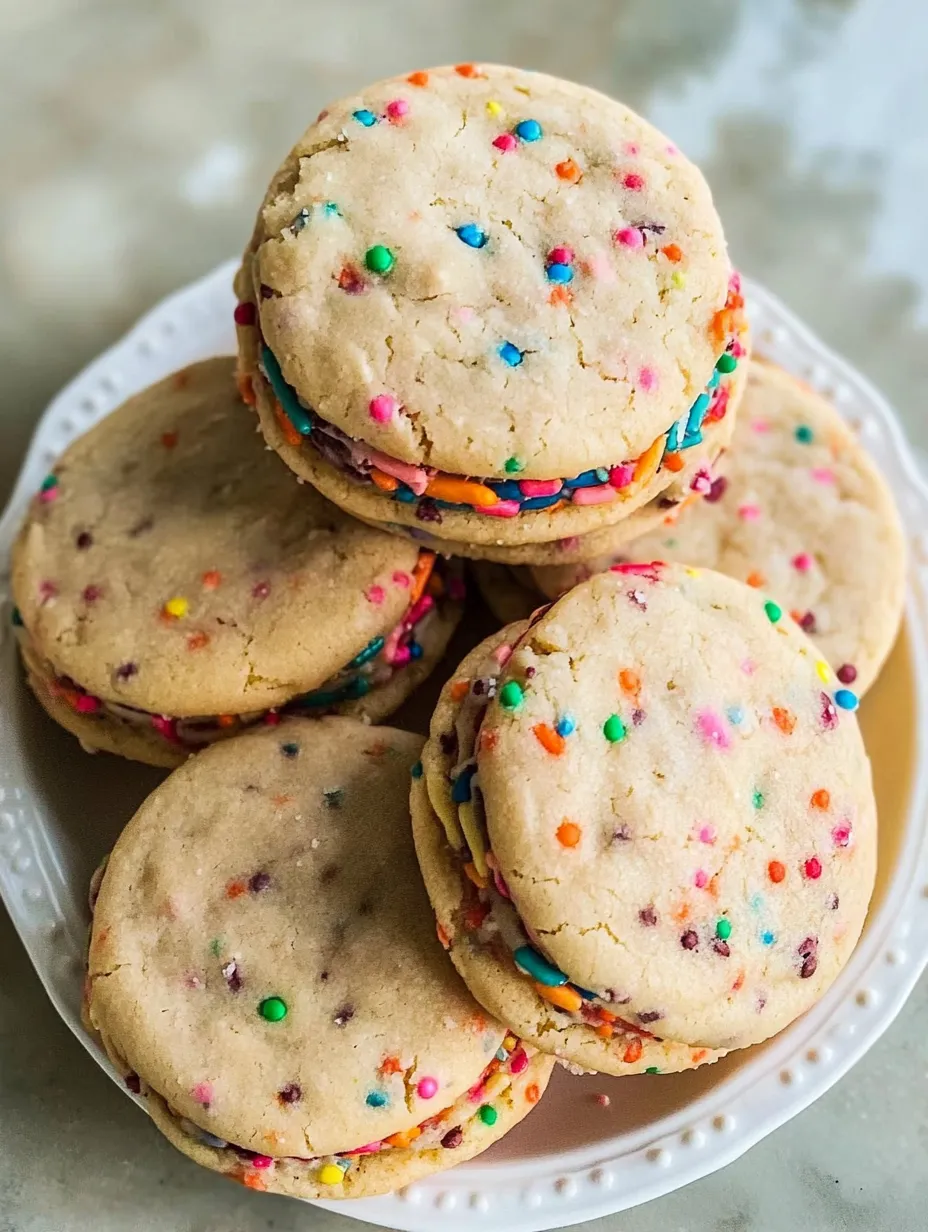
- Sprinkles - The star of our funfetti show! I prefer using jimmies (the longer rod-shaped sprinkles) rather than nonpareils (the tiny round ones) as they don't bleed into the dough as much. The colors stay vibrant and distinct throughout the baking process.
- Clear vanilla extract - This keeps the dough nice and white, allowing the sprinkles to pop visually. Regular vanilla extract works perfectly fine flavor-wise, but will tint your dough slightly brown. The clear version is worth seeking out if presentation is important to you.
- Cream cheese - The frosting's secret weapon that elevates these from good to extraordinary. Make sure it's completely room temperature to avoid lumps in your frosting. Full-fat creates the richest flavor, though reduced-fat will work in a pinch.
- Almond extract - Even the small amount in this recipe adds a subtle depth that complements the vanilla beautifully. It's technically optional, but I find it makes these cookies extra special with that bakery-quality flavor complexity.
 Pin it
Creating Cookie Magic
- Perfect dough consistency:
- When mixing the dough, pay attention to the texture. It should feel tacky but not overly sticky. If it's sticking to your fingers significantly, add flour one tablespoon at a time until you reach that perfect consistency. Too much flour will make the cookies tough, so add gradually.
- Rolling technique:
- Using plastic wrap both under and over the dough is the game-changer trick here. It prevents sticking without adding excess flour, which can make the cookies tough. Roll to an even 1/4-inch thickness for the perfect cookie – too thin and they'll be crispy rather than soft.
- Chilling patience:
- Don't skip or rush the chilling step! Two hours is the minimum, but overnight works beautifully if you want to prep ahead. Properly chilled dough holds its shape during baking and develops better flavor. If the cut cookies start losing their shape as you transfer them to the baking sheet, pop them in the freezer for 10 minutes to firm up.
- Baking timing:
- These cookies should be very light golden at the edges with centers that appear slightly underbaked when you take them out. They'll continue cooking from residual heat on the baking sheet. This slight underbaking ensures they stay soft for sandwich assembly.
- Assembly secrets:
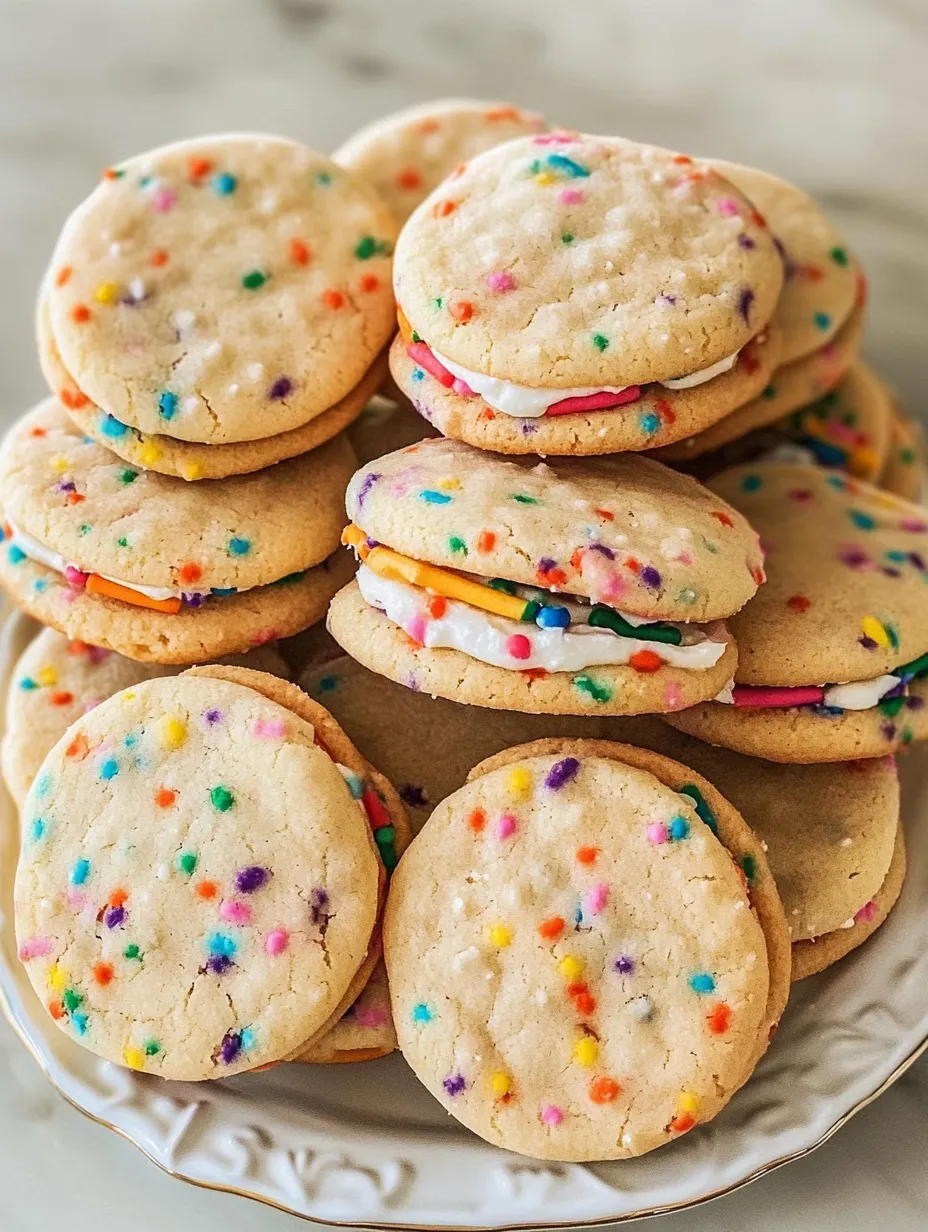
- For the cleanest-looking sandwiches, pipe the frosting in a circle near the edge of the bottom cookie, leaving a small border. When you press the top cookie down, the frosting will spread perfectly to the edges without squishing out the sides.
My first attempt at these taught me several valuable lessons. I tried to rush the chilling time and ended up with cookies that spread too much and lost their shape. I've also experimented with various frosting-to-cookie ratios, finding that a generous but not excessive amount creates the perfect bite – too much and it squishes out, too little and the sandwich feels dry.
Serving Inspiration
Transform these funfetti sandwich cookies into an even more impressive dessert by arranging them on a tiered cake stand for birthdays or celebrations. For themed parties, match the sprinkle colors to the event – red and green for Christmas, team colors for sports events, pastels for baby showers. They make beautiful gifts packed in a decorative tin with parchment paper between layers. For an ice cream treat, sandwich a small scoop of vanilla between two cookies instead of frosting.
Sweet Variations
Once you've mastered the basic recipe, try some creative variations. Add 1/2 teaspoon of lemon or orange zest to the cookie dough for a citrusy twist. Swap the sprinkles for mini chocolate chips for a different but equally delicious cookie. For holidays, use shaped cookie cutters instead of rounds – hearts for Valentine's Day, stars for patriotic celebrations. Add a drop of food coloring to the frosting to coordinate with your event theme. During Christmas, add 1/4 teaspoon of peppermint extract to the frosting for a festive flavor.
Storage Secrets
These funfetti sandwich cookies maintain their perfect texture for up to five days when stored in an airtight container in the refrigerator. The flavors actually develop and meld overnight, making them even better the next day. For longer storage, freeze the assembled cookies for up to three months – just thaw in the refrigerator for a few hours before serving. You can also freeze the unfrosted cookies, then thaw and assemble when needed.
 Pin it
I've made these funfetti sandwich cookies for countless birthdays, baby showers, and just-because celebrations. There's something about their festive appearance and perfect balance of flavors that makes them appropriate for practically any joyful occasion. While they might look like they require advanced baking skills, the straightforward process makes them accessible to bakers of all levels. The extra time for chilling and assembly is absolutely worth it for the delighted reactions you'll get when you serve them!
Frequently Asked Questions
- → Can I make these cookies ahead of time?
- Yes! You can make the cookie dough up to 3 days ahead and keep it refrigerated. The baked cookies can be stored in an airtight container for 2-3 days before filling. Once filled, the sandwich cookies are best consumed within 5 days and should be stored in the refrigerator.
- → What if I don't have almond flour?
- You can easily substitute the 1/3 cup of almond flour with 1/4 cup of additional all-purpose flour as mentioned in the recipe. The texture will be slightly different but still delicious. The almond flour adds a subtle tenderness to the cookies.
- → What kind of sprinkles work best in these cookies?
- Jimmies (the long, thin sprinkles) work best for this recipe as they don't bleed their color into the dough as much as nonpareils (the tiny ball sprinkles). If using nonpareils, fold them in very gently and quickly to minimize color bleeding.
- → Why do I need to chill the dough?
- Chilling the dough is crucial for these cookies. It firms up the butter, preventing the cookies from spreading too much during baking. It also allows the flour to fully hydrate and gives you clean-cut cookie shapes that hold their edges during baking.
- → Can I freeze these cookies?
- Yes! You can freeze both the unbaked dough and the baked cookies. For unbaked dough, wrap tightly and freeze for up to 3 months. For baked cookies, freeze them unfilled for up to 2 months, then thaw and add frosting when ready to serve.
- → What size cookie cutter should I use?
- A 2-inch round cookie cutter is ideal for these sandwich cookies, but you can use any shape or size you prefer. Just remember that the baking time will vary depending on size. Smaller cookies will need less time, while larger ones may need a minute or two longer.