
 Pin it
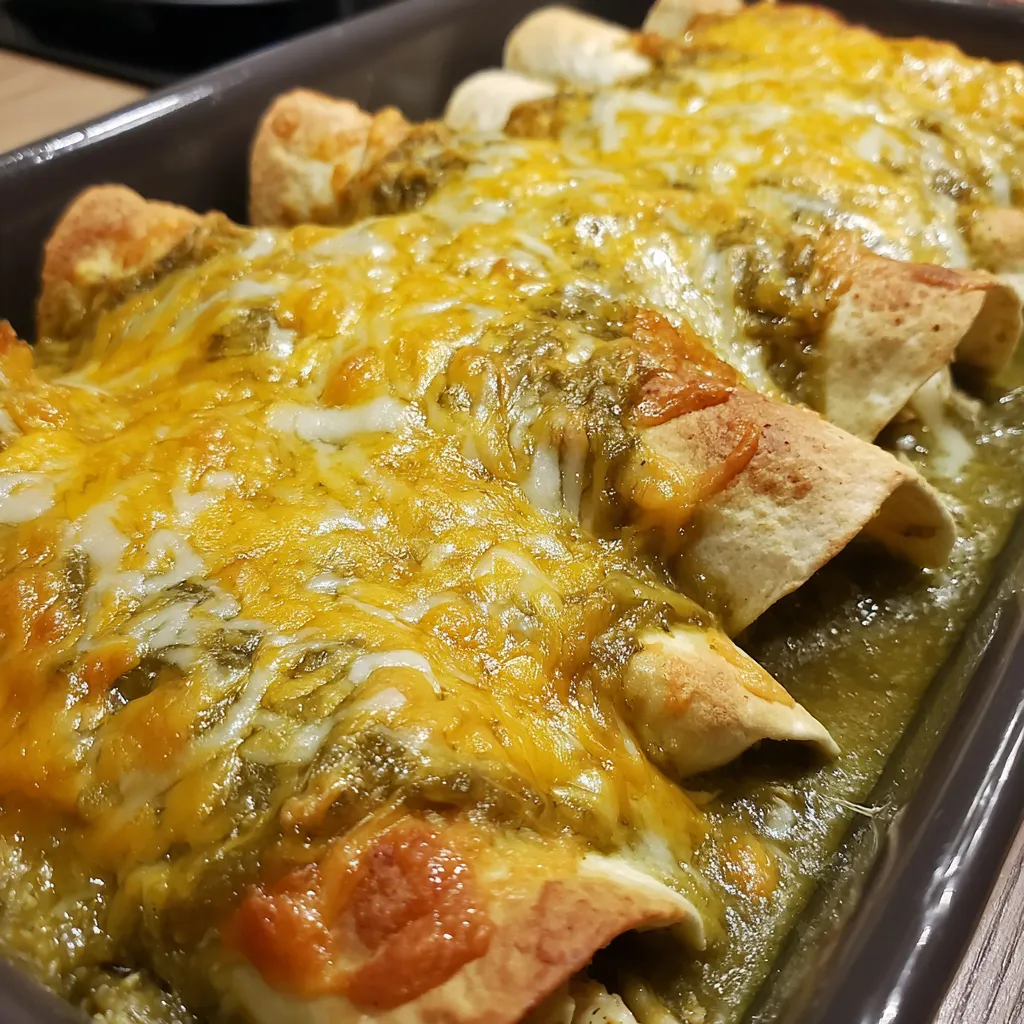
These green chile chicken enchiladas deliver comfort food magic with tender shredded chicken wrapped in corn tortillas and smothered in tangy green chile sauce. The creamy filling gets enriched with sour cream and cheddar cheese, while green chiles add that distinctive flavor that makes these enchiladas so craveable. What makes this recipe particularly wonderful is how it uses rotisserie chicken and canned sauce to create restaurant-quality results in just fifty minutes, making it perfect for busy weeknights when you want something special without hours of work.
My neighbor from New Mexico shared her family's enchilada technique with me years ago, and this recipe captures those same flavors she grew up eating. The secret she taught me about dipping tortillas in warm sauce before filling prevents them from cracking and adds flavor throughout. Now these have become my go-to dish for potlucks because they travel well and everyone asks for the recipe.
Smart Ingredient Selection
- Rotisserie chicken: provides perfectly seasoned, moist meat without additional cooking
- Sharp cheddar cheese: melts beautifully and provides bold flavor that stands up to the sauce
- Canned green chiles: choose mild or hot based on your family's heat preference
- Full-fat sour cream: creates that signature creamy texture throughout the filling
- Green chile enchilada sauce: use a quality canned variety for authentic flavor
- Small corn tortillas: traditional choice that holds up better than flour during baking
 Pin it
Complete Preparation Process
- Oven and Dish Setup
- Preheat your oven to 350°F, which provides gentle heat that warms everything through without drying out the chicken or burning the cheese. Spray a 9x13 inch baking dish generously with nonstick cooking spray, ensuring coverage on the bottom and sides to prevent sticking.
- Creating the Filling
- In a large mixing bowl, combine the cooked shredded chicken with 1 cup of the shredded cheddar cheese, reserving the remaining cup for topping. Add the canned green chiles along with their juices, which adds moisture and flavor to the filling. Stir in the sour cream, salt, and pepper, mixing everything together until the mixture becomes creamy and evenly combined.
- Sauce Preparation
- Pour the green chile enchilada sauce into a small saucepan and place over medium heat, bringing it to a gentle simmer. Keep the sauce warm on low heat while you assemble the enchiladas, which makes the tortillas more pliable and easier to roll without tearing.
- Dipping Technique
- Working with one tortilla at a time, dip each corn tortilla quickly into the warm enchilada sauce, coating both sides but not letting it soak too long. The brief dip softens the tortilla just enough to make it flexible for rolling while adding flavor throughout. This step prevents the cracking that often happens with unwarmed tortillas.
- Filling and Rolling
- Place the sauce-dipped tortilla on a clean work surface, and spoon about 2-3 tablespoons of the chicken mixture down the center of the tortilla. Roll the tortilla tightly around the filling, creating a neat cylinder that holds everything together. Place each rolled enchilada seam-side down in the prepared baking dish, arranging them snugly in a single layer.
- Sauce Coverage
- Once all the enchiladas are rolled and arranged in the dish, pour the remaining warm enchilada sauce evenly over the top, making sure all the tortillas get covered completely. The sauce prevents the edges from drying out during baking, and creates that signature saucy enchilada experience.
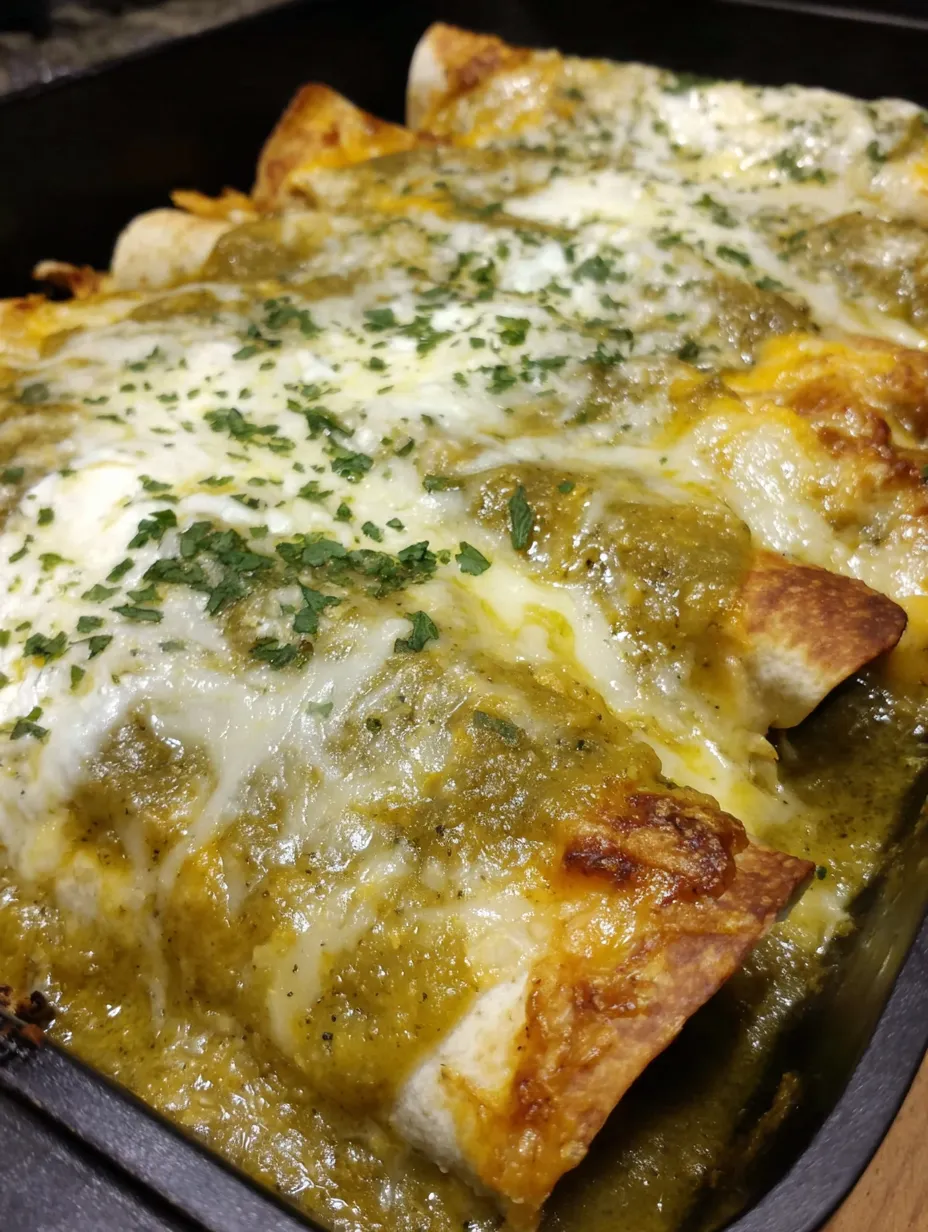
- Cheese Topping
- Sprinkle the remaining 1 cup of shredded cheddar cheese evenly over the sauce-covered enchiladas, creating a complete cheese blanket that will melt into a golden, bubbly topping. The cheese layer seals in moisture while adding richness to every bite.
- Baking to Perfection
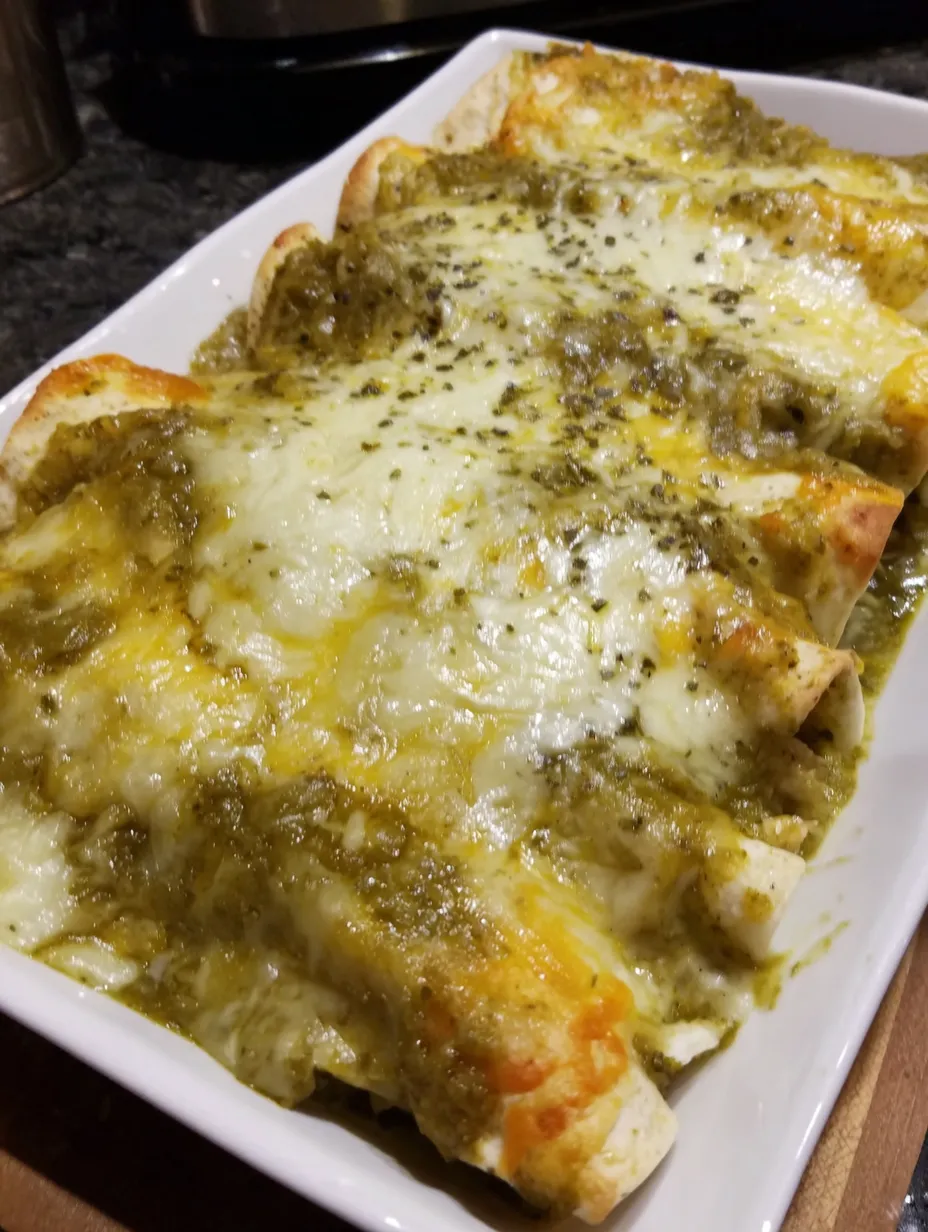
- Transfer the assembled dish to your preheated oven, and bake uncovered for 25-30 minutes, checking around the 25-minute mark to see if the cheese has melted completely, and developed some golden spots. The enchiladas should be bubbling around the edges, and heated through completely. Let the dish rest for 5 minutes after removing from the oven, which allows the filling to set slightly for easier serving.
The first time I made enchiladas, I tried rolling cold tortillas without warming them and ended up with broken pieces instead of neat rolls. My Mexican friend explained that warming tortillas is essential for flexibility, whether through sauce-dipping or quick heating in a skillet. This simple step has transformed all my tortilla-based dishes.
Perfect Serving Ideas
Serve these enchiladas hot with classic Mexican sides like Spanish rice and refried beans for a complete meal. Fresh toppings like diced tomatoes, sliced avocado, chopped cilantro, and additional sour cream let everyone customize their plates. A simple green salad with lime vinaigrette provides fresh contrast to the rich, creamy enchiladas. Tortilla chips and salsa on the side make it feel like a complete Mexican feast.
Creative Flavor Variations
Transform these into red chile enchiladas by substituting red enchilada sauce for the green. For extra richness, add cream cheese to the filling mixture along with the sour cream. A vegetarian version works beautifully by replacing chicken with black beans and corn. Those wanting more heat can add diced jalapeños to the filling or use hot green chiles instead of mild.
Storage and Reheating
Store leftover enchiladas covered in the refrigerator for up to three days, and they actually taste better the next day as flavors meld together. Reheat individual portions in the microwave or warm the entire dish covered with foil in a 300°F oven until heated through. These can be assembled completely and refrigerated up to 24 hours before baking, making them perfect for meal prep.
 Pin it
These green chile chicken enchiladas have become my family's favorite comfort food because they deliver authentic Mexican flavors in a format that's both satisfying and surprisingly easy to make. The combination of tender chicken, creamy filling, and tangy green chile sauce creates layers of flavor that make every bite memorable. It proves that the best Mexican-inspired dishes often come from respecting traditional techniques while using smart shortcuts that save time without sacrificing taste.
Frequently Asked Questions
- → Can I use flour tortillas instead of corn?
- Yes! Flour tortillas work well, though corn tortillas are more traditional. You may need fewer flour tortillas as they're typically larger.
- → Can I make these ahead of time?
- Absolutely! Assemble the enchiladas, cover, and refrigerate for up to 24 hours. Add 10 extra minutes to baking time if starting from cold.
- → What can I use instead of rotisserie chicken?
- Use leftover cooked chicken, poached chicken breasts, or even canned chicken in a pinch. You need about 2½ cups of shredded chicken total.
- → How do I prevent the tortillas from tearing?
- Warming them in the enchilada sauce makes them pliable. You can also briefly microwave them wrapped in a damp paper towel if they're still cracking.
- → Can I freeze these enchiladas?
- Yes! Freeze before or after baking. Wrap well and freeze for up to 3 months. Thaw overnight in the fridge before baking or reheating.
- → What toppings go well with these?
- Try fresh cilantro, diced avocado, extra sour cream, sliced jalapeños, or a squeeze of lime juice. Mexican crema is also delicious.