
 Pin it
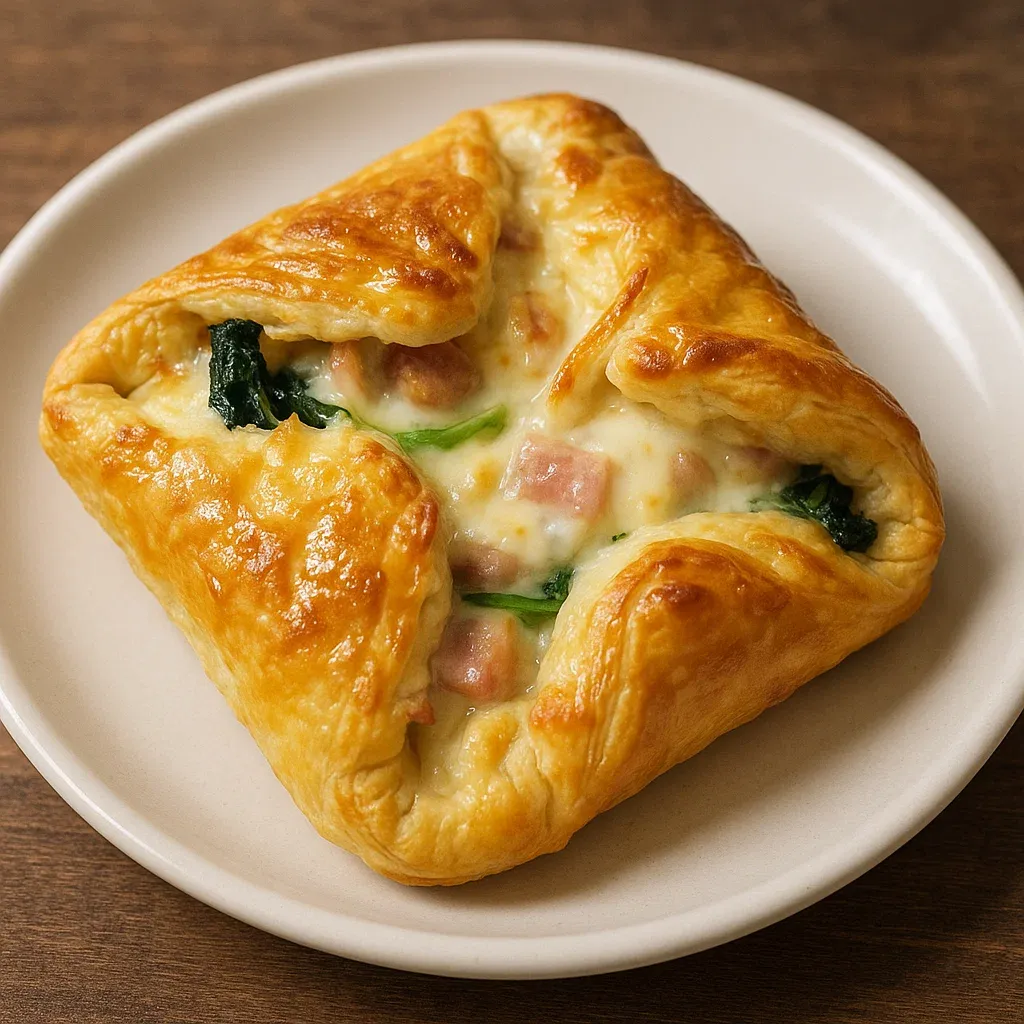
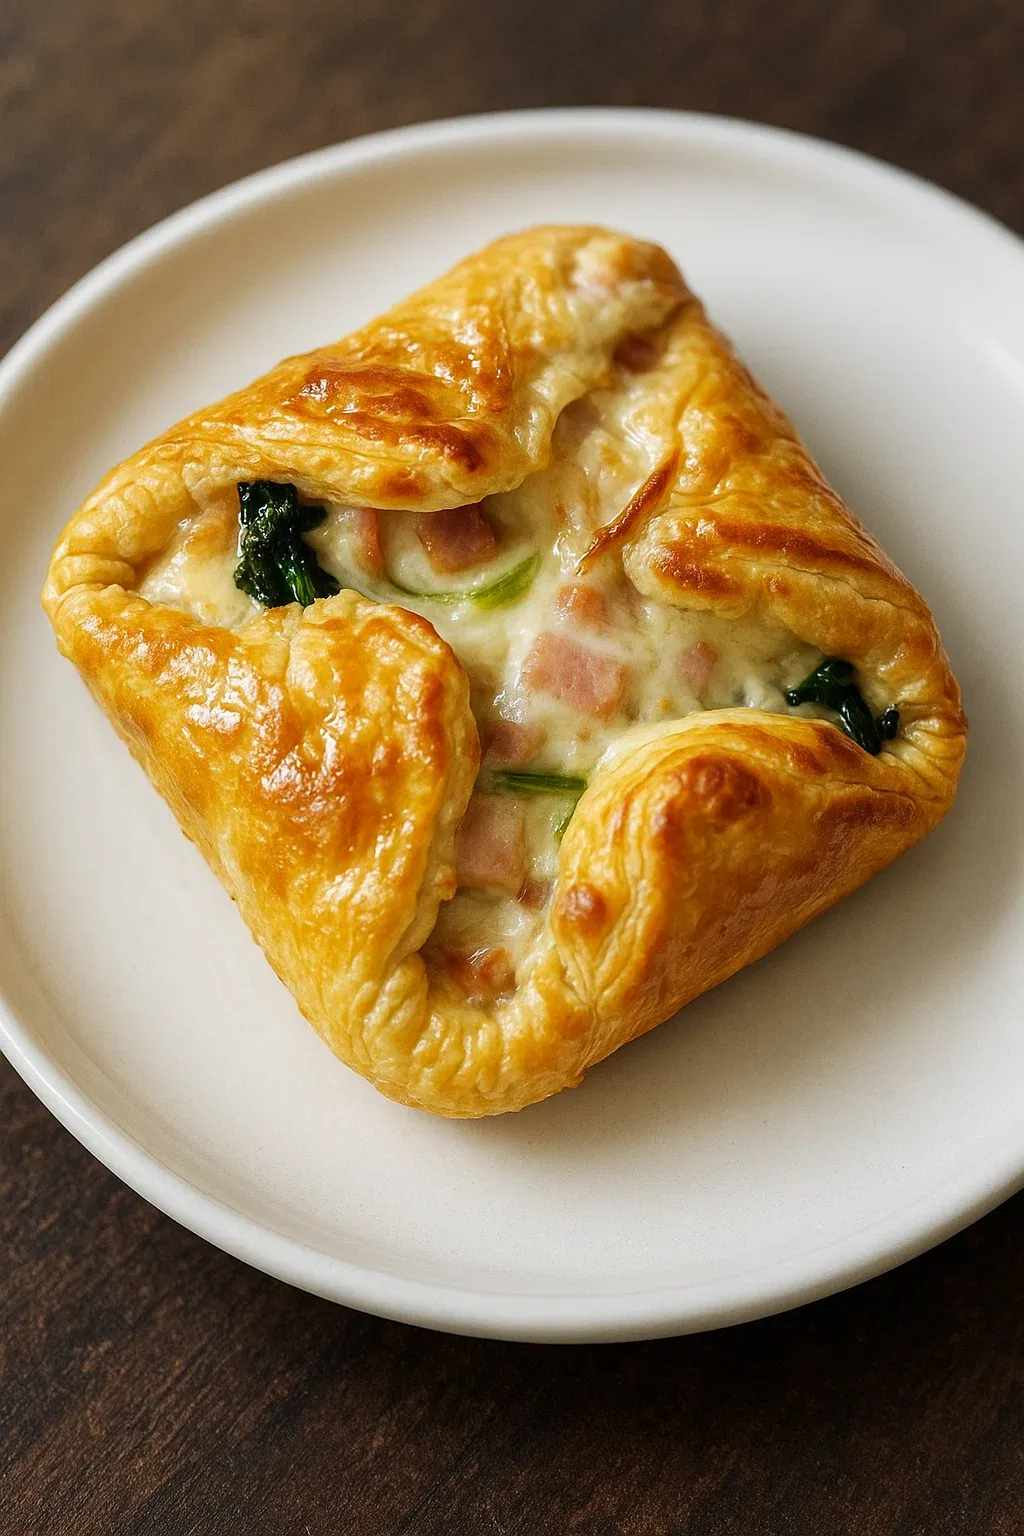
This buttery, flaky ham and cheese puff pastry has become my go-to recipe for impressing guests without spending hours in the kitchen. The contrast between the crisp exterior and the savory filling of melted Swiss cheese, diced ham, and wilted spinach creates a perfect bite every time.
I first made these puffs for a last-minute brunch when friends unexpectedly stayed overnight. They were such a hit that they've become my signature dish for everything from baby showers to casual Sunday gatherings.
Ingredients
- Puff pastry sheets: thawed according to package directions for that perfect flaky texture that makes this dish special
- Unsalted butter: creates the base for your creamy sauce without adding extra saltiness
- All purpose flour: works with butter to create the perfect roux that will thicken your sauce beautifully
- Whole milk: gives the sauce richness that lower fat alternatives simply cannot match
- Diced ham: adds protein and savory flavor select good quality ham for the best results
- Fresh spinach: brings color, nutrition, and slight bitterness that balances the rich elements
- Swiss cheese: with its nutty flavor and excellent melting properties makes the filling irresistibly gooey
- Egg white: for brushing ensures your pastry achieves that gorgeous golden brown color
Step-by-Step Instructions
- Prepare Your Workspace:
- Preheat your oven to 400°F and line a baking sheet with parchment paper. Cut your thawed puff pastry into 5-inch squares and keep them in the refrigerator until needed. The cold pastry is easier to work with and will puff better during baking.
- Create The Roux:
- Melt butter in a saucepan over medium heat until it starts to bubble slightly but not brown. Add your flour and salt stirring constantly with a wooden spoon or whisk for exactly one minute. This cooking process eliminates the raw flour taste while creating the foundation for your sauce.
- Develop The Sauce:
- Pour in your room temperature milk in a slow steady stream while whisking vigorously to prevent lumps from forming. Continue stirring until the mixture comes to a gentle boil and begins to thicken. This creates the creamy base that will hold all your filling ingredients together.
- Add The Fillings:
- Reduce your heat to low and add the fresh spinach stirring until it wilts completely which usually takes about 60 seconds. The spinach will reduce dramatically in volume. Then fold in your diced ham and one cup of Swiss cheese stirring until the cheese melts completely and ingredients are evenly distributed.
- Assemble The Pastries:
- Remove your pastry squares from the refrigerator and place them on your prepared baking sheet with about an inch between each. Spoon a generous portion of filling into the center of each square being careful not to overfill. Sprinkle remaining cheese on top of each filling portion.
- Form And Bake:
- Gently fold the four corners of each pastry square up and over toward the center creating a smaller square that leaves some filling visible in the middle. Brush all exposed pastry surfaces thoroughly with beaten egg white. Bake in your preheated oven for 18-20 minutes until the pastry has puffed dramatically and turned golden brown.
 Pin it
My absolute favorite part of this recipe is watching guests take their first bite. The contrast between the crispy exterior and creamy interior never fails to elicit that wonderful moment of surprise and delight. I once made these for my mother-in-law, who requested the recipe immediately—a true victory in my family!
Make-Ahead Magic
These ham and cheese puffs can be prepared up to 24 hours in advance, making them perfect for entertaining. Simply follow the recipe through assembly, but instead of baking, cover the unbaked pastries with plastic wrap and refrigerate. When ready to serve, brush with egg wash and bake as directed, adding about 2-3 minutes to the baking time since they'll be starting cold. The convenience of make-ahead preparation without sacrificing any quality makes this my go-to recipe for dinner parties.
Perfect Pairings
These versatile puffs pair beautifully with a simple green salad dressed with a light vinaigrette for lunch or dinner. For breakfast or brunch, serve alongside fresh fruit and coffee for a balanced meal. When serving as appetizers at a gathering, I like to provide a small dish of whole grain mustard on the side for dipping. The tang of the mustard cuts through the richness of the pastry and filling, creating a perfect harmony of flavors that keeps guests coming back for more.
Troubleshooting Tips
The most common issue with puff pastry is underbaking. Look for a deep golden color and significant rise before removing from the oven. If your pastry seems done on top but feels doughy on the bottom, move your baking sheet to a lower oven rack for the final few minutes of baking. Another potential problem is filling that leaks during baking. To prevent this, make sure your sauce is properly thickened before adding the ham and cheese, and avoid overfilling the pastry squares. Finally, if your pastry isn't puffing properly, it may have become too warm before baking. Pop assembled but unbaked pastries in the freezer for 5 minutes before brushing with egg wash and baking.
 Pin it
Frequently Asked Questions
- → Can I use a different type of cheese?
Yes, you can substitute Swiss cheese with Gruyere, cheddar, or mozzarella for a unique flavor twist.
- → Can I make these pastries ahead of time?
You can assemble the pastries and refrigerate them for up to 24 hours before baking. Bake fresh for the best results.
- → How can I ensure the pastry stays flaky?
Make sure to keep the puff pastry cold and handle it minimally. Chill the prepared pastries before baking for optimal flakiness.
- → Can I freeze these pastries?
Yes, you can freeze the unbaked pastries. When ready to enjoy, bake them directly from frozen, adding a few extra minutes to the baking time.
- → What can I serve with these puff pastries?
These pastries pair wonderfully with a light salad, soup, or roasted vegetables for a more complete meal.
- → How do I prevent the filling from leaking out?
Be sure to fold the corners up tightly and seal the edges with the egg wash to prevent filling from escaping during baking.