
 Pin it
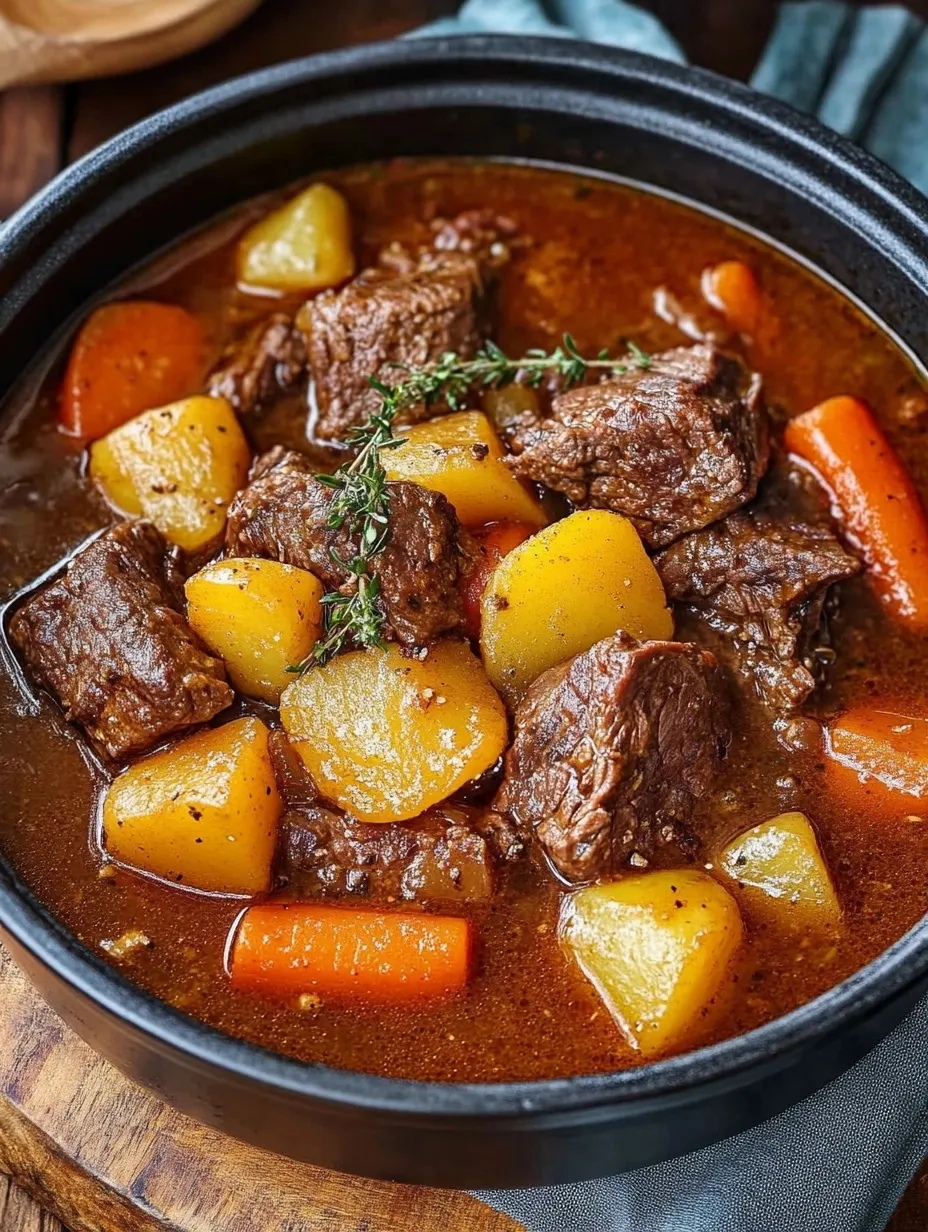
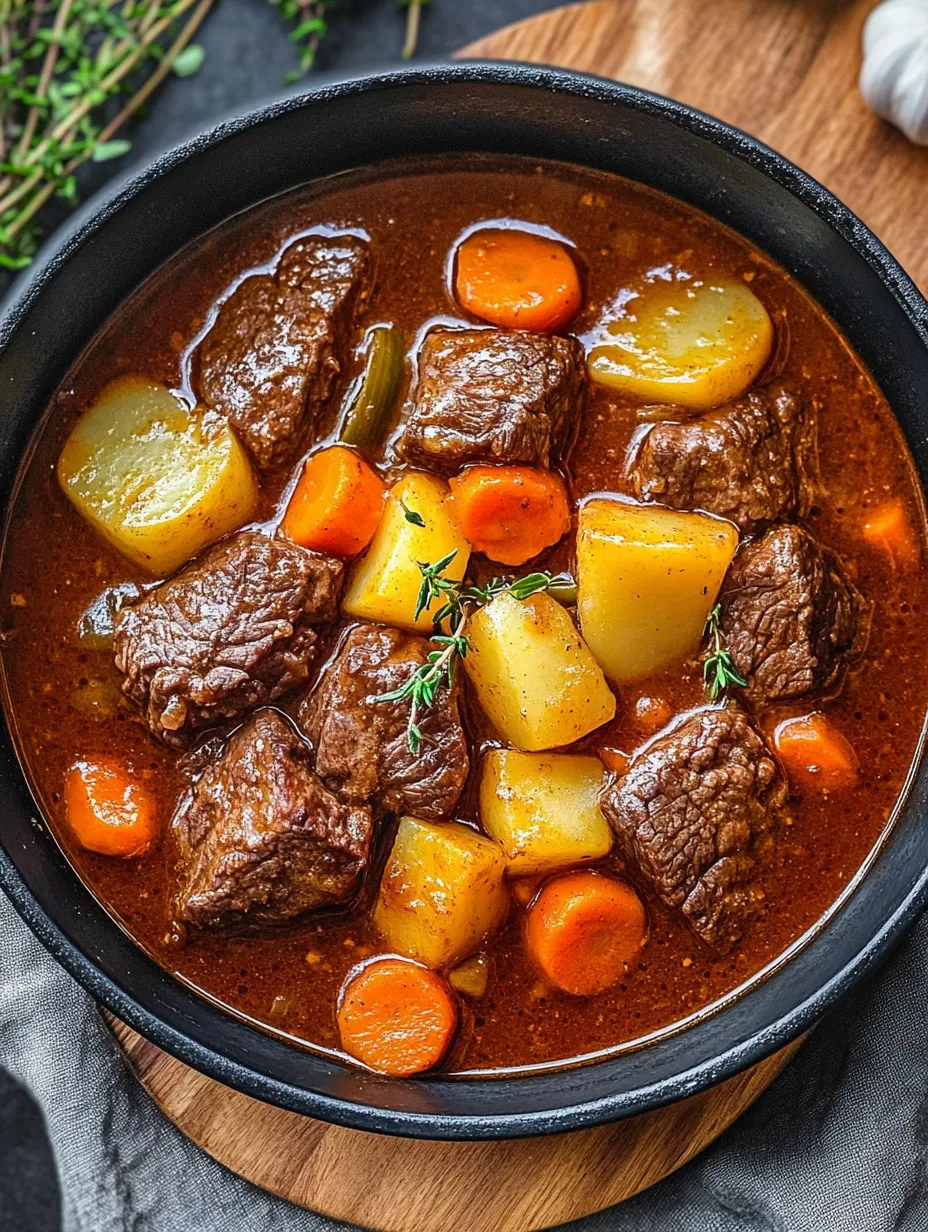
This beef stew recipe has been my cold-weather lifesaver for years. I stumbled across it when I was looking for something to make with a chuck roast that wouldn't dry out, and it's become my go-to comfort food. The meat gets so tender it practically falls apart with your fork, and the sauce develops this incredible richness that you just can't get with quick-cooking methods. I love how the kitchen fills with that amazing savory aroma while it's cooking – it's like a warm hug on a chilly day.
Last winter I made this for my neighbor who was recovering from surgery. Two days later, her husband came over with their empty pot and asked if I could write down the recipe because it was "the best stew they'd ever had." I've been tweaking this recipe for years, and I think I've finally perfected the balance of flavors and textures.
Key Ingredients
- Chuck roast: creates the most tender, flavorful stew meat when cooked slowly. I've tried other cuts, but always come back to chuck.
- Yukon gold potatoes: hold their shape better than russets, which tend to fall apart too much.
- Fresh garlic: rather than powder makes a noticeable difference in the depth of flavor.
- Tomato paste: adds richness and helps thicken the sauce without needing extra flour.
- Worcestershire sauce: brings that savory umami that makes people wonder what your secret ingredient is.
I've learned that browning the meat properly at the beginning is absolutely essential – don't rush this step! I used to try crowding all the meat in the pot at once, but it would just steam instead of sear. Now I do it in batches and get that gorgeous caramelization that adds so much flavor to the final stew.
 Pin it
Cooking Method
- Perfect preparation:
- Start by preheating your oven to 325°F. This lower temperature is key for the meat to break down slowly without drying out. While that's heating up, cut your chuck roast into chunks about 2 inches big. I find this size works better than smaller pieces which can overcook and become dry. Trim off any large pieces of fat, but don't go crazy – some fat adds flavor. Season the meat generously with kosher salt and black pepper on all sides, then sprinkle with flour and toss to coat. The first time I made this, I skipped the flour and ended up with a watery stew – the flour helps create that silky thickness that clings to the meat and vegetables.
- Beautiful browning:
- Heat a good glug of olive oil in a heavy Dutch oven over medium heat until it shimmers. Working in batches (I usually do three), add the beef in a single layer with space between pieces. Let it sit undisturbed for a minute or two until it develops a deep brown crust, then turn to sear the other sides. It takes about 3-4 minutes per batch. Transfer the browned meat to a plate and continue with the remaining batches. Don't worry about cooking it through – we're just developing flavor at this stage. The bottom of your pot will look crusty and brown, but don't clean it – those bits are pure gold for flavor!
- Flavor foundation:
- Once all the meat is browned and set aside, add the chopped onion, minced garlic, and carrot chunks to the pot. The moisture from the vegetables will help loosen all those amazing browned bits from the bottom as you stir. Cook for 2-3 minutes until the onions start to soften and take on a little color. I used to throw all the vegetables in at once, but I've found that adding potatoes later helps them maintain a better texture in the finished stew.
- Building the broth:
- Add the chopped potatoes, beef broth, tomato paste, bay leaf, fresh thyme, and Worcestershire sauce to the pot. Using a wooden spoon, scrape up any remaining browned bits from the bottom of the pot – this is where so much flavor hides! Stir everything together until the tomato paste is fully incorporated. The broth might look a bit thin at this point, but don't worry – it will reduce and thicken as it cooks.
- Slow magic:
- Bring the mixture to a gentle simmer on the stovetop, then return the browned beef (and any accumulated juices) to the pot. Give everything a good stir, cover with a tight-fitting lid, and transfer to the preheated oven. Now comes the hard part – waiting! The stew needs about 2 to 2.5 hours to work its magic. I check it once halfway through cooking, giving it a gentle stir. If it looks like the liquid is reducing too much, I'll add an extra splash of broth. The meat is done when it easily yields to a fork but still holds its shape.
- Final touches:
- Once the cooking time is up, carefully remove the pot from the oven (it's heavy and very hot!). Fish out the bay leaf – no one wants to bite into that! Give the stew a taste and adjust the seasoning with additional salt and pepper if needed. Sometimes I find it needs just a tiny bit more Worcestershire sauce at the end to brighten the flavors. Let it rest for about 10 minutes before serving, which allows the meat to reabsorb some of the juices and the sauce to settle into perfect thickness.
My biggest stew disaster happened when I used a pot with a loose-fitting lid, and all the liquid evaporated during cooking. The meat ended up tough and the vegetables burned on the bottom. I've since learned that a Dutch oven with a tight-fitting lid is essential for proper braising. I've also discovered that adding the potatoes right at the beginning, as many recipes suggest, can lead to them disintegrating. Adding them with the broth allows them to cook to the perfect texture.
Serving Suggestions
This stew is perfect ladled into wide, shallow bowls with a sprinkle of fresh thyme on top. I always serve it with crusty bread for soaking up every last drop of that amazing sauce. For a complete meal, pair it with a simple green salad dressed with vinaigrette – the acidity provides a nice contrast to the rich stew. On particularly cold nights, I sometimes serve it over a scoop of creamy mashed potatoes for the ultimate comfort food experience.
 Pin it
Easy Variations
For a heartier version, add mushrooms along with the carrots and onions. If you like a bit of heat, a pinch of crushed red pepper flakes works beautifully. Sometimes I'll add a splash of red wine when adding the broth, which adds wonderful depth. During garden season, I toss in fresh green peas during the last 5 minutes of cooking. For a burst of brightness, try adding a bit of grated lemon zest just before serving – it cuts through the richness and wakes up all the flavors.
I've made this beef stew for countless Sunday family dinners, and it never fails to bring everyone to the table with anticipation. There's something about that combination of tender meat, velvety sauce, and hearty vegetables that speaks directly to the soul. While it does take time to make, most of that is hands-off, leaving you free to enjoy the amazing smells wafting through your home and the compliments that will inevitably follow once everyone takes their first bite.
Frequently Asked Questions
- → Can I make this beef stew in a slow cooker?
- Yes! Brown the meat and vegetables as directed, then transfer everything to a slow cooker and cook on low for 7-8 hours or high for 4-5 hours.
- → What's the best cut of beef for stew?
- Chuck roast is ideal because it becomes tender and flavorful when slow-cooked. Other good options include bottom round, rump roast, or pre-cut stew meat.
- → Can I add other vegetables to this stew?
- Absolutely! Celery, parsnips, turnips, peas, or green beans would all work well. Add root vegetables with the potatoes, but add peas or green beans in the last 30 minutes.
- → How do I store leftover beef stew?
- Cool completely, then store in an airtight container in the refrigerator for 3-4 days. The flavor often improves after a day as the flavors meld together.
- → Can I freeze this beef stew?
- Yes, this stew freezes beautifully. Store in freezer-safe containers for up to 3 months. Thaw overnight in the refrigerator before reheating.
- → My stew is too thick. How can I thin it out?
- Simply add more beef broth or water until you reach your desired consistency. Remember to adjust the seasoning if needed after adding more liquid.