
 Pin it
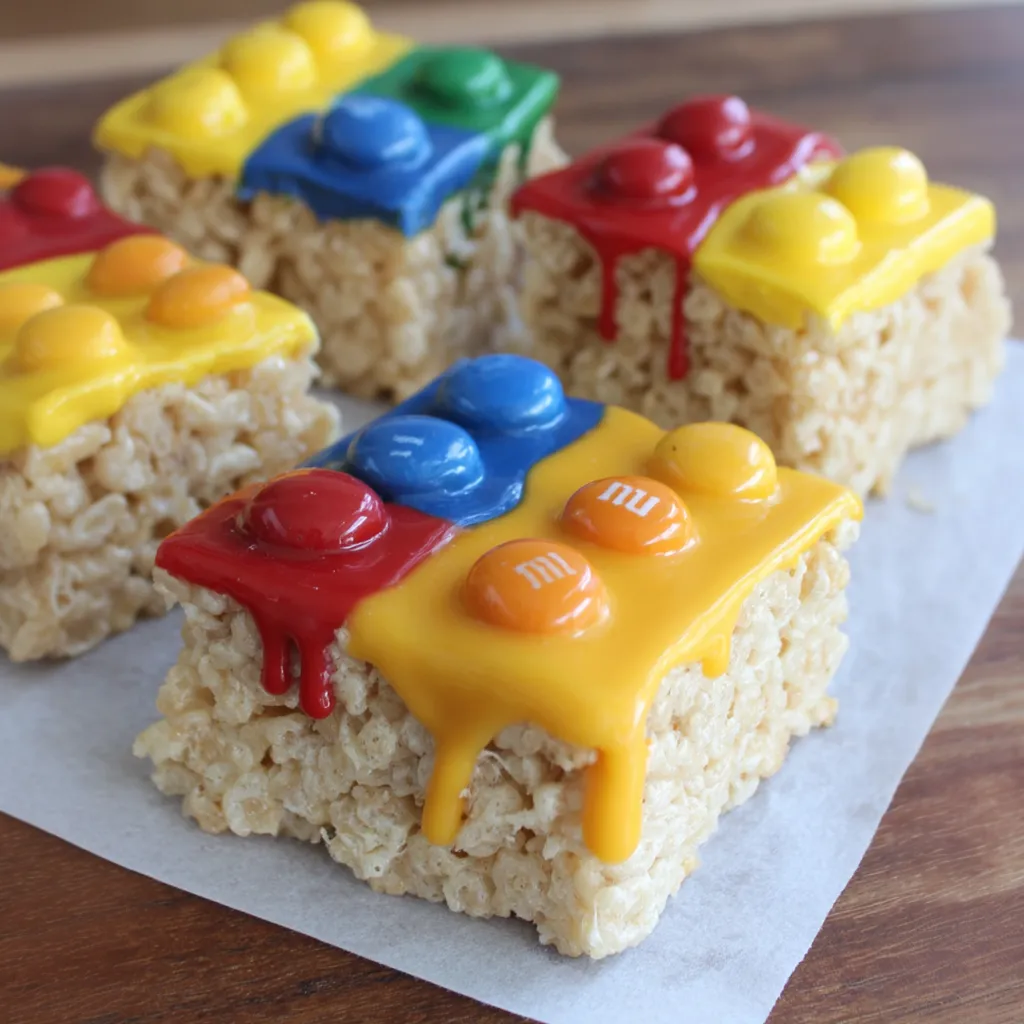
These **LEGO Rice Krispies treats** have become my secret weapon for kids' birthday parties and classroom celebrations. I created this recipe when my son begged for a LEGO-themed birthday party three years ago, wanting something that looked impressive but wouldn't require advanced cake decorating skills or hours of intricate work. The brilliant part is using **store-bought Rice Krispies treats** as your base, which means you skip the sticky marshmallow melting process entirely and can focus on the fun decorating part. These colorful chocolate-covered treats look exactly like real LEGO bricks, and kids absolutely lose their minds when they see them.
My neighbor Karen was shocked when she tasted it, saying the texture matched her favorite Chinese restaurant exactly. She told me she'd been buying expensive frozen fried rice for years thinking homemade would never compare. Now she makes this recipe weekly and her kids actually request 'Mrs. Peterson's fried rice' specifically, which proves how well it works!
What You'll Need
- **Store-bought Rice Krispies treats:** Your convenient base. The individually wrapped treats are perfect as they are the right thickness.
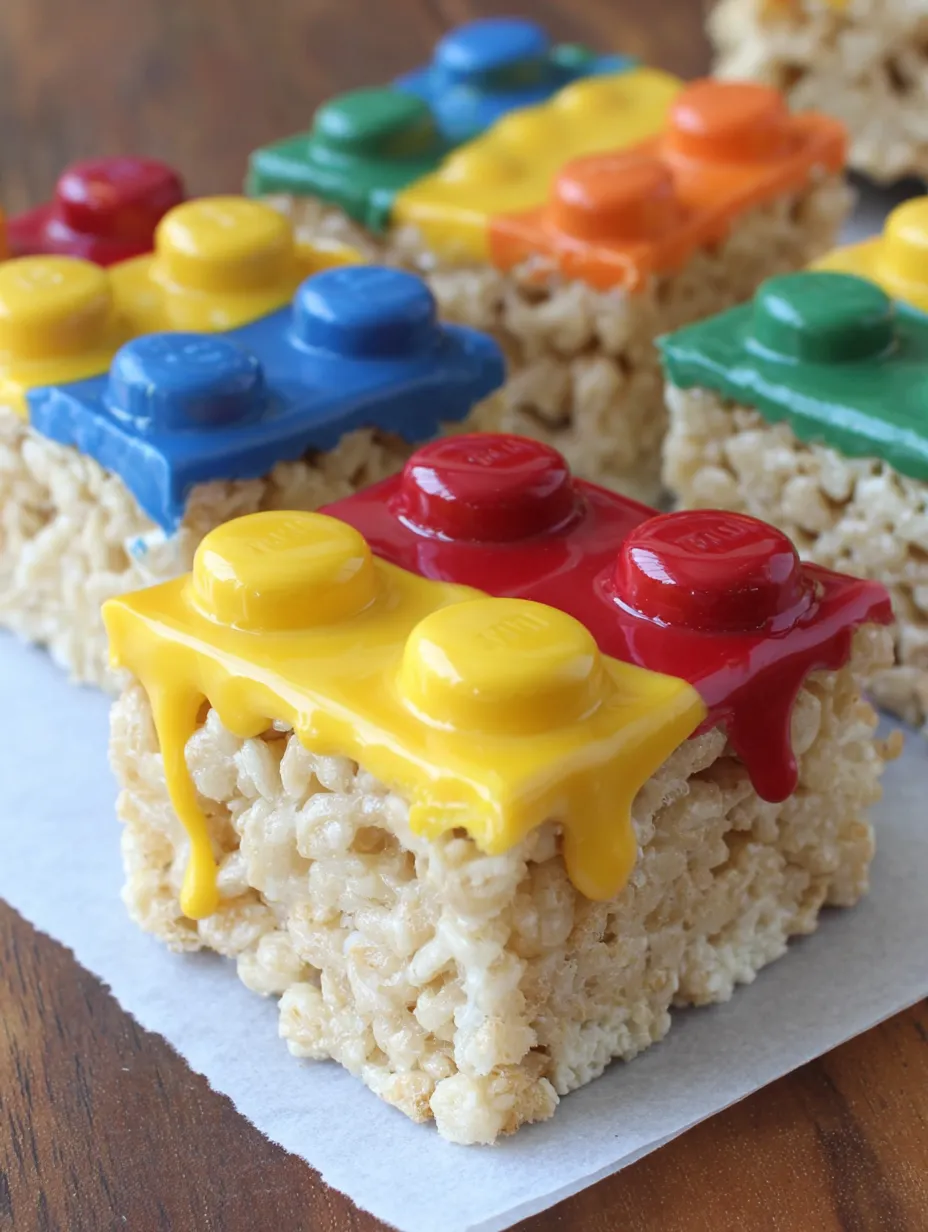
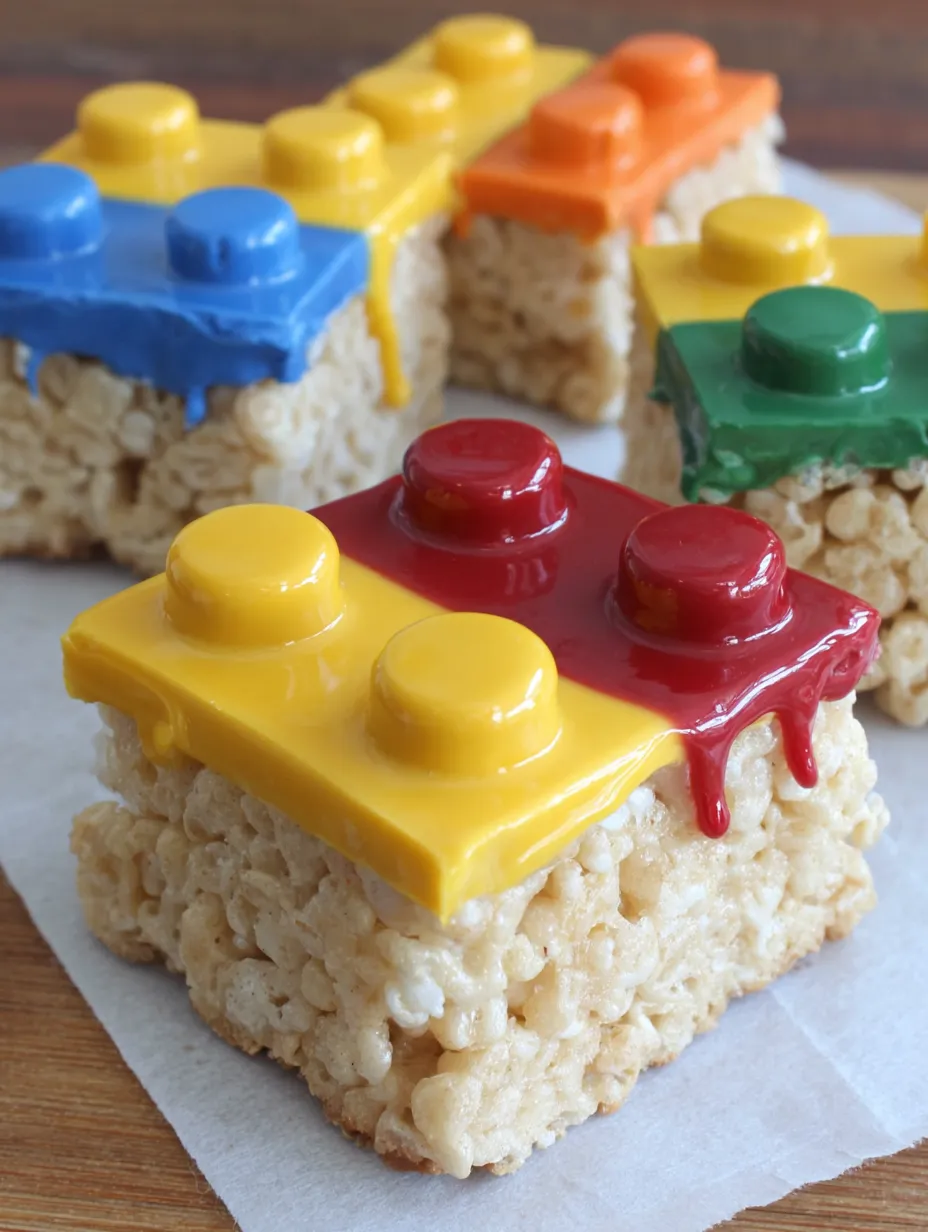
- **Candy melt wafers in multiple colors:** Melt smoothly and harden with a beautiful glossy finish. Use red, yellow, orange, green, and blue for the classic palette.
- **M&Ms in matching colors:** These become the perfect LEGO studs on top due to their size and shape. Match colors to your candy melts for authenticity.
- **Vegetable oil or coconut oil:** A small amount creates a thinner, smoother consistency, making the candy melts much easier to spread evenly.
 Pin it
Creating LEGO Magic
- Preparing Your Workspace & Treats:
- Line a large baking sheet with parchment paper. Unwrap all treats. Cut some treats to create smaller, square LEGO bricks (about one-third shorter) and the smallest rectangular pieces. Use a gentle sawing motion to prevent squashing the treats.
- Melting the Candy Perfectly:
- Measure about half a cup of candy melts per color. Microwave on **fifty percent power** for 30-second intervals, stirring thoroughly after each one, until the melts are almost completely smooth. Stir in about half a teaspoon of **oil** until the mixture becomes noticeably thinner and flows easily (like thick paint).
- Coating & Adding Studs:
- Working quickly with one treat at a time, spoon and spread the melted candy evenly across the entire top surface, all the way to the edges. **Immediately** place matching M&Ms on top to create the stud pattern (six M&Ms for large bricks, four for squares, two for small). Press gently so the M&Ms adhere securely but still sit prominently.
- Setting and Finishing:
- Carefully transfer the coated treats to your parchment-lined sheet. Let them sit at **room temperature** for 30-60 minutes until the chocolate coating hardens completely. You can speed this up in the refrigerator (15 minutes), but be aware of condensation.
My earliest attempts at fried rice failed spectacularly because I used fresh rice—the result was a gloppy, mushy mess. I discovered that **professional cooks specifically use day-old rice** because the refrigeration process dries it out just enough. Now I intentionally cook extra rice and cool it on a baking sheet before refrigerating to ensure I always have properly dried rice ready for this recipe.
Change It Up & Serving Tips
Serve the fried rice steaming hot straight from the skillet. Pair it with **crispy egg rolls**, **spring rolls**, or **pot stickers**. For contrast, serve a simple cucumber salad on the side. Customization is easy: swap the chicken for **shrimp** (cooks even faster), diced **ham**, or skip the meat entirely and load up on extra vegetables like broccoli and snap peas. For a unique flavor, stir in a tablespoon of **curry powder** or top each serving with a **fried egg** with a runny yolk for extra richness.
Mastering the Method & Solving Problems
Authentic fried rice relies on a few fundamental techniques: **high heat** prevents sogginess and creates smoky flavor; **cooking each component separately** ensures ideal texture; and **day-old rice** prevents sticking. If your fried rice turns out mushy, you used fresh rice or your heat was too low. If it's bland, add more **soy sauce and salt**—rice absorbs tremendous amounts of seasoning. If it's oily, your pan wasn't hot enough, causing ingredients to absorb oil instead of frying.
 Pin it
This chicken fried rice has completely replaced takeout in my house because it tastes better, costs less, and comes together faster than waiting for delivery. It's one of those reliable, go-to recipes that works every single time without fail and never disappoints anyone at the table!
Frequently Asked Questions
- → Can I make these with homemade Rice Krispies Treats?
- Absolutely! Homemade treats work great. Just make sure they're completely cooled and firm before you start decorating them.
- → What if I can't find candy melts in the colors I need?
- You can use white candy melts and add food coloring to create any color you want. Gel food coloring works best since it won't make the chocolate seize up.
- → How long do these last?
- They'll keep in an airtight container at room temperature for up to a week. Just make sure they're completely hardened before stacking them.
- → Can I use chocolate chips instead of candy melts?
- You can, but candy melts work better because they harden smoothly and have a nice shine. Chocolate chips need to be tempered or they might not set properly.
- → Do I have to use M&M's for the studs?
- No, you can use any round candy that works. Chocolate chips, Reese's Pieces, or even small cookies would work too.
- → Can kids help make these?
- Yes! Kids can help place the M&M's on top, though adults should handle the melting chocolate since it can get hot.