
 Pin it
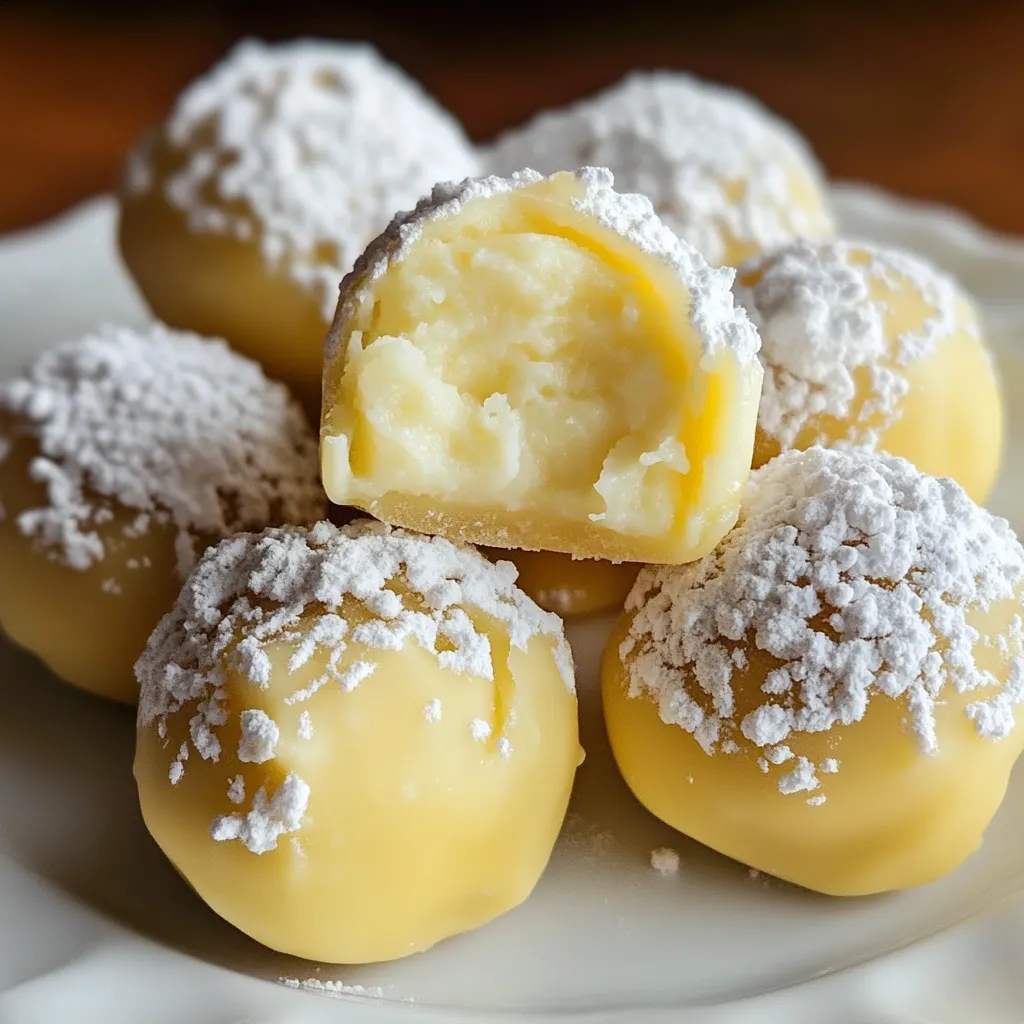
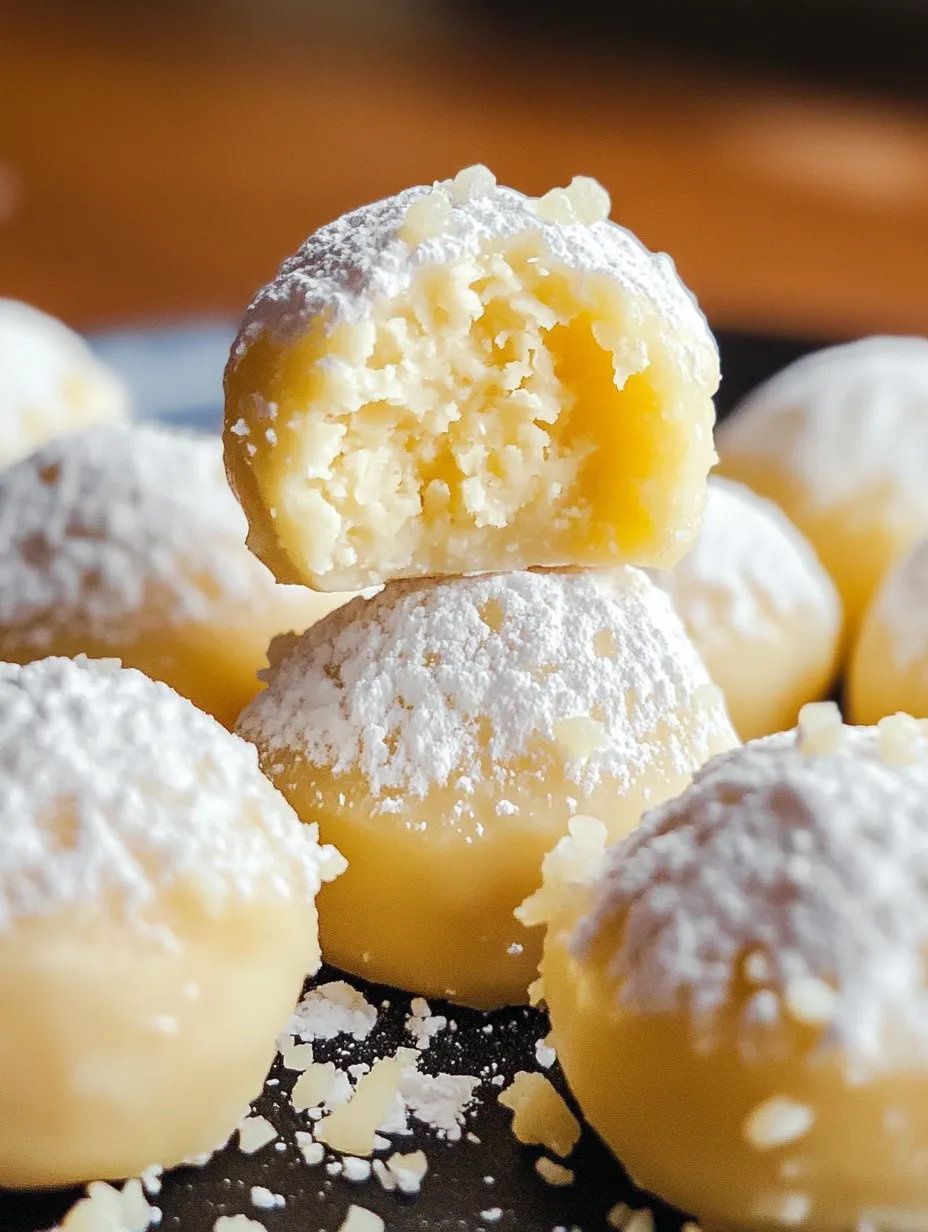
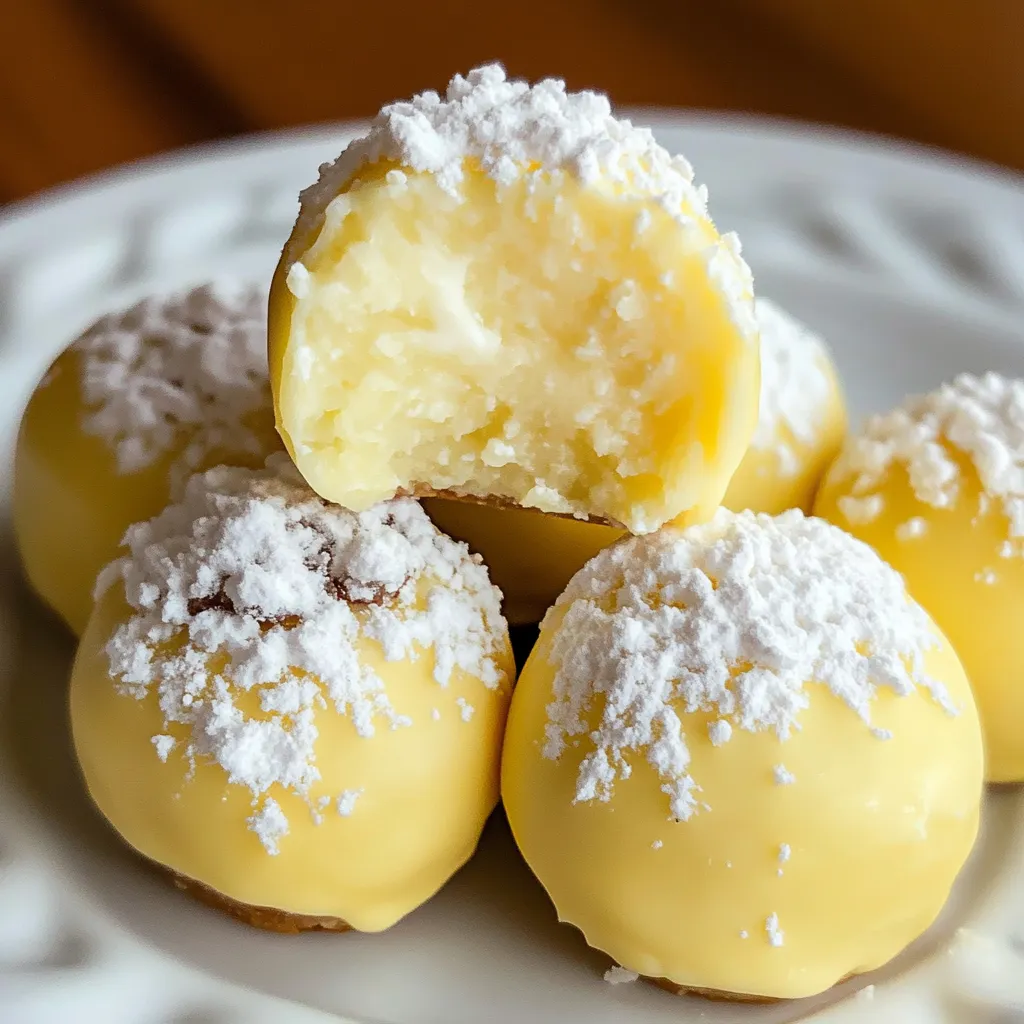
I discovered this lemon truffle recipe last spring when I needed something quick for a friend's dinner party. These little bites of sunshine have this perfect balance - creamy and rich, yet bright and zingy from the fresh lemon. Best part? They come together in minutes with just a handful of ingredients most of us already have sitting around.
Made these for my sister's birthday last month. She's the pickiest dessert eater I know and absolutely hates anything overly sweet. She ate four of these before dinner even started, then asked if she could take the rest home. My brother-in-law texted me the next day saying she wouldn't share them.
Master Your Ingredients
- Cream cheese: Creates that perfect silky base. Make sure it's properly softened or you'll be fighting lumps forever. I've left mine on the counter for too long before and it still worked fine.
- Butter: Adds richness and helps create that melt-in-your-mouth texture. Real butter tastes noticeably better than substitutes here.
- Powdered sugar: Sweetens without adding grittiness. The amount listed keeps them from being too sweet - I've tried adding more and it overpowers the lemon.
- Lemon zest: This is where all that bright flavor comes from. Use a microplane for the finest zest, and only take the yellow part - the white pith underneath is bitter.
- White chocolate: Optional but adds that truffle-like shell and makes them prettier. I've skipped it when making them just for myself and they're still delicious.
- Natural coloring: Totally optional - they taste the same either way. I've used a pinch of turmeric when I didn't have food coloring and nobody could tell the difference.
 Pin it
Creating Your Perfect Lemon Truffles
- Prep Your Ingredients:
- Make sure your cream cheese and butter are truly at room temperature - this makes all the difference for a smooth mixture. If you're in a hurry, cut them into small pieces to speed up softening.
- Blend Everything Together:
- A hand mixer makes quick work of this and ensures no lumps, but I've made these plenty of times just stirring vigorously with a fork when I didn't want to wash extra equipment. They're slightly less smooth but still delicious.
- Choose Your Method:
- The container method is honestly easier - just spread the mixture into a small container lined with parchment paper. The truffle ball method looks fancier but requires that extra freezing step to make the mixture firm enough to scoop.
- Chill Until Firm:
- This happens surprisingly fast in the freezer - about 15-20 minutes. Don't skip this step or you'll have a mess on your hands.
- Optional Chocolate Coating:
- If you're adding the white chocolate shell, make sure the truffles are very cold when you dip them. The secret to smooth coating is adding that tiny bit of oil to the melted chocolate - makes a huge difference.
- Quick-Cut Technique:
- That tip about cutting them in half while the chocolate is still setting? Genius for getting those perfect clean-cut sides like in fancy chocolate shops.
My first attempt at these was during a summer heatwave with no air conditioning. Bad idea. The mixture wouldn't firm up enough to roll into balls, so I ended up freezing the whole thing and cutting it into squares. Turns out that method actually works better for me now. I've also tried adding a splash of limoncello for an adult version - not necessary but definitely delicious. And once when I was out of white chocolate, I rolled them in finely crushed graham crackers for a lemon pie vibe.
Creative Variations
While the classic lemon version is hard to beat, this recipe is incredibly adaptable. Try orange or lime zest instead of lemon for a different citrus kick. Add a few finely chopped fresh berries to the mixture for flavor and color. Mix in some poppy seeds for a lemon-poppy seed cake vibe. For a more complex flavor, add a drop of almond extract or vanilla to the mixture.
Storage Solutions
These truffles keep beautifully in the refrigerator for up to a week, making them perfect for advance preparation. Keep them in an airtight container with parchment between layers to prevent sticking. They freeze exceptionally well for up to three months - just thaw in the refrigerator before serving. The texture is actually creamiest when they've been frozen and allowed to thaw for about 5-10 minutes.
 Pin it
I've made these lemon truffles for countless gatherings - baby showers, book clubs, impromptu dinner parties when I need something sweet but don't have time to bake. There's something about that bright, sunny flavor that makes people smile. My neighbor now specifically requests "those lemon things" whenever she invites us over, and my husband has been known to check the freezer hopefully when he hears me zesting a lemon. Sometimes the simplest recipes become the most beloved, and these little bites of sunshine definitely fall into that category.
Frequently Asked Questions
- → Can I make these lemon truffles dairy-free?
- Yes! Simply use coconut butter instead of cream cheese and butter for a delicious dairy-free version.
- → How long do these lemon truffles last?
- Store them in the refrigerator for up to 1 week or freeze for up to 3 months in an airtight container.
- → Can I make these sugar-free?
- Absolutely! Substitute the powdered sugar with erythritol as mentioned in the recipe for a sugar-free option.
- → Do I need to dip them in white chocolate?
- The white chocolate coating is optional. The truffles are delicious with or without it, so feel free to skip this step if preferred.
- → How do I get the best lemon flavor?
- Use fresh lemon zest rather than bottled juice for the most vibrant lemon flavor. Make sure to only zest the yellow part, avoiding the bitter white pith.