
 Pin it
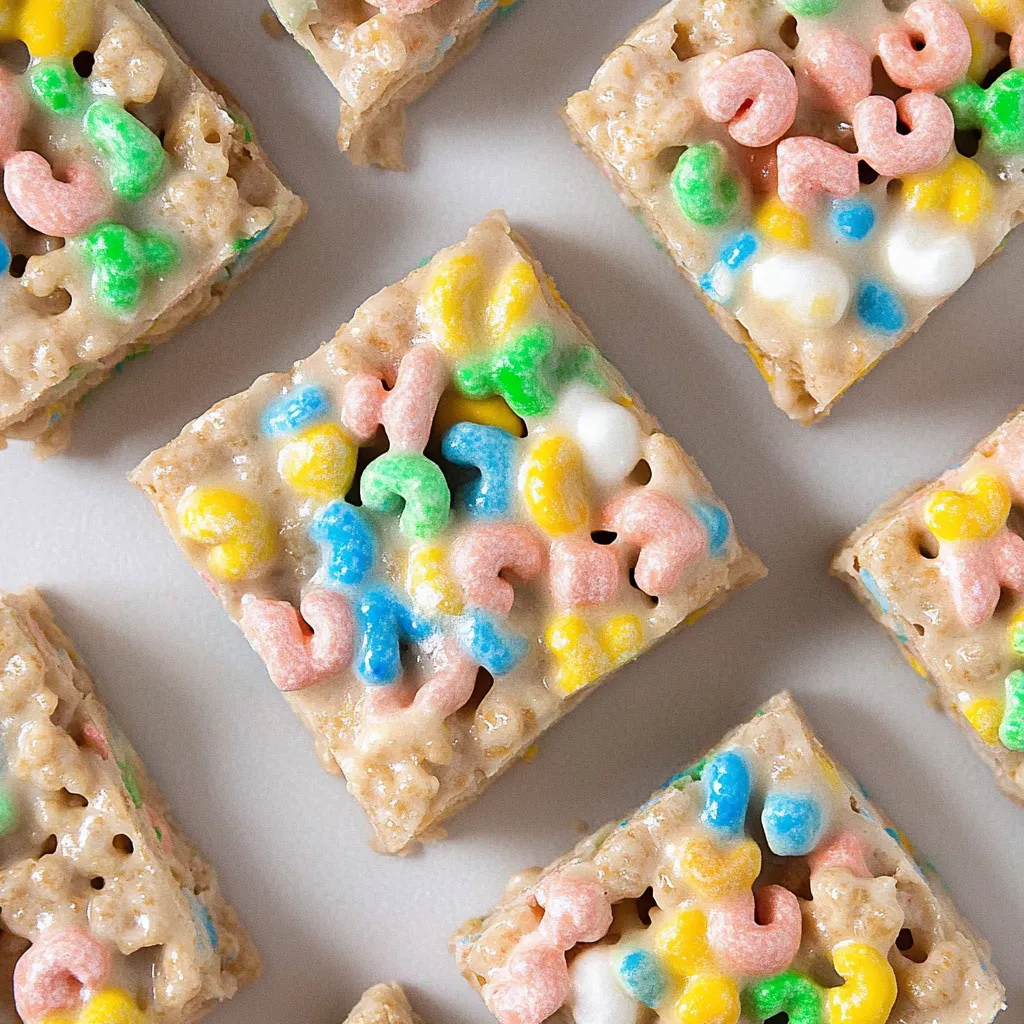
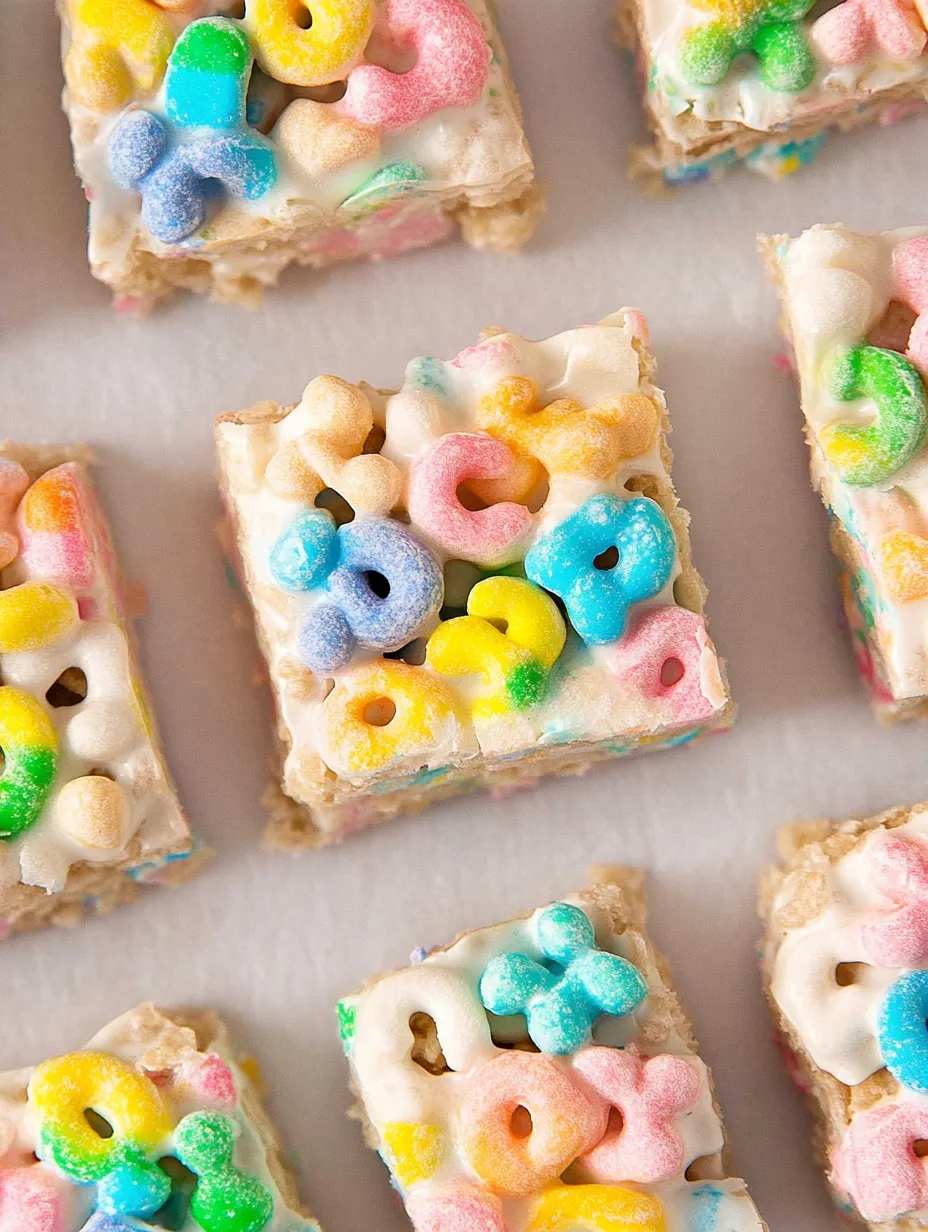
I stumbled upon this recipe last St. Patrick's Day when I needed something festive but didn't have time for anything complicated. These Lucky Charms Rice Krispie Treats have since become my go-to dessert for potlucks, last-minute gatherings, and honestly, those nights when I'm craving something sweet but refuse to turn on the oven. They're everything I love about traditional Rice Krispie treats but with a colorful, nostalgic twist that brings me straight back to Saturday morning cartoons. The regular marshmallows create that perfectly gooey base, while the crunchy cereal and chewy colored marshmallows from the Lucky Charms create an irresistible texture contrast. Fair warning: you might want to make a double batch because they disappear FAST.
Last month I brought these to my niece's birthday party, and my brother (a grown man in his forties) ate four squares before the kids even got to the dessert table. When caught red-handed reaching for a fifth, he just shrugged and said, "I'm reclaiming my childhood, one marshmallow at a time." These treats have that effect on people – they break down all defenses with their rainbow-speckled charm.
Simple Ingredients
- Lucky Charms cereal – The star of our show provides both the crunchy cereal pieces and those magical rainbow marshmallows we all picked out as kids. The ratio of cereal to marshmallows in the box is perfect for this recipe – no need to supplement with extra marshmallows from the cereal itself.
- Rice Krispies cereal – This might seem like an odd addition when we're making Lucky Charms treats, but trust me on this one. The Rice Krispies add a lighter crunch that balances the denser texture of the Lucky Charms cereal pieces. This combination creates the perfect texture – not too hard, not too soft.
- Marshmallows – Regular marshmallows create our gooey binding base. Fresh marshmallows are crucial here – if they've been sitting in your pantry for months, they might not melt as smoothly. Both mini and regular marshmallows work perfectly; I often use whatever I have on hand.
- Butter – This adds richness and helps prevent the marshmallows from becoming too sticky. Unsalted butter gives you better control over the final flavor, but salted works in a pinch – just omit the additional salt in the recipe.
- Vanilla extract – This seemingly small addition makes a huge flavor difference. It adds depth and warmth that transforms these from simple cereal bars to something that tastes intentionally delicious rather than just sweet.
- Salt – A pinch of salt balances the sweetness and enhances all the other flavors. Don't skip this – it's what makes people say, "Wow, these are the best Rice Krispie treats I've ever had!" without being able to pinpoint exactly why.
 Pin it
Creating Treat Magic
- Prepping for success:
- Greasing everything – the pan, the bowl, your spatula, even your hands – is the secret to making this process smooth and frustration-free. Marshmallows are incredibly sticky when melted, and a little cooking spray goes a long way in preventing a sticky mess.
- Melting with care:
- Microwave the marshmallows in short bursts and stir between each one. They can go from perfectly melted to burnt quickly, especially in the microwave. When they're puffy and mostly melted with a few small lumps, they're ready – the remaining heat will melt those last few pieces as you stir.
- Mixing strategy:
- Add the cereal gradually rather than all at once. This allows you to ensure every piece gets coated with marshmallow goodness. If you dump it all in at once, you might end up with dry pockets of cereal, which isn't what we want.
- Pressing technique:
- The key to perfect Rice Krispie treats is pressing them firmly enough to hold together without compacting them so much that they become dense and hard. I find slightly greased hands work better than a spatula for this final pressing – you can feel when you've got the right pressure.
- Setting smarts:
- Letting these set at room temperature rather than in the refrigerator results in the perfect chewy texture. The fridge might speed up the process but can make them too firm. If you're really in a hurry, 20 minutes in the freezer works beautifully.
My first attempt at these resulted in a valuable lesson: patience with melting marshmallows pays off. I cranked the microwave too high and ended up with marshmallows that were burnt in some spots and still solid in others. I've also experimented with different ratios of Lucky Charms to Rice Krispies, finding that this combination creates the perfect balance – enough Lucky Charms to showcase those colorful marshmallows but enough Rice Krispies to keep the treats from being too hard on your teeth.
Serving Inspiration
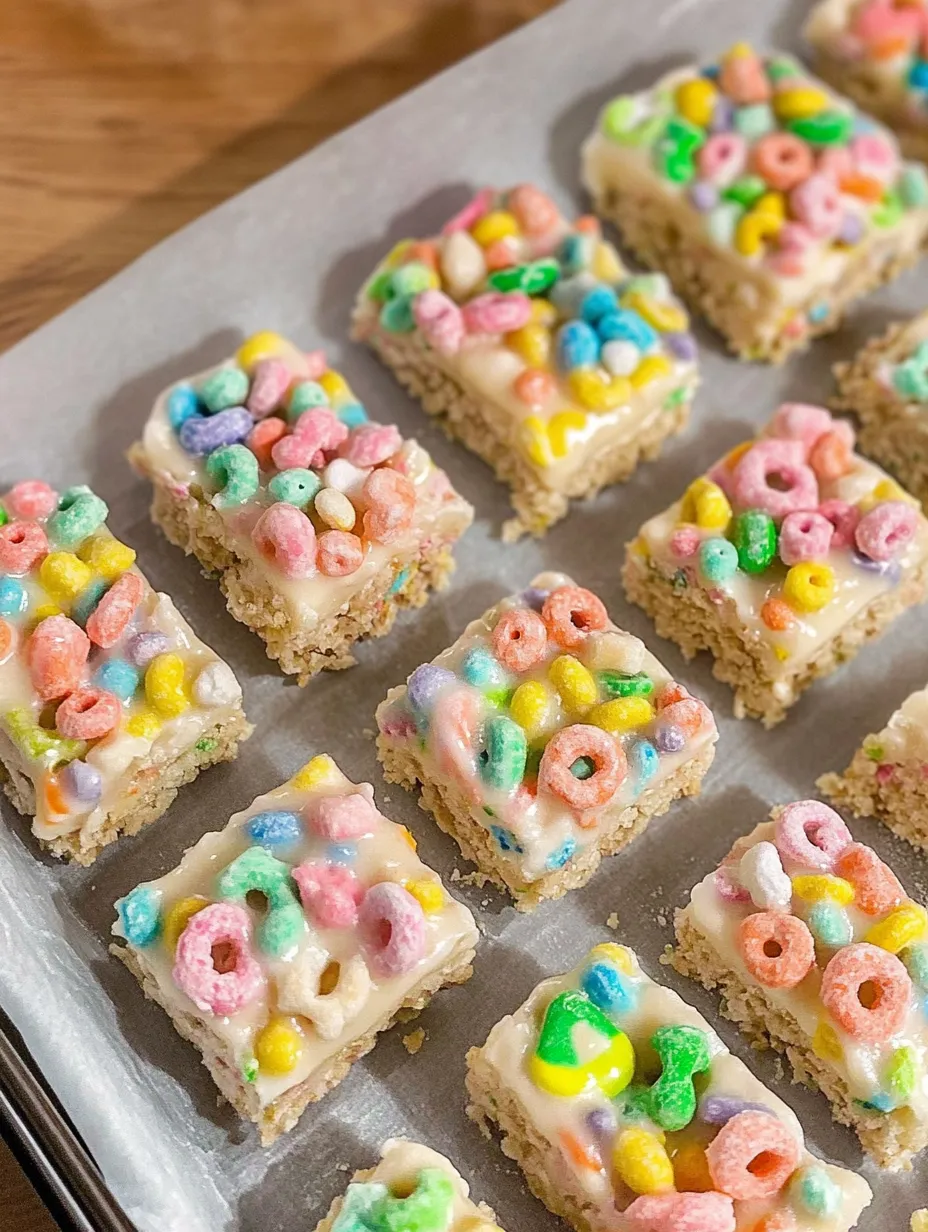
Transform these Lucky Charms Rice Krispie Treats into an even more festive dessert by cutting them with cookie cutters instead of into squares – shamrocks for St. Patrick's Day, hearts for Valentine's, stars for the Fourth of July. For birthday parties, press a few rainbow sprinkles on top while they're still warm. Serve them on a platter with other nostalgic treats for a childhood-themed dessert table. For a quick dessert that feels more grown-up, drizzle them with a simple white chocolate ganache before serving.
Sweet Variations
Once you've mastered the basic recipe, try some creative variations. Substitute Cinnamon Toast Crunch for the Rice Krispies portion for a cinnamon-sugar twist. Add a half cup of white chocolate chips to the mixture while it's still warm for pockets of melty goodness throughout. For a festive holiday version, use holiday-themed Lucky Charms when available, or mix in some seasonal sprinkles. Brown the butter before adding it to the marshmallows for a more complex, nutty flavor that adults particularly appreciate.
Storage Secrets
These Lucky Charms Rice Krispie Treats maintain their best texture when stored in an airtight container at room temperature. Place parchment paper between layers if you need to stack them. As mentioned in the pro-tip, these actually improve overnight as the Lucky Charms marshmallows soften slightly, creating that perfect chewy contrast to the crispy cereal. Don't refrigerate them unless your kitchen is extremely hot – the cold makes them too hard. For longer storage, wrap individual squares in plastic wrap, then freeze in a larger container for up to a month.
 Pin it
I've made these Lucky Charms Rice Krispie Treats for countless gatherings over the years, from casual playdates to office parties. There's something about their colorful appearance and nostalgic flavor that brings joy to people of all ages. The beauty of this recipe lies in its simplicity – just a few everyday ingredients transformed into something that makes people smile with recognition and then reach for seconds. They're proof that sometimes the most beloved desserts aren't the most complex or sophisticated, but the ones that connect us to happy memories while creating new ones.
Frequently Asked Questions
- → Why add Rice Krispies to Lucky Charms treats?
- Adding Rice Krispies helps balance the texture. Lucky Charms cereal pieces are a bit harder than Rice Krispies, so using a combination creates the perfect texture—crunchy but not too hard. It also allows the colorful Lucky Charms marshmallows to stand out more visually.
- → My treats turned out too hard. What went wrong?
- Hard treats usually result from either cooking the marshmallows too long or pressing the mixture too firmly into the pan. Marshmallows should just be melted, not cooked, and the mixture should be pressed gently but evenly into the pan. Also, never refrigerate Rice Krispie treats, as cold temperatures make them hard.
- → Can I double this recipe?
- Yes! You can double all ingredients and use a 9x13 inch pan instead. The thickness will be similar to using a 9x9 pan for the original recipe. Just make sure you have a large enough bowl to mix everything together, as the mixture can get quite voluminous.
- → Why add vanilla and salt to Rice Krispie treats?
- Vanilla and salt elevate the flavor significantly. The vanilla adds depth and warmth, while salt balances the sweetness and enhances all the other flavors. These simple additions make a big difference in creating a more complex, satisfying treat rather than just sweet cereal bars.
- → Can I use any other cereals instead?
- Absolutely! This recipe works as a template for any cereal treats. Try Fruity Pebbles, Cocoa Pebbles, Cinnamon Toast Crunch, or any of your favorite cereals. You can also do half Rice Krispies and half of another cereal to experiment with flavors while maintaining a good texture.
- → Why leave them out overnight as suggested in the pro tip?
- Leaving them out overnight in an airtight container (not uncovered) allows the marshmallows to soften slightly, creating an amazing chewy texture that many people prefer. This is completely optional, though—the treats are delicious freshly made as well!