 Pin it
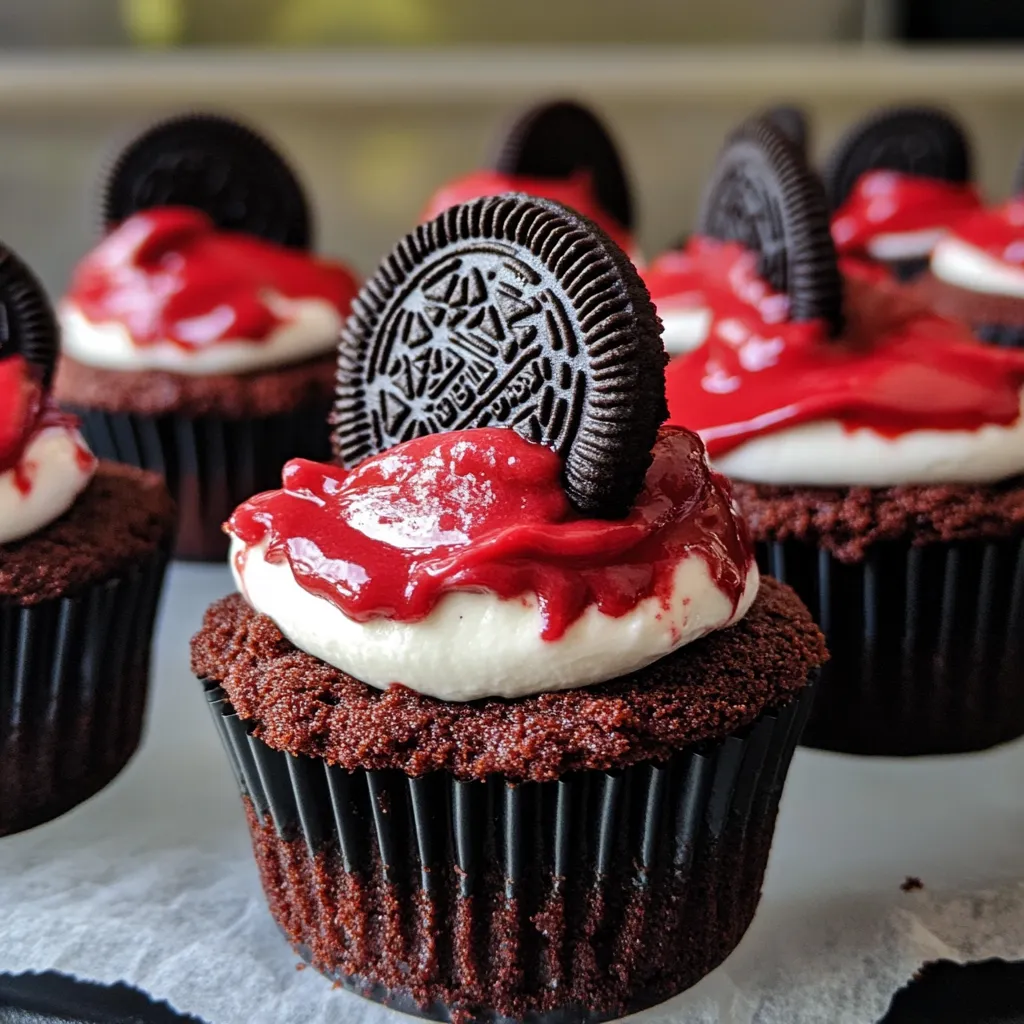
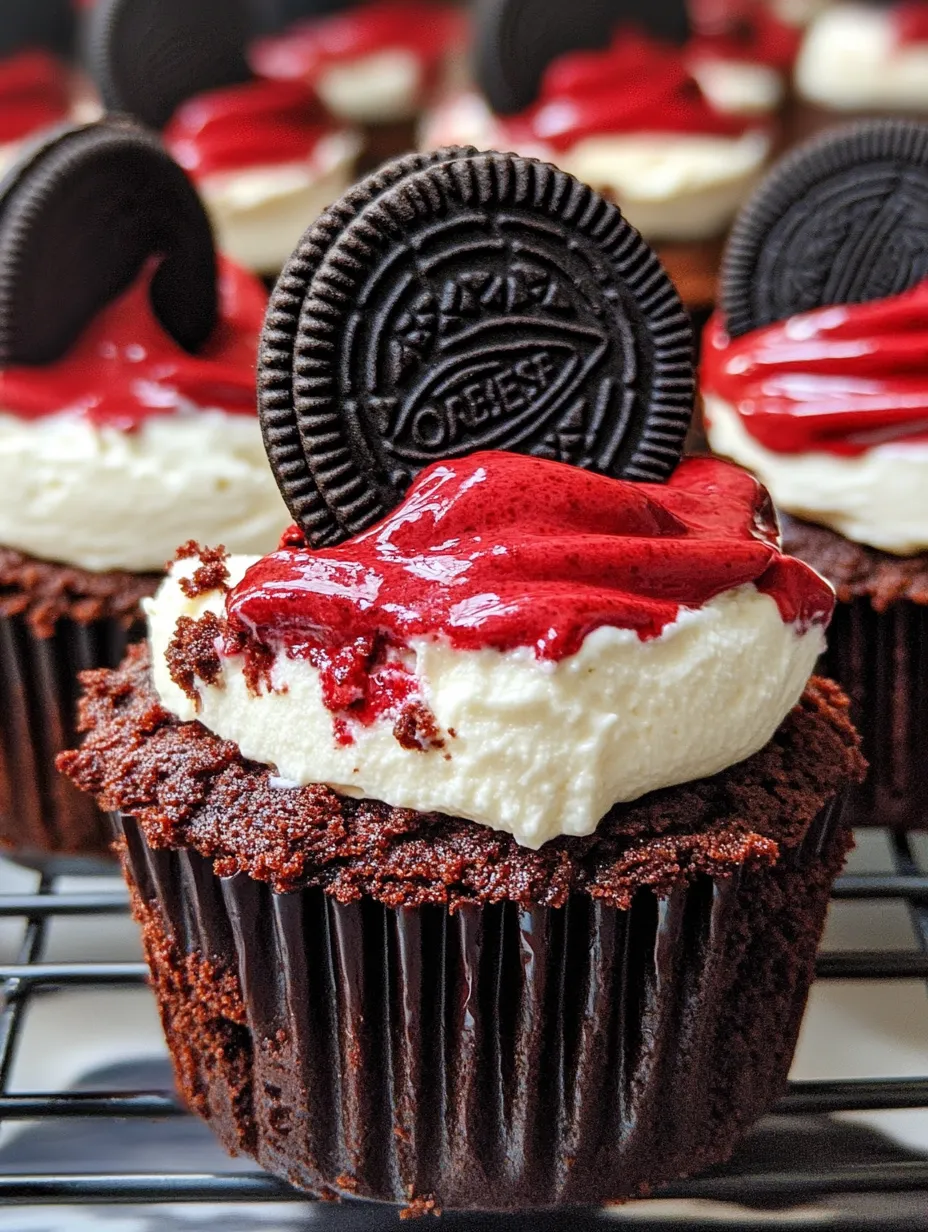
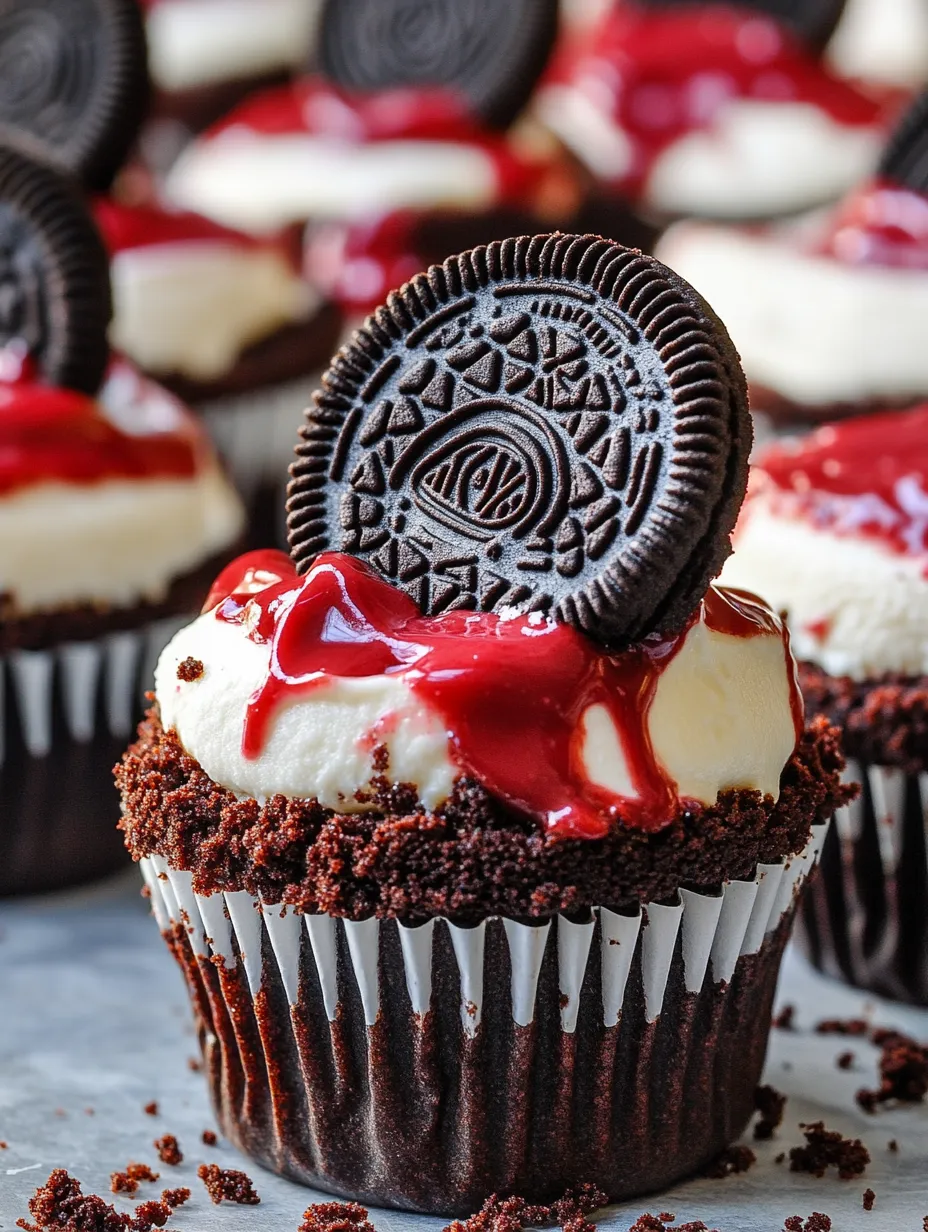
I created these mini red velvet Oreo cheesecakes for my daughter's birthday party last year, and they've quickly become my most-requested dessert for every gathering since. There's something undeniably magical about the combination of fudgy brownie base, hidden Oreo surprise, and that vibrant red velvet cheesecake layer that makes people's eyes light up. The individual portions make them perfect for parties – no messy cutting or serving issues – plus they look absolutely adorable topped with swirls of whipped cream and chocolate shavings. Whenever I bring these to potlucks, I've learned to snap a quick photo before setting them down because they disappear within minutes!
Last month I brought these to my neighbor's housewarming, and her teenage son, who apparently "doesn't like cheesecake," ate three before asking if I could teach his mom to make them. His mom later texted me saying he'd been checking their fridge daily asking if she'd made "those red cookie cheesecake things" yet. Converting a picky teenager is perhaps the highest culinary compliment possible!
Sweet Essentials
- Cream cheese - The foundation of our cheesecake needs to be properly softened for a smooth result. I've made the mistake of trying to rush this with semi-cold cream cheese and ended up with little lumps throughout. Let it sit at room temperature for at least an hour, or microwave in 10-second bursts if you're impatient like me.
- Cocoa powder - This appears in both the brownie base and the cheesecake layer, creating that signature red velvet chocolate undertone. Dutch-processed cocoa creates a richer color contrast with the red food coloring, but regular unsweetened cocoa works perfectly too.
- Red gel food coloring - Gel coloring provides vibrant color without thinning the batter. Start with just a few drops and build up to your desired shade – I've learned the hard way that it's much easier to add more than to fix a mixture that looks like liquid lipstick!
- Oreo cookies - These create that delightful hidden surprise in each cheesecake. I've experimented with different Oreo flavors – regular, Double Stuf, and even seasonal varieties like peppermint during the holidays. They all work beautifully, so feel free to get creative!
- Cool Whip - While homemade whipped cream is delicious, Cool Whip holds its shape much better for an impressive presentation, especially if these need to sit out during a party. It's also more forgiving if you're making these a day ahead.
 Pin it
Creating Little Masterpieces
- Building the perfect base:
- The brownie layer should be thick enough to hold its shape but thin enough to leave room for the cheesecake. When spreading it in the cupcake liners, press the batter slightly up the sides to create a little cup – this helps prevent the cheesecake layer from seeping underneath.
- The Oreo magic:
- Pressing the cookies into the partially baked brownie base is crucial timing – too soon and they'll sink to the bottom, too late and they won't adhere properly. That five-minute pre-bake creates the perfect semi-set texture to suspend the cookies in just the right position.
- Mastering the red velvet:
- When adding the food coloring, start with a few drops and gradually build to your desired shade. Mix at low speed initially to prevent splashing that red coloring everywhere (learned this lesson while wearing a white shirt – not my brightest moment). Check the bottom of the bowl with your spatula to ensure even color distribution.
- Perfecting the texture:
- The key to silky-smooth cheesecake is thoroughly combining all ingredients without overmixing. Once the egg is incorporated, mix just enough to combine everything. Those couple of taps to level the batter also help release any air bubbles that would create cracks during baking.
- Knowing when they're done:
- Look for set edges but a slight jiggle in the center – they'll continue cooking from residual heat and firm up during chilling. Overbaking leads to cracks and a drier texture. I start checking at 15 minutes since oven temperatures can vary significantly.
My first batch of these taught me several valuable lessons. I tried to rush the process by using cold ingredients and ended up with a lumpy texture that tasted fine but looked amateur. I've also experimented with the amount of food coloring – too little creates a muddy brownish-pink that's not particularly appetizing, while too much gives an artificial brightness. About 1/4 teaspoon of gel coloring usually achieves that perfect red velvet shade.
Perfect Presentation
Transform these mini cheesecakes into an even more impressive dessert by arranging them on a tiered serving platter with fresh berries scattered between them. For special occasions, I add a tiny chocolate heart on top of each whipped cream swirl. During the holidays, a light dusting of edible gold glitter over the chocolate shavings adds festive sparkle. For a romantic dessert, replace the chocolate shavings with chocolate-covered strawberry halves.
Sweet Variations
Once you've mastered the basic recipe, try some creative variations. Replace regular Oreos with flavored versions like Golden Oreos or seasonal varieties. Add mini chocolate chips to the cheesecake batter for extra texture. For a more complex flavor, add a teaspoon of instant espresso powder to the brownie base. During fall, pumpkin Oreos with a sprinkle of cinnamon in the cheesecake create a seasonal twist. For citrus lovers, add orange zest to the cheesecake mixture for brightness.
Storage Secrets
These mini cheesecakes maintain their perfect texture for up to five days when stored in an airtight container in the refrigerator. For maximum freshness, add the whipped topping and chocolate shavings just before serving. They also freeze beautifully for up to three months – just place them in a single layer until frozen solid, then transfer to a container with parchment paper between layers. Thaw overnight in the refrigerator before adding the final toppings.
 Pin it
I've made these mini red velvet Oreo cheesecakes for countless gatherings over the years, from casual family dinners to more formal celebrations. There's something about that stunning red color against the white cream topping that draws people in, and the combination of textures – fudgy brownie, crunchy cookie, creamy cheesecake, and fluffy topping – creates an experience that's greater than the sum of its parts. While they might look complex, the recipe is surprisingly forgiving and adaptable. Just be prepared for the inevitable barrage of recipe requests that follows!
Frequently Asked Questions
- → Can I make these mini cheesecakes ahead of time?
- Yes! These cheesecakes can be made up to 2 days in advance. Store them in the refrigerator, but wait to add the Cool Whip topping until shortly before serving for the best presentation.
- → Why do my ingredients need to be at room temperature?
- Room temperature ingredients blend together more smoothly, creating a creamy, lump-free cheesecake batter. Cold ingredients can cause the batter to separate or become lumpy.
- → Can I freeze these mini cheesecakes?
- Yes, you can freeze them without the Cool Whip topping for up to 1 month. Wrap each one individually in plastic wrap, then store in a freezer-safe container. Thaw overnight in the refrigerator and add topping before serving.
- → How do I know when the cheesecakes are done baking?
- The edges should be set but the centers should still have a slight jiggle when you gently shake the pan. They'll continue to set as they cool. Overbaking can cause them to crack and become dry.
- → Can I use regular food coloring instead of gel?
- You can, but gel food coloring provides a more vibrant red color without adding excess liquid to the batter. If using liquid food coloring, you may need more drops and the color might be less intense.
- → What can I substitute for Cool Whip?
- You can make homemade whipped cream by beating 2 cups of cold heavy cream with 1/4 cup powdered sugar and 1/2 teaspoon vanilla extract until stiff peaks form. This will give you a similar amount to the 8 oz of Cool Whip called for in the recipe.
