
 Pin it
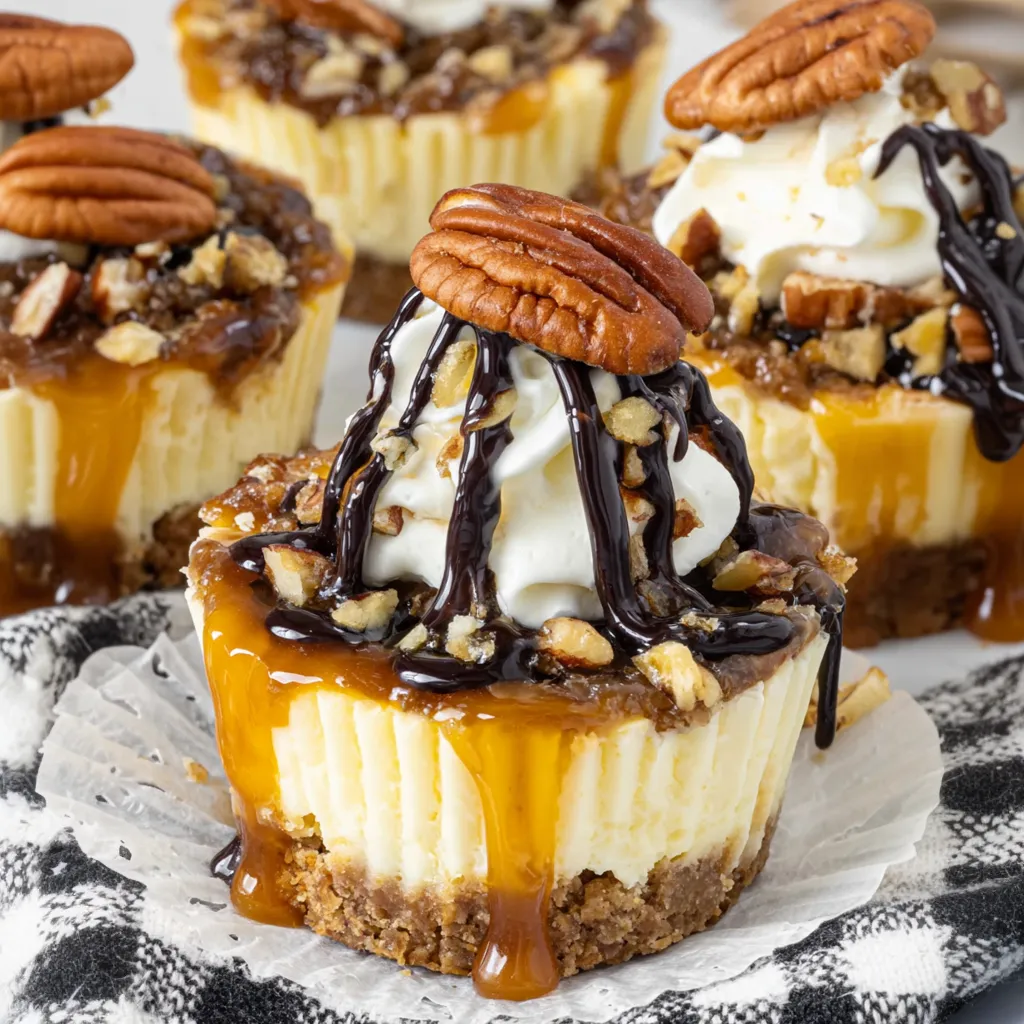
These mini turtle cheesecakes capture everything you love about classic turtle candies in an elegant, individually portioned dessert that combines buttery graham cracker crust, silky smooth cheesecake filling, gooey caramel pecan topping, and beautiful chocolate and caramel drizzle. The water bath baking method creates incredibly creamy cheesecake without any cracks, while the caramel-infused whipped cream and pecan halves crown each little treasure with professional-grade finishing touches. What makes these so perfect for entertaining is how each guest receives their own complete dessert experience, eliminating the stress of cutting and serving while ensuring everyone gets equal portions of every delicious component.
I created these for my mother's retirement party because she has always loved turtle candies. Transforming her favorite candy into something so beautiful made the occasion feel truly celebratory. Her coworkers actually asked if I had ordered them from a bakery—the ultimate compliment for any home baker! Now, these appear at every family celebration because she requests them specifically.
Graham Crust Ingredients
- Graham cracker crumbs: 3/4 cup for a thin but sturdy base.
- Granulated sugar: 1 tablespoon to help bind the crumbs.
- Melted butter: 3 tablespoons (unsalted) to create a cohesive, crunchy mixture.
Cheesecake Filling Components
- Cream cheese: 16 ounces (two standard packages), softened to room temperature for a lump-free batter.
- Light brown sugar: 1/2 cup to add a warm, molasses-tinged sweetness.
- Sour cream: 1/4 cup for a tangy, mousse-like texture.
- All-purpose flour: 2 tablespoons to stabilize the filling and prevent cracking.
- Eggs: 2 large, room temperature, to provide structure.
Topping Layer Elements
- Caramel squares: 24 unwrapped soft caramels for a thick, luscious topping.
- Heavy whipping cream: 1 cup plus 2 tablespoons (divided for the caramel sauce and the whipped topping).
- Pecans: 1/2 cup finely chopped (for the caramel) and 1/2 cup halves (for garnish).
- Syrups: Chocolate and caramel syrups for that final, signature drizzle.
 Pin it
Baking Method Detailed
- Setting Up the Water Bath
- Fill a large rimmed sheet pan halfway with water and place it on the bottom rack of your oven while preheating to 350°F. This creates a humid environment that prevents the cheesecakes from cracking.
- Preparing the Crust
- Line a 12-cup muffin tin with metal liners. Combine crumbs, sugar, and melted butter. Press about one tablespoon into the bottom of each liner firmly using the flat bottom of a shot glass or jar.
- Mixing the Batter
- Beat softened cream cheese until smooth. Add brown sugar and beat for two minutes. Mix in sour cream and flour. Finally, add eggs one at a time, beating only until just combined to avoid incorporating excess air.
- Baking
- Fill the liners nearly to the top. Bake for 25 minutes on the rack directly above the water pan. The edges should be set, but the centers should still have a slight jiggle. Cool in the tin for 15 minutes, then move to a wire rack. Refrigerate for at least 4 hours.
- The Turtle Topping
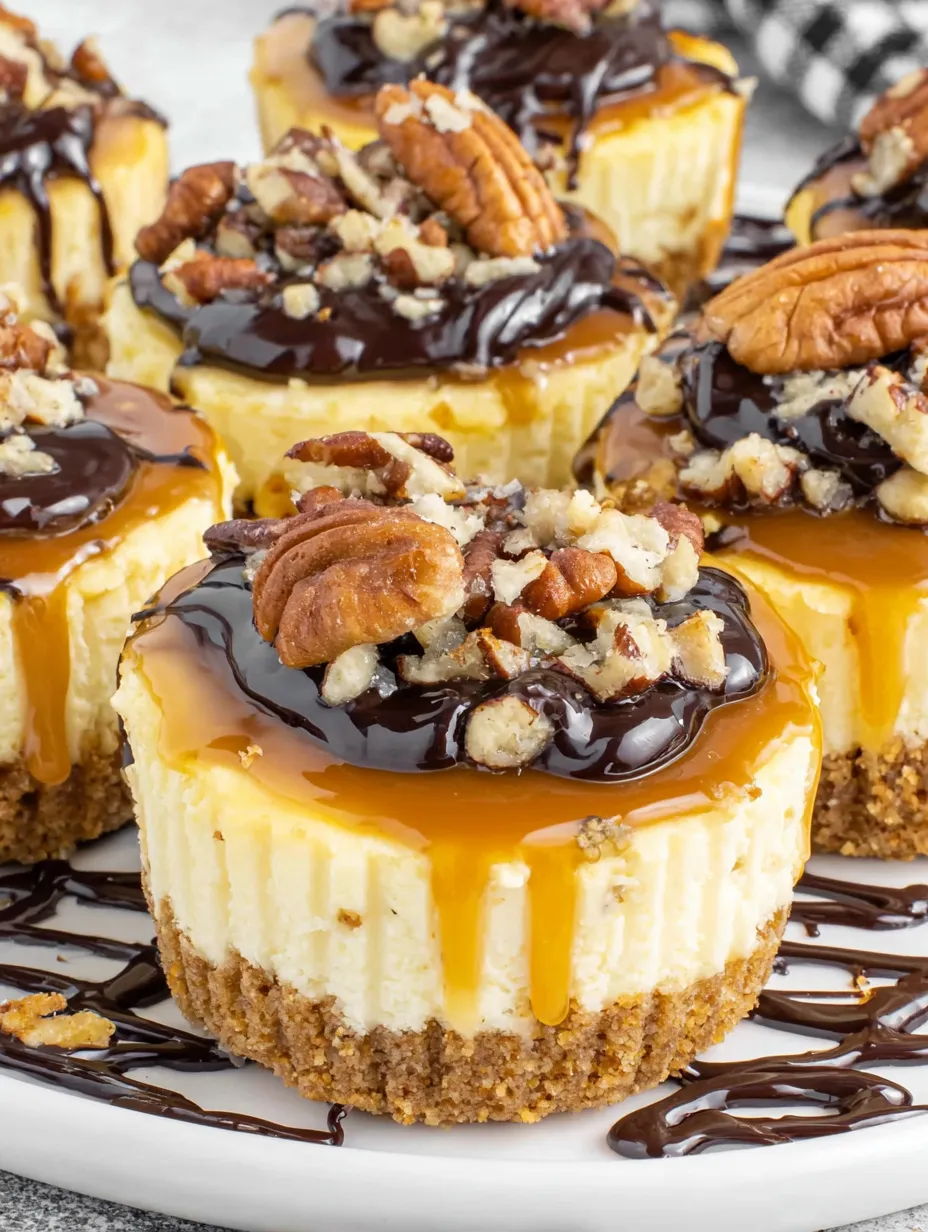
- Melt caramels and 2 tablespoons of cream over low heat until smooth. Stir in chopped pecans. Spoon about two tablespoons onto each chilled cheesecake. Let set for 15 minutes.
- Garnish
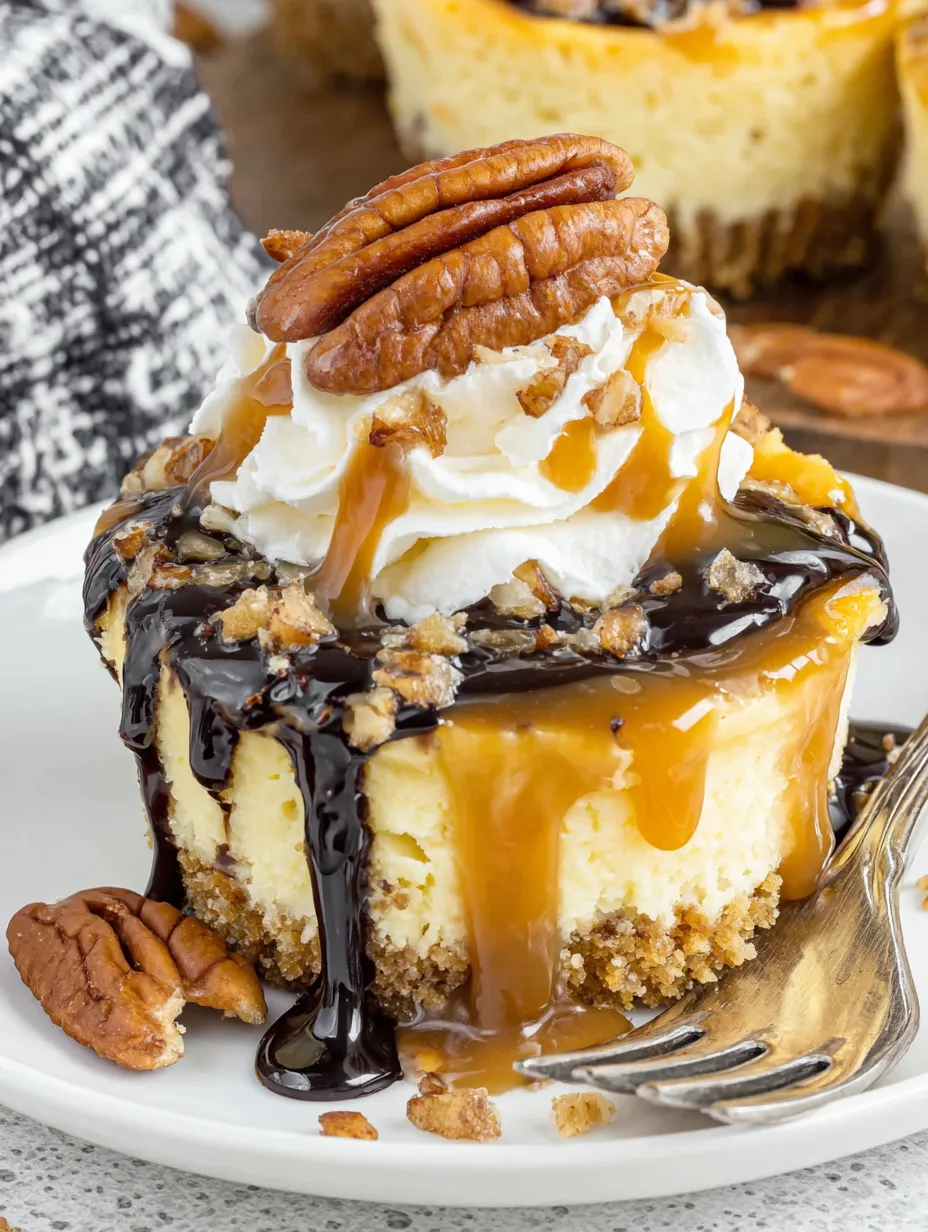
- Whip the remaining cream with a dash of caramel syrup to stiff peaks. Pipe onto the cheesecakes using a star tip, drizzle with both syrups, and top with pecan halves.
Expert Baker Secrets
- Whipped Cream Stability: Chill your bowl and whisk in the freezer for 10 minutes before starting. It makes the peaks more stable and voluminous.
- The Drizzle Trick: Drizzle your syrups from at least 6 inches above the cakes. This creates thin, professional-looking lines rather than thick blobs.
- Caramel Control: If your melted caramel gets too thick while you're spooning it, just pop it back on low heat for 30 seconds. Do not let it boil!
 Pin it
Storage and Freezing
Refrigeration: Store in an airtight container for up to 4 days. They hold up remarkably well, though the whipped cream is best when fresh.
Freezing: These are great for prep! Freeze them after the caramel layer but before the whipped cream. Wrap individually in foil and store for up to 2 months. Thaw overnight in the fridge before adding the final toppings.
---These mini turtle cheesecakes are my absolute favorite way to bridge the gap between childhood nostalgia and adult sophistication. Watching a guest take that first bite and seeing their expression shift from anticipation to pure bliss is exactly why I love to bake. They are more than just a dessert; they are a celebration in every bite.
Frequently Asked Questions
- → Why do I need to use metal cupcake liners?
- Metal liners conduct heat better than paper ones, which helps the cheesecakes bake evenly. Paper liners can leave the sides undercooked while the centers are done.
- → What does the water bath do?
- The pan of water on the bottom rack creates steam in the oven. This prevents the cheesecakes from cracking and helps them stay creamy instead of getting dry.
- → Can I make these ahead of time?
- Yes! Make the cheesecakes up through the caramel topping a day ahead. Add the whipped cream and drizzles right before serving for the best look and texture.
- → Why let them sit at room temperature before serving?
- The caramel topping gets pretty firm in the fridge. Letting them sit for 10-15 minutes softens it up so it's perfectly gooey and easier to bite through.
- → Can I skip the water bath?
- You could, but you're more likely to get cracks on top. The steam from the water bath is really helpful for getting smooth, creamy cheesecakes.
- → What if I don't have a piping bag?
- You can just dollop the whipped cream on top with a spoon. It won't look quite as fancy, but it'll still taste great!