
 Pin it
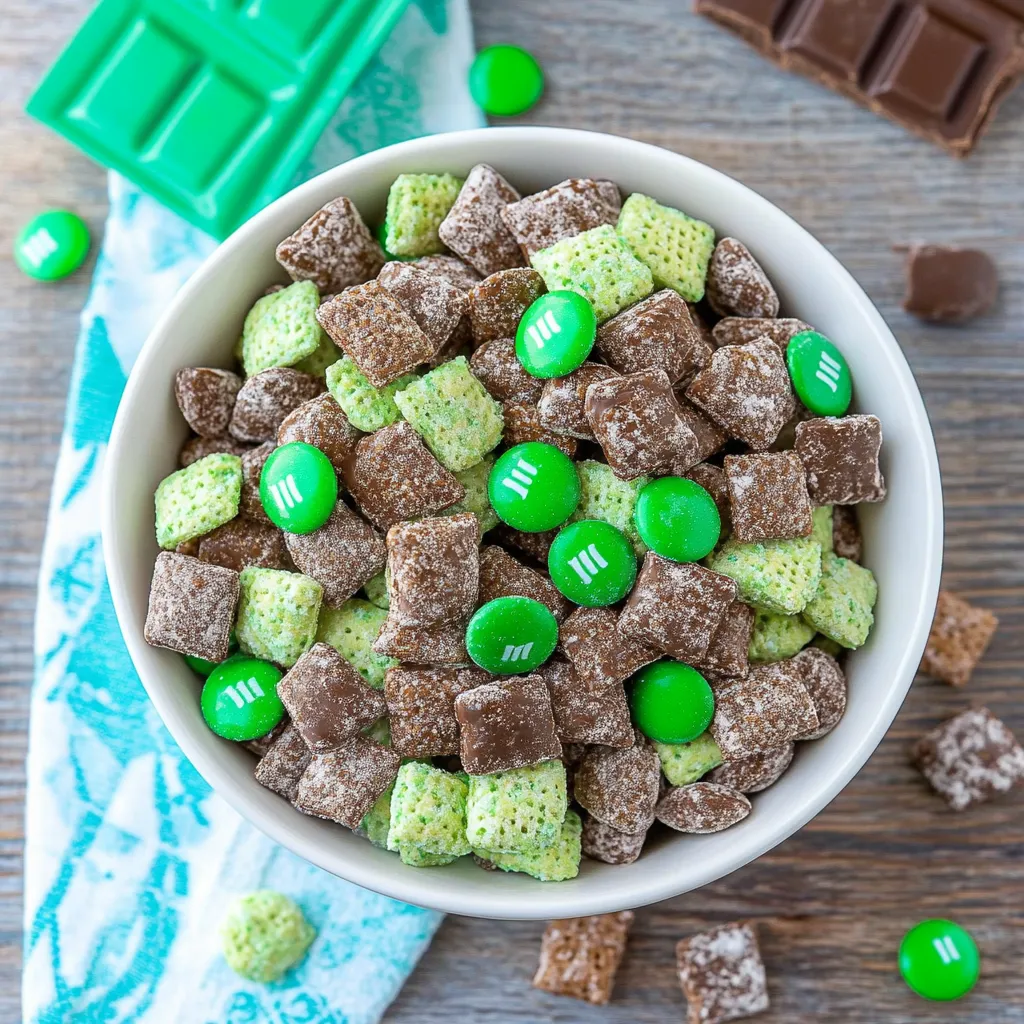
I stumbled across this mint chocolate muddy buddy recipe when my sister asked me to make something green for her St. Patrick's Day office party. Between us, I was kinda dreading making yet another batch of green cupcakes with shamrock sprinkles. This was SUCH a win - the Chex gets this amazing chocolate-mint coating and I swear, people can't stop grabbing handfuls.
My son had a bunch of his gaming buddies over when I made my test batch. Those teenage boys inhaled the ENTIRE BOWL in maybe 15 minutes? One kid actually followed me into the kitchen asking if I had more. Teenage boy approval is pretty much the highest food compliment there is.
Simple Ingredients
- Chex cereal - Rice or corn both work, I slightly prefer rice for this
- Chocolate chips - I use semi-sweet but milk would work too if that's your thing
- Green candy melts - Find these at craft stores or the baking aisle, they're those colored chocolate wafers
- Powdered sugar - Don't skip this, it's what gives muddy buddies that signature coating
- Mix-ins - The Andes mints and mint M&Ms make it extra minty and festive
 Pin it
Muddy Buddy Creation
- Chocolate Melting
- Be patient with your chocolate melting! I scorched a whole batch once being impatient and it was a grainy, unusable mess. I microwave in those short bursts like the recipe says, and honestly, I stir it even when nothing looks melted. One tip my grandma taught me - add a tiny spoonful of shortening to the chocolate chips before melting. Makes them coat the cereal so much better. Some people use coconut oil but I can sometimes taste that in the final product.
- Candy Melt Handling
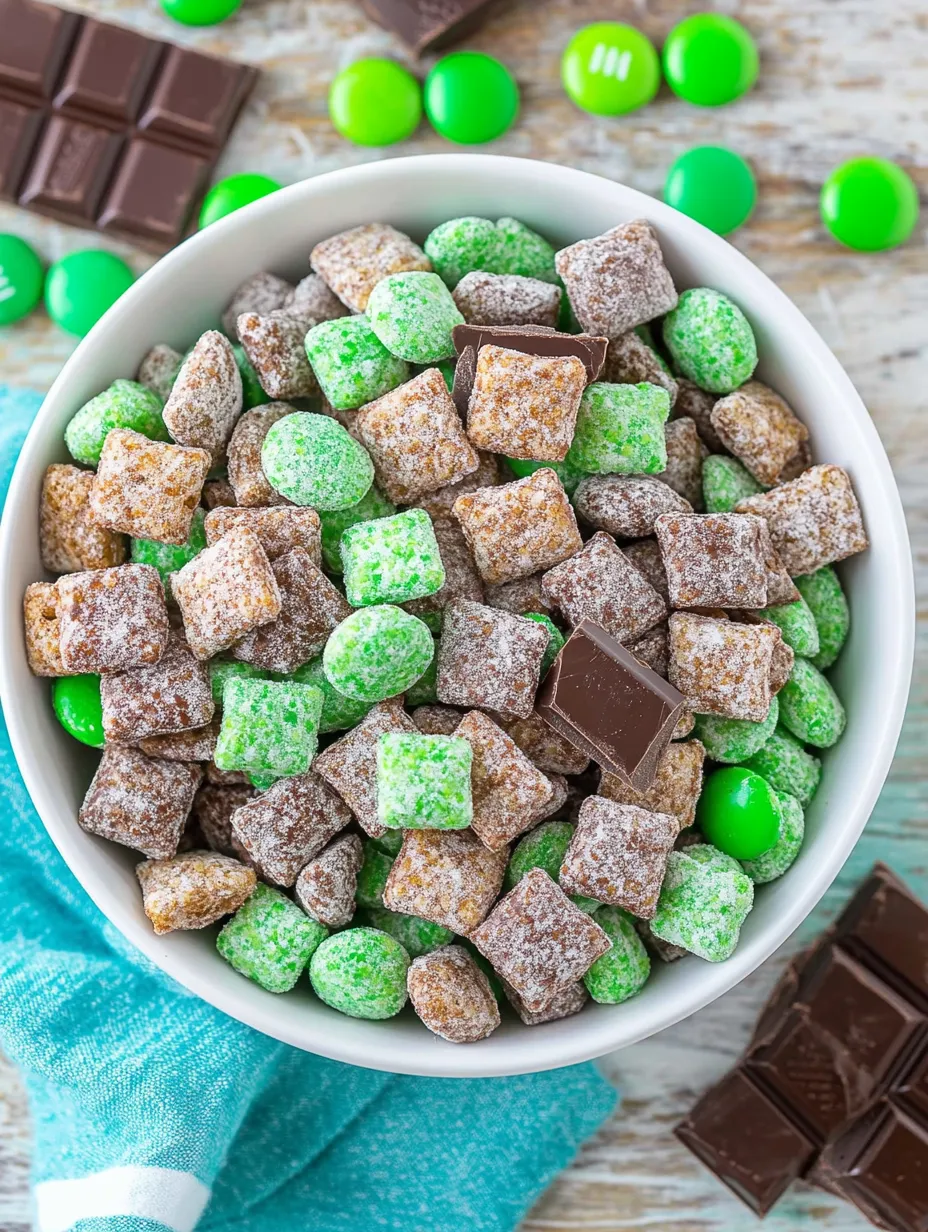
- Those green candy melts can be super finicky. Make absolutely sure your bowl is bone dry before you start - even a drop of water makes them seize up into a gritty mess. I accidentally splashed some water once and had to trash the whole thing and start over. They tend to be thicker than regular chocolate when melted, so I usually add a bit of shortening to these too. And yeah, the bright green next to the chocolate brown looks awesome when it's all mixed together.
- Coating Strategy
- I've tried doing this in both a bowl and the bag method, and let me tell you - the bag method wins hands down. Something about the shaking motion gets every piece perfectly coated without breaking up the cereal. Don't overfill your bag though! I did this once and it was a powdered sugar nightmare all over my kitchen. If you're making the full batch, definitely divide it into two bags like the recipe suggests. And make sure to seal those bags really well before shaking!
- Mix-in Distribution
- I chop up the Andes mints a bit before adding them because the whole pieces tend to sink to the bottom of the container. The M&Ms distribute pretty well on their own. One thing I noticed - if you add the candies while everything's still a bit warm, they stick to the cereal pieces better instead of just falling to the bottom of the bowl. My kids always try to pick out all the M&Ms if I don't do this, and it drives me crazy.
- Cooling Process
- Don't skip the quick chill in the fridge - it helps everything set up. But don't leave it in there too long either or it gets too hard. I pulled mine out once after forgetting it for like an hour, and the texture was all wrong. After the 10 minutes, I usually dump it all onto waxed paper for a few minutes before putting it in a container. Helps prevent any condensation that might make it soggy.
- Storage Solutions
- This stuff keeps pretty well in an airtight container, though honestly, it's never lasted more than a couple days at my house. My husband literally takes handfuls every time he walks through the kitchen. For my sister's office party, I packaged it in those clear cellophane treat bags tied with green ribbon, and apparently her coworkers went nuts over how fancy it looked. If you notice it getting sticky after a day or two, just throw in another tablespoon of powdered sugar and shake it up again.
My husband, who swears up and down he "doesn't like sweets," ate this straight out of the container while standing in front of the open fridge at midnight. I literally caught him with powder sugar all over his face. There's just something about the mint-chocolate combo that gets everyone.
Perfect Pairings
I put this out during movie nights with my kids, sometimes mixed with popcorn which sounds weird but is actually amazing. For adult gatherings, I've served it with coffee or hot chocolate, and it disappears fast. Last Christmas I gave little jars of it as neighbor gifts, and my next-door neighbor texted me at 11pm saying they'd eaten the whole thing in one sitting and needed the recipe immediately.
Creative Variations
You can totally switch up the candy melts for different colors depending on the holiday - orange for Halloween, red for Valentine's, etc. I've done it with different seasonal M&Ms too. One time I threw in some broken pretzel pieces for a sweet-salty thing, and that was pretty darn good. My sister adds a few drops of peppermint extract to the chocolate for extra mintiness, but I think the Andes and M&Ms add plenty of mint flavor on their own.
 Pin it
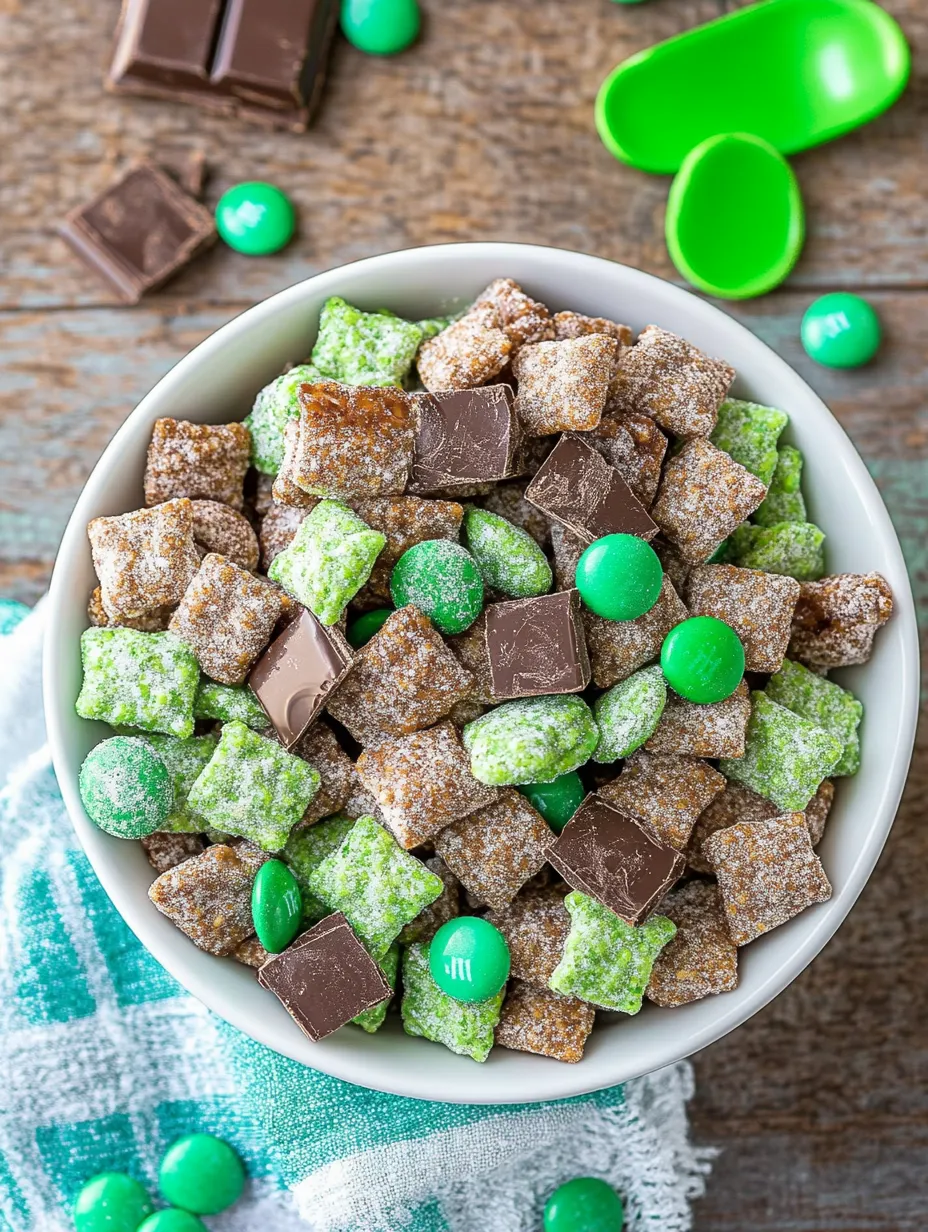
I've made this mint muddy buddy mix for school parties, game nights, and holiday gatherings, and it's always the first thing to disappear. There's just something satisfying about that combo of crunch, chocolate, and mint that makes people keep reaching for more. My daughter's teacher asked for the recipe after our class party, saying it was the best muddy buddy variation she'd ever tried. Not gonna lie, I felt pretty smug about that comment for days afterward.
Frequently Asked Questions
- → Can I use different cereals for this muddy buddy recipe?
- Yes! While Chex cereal is traditional for muddy buddies (also called puppy chow), you can experiment with other cereals. Rice Chex, Corn Chex, or a mix of both work well. You could also try Crispix or even plain Cheerios. The key is to use a cereal with nooks and crannies that will hold the chocolate and powdered sugar coating.
- → What can I substitute for green candy melts?
- If you can't find green candy melts, you can use white chocolate chips with a few drops of green food coloring (oil-based food coloring works best with chocolate). Another option is to use regular chocolate and add mint extract for flavor, though you'll lose the festive green color. Alternatively, use green chocolate mint wafers like Andes baking chips.
- → How long do mint muddy buddies stay fresh?
- When stored in an airtight container at room temperature, mint muddy buddies will stay fresh for 1-2 weeks. For extended freshness, store them in the refrigerator where they'll last up to 3 weeks. You can also freeze them in a freezer-safe container for up to 3 months - they're actually delicious eaten cold straight from the freezer!
- → Can I make this recipe for other holidays besides St. Patrick's Day?
- Absolutely! This recipe is easily adaptable for any holiday by changing the colors and mix-ins. For Christmas, use red and green candy melts. For Valentine's Day, use pink or red candy melts with Valentine M&M's. For Easter, use pastel-colored candy melts and spring-themed candies. The possibilities are endless!
- → Why is my chocolate seizing when I try to melt it?
- Chocolate typically seizes (becomes grainy and stiff) when it comes into contact with water or if it's overheated. Make sure your bowl and utensils are completely dry before melting chocolate. Also, melt the chocolate in short intervals (15 seconds) in the microwave, stirring between each interval. If your chocolate does seize, try adding a teaspoon of vegetable oil and stirring vigorously to smooth it out again.