
 Pin it
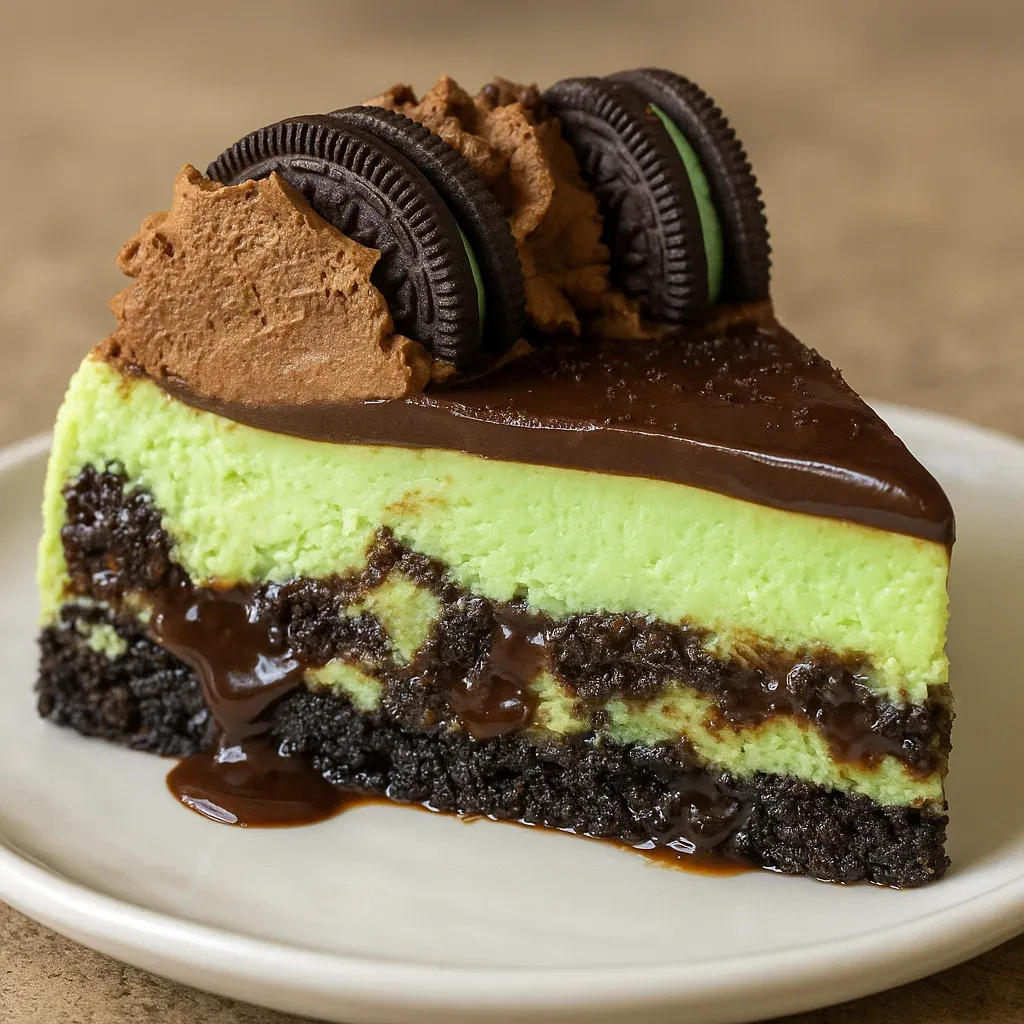
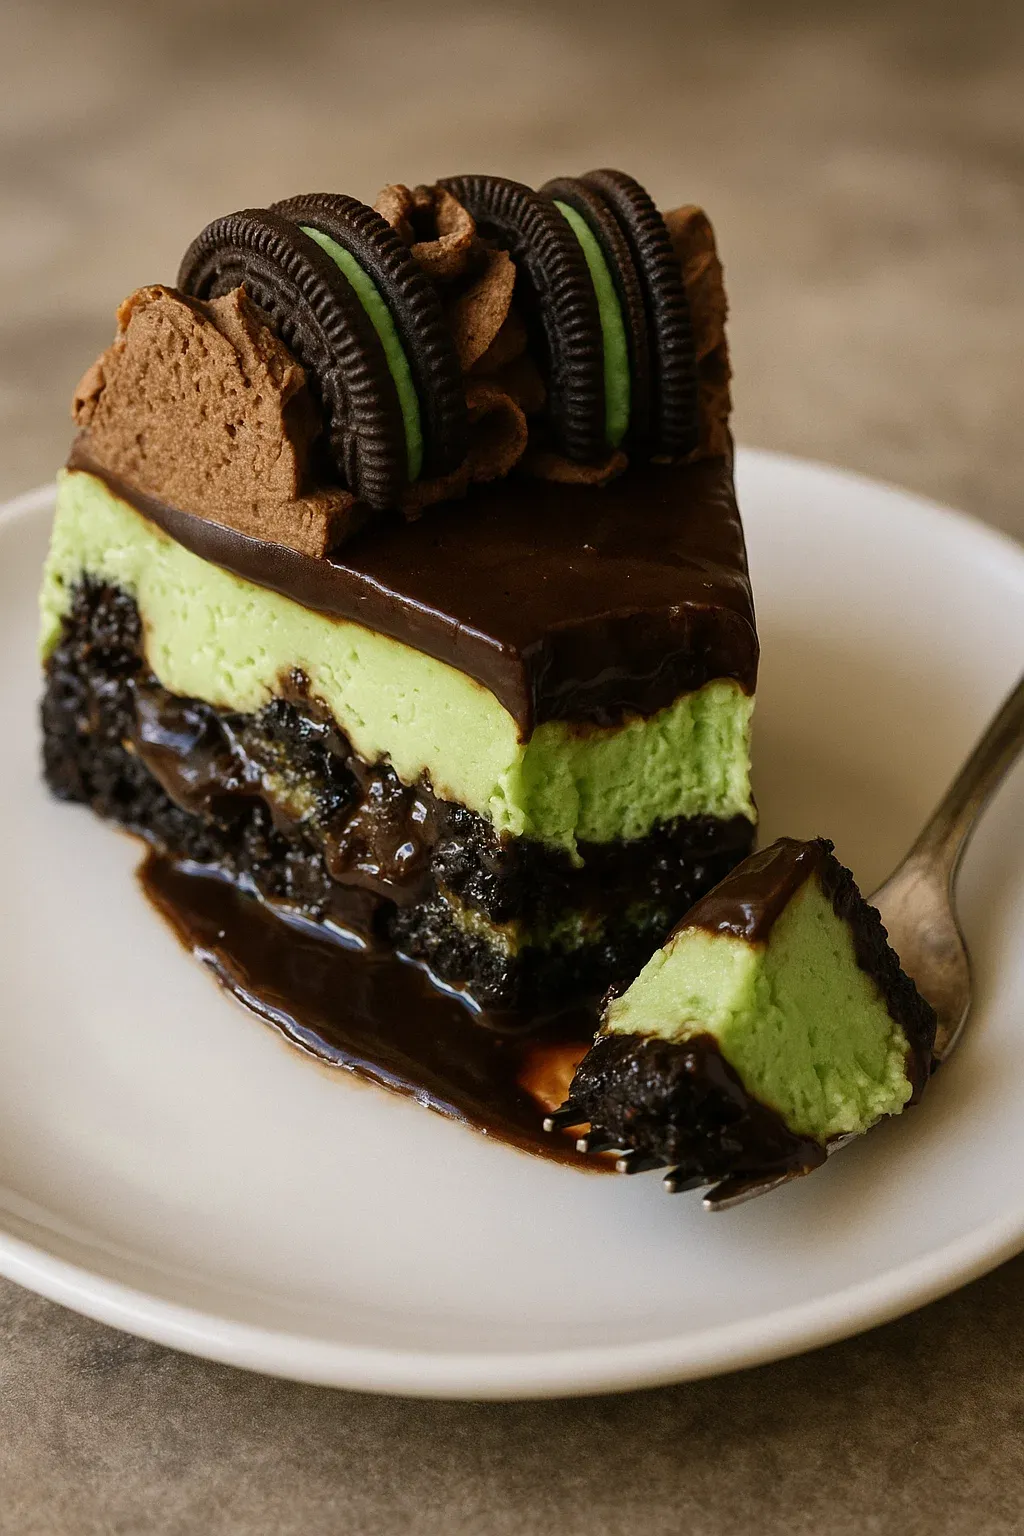
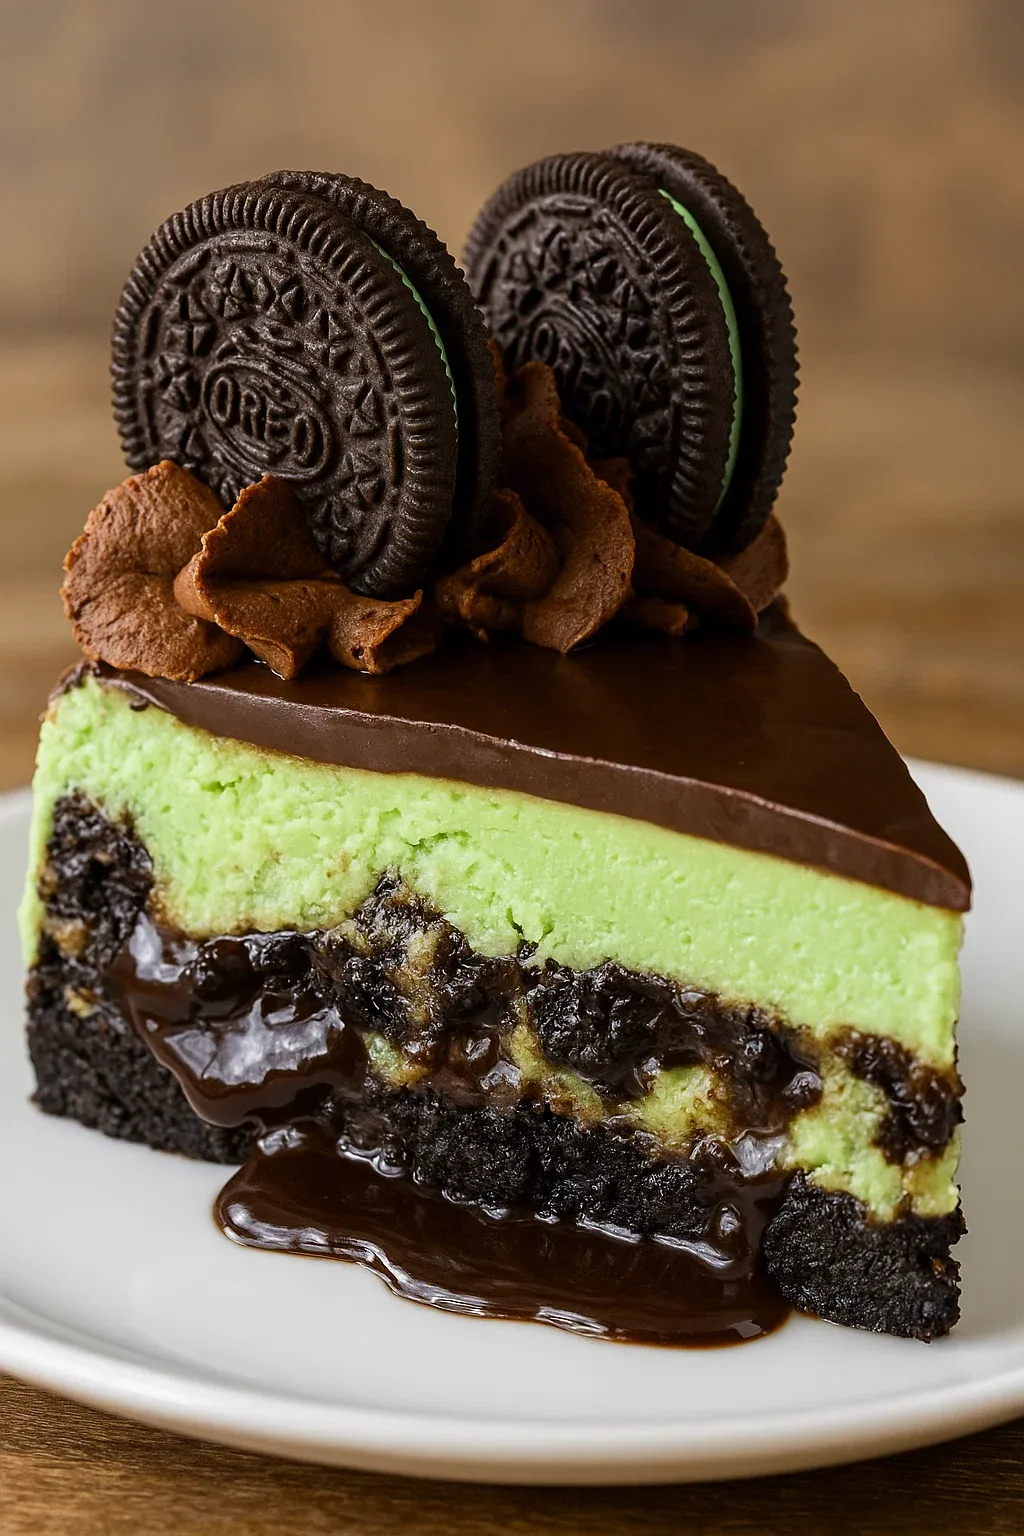
This mint Oreo cheesecake combines two irresistible flavors in one decadent dessert. The creamy mint cheesecake studded with chopped Oreos and chocolate sauce creates a showstopping treat that will impress at any gathering or special occasion.
I first made this cheesecake for my daughter's birthday party, and it was such a hit that it's now requested for every family celebration. The minty freshness paired with rich chocolate is simply irresistible.
Ingredients
- Oreo Crust: Mint Oreo crumbs create the perfect chocolatey foundation while butter binds everything together for a sturdy base
- Mint Cheesecake Filling: Cream cheese provides the rich, tangy base look for full-fat blocks for the creamiest texture
- Sugar: Balances the tanginess of the cream cheese without making it too sweet
- All-purpose flour: Helps prevent cracks by stabilizing the batter
- Sour cream: Adds moisture and creates that signature velvety texture
- Mint extract: Delivers that refreshing flavor use pure extract for the best taste
- Vanilla extract: Complements and deepens the mint flavor
- Eggs: Bind everything together and provide structure look for room temperature eggs for smoother blending
- Chopped Mint Oreos: Add texture and flavor bursts throughout the filling
- Chocolate sauce: Creates beautiful ribbons of chocolate in every slice
- Green food coloring: Optional but creates that classic mint visual appeal
- Chocolate Ganache Topping: Semi-sweet chocolate chips melt into a glossy finish choose high-quality chips for the best flavor
- Heavy whipping cream (topping): Creates the perfect pourable consistency
- Chocolate Whipped Cream: Heavy whipping cream whips into beautiful decorative swirls use very cold cream for best results
- Powdered sugar: Sweetens without graininess
- Cocoa powder: Adds chocolate flavor without making it too rich
- Vanilla extract: Rounds out the flavors beautifully
Step-by-Step Instructions
- Prepare the Crust:
- Process mint Oreos until fine crumbs form. Combine with melted butter until the mixture resembles wet sand. Press firmly into the bottom and about 1 inch up the sides of your springform pan. Bake at 325°F for 10 minutes until set. The crust should look slightly darker and smell fragrant. Cool completely before filling.
- Prepare Water Bath Protection:
- Wrap the outside of your springform pan with heavy-duty aluminum foil, ensuring no water can seep in. Make sure the foil extends up all sides without tears or holes. Alternatively, use a silicone pan as shown in the recipe photos for even better protection.
- Mix the Cheesecake Batter:
- Beat cream cheese, sugar, and flour on low speed until completely smooth. This might take 2-3 minutes. Scrape down the bowl thoroughly between each addition. Add sour cream and extracts, beating on low until just combined. Add eggs one at a time, mixing gently after each. The batter should be silky smooth with no lumps.
- Create the Layers:
- Pour one-third of the batter over the cooled crust, spreading evenly. Sprinkle chopped Oreos across the surface. Drizzle chocolate sauce over the Oreos in a zigzag pattern. Pour remaining batter over the top, covering completely. The top layer should be thick enough to keep Oreos submerged.
- Bake with Care:
- Place the wrapped springform pan in a larger roasting pan. Pour hot water into the larger pan, creating a water bath that comes halfway up the sides of the springform. Bake at 300°F for 70-80 minutes. The edges should be set while the center still has a slight jiggle like set gelatin.
- Cool Gradually:
- Turn off the oven with the door closed for 30 minutes. Then crack the oven door for another 30 minutes. This slow cooling prevents the dramatic temperature change that causes cracks. Refrigerate for at least 5 hours or overnight until completely firm.
- Add the Finishing Touches:
- Pour warm ganache over the chilled cheesecake, spreading to the edges. Whip the chocolate cream until stiff peaks form. Pipe decorative swirls around the edge and garnish with Oreo halves between the swirls. Refrigerate until serving time.
 Pin it
The cream cheese is truly the heart of this recipe. I learned from my grandmother that allowing it to come fully to room temperature makes all the difference in achieving that perfect silky texture. I recommend setting it out at least two hours before baking for the smoothest, creamiest result.
Troubleshooting Your Cheesecake
Preventing cracks starts with proper mixing. Always use low speed when incorporating ingredients to minimize air bubbles. The water bath provides humidity and gentle heat distribution, while the slow cooling process prevents the dramatic temperature changes that cause the surface to crack. If you do get cracks, no worries. The chocolate ganache topping will cover them perfectly.
Perfect Storage Solutions
This cheesecake keeps beautifully in the refrigerator for up to 5 days. Store it in an airtight container or wrap carefully with plastic wrap, using toothpicks to keep the wrap from touching the decorative elements. For longer storage, freeze individual slices on a baking sheet until firm, then wrap each in plastic and store in a freezer container for up to 3 months. Thaw overnight in the refrigerator.
Flavor Variations
While mint Oreos create that classic mint chocolate chip ice cream flavor, this versatile recipe works beautifully with regular Oreos for a classic cookies and cream cheesecake. For a holiday version, try peppermint extract instead of mint and garnish with crushed candy canes. For a more subtle mint flavor, reduce the extract to 1 tablespoon and increase the vanilla. The cheesecake adapts beautifully to your preferences.
 Pin it
Frequently Asked Questions
- → How do I prevent my cheesecake from cracking?
To prevent cracks, use low-speed mixing to avoid adding too much air, and cool the cheesecake gradually in the oven after baking. A water bath also helps to maintain even baking.
- → Can I use regular Oreos instead of mint Oreos?
Yes, you can substitute regular Oreos if you prefer. The cheesecake will still be delicious, though it won’t have the mint flavor.
- → How should I store the cheesecake?
Store the cheesecake in the fridge in an airtight container or wrapped tightly in plastic wrap. If sliced, arrange the slices in a single layer in a covered container.
- → Can I freeze the cheesecake?
Yes, you can freeze it. Wrap the whole cheesecake or individual slices in plastic wrap and a layer of foil. Store in the freezer for up to 3 months. Thaw in the fridge before serving.
- → Why do I need to use a water bath?
A water bath ensures even baking and helps maintain the creamy texture by preventing the edges from baking faster than the center.
- → Can I add food coloring to the cheesecake filling?
Yes, you can add green gel icing color to achieve a brighter minty look, but this is optional and won’t affect the flavor.