
 Pin it
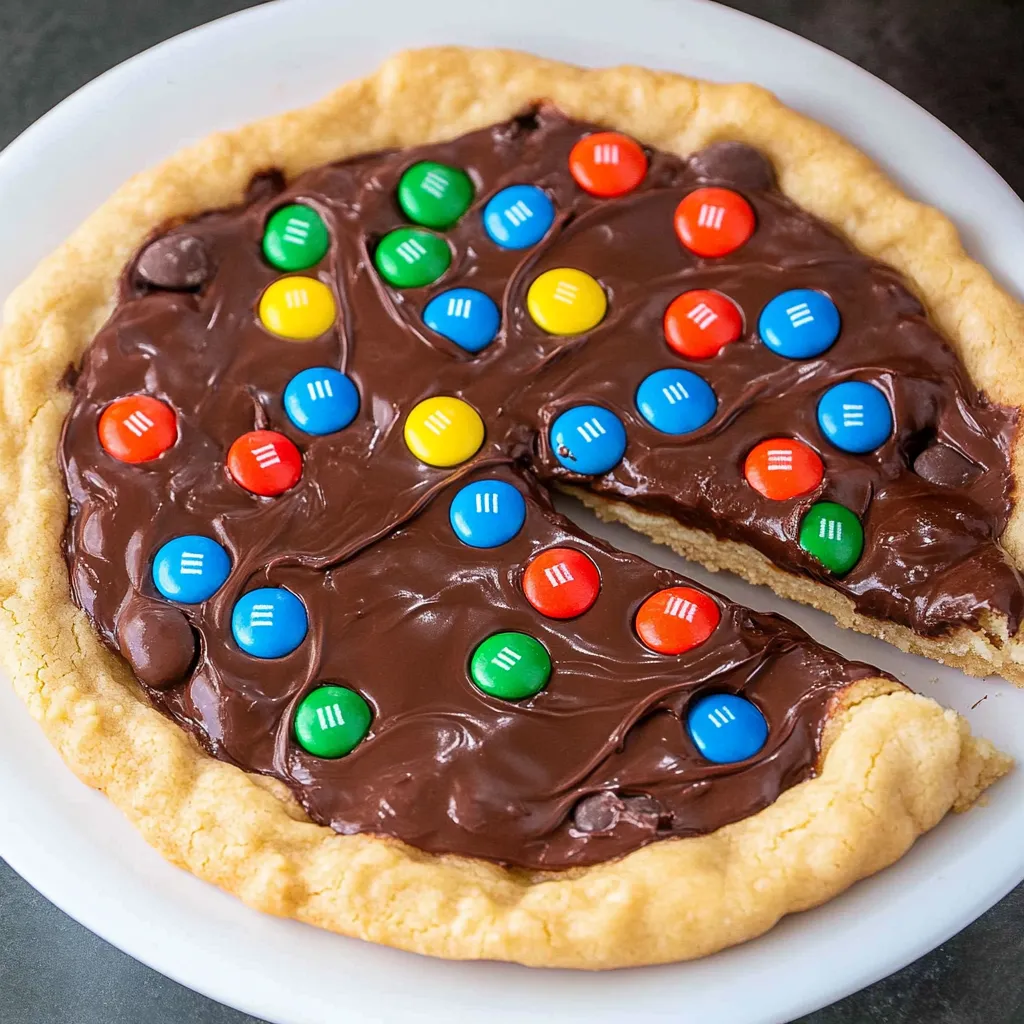
I stumbled upon this M&M cookie pizza recipe last year when I needed something colorful and fun for my son's birthday that wouldn't take hours to make. The combination of that soft, chewy cookie base with melted chocolate and candy creates this incredible dessert that looks impressive but comes together in just 30 minutes. It's become our go-to when we need a quick dessert that still feels special and celebratory.
My daughter's friend stopped by just as this was cooling on the rack, and her eyes went wide at the sight of all those colorful M&Ms. After one bite, she immediately asked if she could take a picture to show her mom. Sometimes the simplest recipes create the biggest impressions, especially with kids.
Simple Ingredients
- M&M candies: Their candy shell adds color and a satisfying crunch against the soft cookie
- Melted butter: Creates a richer flavor than softened butter in this quick-mix cookie base
- Brown sugar: Provides that perfect chewy texture and caramel-like flavor
- Milk chocolate chips: Melts into a smooth layer that helps the additional M&Ms stick on top
- Cast iron skillet: Not an ingredient but essential for those perfectly crisp edges
 Pin it
Cookie Pizza Creation
- Skillet Preparation
- Lining the skillet with parchment might seem like an extra step, but it's worth it for easy removal and serving. I trace the bottom of the skillet on parchment, cut it out, and then press it into place. The first time I made this, I skipped the parchment and regretted it when I had to dig the cookie out piece by piece. Now I make sure that parchment circle extends up the sides a bit to create handles for lifting. If your skillet is well-seasoned, you can get away with just greasing it well, but the parchment is foolproof.
- Mixing Method
- This recipe uses the melted butter method rather than creaming, which creates a denser, chewier cookie - perfect for this application. Make sure the melted butter has cooled slightly before adding to the sugars to prevent cooking the egg when it's added. I use a wooden spoon rather than a mixer for this recipe; overmixing can make the cookie tough, and it comes together so easily by hand. When adding the dry ingredients, mix just until the flour disappears for the most tender result.
- M&M Distribution
- Dividing the M&Ms between the dough and topping ensures color throughout the cookie and a festive appearance on top. When folding them into the dough, use a gentle hand to avoid breaking the candy shells, which can bleed color into the cookie. I sometimes reserve a few extra M&Ms in specific colors to create a pattern on top - perfect for team celebrations or holiday themes. For holidays, using the seasonal colored M&Ms makes it extra festive with minimal effort.
- Baking Precision
- Watch this cookie carefully while baking - the timing can vary based on your oven and skillet. The edges should be just turning golden while the center still looks slightly underdone. The cookie will continue cooking from residual heat after removal from the oven. I start checking at 13 minutes, though 15 is typically perfect in my oven. Remember that cast iron retains heat, so the cookie will continue to cook a bit even after it's out of the oven.
- Chocolate Layer
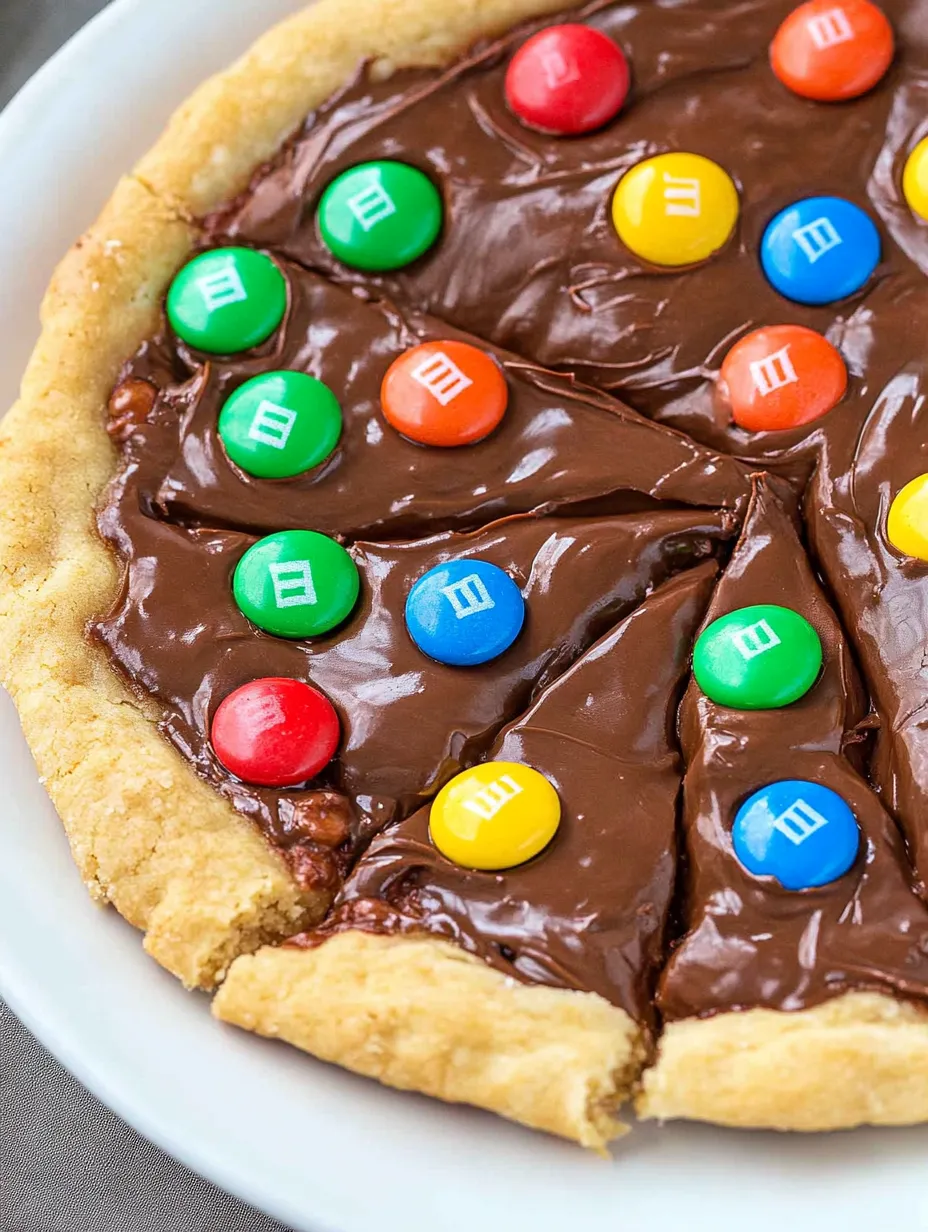
- Melting the chocolate in short increments prevents scorching. That 30-second initial melt followed by 15-second intervals with stirring in between creates perfectly smooth chocolate every time. I've found that milk chocolate works best here - dark chocolate can overwhelm the cookie flavor, while white chocolate is too sweet. Spreading the chocolate while the cookie is still slightly warm helps it create an even layer, but waiting those 10 minutes ensures the cookie is set enough not to fall apart during spreading.
- Final Assembly
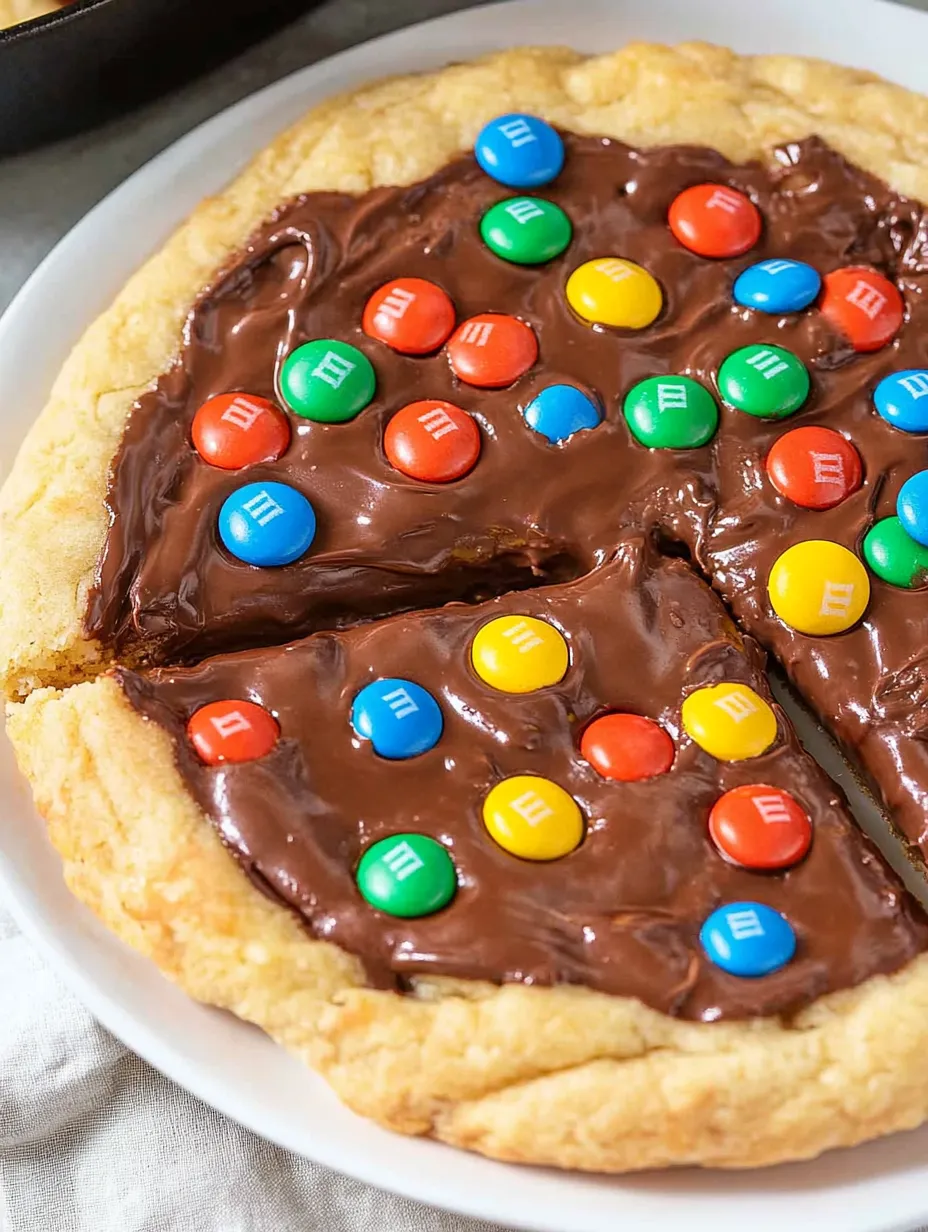
- Pressing the remaining M&Ms into the melted chocolate while it's still warm ensures they'll adhere properly. I like to work quickly here, creating an even distribution of colors across the surface. The 15-20 minute rest after topping is important - it allows both the cookie to finish cooling and the chocolate to set, making slicing much cleaner. If you're in a hurry, you can pop it in the refrigerator for about 5-10 minutes to speed up the setting process.
My husband, who typically passes on sweets, cut himself a second piece of this cookie pizza without prompting. There's something about that combination of nostalgic cookie flavor and candy that appeals to everyone, regardless of age.
Perfect Pairings
Serve this colorful dessert with vanilla ice cream for an extra-special treat. For birthdays, add a scoop of ice cream and a candle in the center of each slice. During movie nights, I pair smaller slices with glasses of cold milk for the classic cookie experience. My kids love it as an after-school snack with apple slices on the side to balance the sweetness.
Creative Variations
Try different candy toppings like chopped Reese's cups or Snickers for a different flavor profile. Swap white chocolate chips for the milk chocolate and use holiday-colored M&Ms for seasonal celebrations. Add a tablespoon of sprinkles to the dough for a funfetti-style cookie base. Last summer, I experimented with adding a half cup of mini marshmallows to the top during the last few minutes of baking, creating a s'mores-inspired variation that disappeared even faster than the original.
 Pin it
I've made this M&M cookie pizza for everything from classroom celebrations to family movie nights, and it never fails to bring smiles. There's something magical about the combination of chewy cookie, smooth chocolate, and colorful candy that appeals to kids and adults alike. My daughter has started requesting it for her birthday instead of cake, which I consider the highest form of dessert praise possible. Sometimes the simplest recipes become the most beloved family favorites, creating memories around the table that last far longer than the dessert itself.
Frequently Asked Questions
- → Can I use a different size skillet for this M&M cookie pizza?
- Yes, you can adjust the size based on what you have available. For a 10-inch skillet, increase the ingredients by 1.5 times. For a 12-inch skillet, double the recipe. Baking time may need to be adjusted slightly - start checking a few minutes earlier for larger, thinner cookies and allow extra time for smaller, thicker versions.
- → Can I substitute other candies for the M&Ms?
- Absolutely! You can use any chocolate candies you prefer - Reese's Pieces, chopped peanut butter cups, chocolate chunks, or a mix of different candies all work well. You can also add chopped nuts or dried fruit for variety.
- → How do I know when the cookie pizza is done baking?
- The cookie pizza is done when the edges are lightly golden brown and the top looks set but still slightly soft in the center. Be careful not to overbake, as it will continue to firm up as it cools. For a gooey center, aim for the shorter end of the baking time range.
- → Can I make this cookie pizza ahead of time?
- Yes! You can prepare the dough up to 24 hours in advance and refrigerate it. Let it come to room temperature for about 15 minutes before pressing into the skillet. The finished cookie pizza can be made a day ahead and stored in an airtight container at room temperature.
- → Do I need to use parchment paper in the skillet?
- The parchment paper makes it easier to remove the cookie pizza from the skillet for serving, but it's not absolutely necessary if your skillet is well-seasoned. If not using parchment, make sure to grease the skillet well with butter or cooking spray to prevent sticking.