
 Pin it
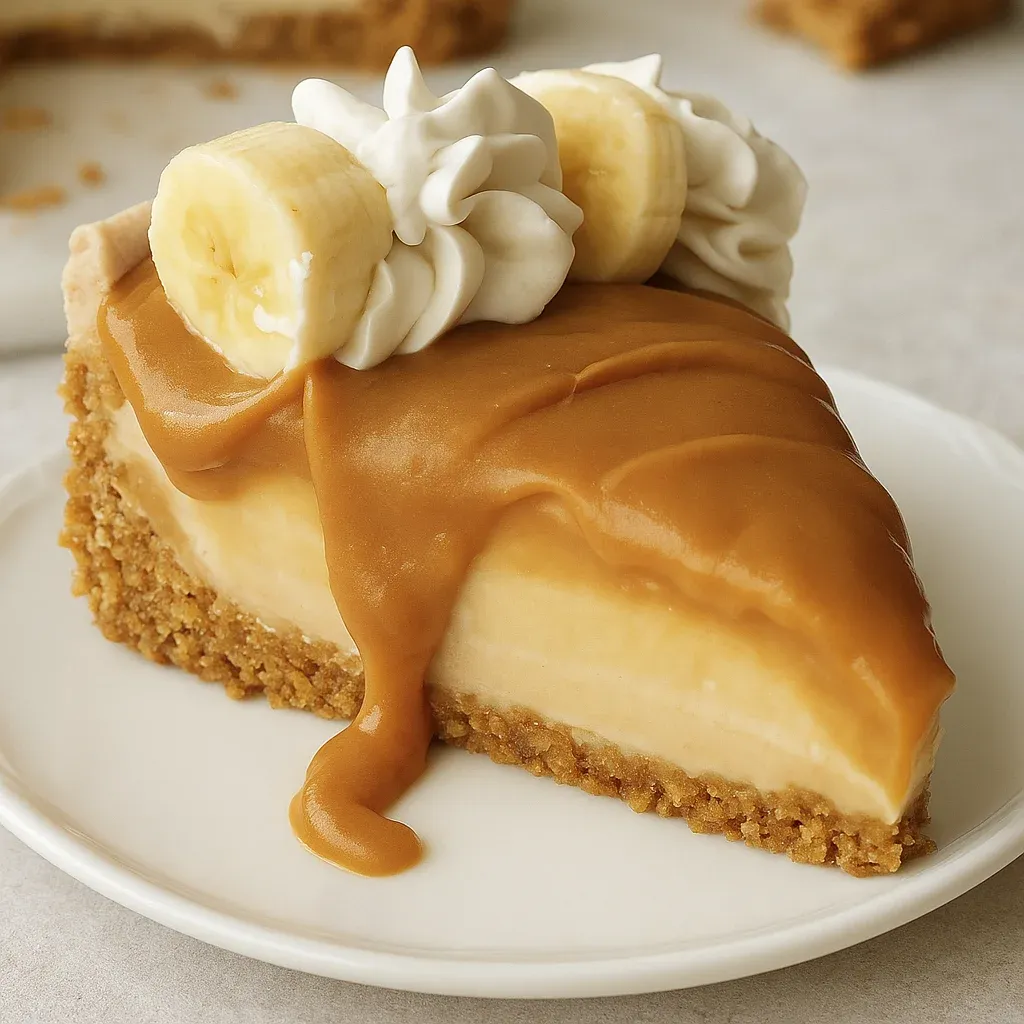
This no-bake banoffee cheesecake combines the classic flavors of banana and toffee in a creamy vegan dessert that's perfect for impressing guests without turning on the oven. The combination of gooey caramel, fresh banana slices, and a silky banana-infused cheesecake creates a dessert that feels indulgent while being completely plant-based.
I first made this cheesecake for a summer gathering when I couldn't bear to turn on the oven. My non-vegan friends were shocked when I revealed it contained no dairy, and now it's become my signature dessert for special occasions.
Ingredients
- Plain biscuits: The foundation of our crust providing the perfect crumbly texture. Choose ones with a neutral flavor to let the banoffee shine.
- Dairy-free butter: Creates that rich buttery flavor in the base. Look for a high-quality brand that melts well for best results.
- Cashew nuts: These create the creamy base of our filling. Always use raw unsalted cashews for the best neutral flavor profile.
- Dairy-free cream cheese: Provides that classic tangy cheesecake flavor. Choose a firmer variety rather than the very soft spreads.
- Coconut cream: Adds richness and helps with setting. Be sure to use the thick part from the top of a refrigerated can.
- Fresh bananas: Select bananas that are ripe with small brown spots for the best flavor but avoid overripe ones.
- Vegan caramel sauce: The star flavor component. Store-bought works well, but homemade brings an extra special touch.
- Dairy-free whipping cream: Creates those beautiful decorative swirls. Look for one specifically designed for whipping.
Step-by-Step Instructions
- Prepare the base:
- Process the biscuits until they become fine crumbs, then mix thoroughly with melted dairy-free butter until the texture resembles damp sand. Press firmly into your lined tin, focusing on creating an even, well-compacted layer that will hold together when sliced. The more pressure you apply, the less likely your base will crumble later.
- Prepare the cashews:
- Soak cashew nuts overnight in water, ensuring they're fully submerged. This crucial step softens them perfectly so they blend into a silky smooth cream without any grittiness. If you're short on time, you can use boiling water and soak for at least 2 hours, but overnight delivers the best texture.
- Create the filling:
- Blend the soaked and drained cashews with dairy-free cream cheese, coconut cream, icing sugar and banana until completely smooth. This takes patience, around 5 minutes of blending with occasional stops to scrape down the sides. The mixture should be completely silky with no visible cashew pieces.
- Assemble and chill:
- Pour the creamy filling over your prepared base, smoothing the top carefully with an offset spatula. For added flavor complexity, swirl some caramel sauce into the filling before chilling. Allow the cheesecake to set in the refrigerator overnight until completely firm to the touch.
- Add the finishing touches:
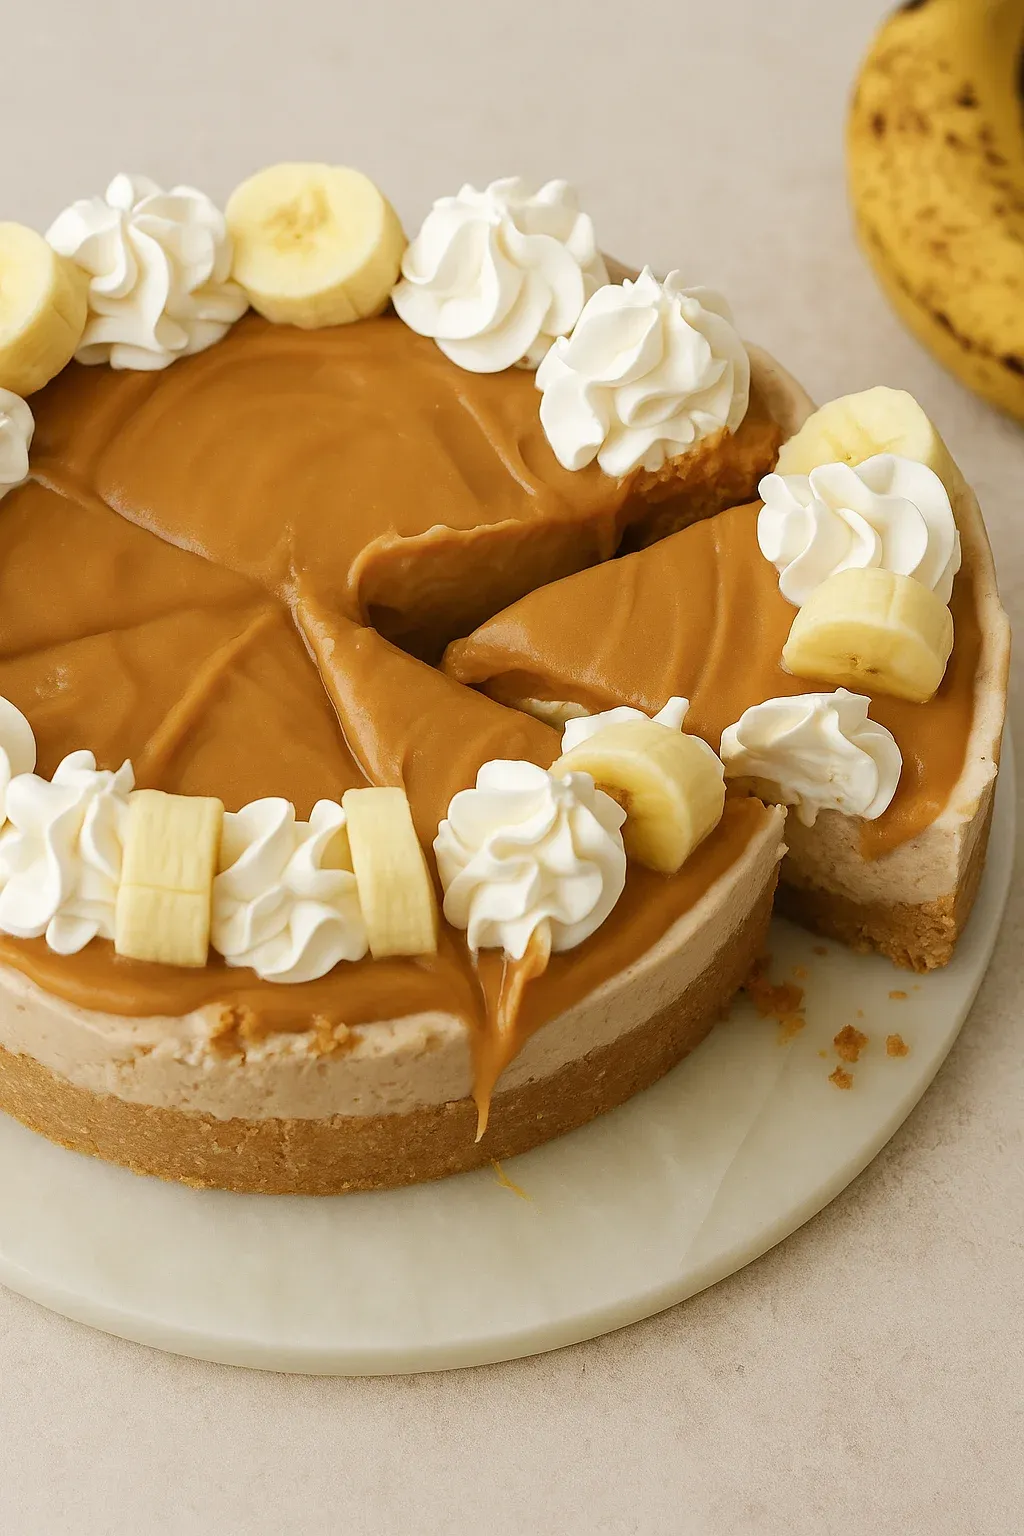
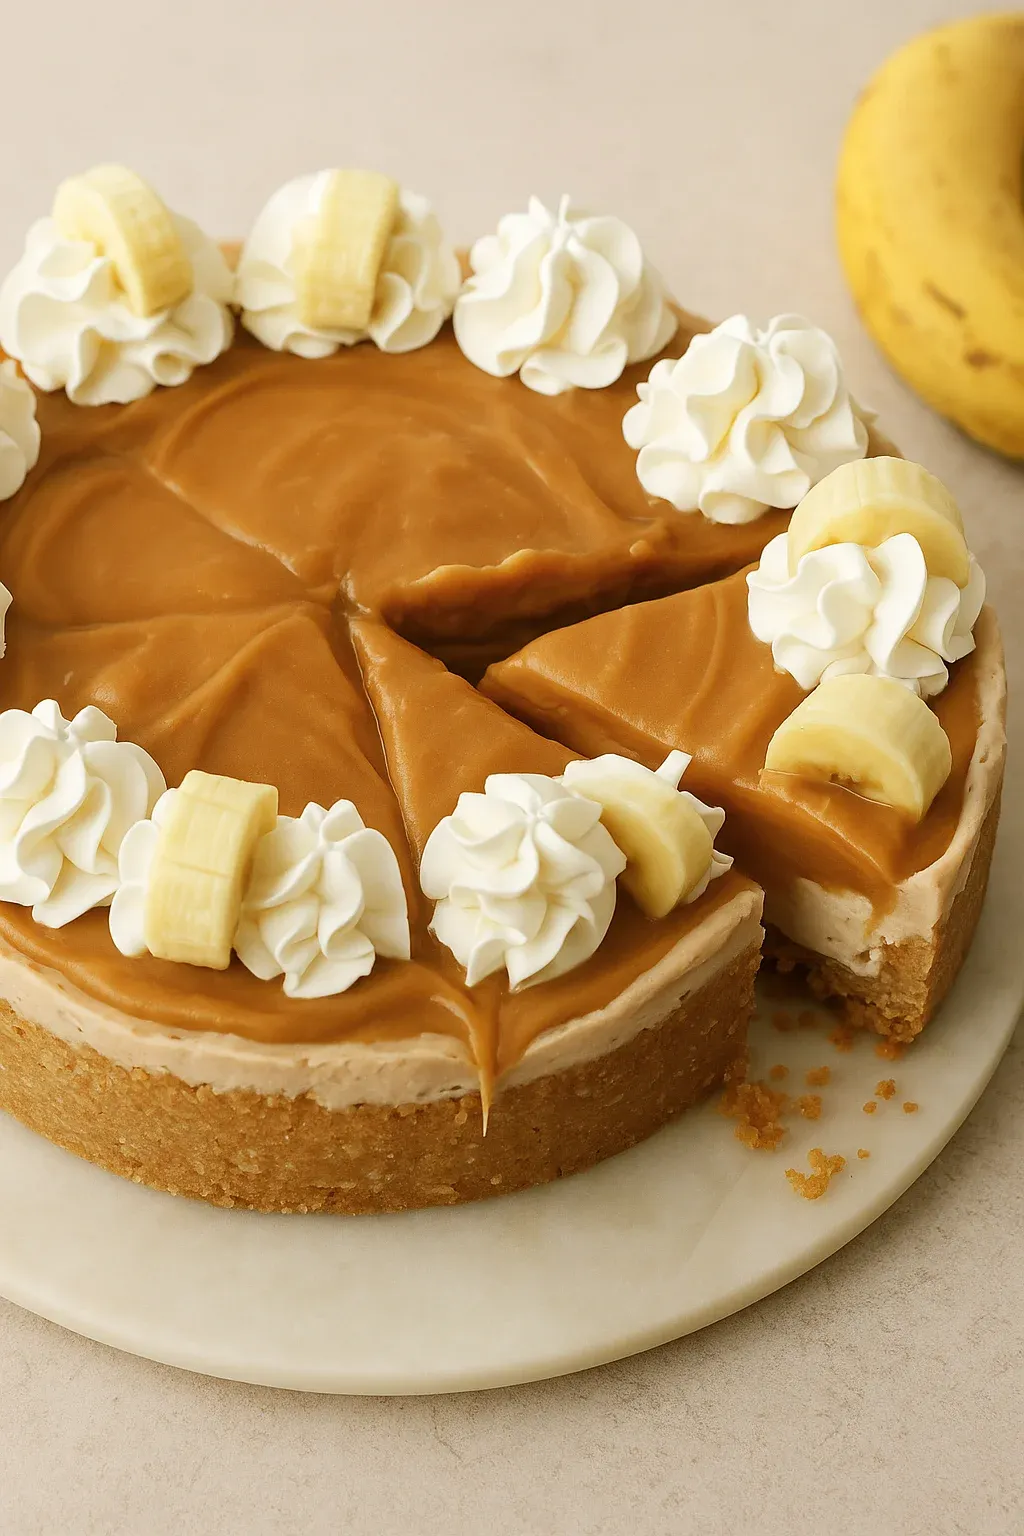
- Spread a generous layer of caramel sauce over the set cheesecake, pipe decorative whipped cream swirls around the edge using a star tip nozzle, and arrange fresh banana slices between the cream dollops for that classic banoffee presentation and flavor contrast.
 Pin it
The vegan caramel sauce is what truly transforms this from a simple banana cheesecake into a banoffee masterpiece. I remember the first time I perfected my homemade version, the rich buttery notes and deep caramel flavor had my family asking for the "secret ingredient" that made it taste so authentic.
Storage Tips
This cheesecake keeps beautifully in the refrigerator for up to three days when stored in an airtight container. The flavor actually improves slightly after the first day as the banana flavors meld with the caramel. However, I recommend adding the fresh banana slices on top just before serving as they will inevitably brown over time. If you need to prepare completely in advance, consider brushing the banana slices with a little lemon juice to delay browning or simply add them at the last minute.
Perfect Substitutions
The beauty of this recipe lies in its flexibility. If cashews are not available or too expensive, you can substitute with soaked macadamia nuts for an equally creamy result. For those avoiding coconut, the coconut cream can be replaced with an extra 50g of vegan cream cheese. The biscuit base works with almost any plain cookie variety, including gluten-free options for those with sensitivities. If bananas are not quite ripe enough, warming them briefly in the microwave will enhance their natural sweetness.
 Pin it
Serving Suggestions
This banoffee cheesecake creates a stunning centerpiece for any dessert table, but can be elevated even further with thoughtful serving accompaniments. Try pairing slices with a scoop of vegan vanilla ice cream for temperature contrast, or offer a small pitcher of extra warm caramel sauce for guests to drizzle according to their preference. For a coffee-shop inspired presentation, dust the top with a little cocoa powder or finely chopped dark chocolate just before serving to add another dimension of flavor that complements the banana and caramel beautifully.
Frequently Asked Questions
- → How do I make the biscuit base firm?
Ensure the biscuit crumbs are finely blended, and press the mixture firmly into the pan. A compact base ensures it holds well and doesn’t crumble.
- → Can I use store-bought vegan caramel?
Yes, both store-bought and homemade vegan caramel work well in this dessert. Choose your favorite to suit your taste and convenience.
- → How do I prevent the banana slices from browning?
Add the banana slices as a topping just before serving to keep them fresh. Alternatively, brush them lightly with lemon juice.
- → Can I make this gluten-free?
Yes, use gluten-free biscuits for the base and double-check all ingredients to ensure they are free from gluten or cross-contamination.
- → How long should I chill the cheesecake?
Chill the cheesecake in the fridge for at least eight hours or overnight to allow it to fully set and achieve the best texture.