
 Pin it
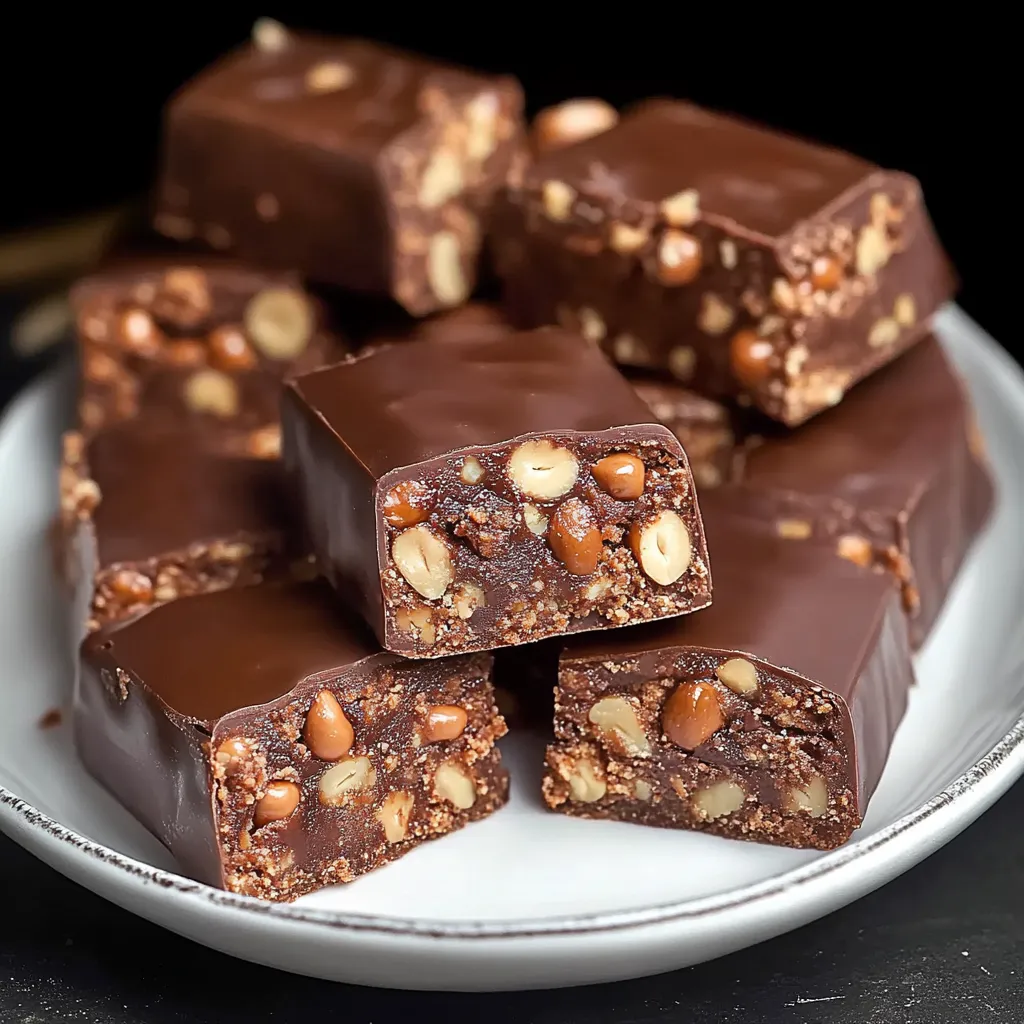
I discovered these chocolate biscuit bars during a particularly brutal August heatwave five summers ago. My kitchen was basically a sauna, but my sweet tooth wasn't taking no for an answer. These bars saved my sanity - and now they're my go-to when I need something indulgent without firing up the oven. There's something magical about that contrast between crunchy biscuits, toasty peanuts and smooth chocolate that makes people think you spent hours in the kitchen. Between us, the hardest part is waiting for them to set.
My neighbor's kid Tommy is the pickiest eater I've ever met - he once rejected birthday cake because it "looked weird." But these bars? He ate three in one sitting last time I brought them to a backyard BBQ. His mom texted me at midnight asking for the recipe because he wouldn't stop talking about them. That's when I knew this recipe was keeper.
Kitchen Necessities
- Biscuits: I usually grab digestives or graham crackers, but honestly, almost any plain, crisp cookie works. The slightly bland ones actually work better since they let the chocolate shine. Last Christmas I used leftover gingerbips and they were amazing.
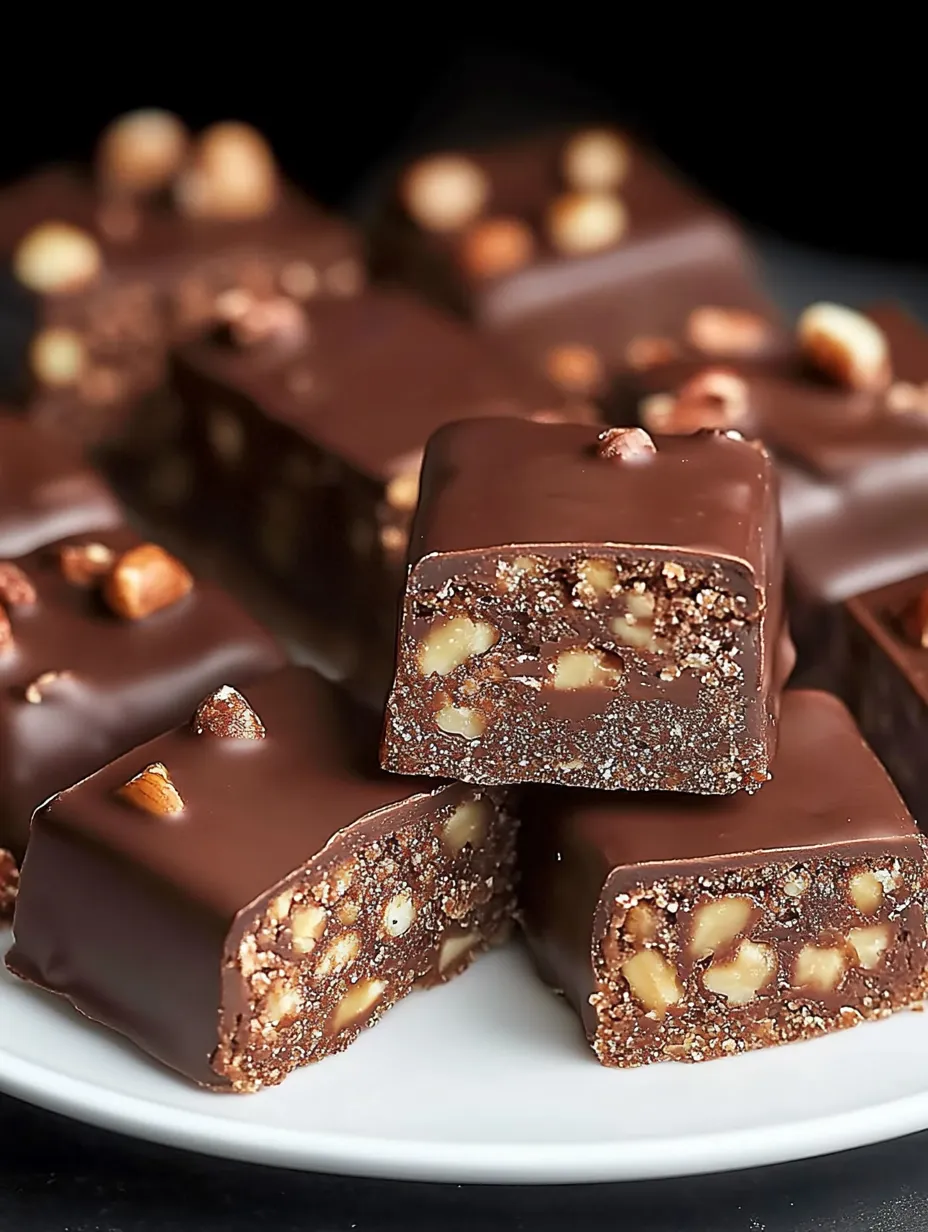
- Ground peanuts: Don't skip toasting them first - it takes 5 minutes in a dry pan and makes a massive difference. Sometimes I'll substitute half with hazelnuts when I'm feeling fancy. Just make sure they're unsalted unless you're going for that sweet-salty vibe.
- Cocoa powder: Get the good stuff if you can. I went through a phase of buying the cheapest cocoa powder and could definitely taste the difference. Dutch-processed gives a smoother taste, but regular works fine if that's what you've got.
- Chocolate mix: The milk-dark combo is non-negotiable in my kitchen. All milk is too sweet and all dark is too intense. That 3:1 ratio hits the sweet spot. I've tried fancy chocolate bars chopped up vs. baking chips, and honestly couldn't tell much difference once it's melted.
- Sweet cream: Heavy whipping cream gives these bars that melt-in-your-mouth quality. I tried using milk once when I was out of cream. Let's just say some substitutions aren't worth making.
 Pin it
Making Magic
- Base preparation:
- Crush those biscuits properly - not too fine, not too chunky. I aim for mostly small crumbs with a few slightly bigger pieces for texture. Dump them in a big bowl with your ground nuts, sugar, and cocoa. Mix it really well - nobody wants to bite into a pocket of straight cocoa powder.
- Getting the moisture right:
- Melt that butter slowly - I've burned it more times than I care to admit when rushing. Once it's melted, stir in the cream until combined. Pour this over your dry ingredients and mix with a wooden spoon. You'll know it's right when you can squeeze some in your palm and it holds together without being soggy. Trust your instincts here.
- Creating the perfect base:
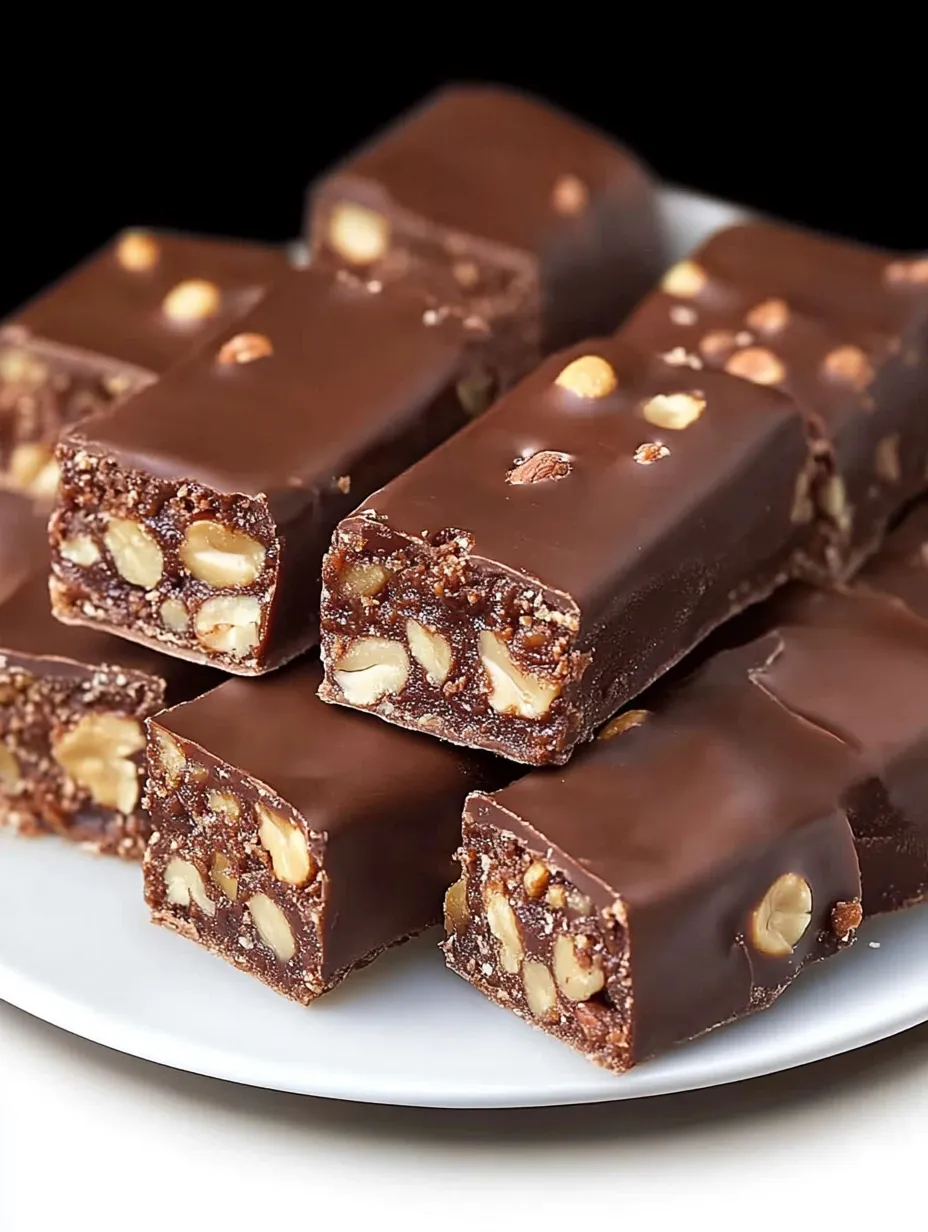
- Line your pan with parchment paper with enough overhang to lift the bars out later. Press that mixture in firmly - I mean FIRMLY. I use the bottom of a measuring cup and put some muscle into it. This compression is crucial or your bars will fall apart when cut.
- Nailing the chocolate layer:
- Melt your chocolates slowly, either in 30-second microwave bursts or over a double boiler. Stir frequently - chocolate goes from perfect to seized in seconds if you're not careful. Adding that bit of oil makes the coating slice cleanly instead of shattering when you cut it.
- The finishing touches:
- Spread that glossy chocolate over your chilled base, making sure to get it right to the edges. Sprinkle the ground peanuts over top immediately - wait too long and they won't stick. I like to press them in gently with the back of a spoon.
My first attempt at these bars was a disaster - I didn't compress the base enough and ended up with a crumbly mess. The next time, I went overboard with the cream and ended up with something closer to pudding than bars. Over time I've tweaked everything from the biscuit-to-nut ratio to the chilling time. The recipe I'm sharing today is battle-tested through countless potlucks and family gatherings. The biggest improvement came when I started toasting the nuts first - such a small change that makes a massive difference.
Fancy Serving Ideas
For dinner parties, I cut these into tiny squares and serve them alongside fresh raspberries and a dollop of mascarpone cream. The slight tartness cuts through the richness perfectly. When I'm hosting coffee morning, I arrange them on my grandmother's vintage cake stand with some fresh mint leaves for color. They also make a decadent ice cream topping - just crumble a bar over vanilla ice cream and prepare for your eyes to roll back in your head.
Mix It Up
After making these bars approximately eight million times, I've experimented with endless variations. Swap half the peanuts for shredded coconut for a tropical twist. Add a tablespoon of instant espresso to the chocolate mixture for a mocha version that's absolutely divine with afternoon coffee. During the holidays, I add crushed candy canes on top instead of nuts. My personal favorite variation is adding a layer of salted caramel between the biscuit base and chocolate topping - it takes more effort but is worth every calorie.
Fresh For Days
These bars keep beautifully in the fridge for about a week, though they've never lasted that long in my house. Store them in an airtight container with parchment between layers to prevent sticking. They're actually perfectly fine at room temperature for a day or so, which makes them great for picnics or potlucks. You can freeze them too - just wrap individual portions and thaw in the fridge overnight. The texture stays surprisingly good.
 Pin it
I've made these no-bake chocolate biscuit bars for everything from school bake sales to fancy dinner parties. There's something about their not-too-sweet richness and perfect texture that appeals to pretty much everyone. My dad, who claims to "not like desserts," has been known to sneak one from the fridge late at night. I've caught him red-handed more than once. While I love a complex, challenging recipe as much as the next baker, there's something deeply satisfying about creating something this delicious with so little effort. Just don't tell your guests how easy they were - let them think you slaved away for hours.
Frequently Asked Questions
- → What type of biscuits work best for this recipe?
- Digestive biscuits, graham crackers, vanilla wafers, or tea biscuits work wonderfully. You want a simple, not-too-sweet biscuit that creates a good crumb texture when crushed.
- → Can I make these without peanuts?
- Absolutely! You can substitute with almonds, hazelnuts, or walnuts. For a nut-free version, try using toasted sunflower seeds, crushed pretzels, or additional biscuits for texture.
- → Why is my mixture too crumbly and not holding together?
- The mixture needs enough moisture to bind. Add a tablespoon of cream at a time until the mixture holds together when pressed between your fingers. Make sure your butter is fully melted when adding it.
- → Can I use different chocolate for the topping?
- Yes! You can use all milk chocolate for a sweeter taste or all dark chocolate for a richer flavor. White chocolate works too, but reduce the oil slightly as it melts differently.
- → Do these bars need to be refrigerated?
- Yes, these bars should be stored in the refrigerator since they contain dairy. They'll keep for up to a week in an airtight container. They can be served slightly chilled or at room temperature.
- → Can I add other flavors to these bars?
- Definitely! Try adding orange zest, espresso powder, or a tablespoon of liqueur to the biscuit mixture. You can also add dried fruits like cranberries or cherries for extra texture and flavor.