
 Pin it
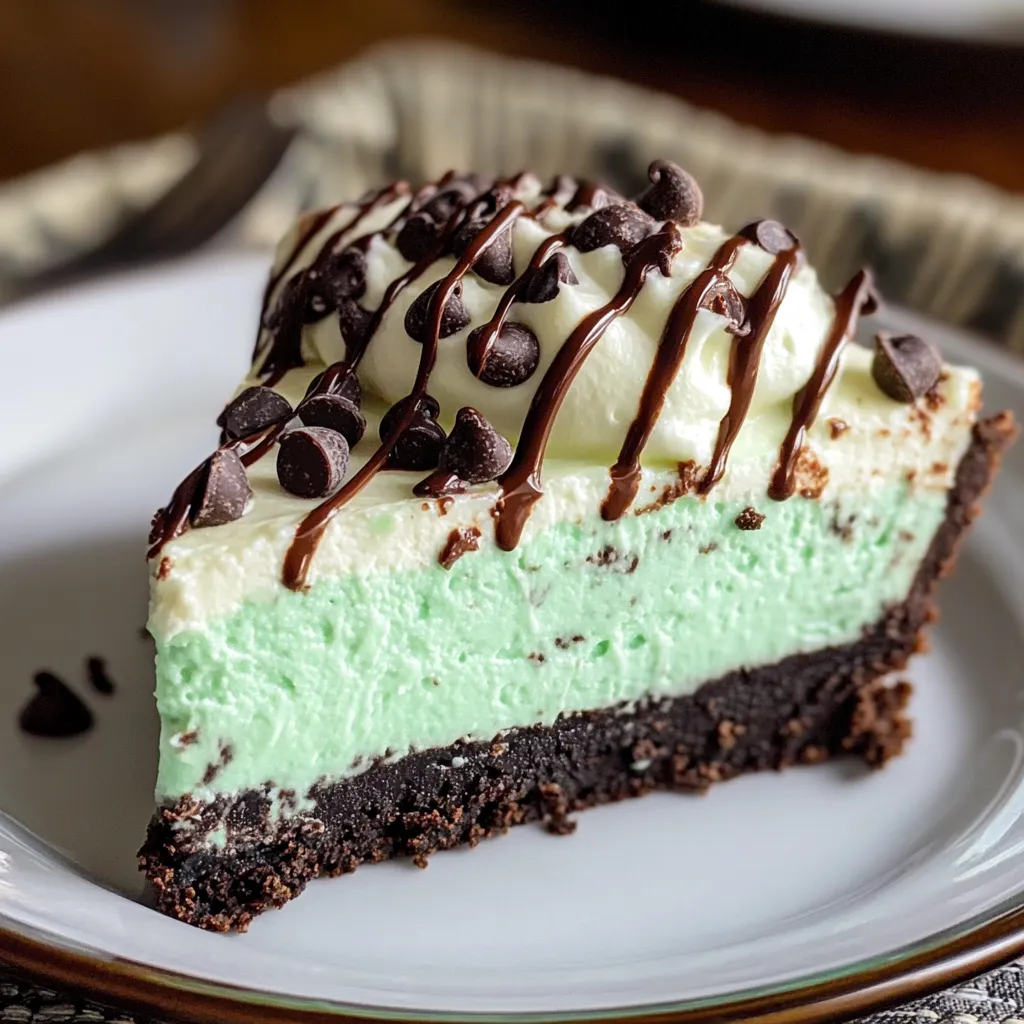
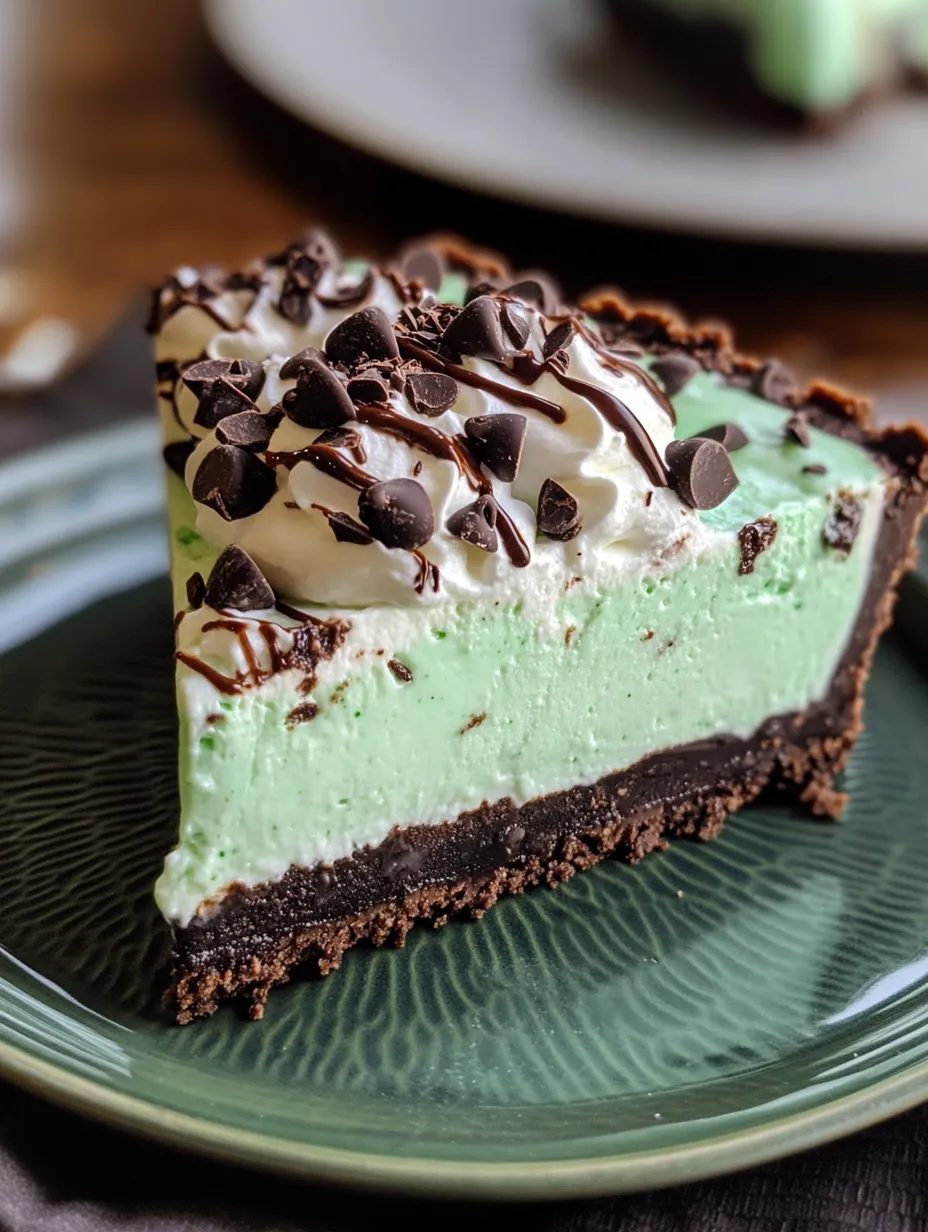
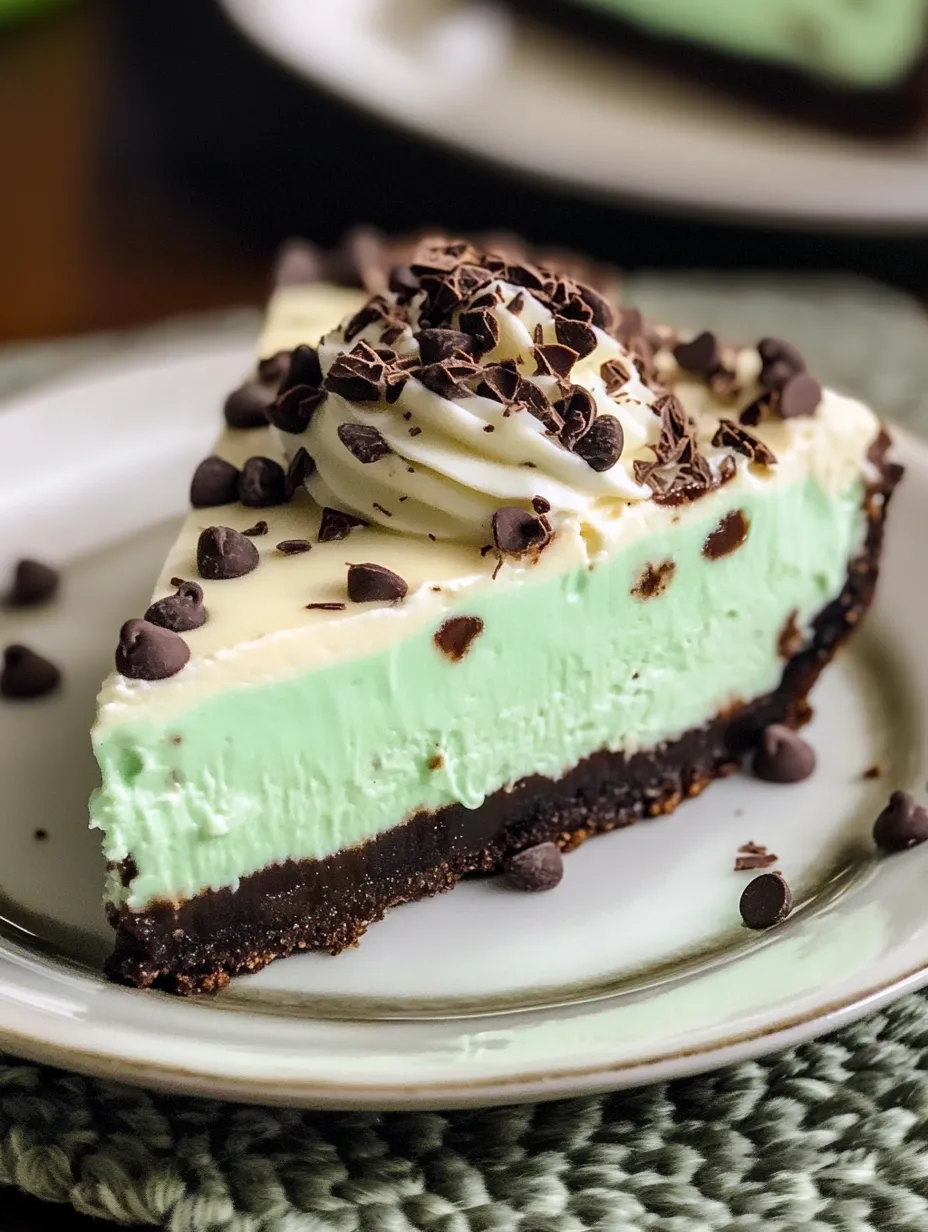
This no bake mint chocolate chip cheesecake delivers a refreshing twist on a classic dessert. The combination of cool mint flavor and rich chocolate creates a silky, indulgent experience that satisfies both chocolate lovers and mint enthusiasts alike. The contrast between the crunchy Oreo crust, creamy mint filling, and bits of chocolate chips creates a texture paradise that melts in your mouth with each bite.
Last summer, I brought this cheesecake to a neighborhood barbecue and watched as people kept coming back for 'just one more sliver.' The hostess pulled me aside to ask for the recipe, confessing that she'd never been a mint-chocolate fan until trying this dessert. Now it's her go-to recipe for summer entertaining.
Essential Ingredients
- Oreo cookies: Create a chocolate foundation that pairs perfectly with the mint filling. The cream filling in the cookies helps bind the crust together for the perfect texture.
- Unsalted butter: Brings the crust together while allowing you to control the salt level in the finished dessert. Make sure it's completely melted for even distribution.
- Cream cheese: Provides the classic tangy base that defines cheesecake. Full-fat cream cheese produces the richest texture and flavor.
- Granulated sugar: Balances the tanginess of the cream cheese without adding moisture that could affect the setting process.
- Powdered sugar: Dissolves seamlessly into the filling, preventing any graininess while adding sweetness and helping to stabilize the mixture.
- Peppermint extract: Delivers that signature cool mint flavor. The small amount packs a powerful punch, so measure carefully.
I've tried making this with several different brands of cream cheese, and honestly, they all work well. The key is ensuring everything is at the right temperature—the cream cheese must be properly softened to avoid lumps, while the heavy cream needs to be very cold to whip properly. This temperature contrast is what creates that perfect, silky texture.
 Pin it
Preparation Method
- Crust foundation
- Place whole Oreos—cream filling and all—into a food processor and pulse until they become fine crumbs. Pour in melted butter while the processor runs a few more seconds to evenly distribute it. The mixture should resemble wet sand that clumps together when pressed. Transfer to a springform pan and press firmly across the bottom and about 1.5 inches up the sides, using the bottom of a measuring cup for even compression.
- Cream cheese base
- In a large mixing bowl, beat the softened cream cheese until completely smooth with no lumps remaining, about 2-3 minutes. Scrape down the sides and bottom of the bowl several times during mixing. Add granulated sugar and continue beating until the mixture becomes light and fluffy. The sugar crystals help aerate the cream cheese, creating a lighter texture in the final cheesecake.
- Flavor infusion
- Add powdered sugar, vanilla extract, and peppermint extract to the cream cheese mixture. Beat until completely incorporated, stopping to scrape the bowl as needed. Taste a tiny amount to check the mint level—remember that the flavor will mellow slightly as the cheesecake sets. If you prefer a stronger mint flavor, add additional peppermint extract just a drop at a time.
- Whipped cream magic
- In a separate bowl with clean beaters, whip cold heavy cream until stiff peaks form. Watch carefully as you approach this stage—the cream should hold its shape firmly when beaters are lifted but still look smooth and glossy. If it begins to look grainy or curdled, you've gone too far. Using a large rubber spatula, gently fold the whipped cream into the cream cheese mixture with a downward stroke along the side of the bowl, then up and over center, rotating the bowl as you go.
- Color enhancement
- Add a very small amount of green gel food coloring to the mixture. Remember that you can always add more, but you can't remove it. Start with just a toothpick dipped in the gel color and swirl it into a small portion of the filling, then fold that into the larger mixture. Continue adding tiny amounts until you achieve the desired mint-green color, keeping in mind that the color will deepen slightly as it chills.
- Chocolate incorporation
- Gently fold in mini chocolate chips using the same folding technique used for the whipped cream. The mini size distributes better throughout the filling and provides the perfect chocolate-to-mint ratio in each bite. Reserve a small handful for sprinkling on top. For the filling, fold just enough to distribute evenly—overmixing will cause the chips to sink to the bottom.
- Setting process
- Retrieve the crust from the freezer and transfer the filling into it, working carefully to maintain the air incorporated during mixing. Use an offset spatula to smooth the top into an even layer, creating a slight dome shape if desired. Sprinkle reserved chocolate chips around the edge for decoration. Cover with plastic wrap without touching the surface and refrigerate for at least 8 hours, preferably overnight, to allow the flavors to meld and the filling to set completely.
When I first developed this recipe, I used regular chocolate chips but found they tended to sink to the bottom during the setting process. Switching to mini chips solved this problem and created a more consistent texture throughout each slice. I've also experimented with the amount of peppermint extract over the years. Too little and the mint flavor gets lost; too much and it tastes medicinal. The 1/4 teaspoon in this recipe creates the perfect balance for most palates, but I always encourage tasting and adjusting to your preference.
Sweet Companions
Serve this mint chocolate chip cheesecake with a drizzle of warm chocolate ganache that melts slightly into the cold filling. For a coffee shop vibe, pair each slice with a shot of espresso to complement the chocolate notes. During the holidays, garnish with crushed candy canes or mint chocolate thins for a festive presentation. I often serve this at summer gatherings with some fresh berries on the side—the bright, acidic berry flavor creates a wonderful contrast to the rich, creamy cheesecake.
Flavor Adventures
Try using chocolate mint Oreos for the crust to amplify the mint chocolate flavor throughout. Swap the mini chocolate chips for chopped Andes mints for a smoother mint chocolate experience throughout the filling. For chocolate lovers, add a layer of chocolate ganache between the crust and filling. My family particularly enjoys when I fold in some crushed chocolate sandwich cookies along with the chocolate chips for added texture and chocolate intensity throughout the cheesecake.
Keeping Fresh
This cheesecake keeps beautifully in the refrigerator for up to 5 days when stored in an airtight container. For longer storage, you can freeze individual slices wrapped tightly in plastic wrap and aluminum foil for up to 3 months. Thaw frozen slices overnight in the refrigerator for the best texture. If you notice moisture collecting on the surface after refrigeration, gently blot with a paper towel before serving. I find the flavor actually improves after 24 hours in the refrigerator as the mint has more time to permeate the filling.
 Pin it
I've made this no bake mint chocolate chip cheesecake for countless summer gatherings, holiday dinners, and even as the dessert for a friend's birthday who specifically requested 'something minty and chocolatey.' The beautiful green color makes it especially popular around the holidays and St. Patrick's Day celebrations. What I love most about this recipe is how it transforms simple ingredients into something that looks and tastes like it came from a high-end bakery, yet requires no actual baking skills to create!
Frequently Asked Questions
- → Can I make this cheesecake in advance?
- Absolutely! This cheesecake is perfect for making ahead as it needs at least 8 hours to set. You can make it 1-2 days before serving and keep it refrigerated, or freeze it for up to a month.
- → How do I know if I've whipped the cream to stiff peaks?
- When you lift your beater, the cream should stand up in peaks that hold their shape and don't fold over. If the peaks droop, continue whipping a bit longer, but be careful not to over-whip or it will become butter.
- → Can I use regular-sized chocolate chips?
- Mini chocolate chips are recommended because they distribute more evenly throughout the filling and provide a better texture. Regular chips will work but may sink more and create a less uniform bite.
- → What toppings go well with mint chocolate chip cheesecake?
- Chocolate ganache, whipped cream, chocolate curls, crushed Andes mints, or a drizzle of hot fudge all make excellent toppings. Fresh mint leaves also make a pretty garnish.
- → How do I get a clean slice when serving?
- For clean slices, dip a sharp knife in hot water, wipe it dry, then cut. Repeat this process between each slice. This helps the knife glide through the cheesecake without dragging or sticking.